

 Tweet
Tweet
My stepfather (who got me into detailing and performance mechanics) always said you learn something on every job. Might be big or it might be small or you might not be aware of it till much later. So what did I learn on this job? That I am far better at detailing cars than taking pictures.
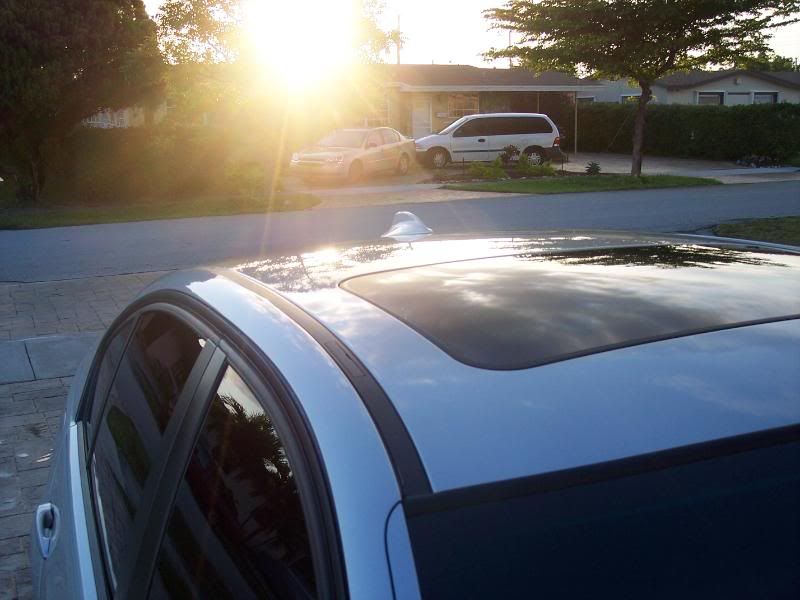
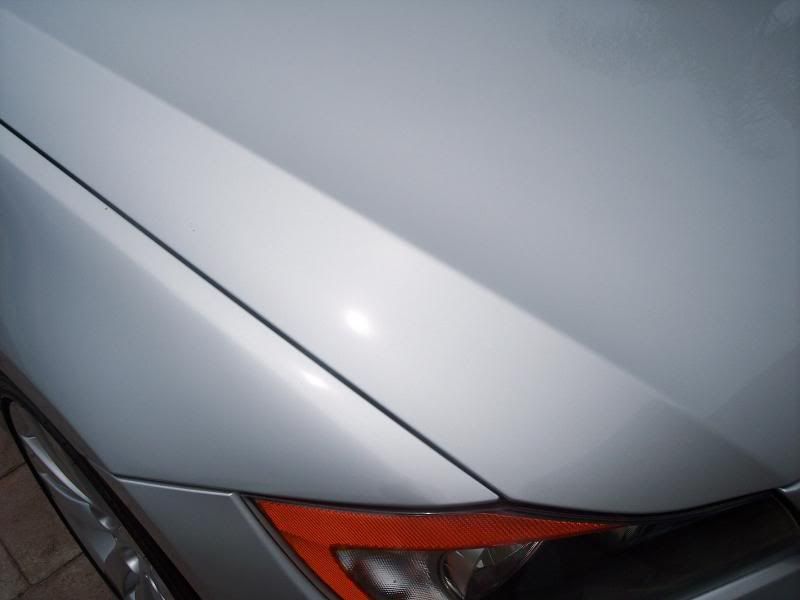
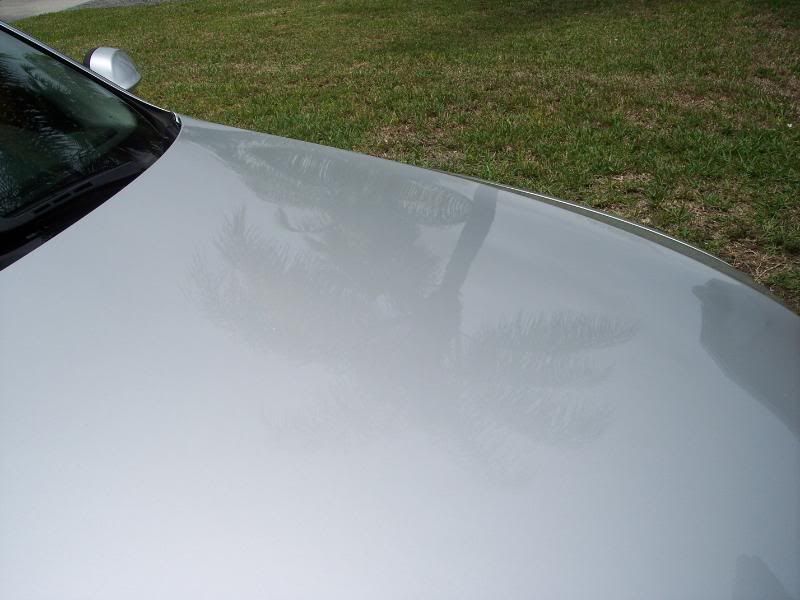
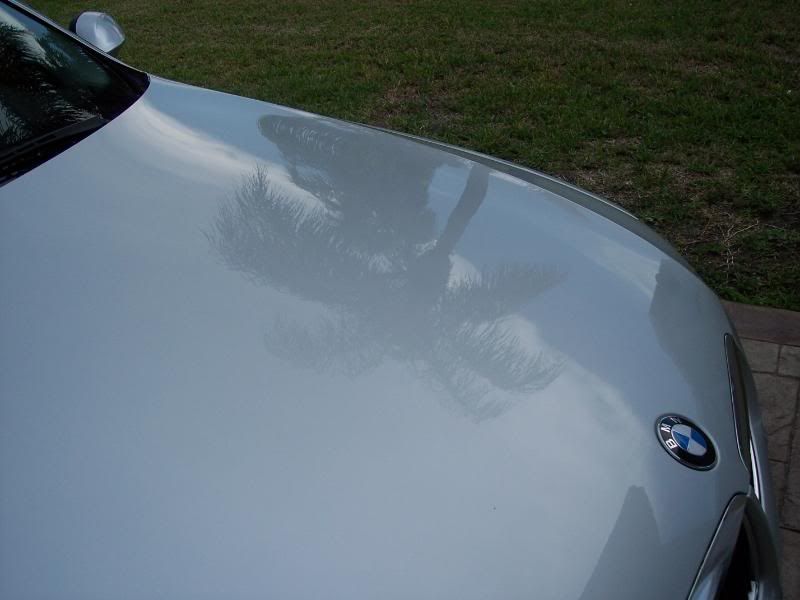
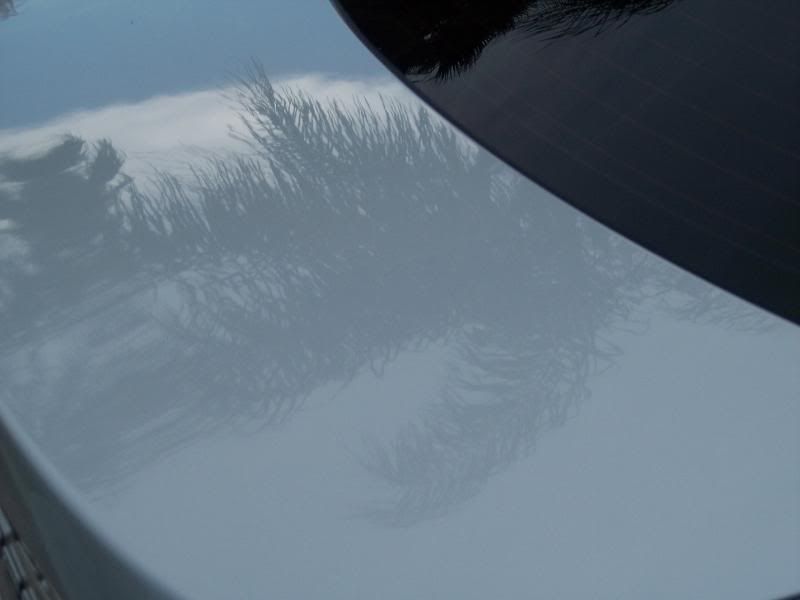
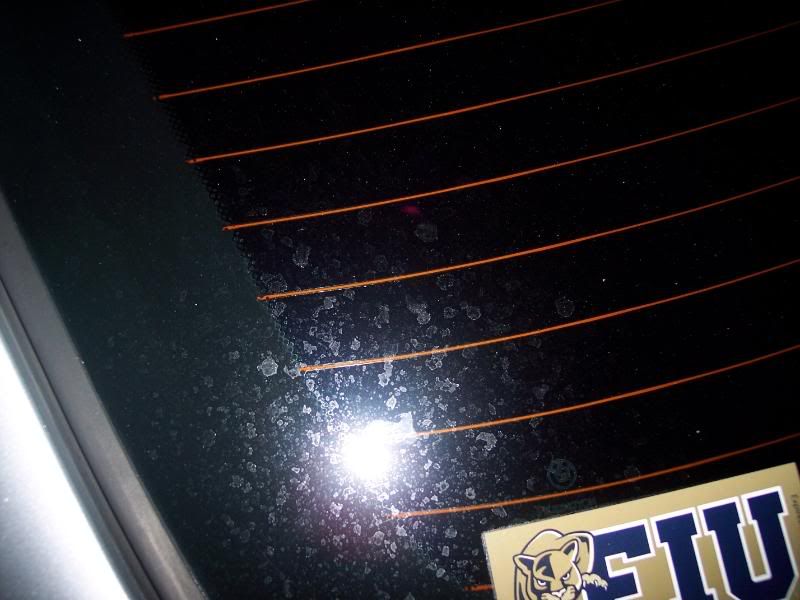
The constant rain this week forced me to erect a temporary shelter and enclose my carport with vinyl sheeting. When it wasn't raining it was windy and overcast. This weather hid the sun for all but the fewest moments. So I was forced to rely on artificial light. I have a Brinkmann Dual Xenon, a Brinkmann Xenon/LED Handheld, and a set of 1000w shop lights. No matter the angle...no matter the exposure setting...I simply could not get the swirls and anything but the deepest RIDS to be captured. When I examined the car prior to quoting the job I noticed it was what I would consider to be covered in swirls from light to medium in density and depth. On the rare occasions I had some fleeting sunlight I couldn't get the camera settings to do anything but flash an "auto exposure" warning and drown out the pictures with sunlight...
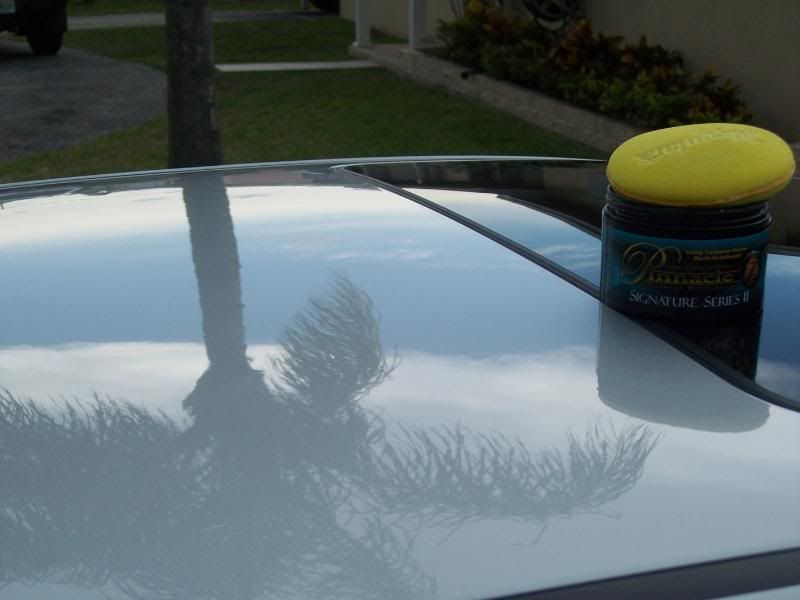
Ok, ok enough excuses for my crappy camera (thanks Kodak) and lack of natural photographic ability (thanks mom and dad) and on to the paint correction stage of this job:
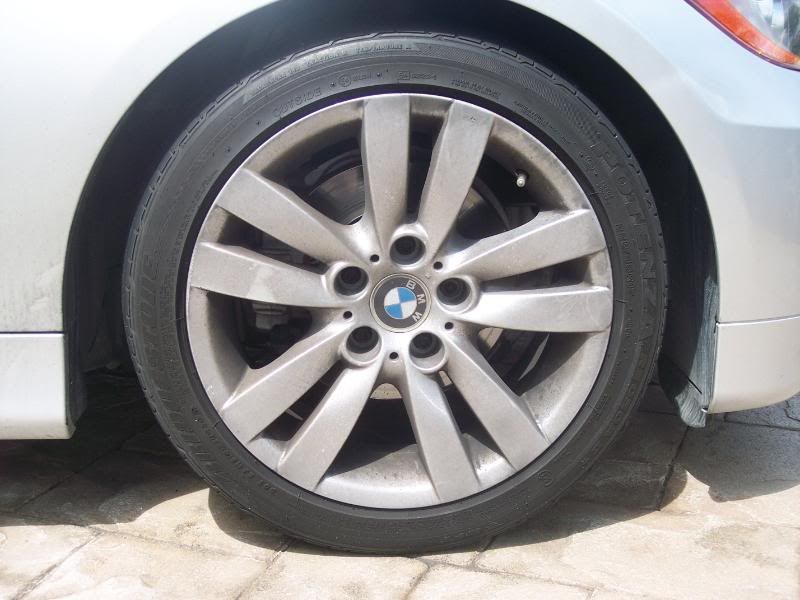
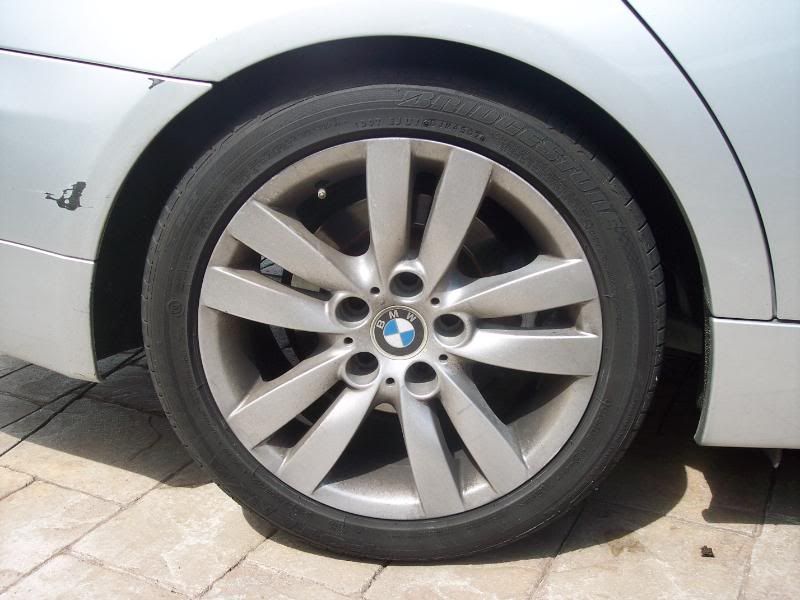
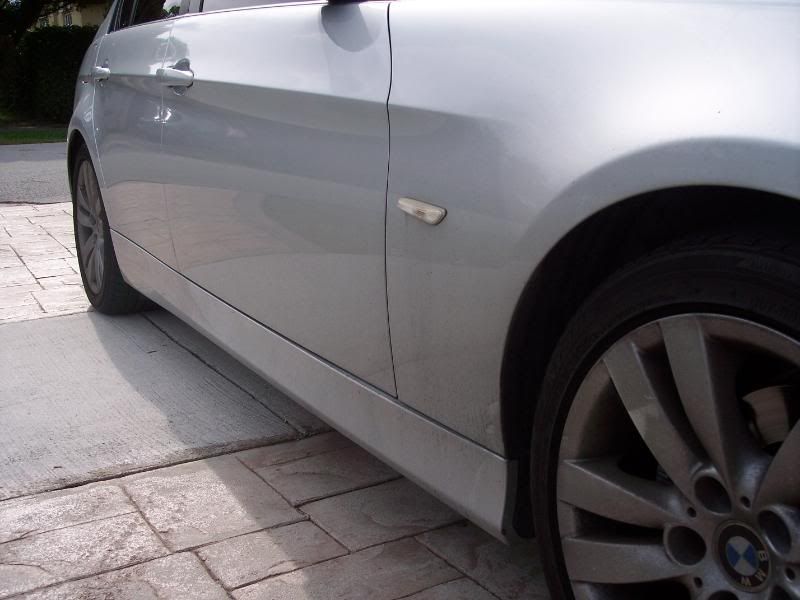
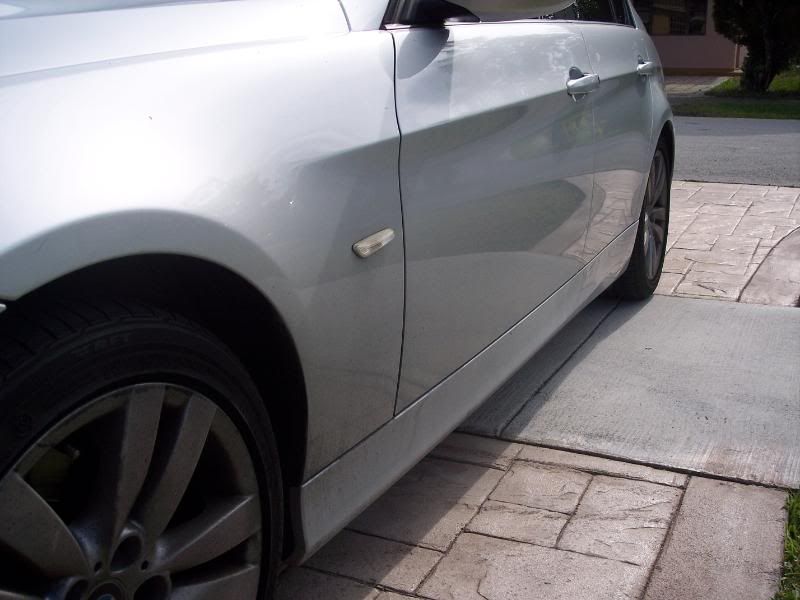
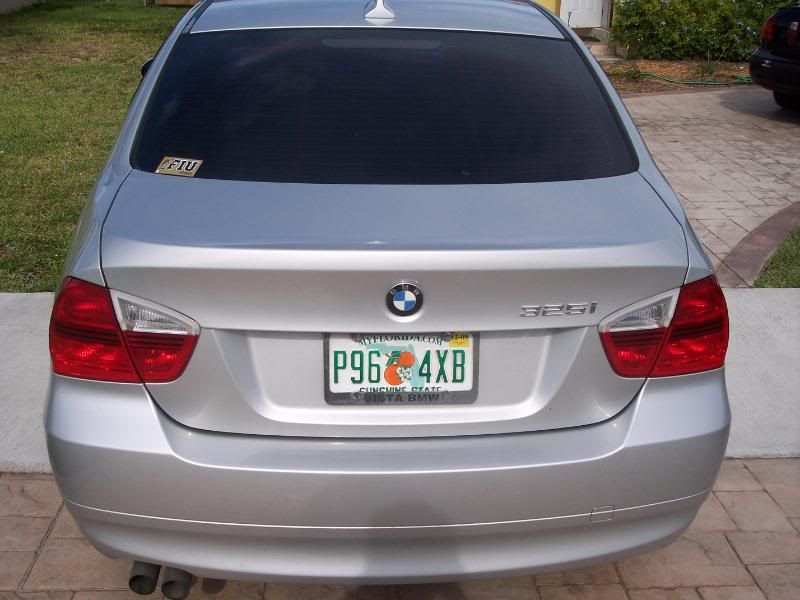
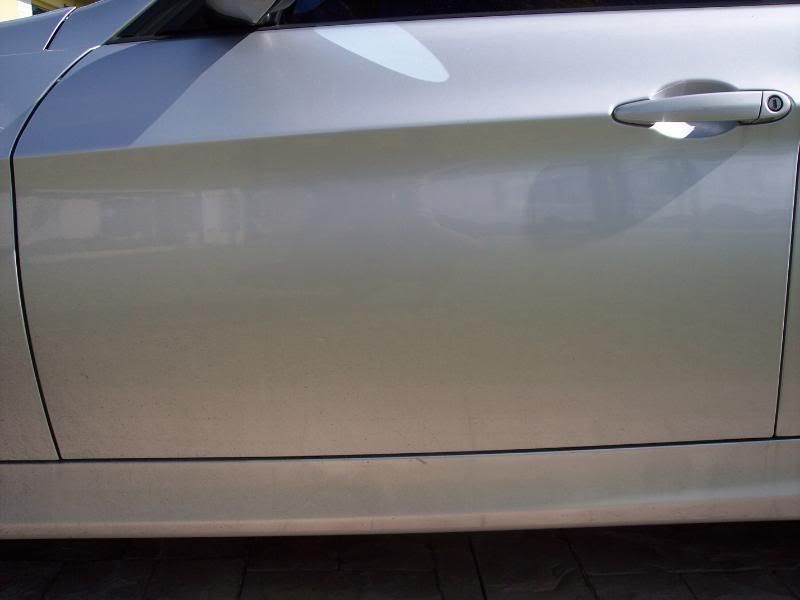
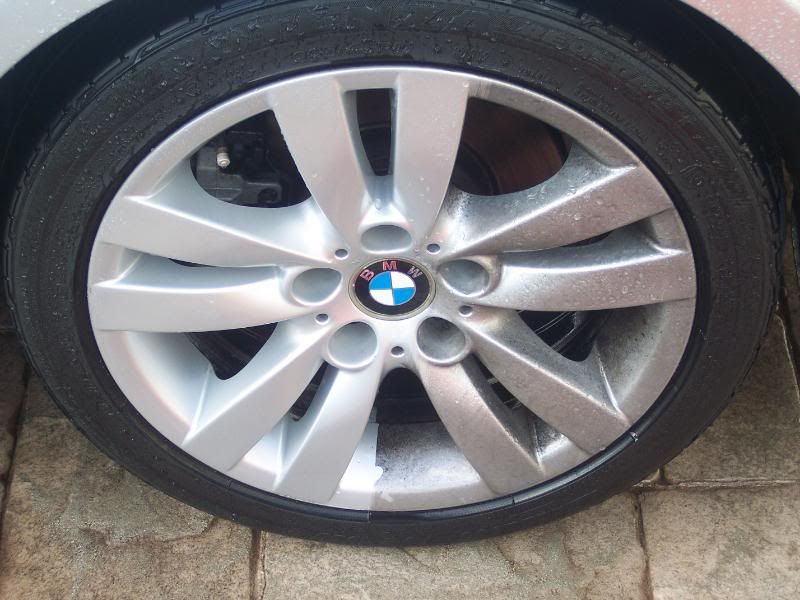
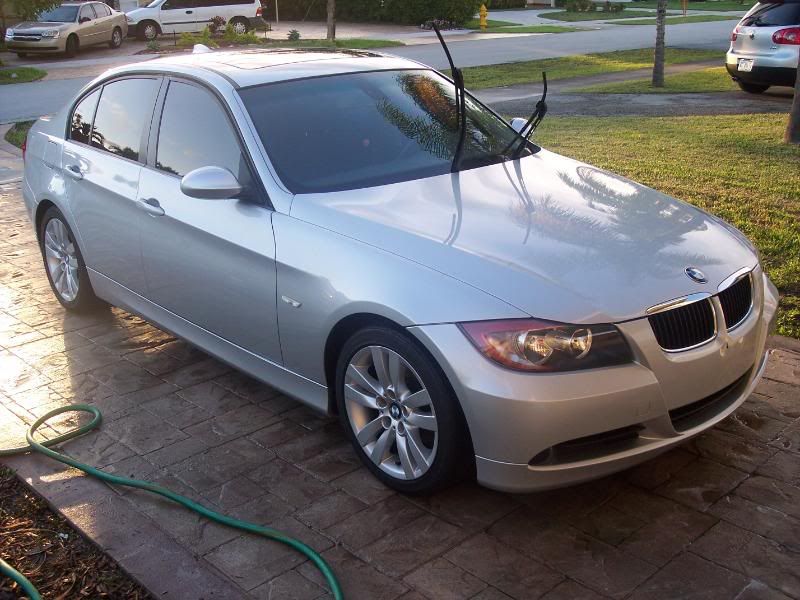
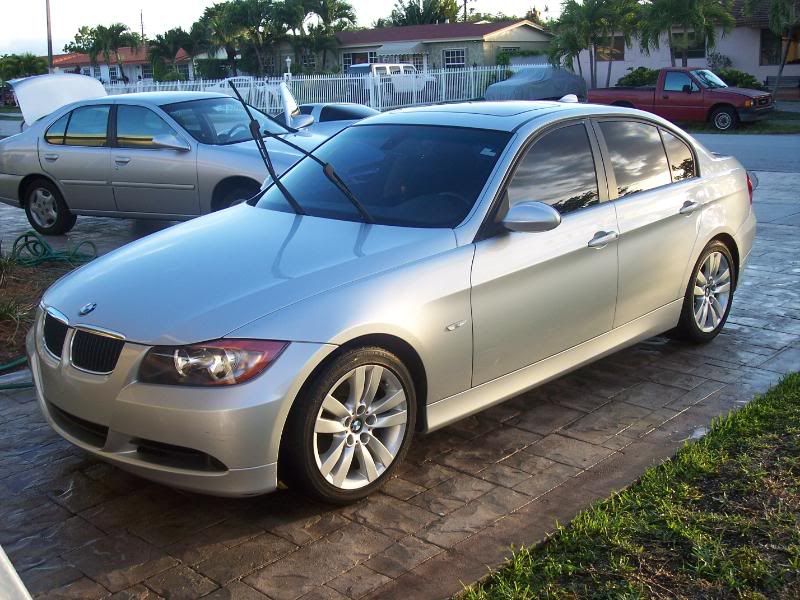
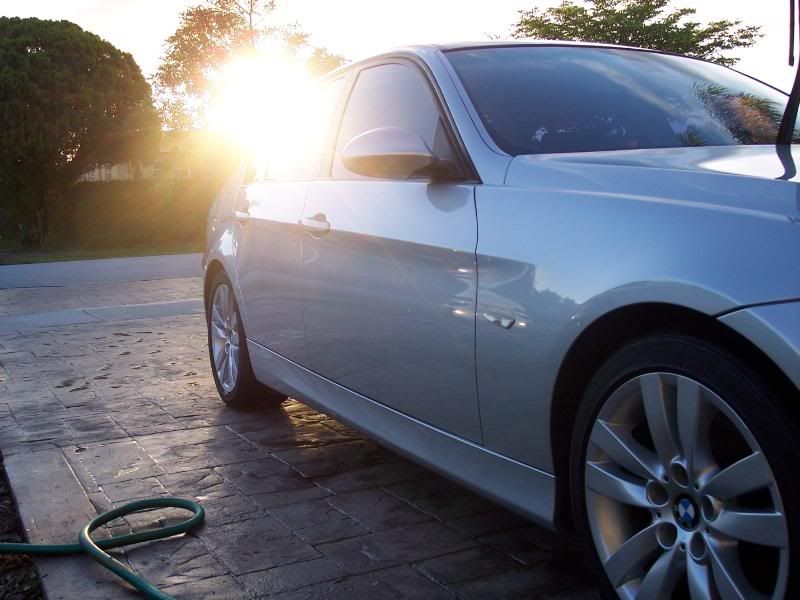
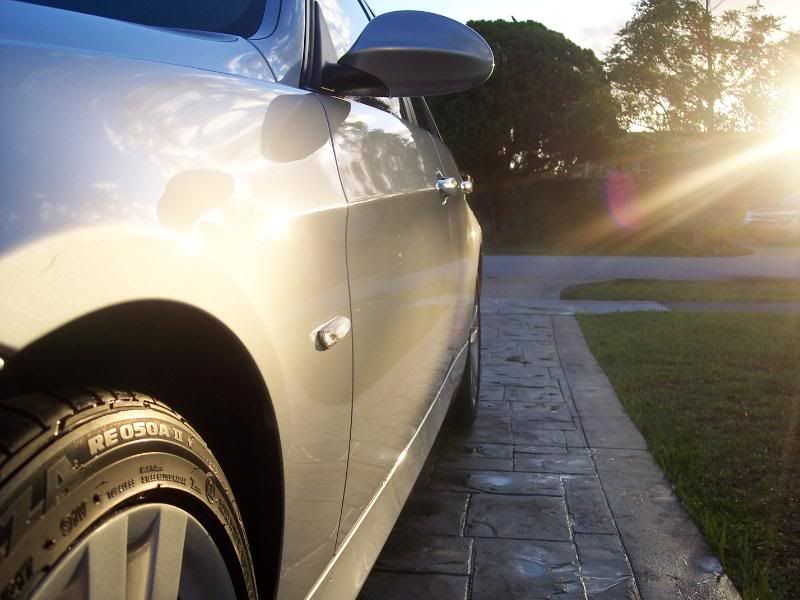
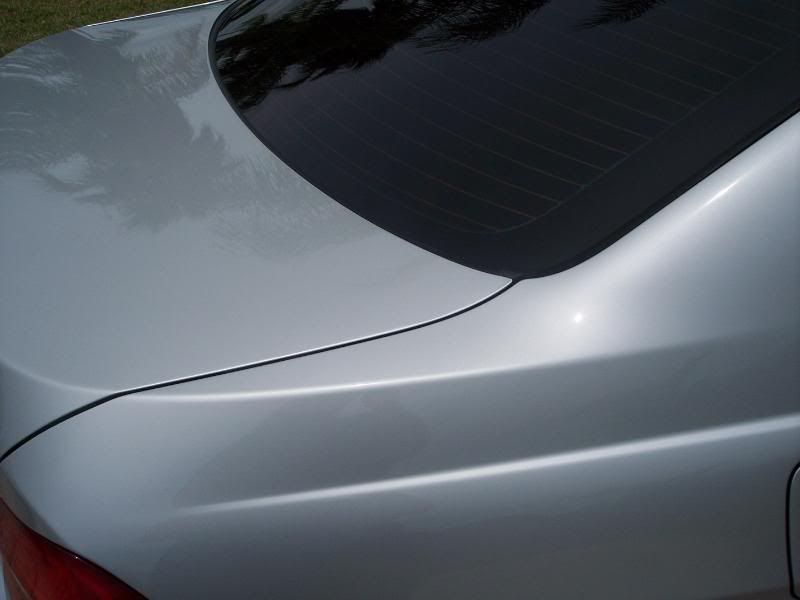
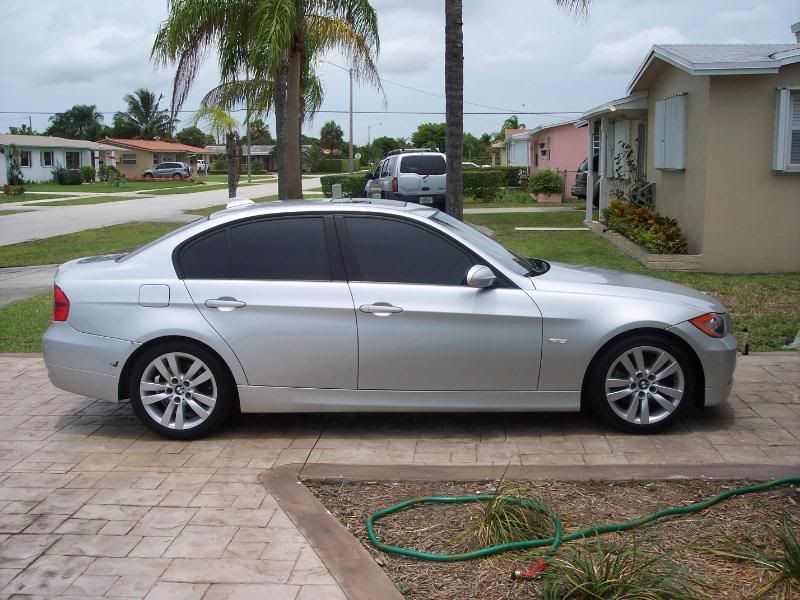
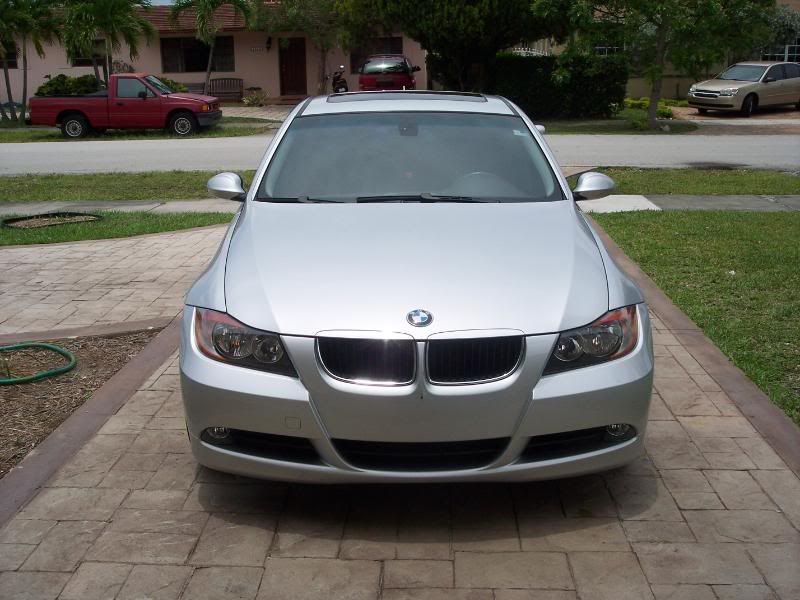
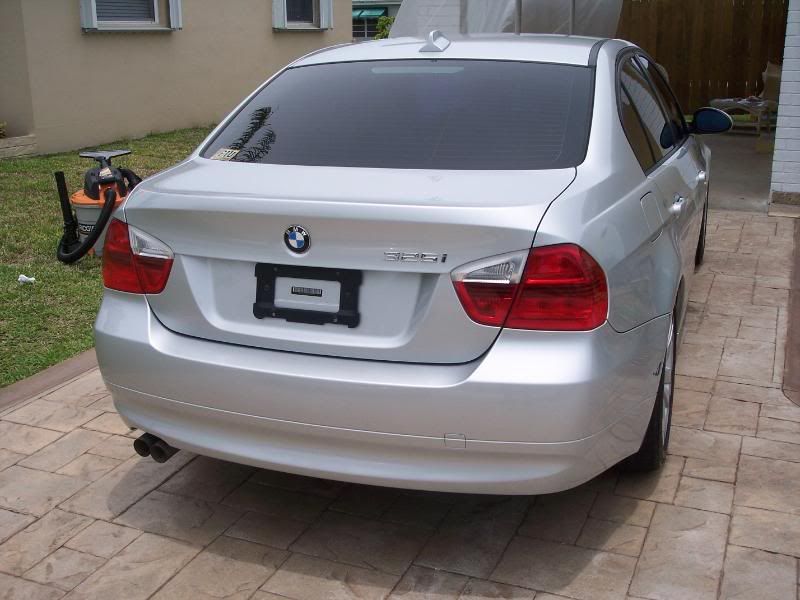
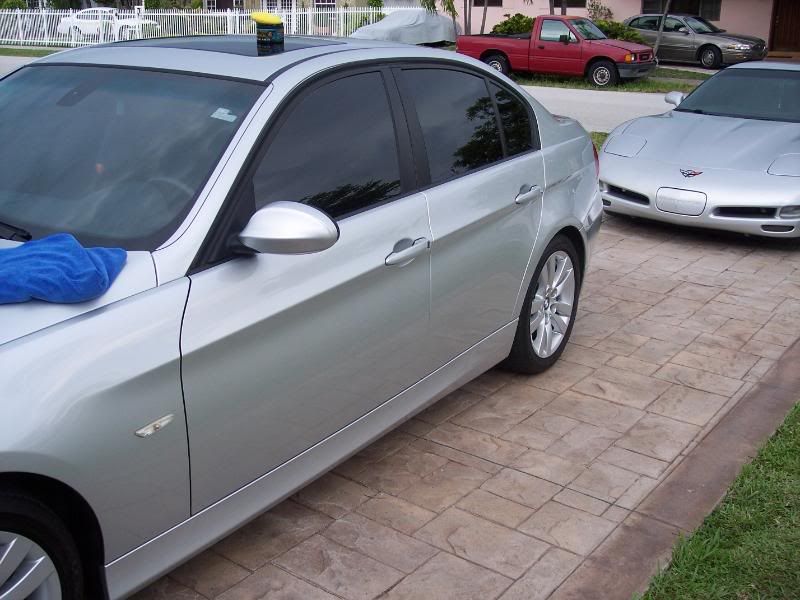
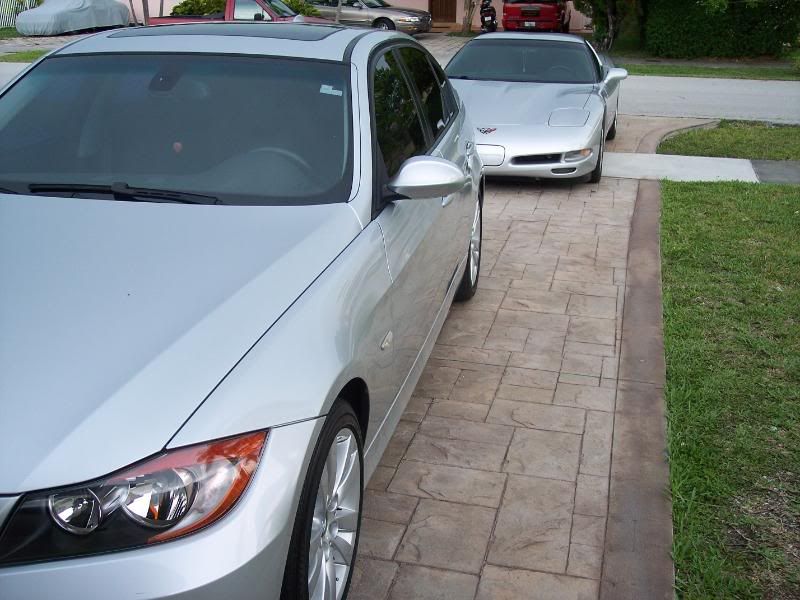
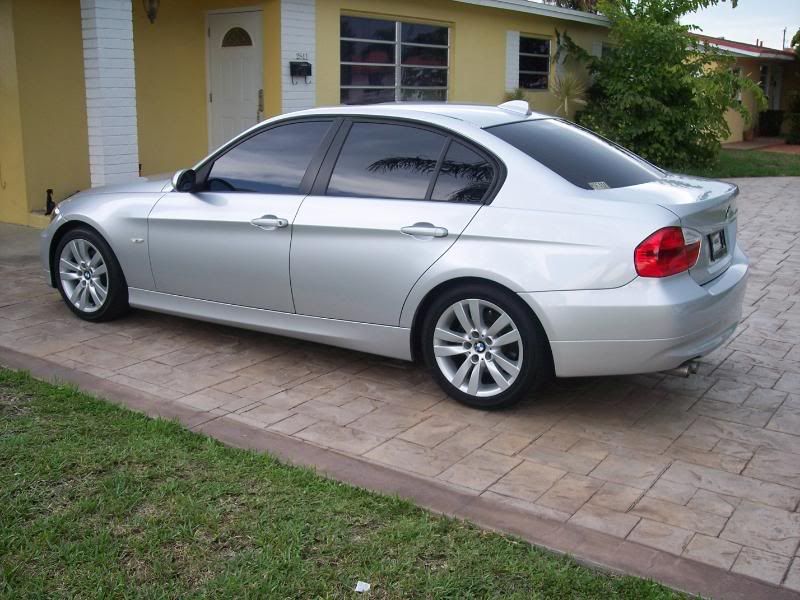
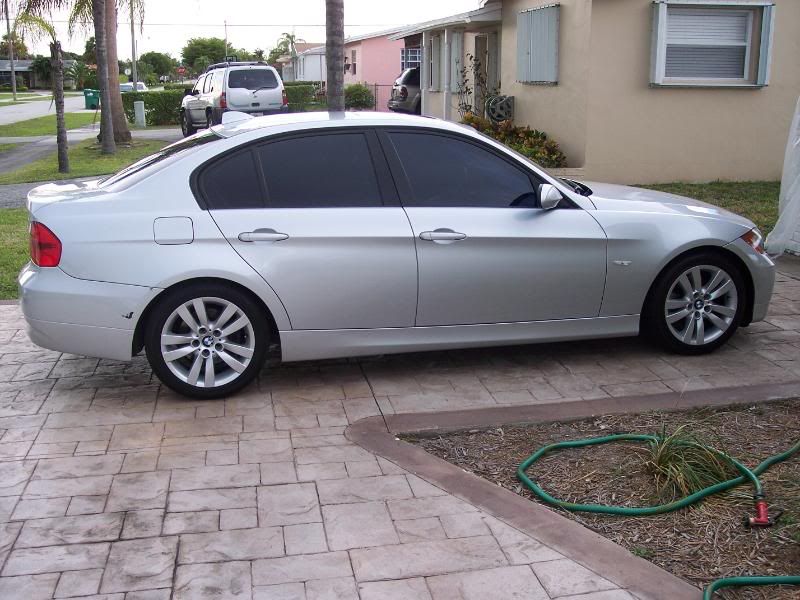
Car is a silver 2006 BMW 325i in fair condition. The owner has done nothing but take it to touchless machine washes for the last two years after having it "detailed" for $20 at the corner gas station once a month during her first year with it. The touchless wash culminates by bathing the car in some form of Turtle Wax liquid "wax" and to be honest, the car did have some shine under the layer of dirt and dust. Car had been run through said machine just 4 or 5 days prior to delivery. Brake dust on the rims was absolutely horrible however.
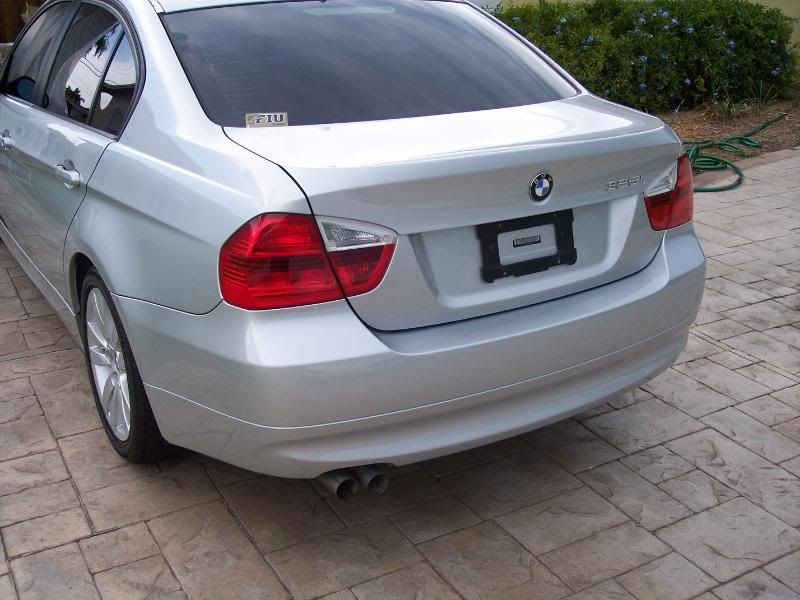
Condition as delivered...
Looks decent but as I said, I had no luck capturing the swirls in the artificial light so I didn't bother posting the crappy pics. Began the prep cycle by applying a pre-soak to the vehicle to remove any waxes, oils, or remnants of that touchless car wash junk from the surface...
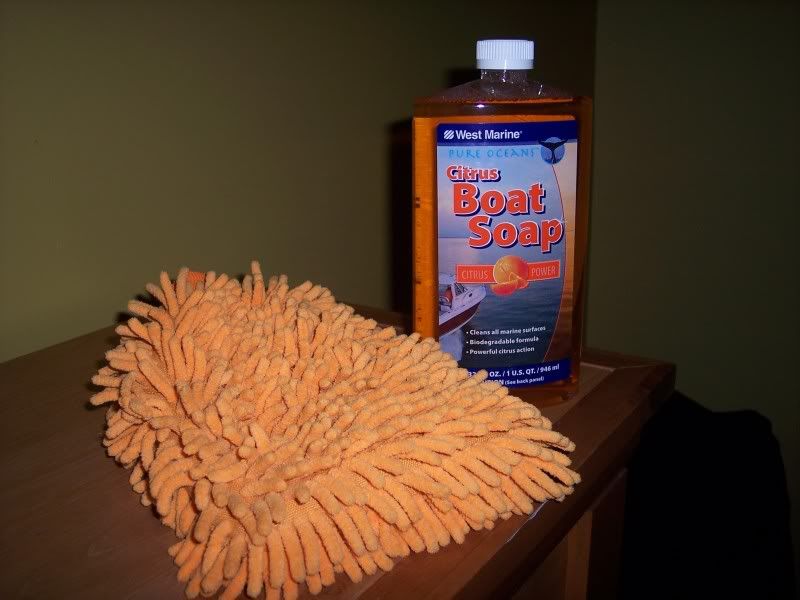
Instead of Dawn, I received a new pre-soak and wax removal surface prep shampoo from a friend and wanted to try it out. Worked great. And guess what? It's actually a product for marine use. This friend I referred to is a professional yacht detailer and when he inquired why I was using Dawn he offered this as a sample...
Post pre-soak process:
1. Spray wheels with DP Wheel Gel Cleaner and allow to sit while completing the next steps.
2. Spray wheel wells with APC+.
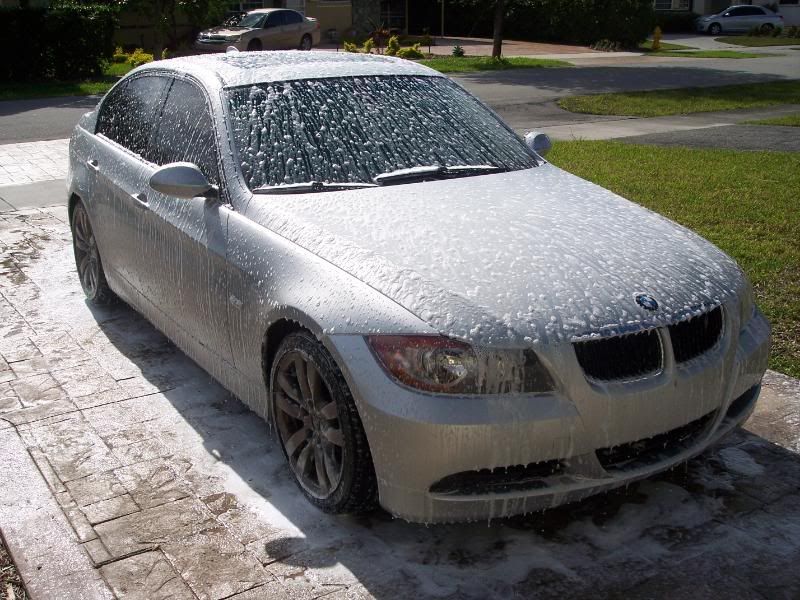
3. Washed entire vehicle using "foam gun method." Here I have a 5-gallon bucket with a grit guard and my foam gun/wash sponge (I use a Home Depot grout sponge). The bucket is full of clean water. I lay down a layer of foam on the panel I am working on and go over it with the grout sponge. When I am done with a panel I dunk the sponge in the clean water bucket, rub against the grit guard, and repeat for the next panel. This insures I have tons of foaming soap on each panel and directly between my wash sponge and the paint.
4. Dried vehicle with an Absorber synthetic drying chamois (it's about to be polished anyway...lol). Spot dried and final wipe with Armor All drying towels (pretty plush and do a great job).
5. Go back to wheel wells and scrub with long-handled tire brush.
6. Take a sponge reserved for wheels and clean the faces of the rims and tires. Use my EZ-Detail wheel brush to agitate the soap in all the little nooks and crannies. Use a Mother's stiff-bristle tire brush to scrub grime, dead rubber, and anything else off the sidewall of the tires. Rinse and let air dry as they'll be washed and dressed later on.
50/50 on a rim...
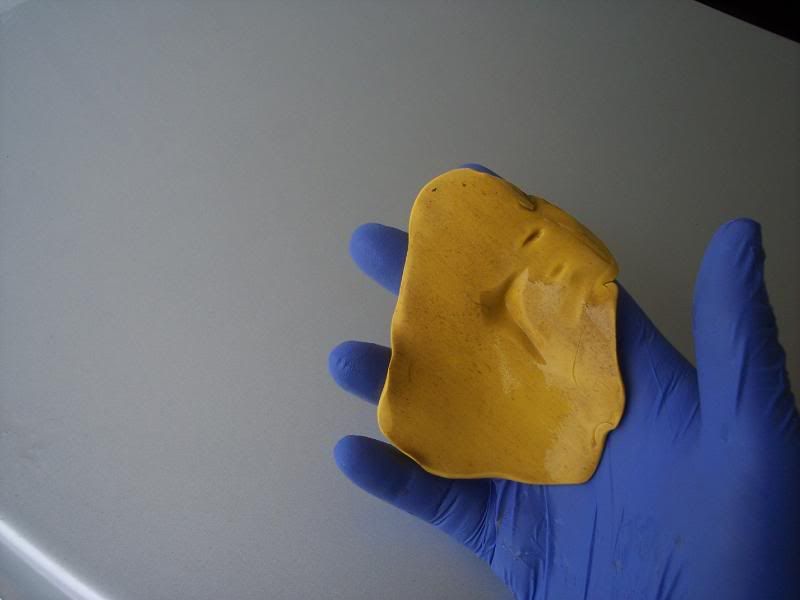
Now that the washing is done it's on to the claying. Used an old set of Mother's gold clay bars I had in my detailing supplies and wanted to use up. Bottle of Mother's Detailer Spray as lube since it all came in a kit together. Mother's clay was about the same consistency as the white Meg's clay from the Smooth Surface Kit but seems slightly milder to me although the Detailer from Mother's smells nicer (cinnamon) and was larger. Here's a look after a 2' x 2' section of the trunk lid...
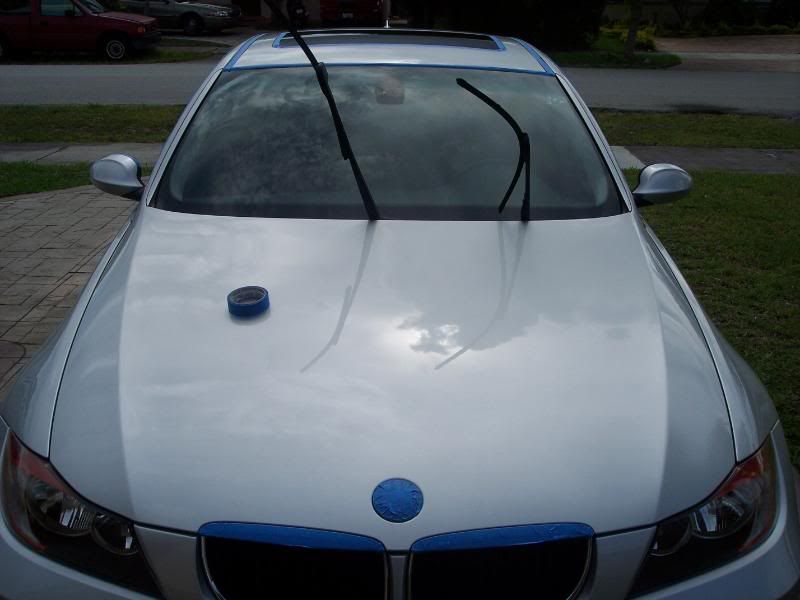
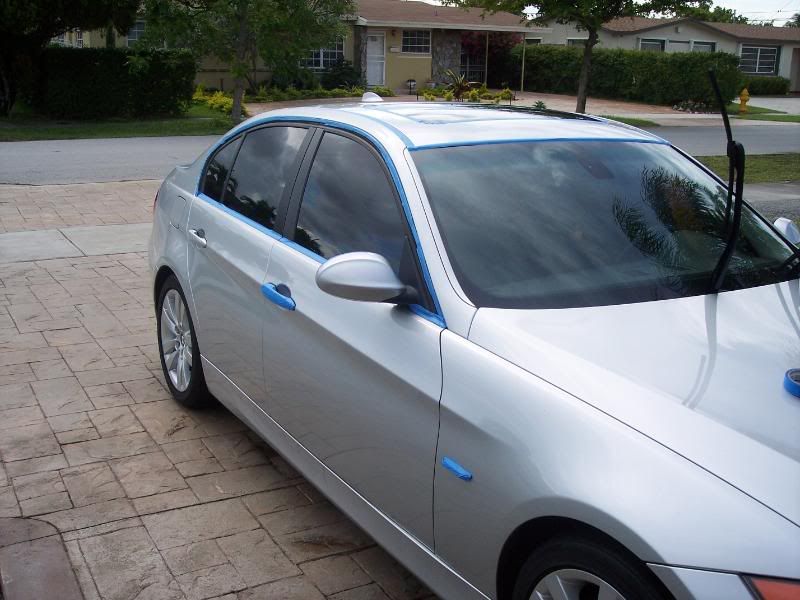
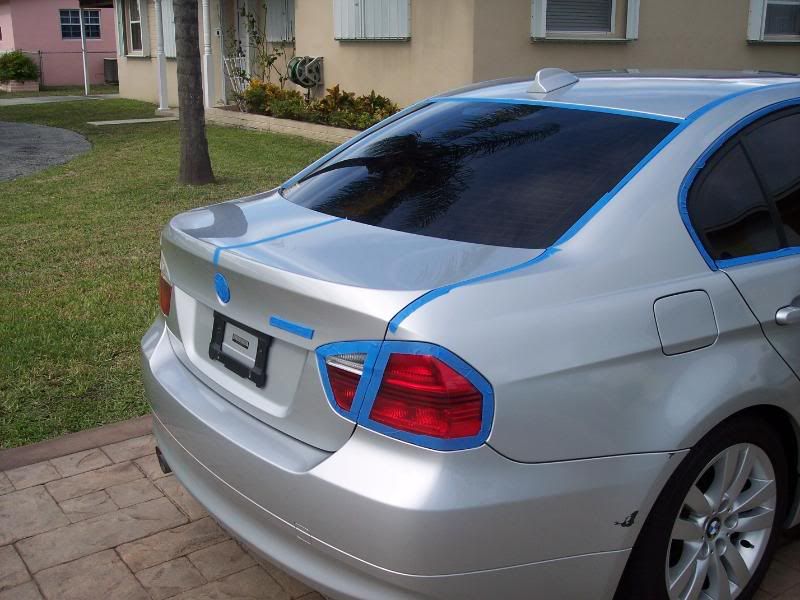
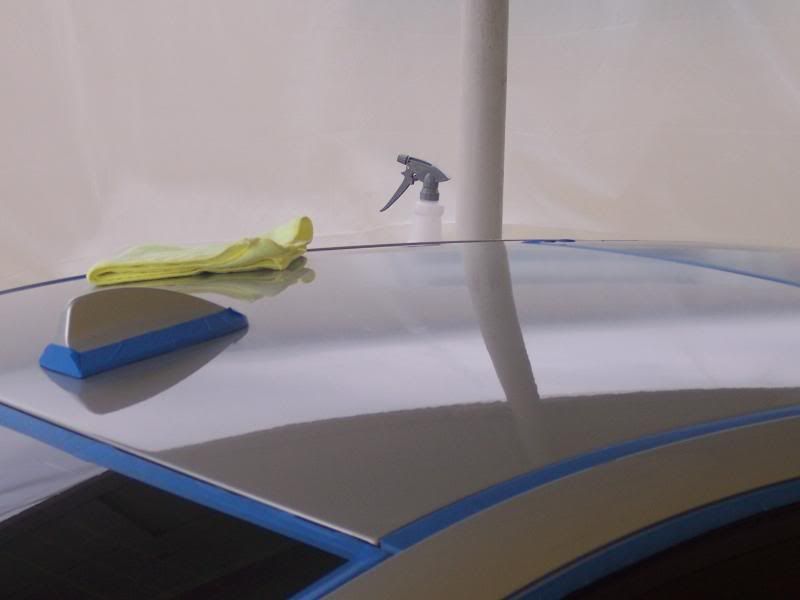
After claying I rinsed the car with the citrus wash again to remove any clay/lube residue, dried in the same manner, and moved to taping. Seen plenty of posts asking when to tape or how to tape so here's a few shots of the taping process...
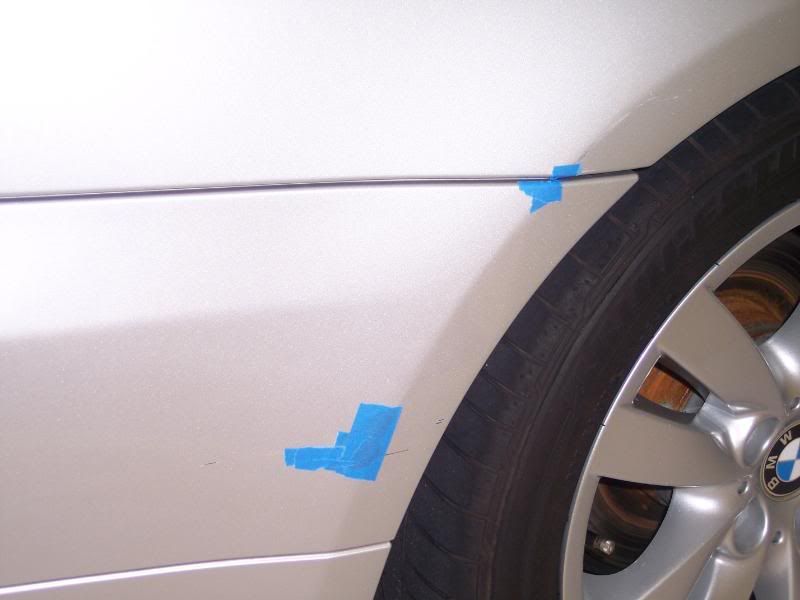
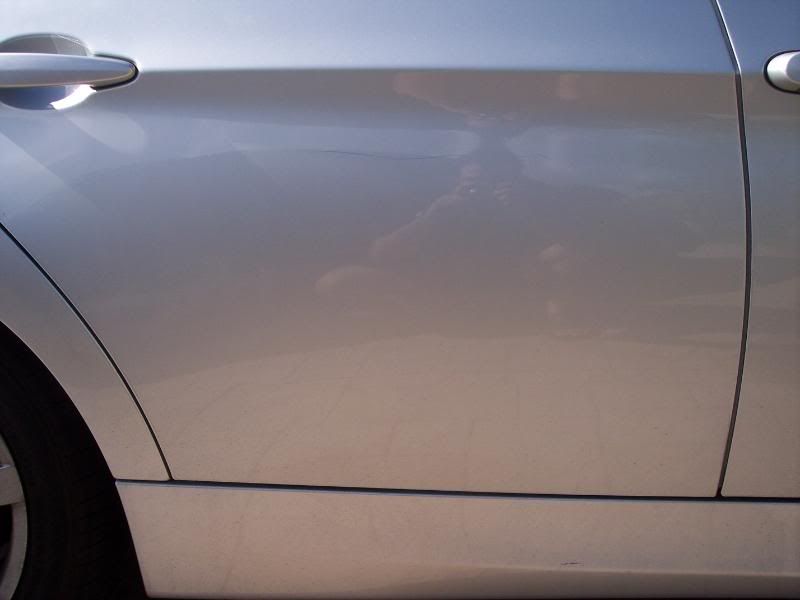
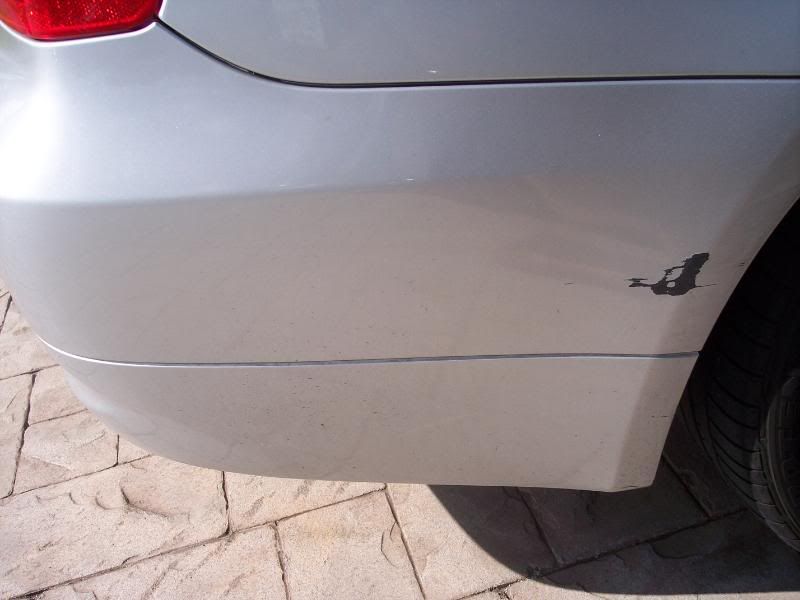
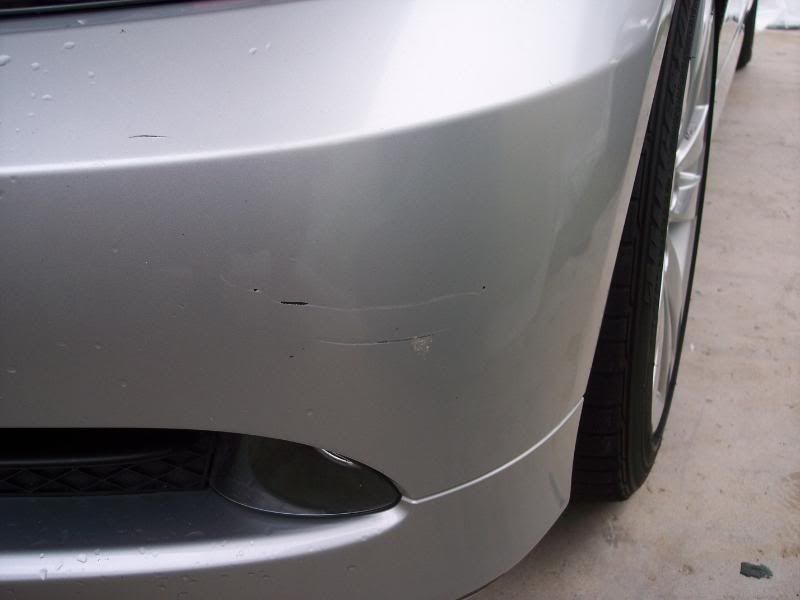
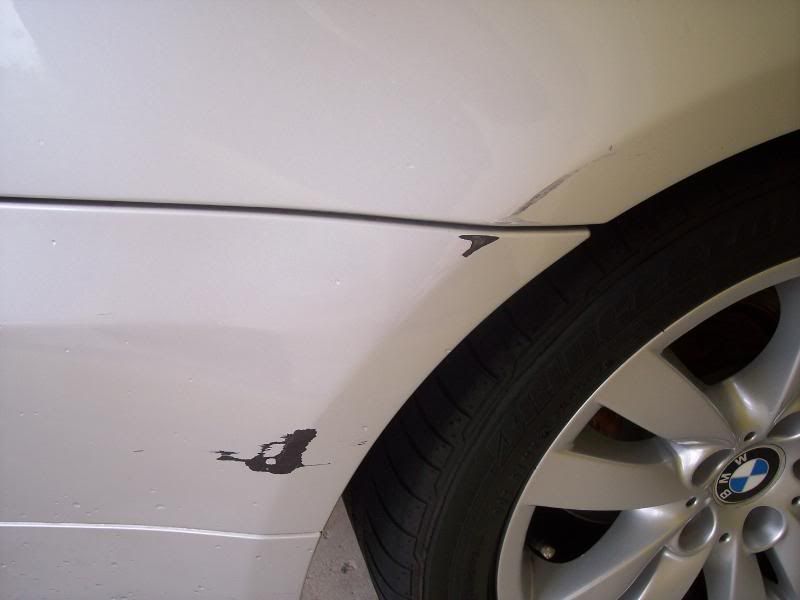
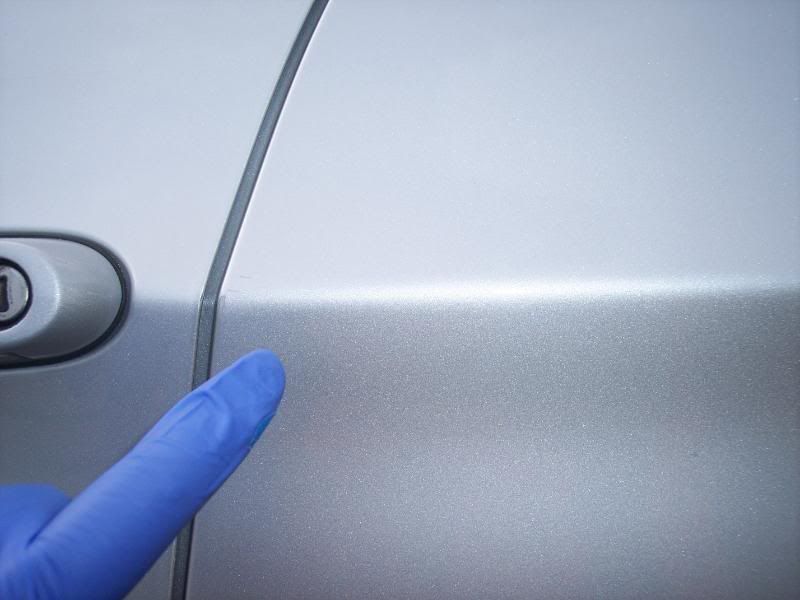
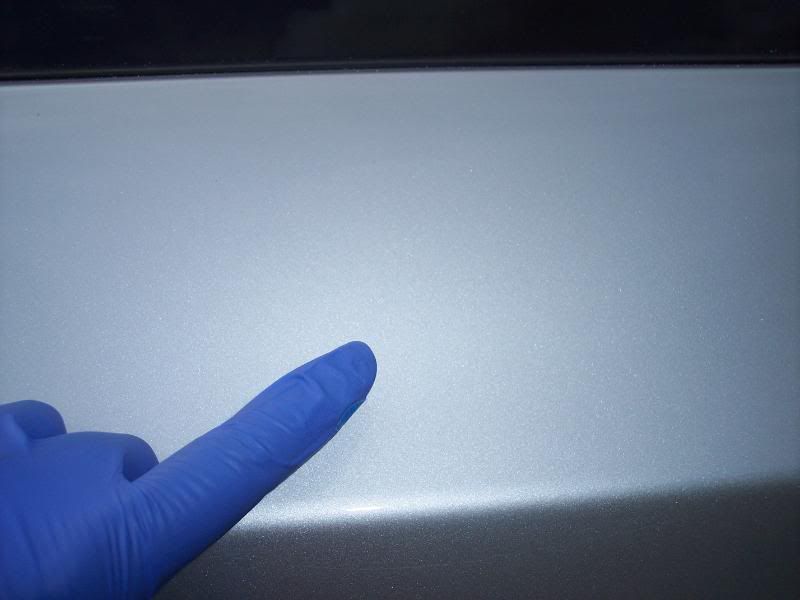
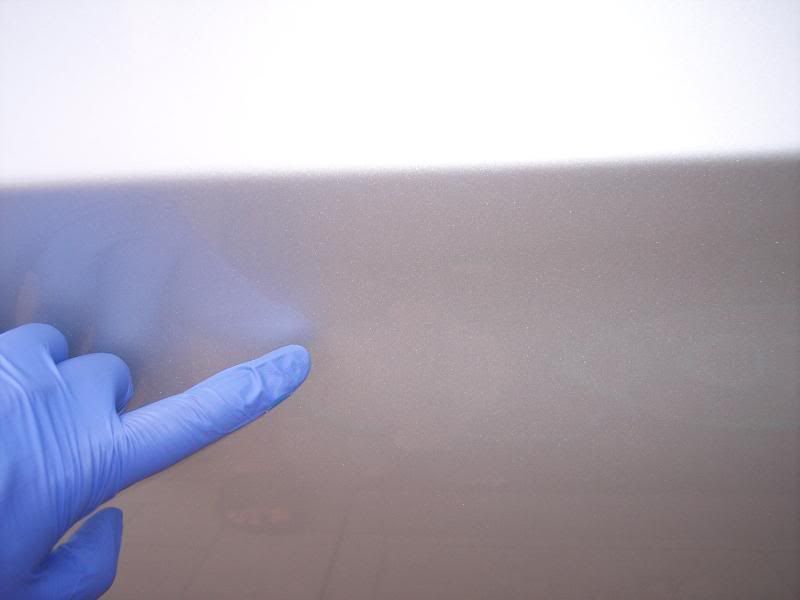
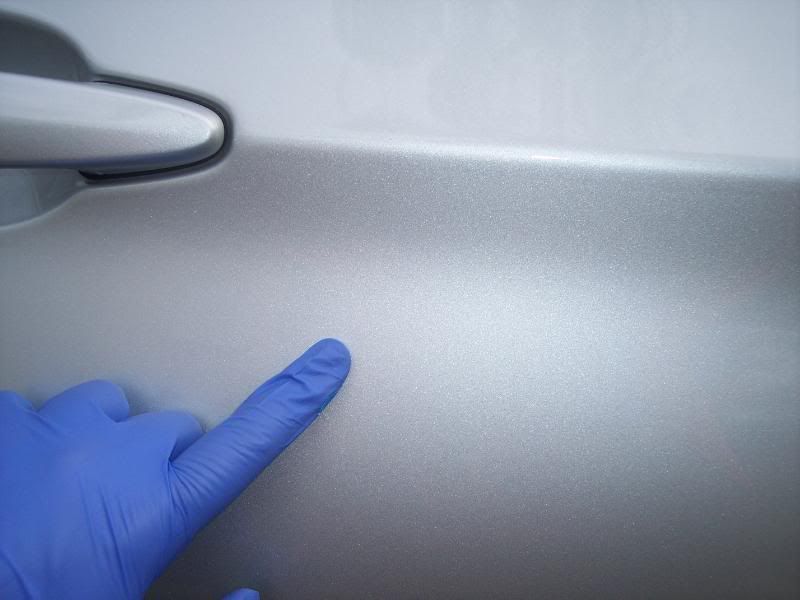
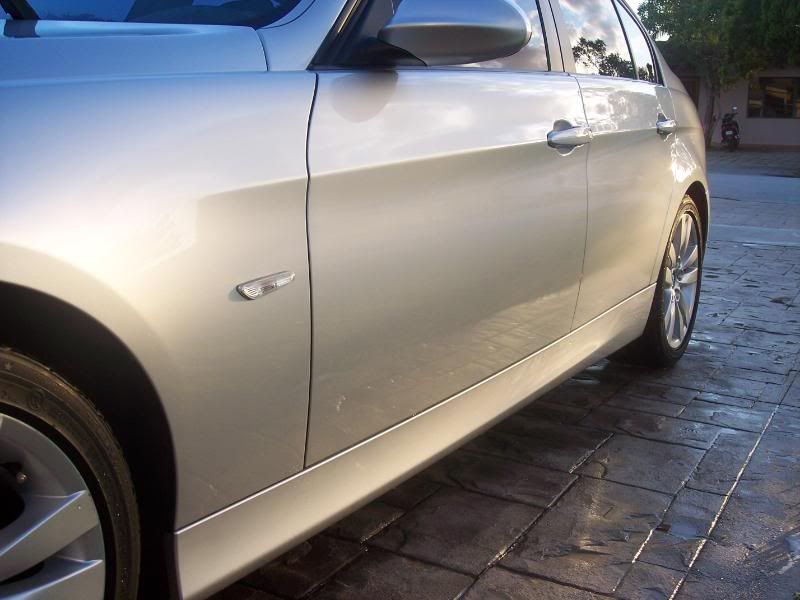
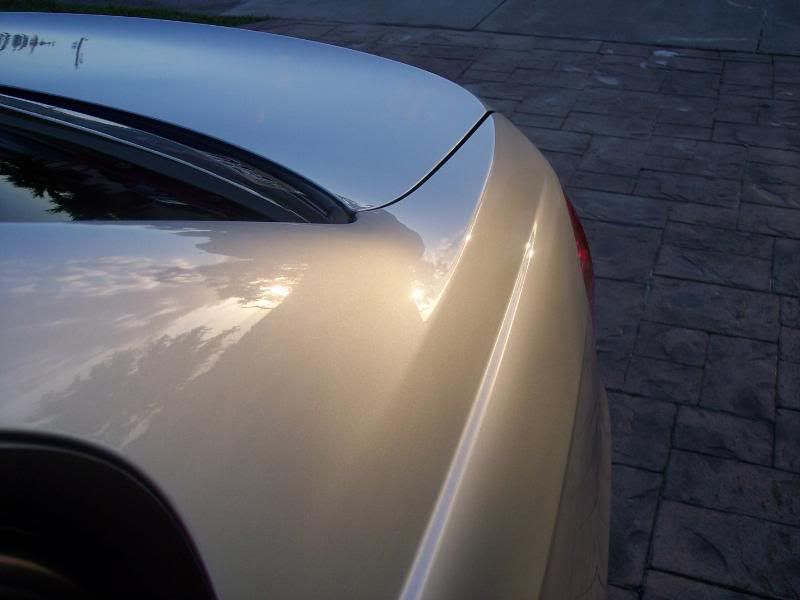
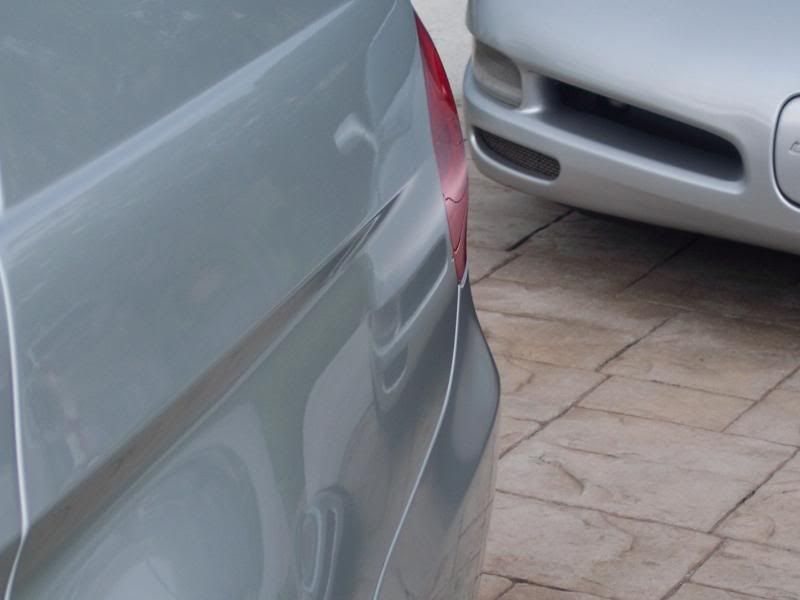
During my testing with the customer we agreed on spot defect removal with M105/LC CCS Orange pad (ADS spec) via Flex and one pass of M205/LC CCS Green pad (also ADS spec) via Flex would achieve the level of correction necessary. My test area revealed that the M205/Green pad would remove about 90% of the swirls and that was more than enough on this daily driver that was going back to the dealer. After washing and claying here were the spot defects that needed touching up...

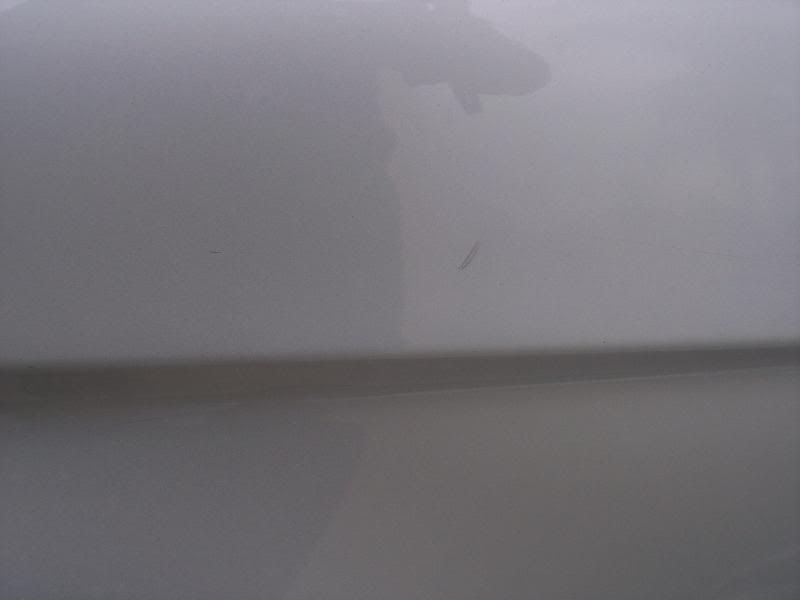
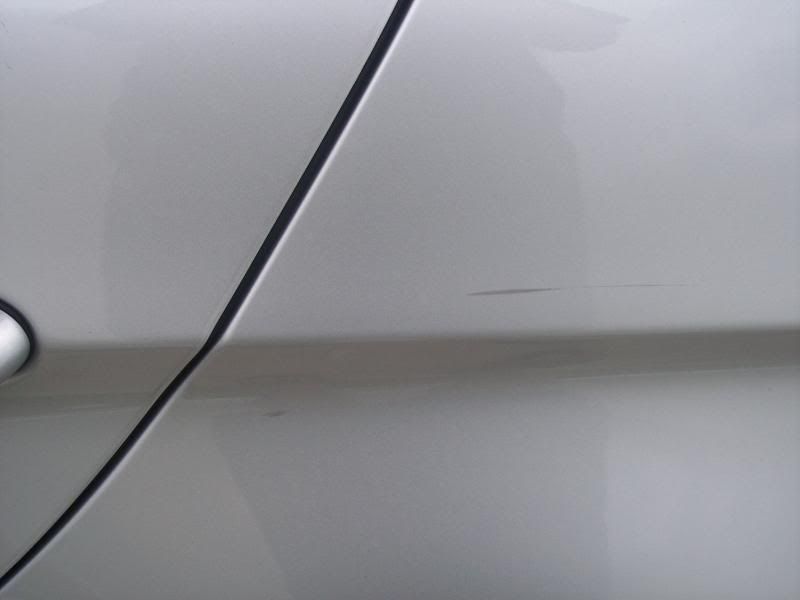
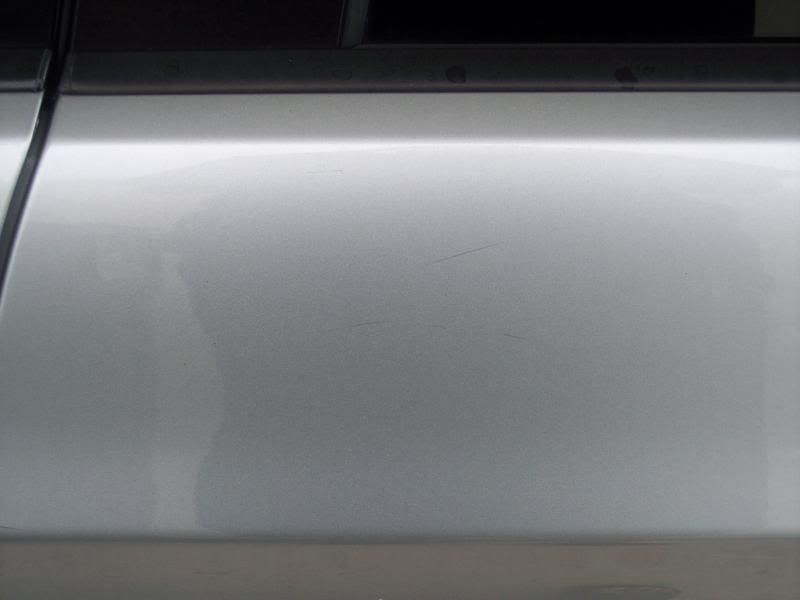
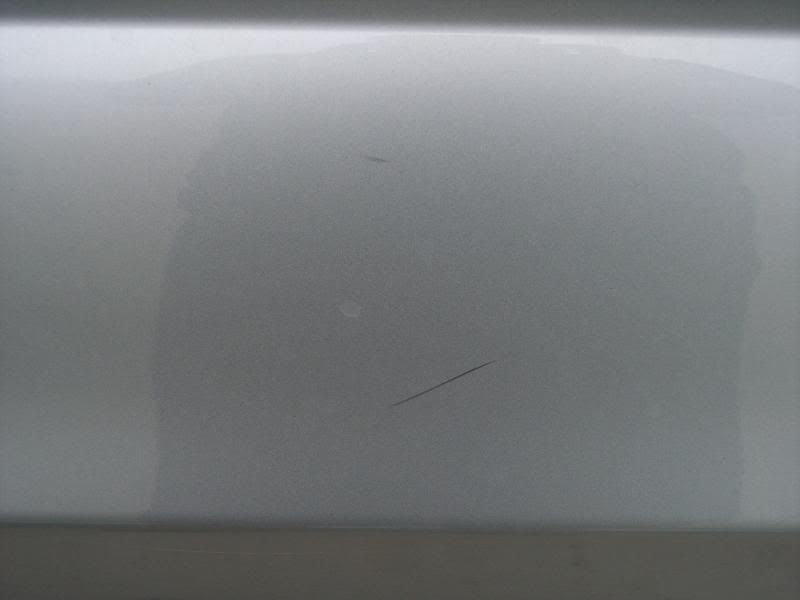
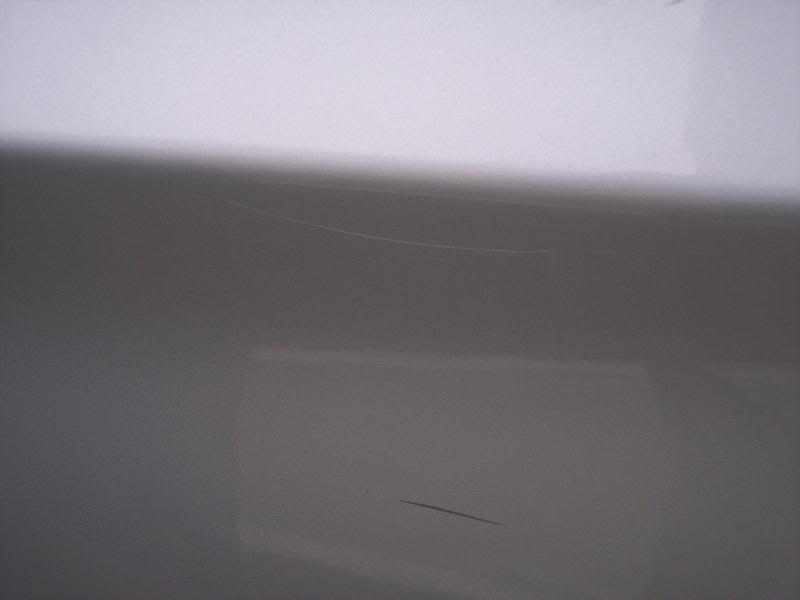
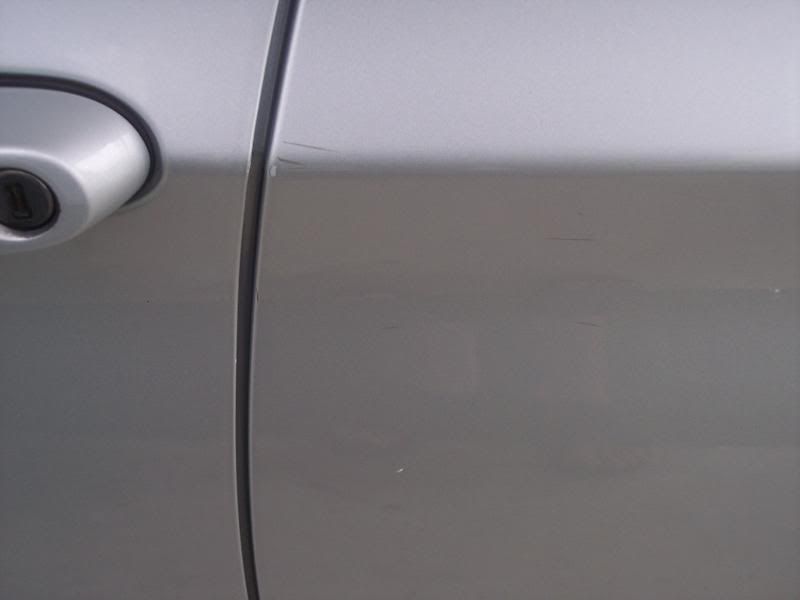
Obviously there was nothing a polisher would be able to do for these but I was hoping to lighten the severity and minimize the visual harshness of the defects after polishing and layering sealant/wax...
The constant rain this week forced me to erect a temporary shelter and enclose my carport with vinyl sheeting. When it wasn't raining it was windy and overcast. This weather hid the sun for all but the fewest moments. So I was forced to rely on artificial light. I have a Brinkmann Dual Xenon, a Brinkmann Xenon/LED Handheld, and a set of 1000w shop lights. No matter the angle...no matter the exposure setting...I simply could not get the swirls and anything but the deepest RIDS to be captured. When I examined the car prior to quoting the job I noticed it was what I would consider to be covered in swirls from light to medium in density and depth. On the rare occasions I had some fleeting sunlight I couldn't get the camera settings to do anything but flash an "auto exposure" warning and drown out the pictures with sunlight...
Ok, ok enough excuses for my crappy camera (thanks Kodak) and lack of natural photographic ability (thanks mom and dad) and on to the paint correction stage of this job:
Car is a silver 2006 BMW 325i in fair condition. The owner has done nothing but take it to touchless machine washes for the last two years after having it "detailed" for $20 at the corner gas station once a month during her first year with it. The touchless wash culminates by bathing the car in some form of Turtle Wax liquid "wax" and to be honest, the car did have some shine under the layer of dirt and dust. Car had been run through said machine just 4 or 5 days prior to delivery. Brake dust on the rims was absolutely horrible however.
Condition as delivered...
Looks decent but as I said, I had no luck capturing the swirls in the artificial light so I didn't bother posting the crappy pics. Began the prep cycle by applying a pre-soak to the vehicle to remove any waxes, oils, or remnants of that touchless car wash junk from the surface...
Instead of Dawn, I received a new pre-soak and wax removal surface prep shampoo from a friend and wanted to try it out. Worked great. And guess what? It's actually a product for marine use. This friend I referred to is a professional yacht detailer and when he inquired why I was using Dawn he offered this as a sample...
Post pre-soak process:
1. Spray wheels with DP Wheel Gel Cleaner and allow to sit while completing the next steps.
2. Spray wheel wells with APC+.
3. Washed entire vehicle using "foam gun method." Here I have a 5-gallon bucket with a grit guard and my foam gun/wash sponge (I use a Home Depot grout sponge). The bucket is full of clean water. I lay down a layer of foam on the panel I am working on and go over it with the grout sponge. When I am done with a panel I dunk the sponge in the clean water bucket, rub against the grit guard, and repeat for the next panel. This insures I have tons of foaming soap on each panel and directly between my wash sponge and the paint.
4. Dried vehicle with an Absorber synthetic drying chamois (it's about to be polished anyway...lol). Spot dried and final wipe with Armor All drying towels (pretty plush and do a great job).
5. Go back to wheel wells and scrub with long-handled tire brush.
6. Take a sponge reserved for wheels and clean the faces of the rims and tires. Use my EZ-Detail wheel brush to agitate the soap in all the little nooks and crannies. Use a Mother's stiff-bristle tire brush to scrub grime, dead rubber, and anything else off the sidewall of the tires. Rinse and let air dry as they'll be washed and dressed later on.
50/50 on a rim...
Now that the washing is done it's on to the claying. Used an old set of Mother's gold clay bars I had in my detailing supplies and wanted to use up. Bottle of Mother's Detailer Spray as lube since it all came in a kit together. Mother's clay was about the same consistency as the white Meg's clay from the Smooth Surface Kit but seems slightly milder to me although the Detailer from Mother's smells nicer (cinnamon) and was larger. Here's a look after a 2' x 2' section of the trunk lid...
After claying I rinsed the car with the citrus wash again to remove any clay/lube residue, dried in the same manner, and moved to taping. Seen plenty of posts asking when to tape or how to tape so here's a few shots of the taping process...
During my testing with the customer we agreed on spot defect removal with M105/LC CCS Orange pad (ADS spec) via Flex and one pass of M205/LC CCS Green pad (also ADS spec) via Flex would achieve the level of correction necessary. My test area revealed that the M205/Green pad would remove about 90% of the swirls and that was more than enough on this daily driver that was going back to the dealer. After washing and claying here were the spot defects that needed touching up...
Obviously there was nothing a polisher would be able to do for these but I was hoping to lighten the severity and minimize the visual harshness of the defects after polishing and layering sealant/wax...


Comment