

 Tweet
Tweet
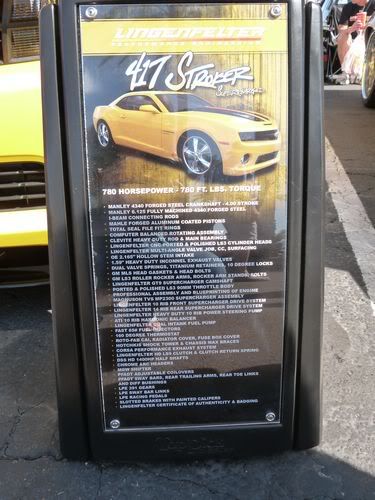
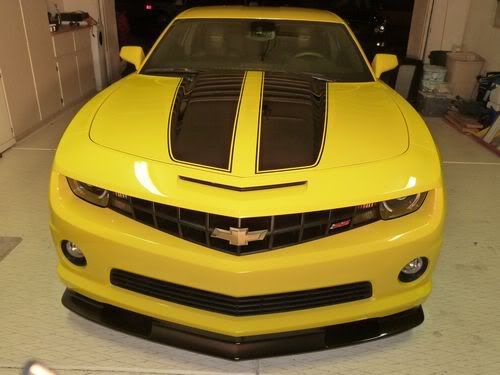
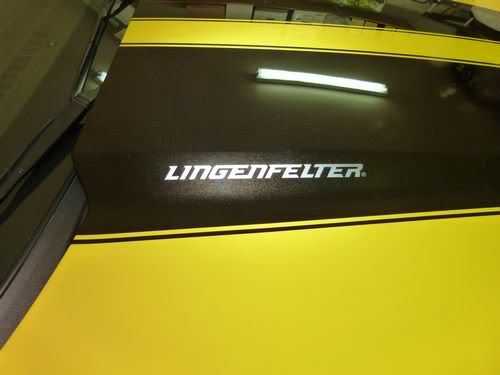
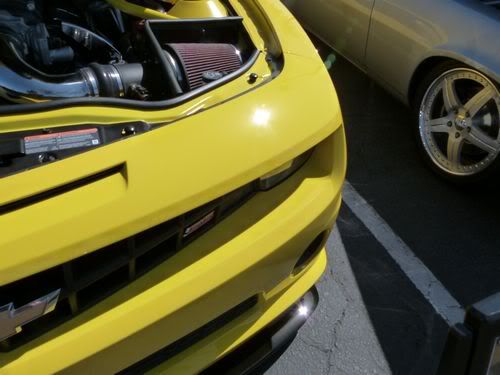
2010 Lingenfelter Camaro SS. So far, this has been the only 417 Stroker package they've done. 780 HP with 780 lbs of Torque...this thing is a beast...its the big brother to the other Lingenfelter Camaro we did a couple months back:
NOT that this guy was even any TYPE of a wimp here lol...all in all, two bad *** cars....but today we're focusing on the paint, not the engine ...but just for fun..lookie:
A bit more history on this lovely ride.
A man by the name of Mike is the owner. Him, along with Mark (owner of the black Lingenfelter) own the ONLY two Lingenfelter Camaro's in Arizona. There are actually only three total west of the Mississippi. To say this was a unique car is an understatement. Obviously Mark was very happy with how we polished out his (even though he has THE SOFTEST freakin' clear coat EVER...can we say PAINTER F*** up?) and passed the word onto Mike.
Mike lives over three hours away from us, but was going to trailer his ride into town for a show early in March. The car looked good but he wanted it polished out before the show. So we set up a date for us to do the detail the day before the show so that way it would be nice and fresh

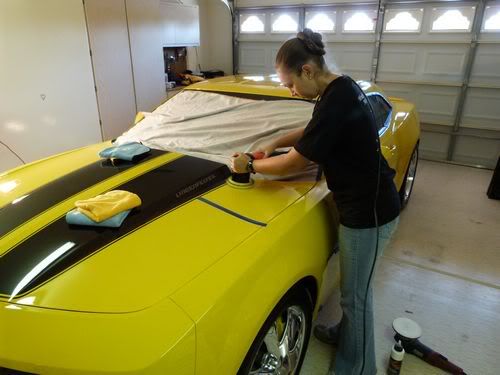
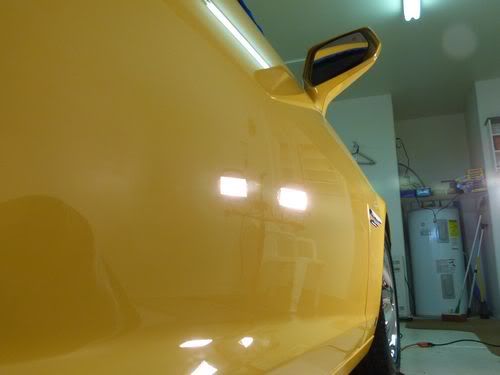
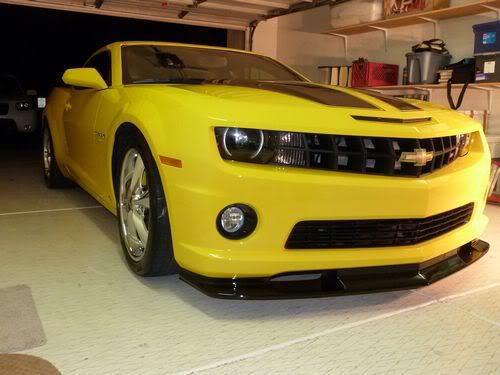
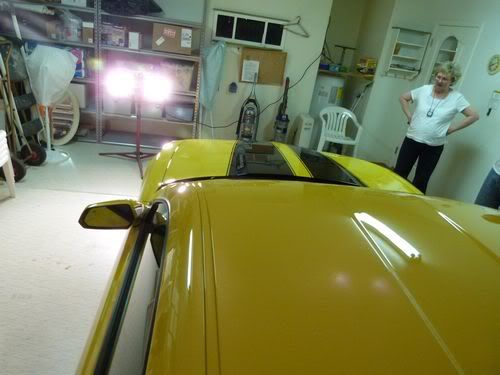
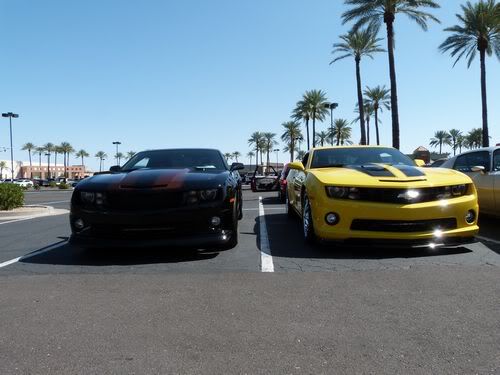
His mom lives abotu 15 miles from us...so we planned on going over there to do the detail for him. We got there early in the morning and right as we pulled up...he was backing it out of the garage...here's what we saw...
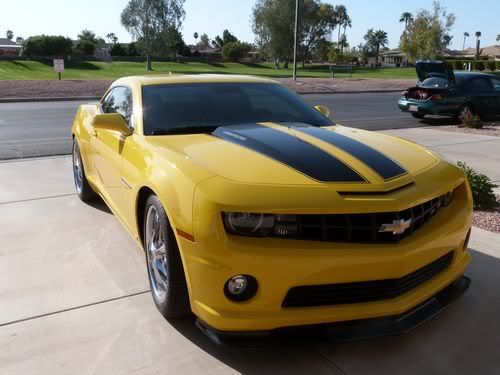
Sweet ride (and our little taurus in the back...always fun packing that thing for our mobile jobs, but, YA DO WHAT YA GOTTA DO!)
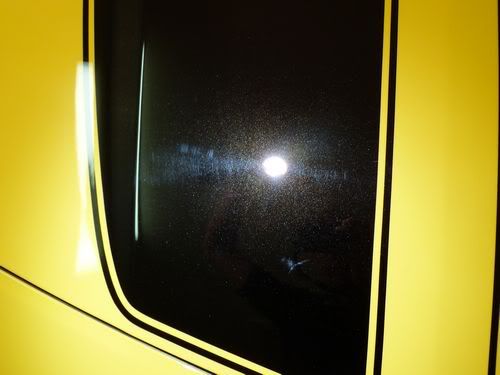
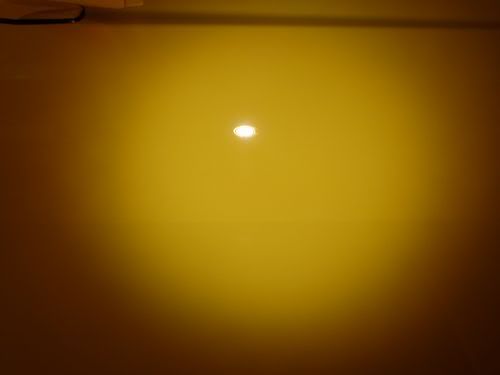
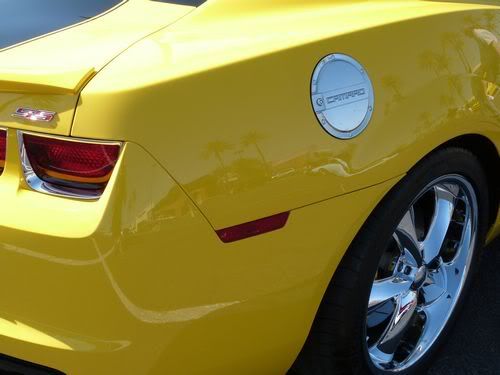
From a distance this baby looked great...and even up close it didn't look too bad in the areas the sun was hitting. Mike was had a few spots he wanted our thoughts about....they weren't swirls though...
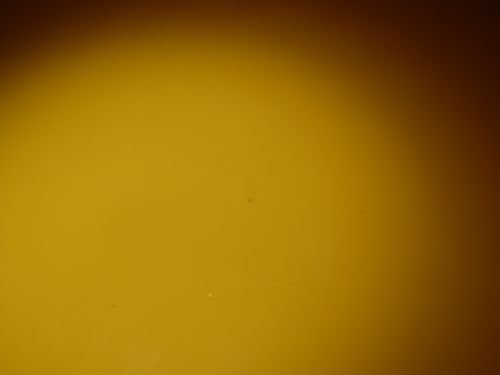
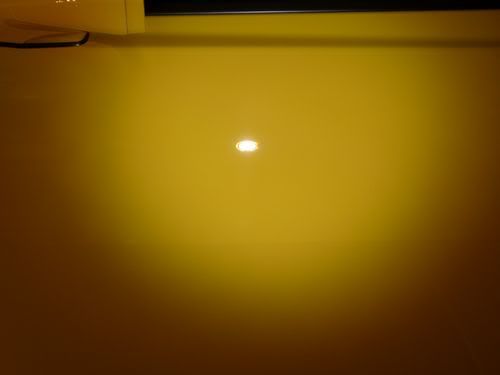
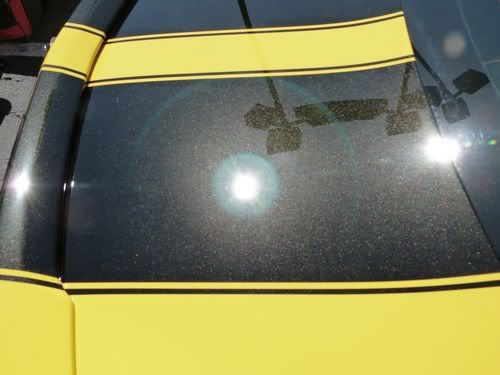
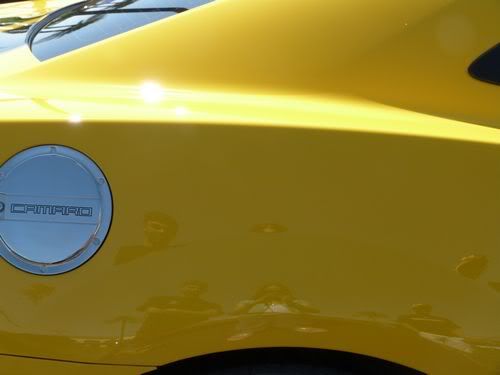
Look closely....hopefully you have a clean computer screen or else you might not see this lol. But towards the center you can see a small black speck.
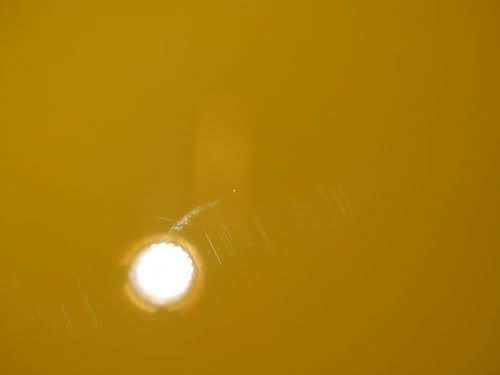
You see, after Mikes first repaint on this car (which HAPPENED to be painted at the same shop, the same WEEK, as the other Lingenfelter), a little over a year later he noticed these little white spots showing up on his rear QP. He took it in and there were defects in the paint. Something similar to these

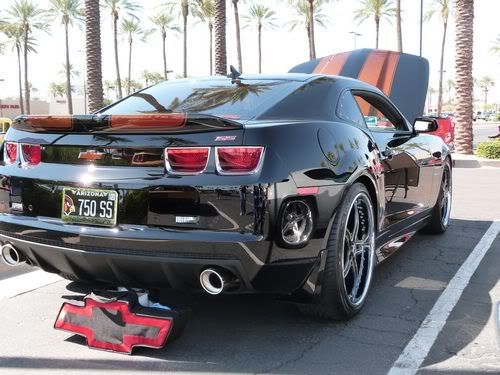
If that paint looks familiar to you, its because thats the black Lingenfelter...these spots appeared on his paint late last year as well...again, from the same paint shop. With the black car, it's still up in the air as to whether it was JUST the painters, or if it was something else (Artillery Fungus was the best we could come up with as a possibility), but whatever it was...it had gone through the entire clear....
Well Mikes Yellow had somewhat similar spots, not as many, and only in a few areas...but still looked similar. Luckily his insurance covered it....but they didn't want to repaint the whole car...just the effected areas...the QP and roof.
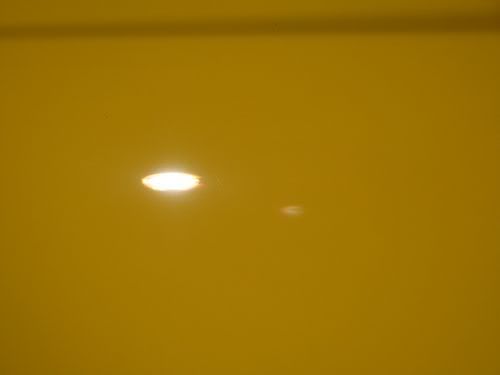
Well they did...and so far its held up well except for ONE of these white spots has re-surfaced. I couldn't get in a picture, but it showed on the same QP that was repainted...and that black speck in the picture above was on the same QP too...now I'm not a painter, but i think it is either a speck of dust under the clear, or a pinhole.
Long story short, we ended up finding about 12-14 of these sprinkled through out the car...VERY hard to see, they are literally the size of a pin head....but for a 5 figure paint job, they shouldn't be there IMO.
Unfortunately, we could do nothing about these...they weren't noticeable unless you knew where they were and looked very hard for them...or if you have eyes like ours.
Now the good news...we could do plenty for these little suckers:
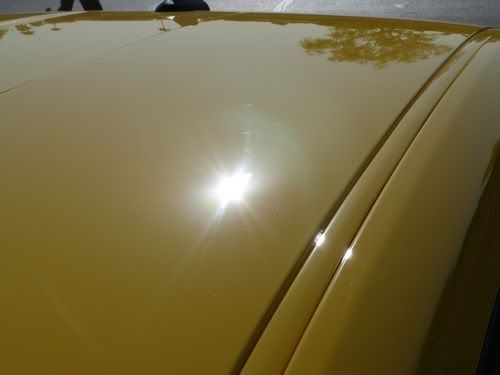
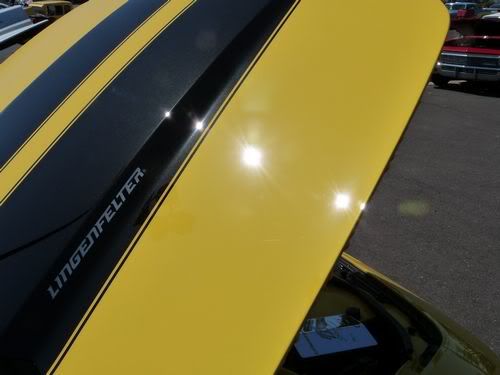
Hard to see on yellow right?
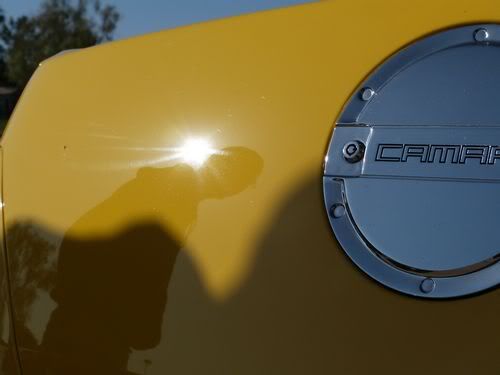
Like i said, outside it didnt look bad.
This was about the best shot we got outside in the sun that showed the swirls...
We've seen better, we've also seen MUCH worse...but yellow is hard to see.
The car was pretty clean, it had some dust on it from being trialered for a 3 hour drive and a couple bugs, but not bad. However, we still had to get it perfectly clean so...out came the goodies.
Meguiars APC on Tires & Rims (they were both in good shape so nothing heavy duty needed)
EZ Detail Brush used on barrels of rims
Foam Cannon w/Dawn Soap used to clean/strip paint
Karcher X Series 2000 PSI Pressure Washer
Grit Guards and 2 buckets for washing
Pretty basic wash, no need to pull out the heavy wheel cleaners or spray down bugs that had been on the paint since 1492.
Got it all cleaned up, pulled it in the garage...dried it, blew all the water out of the cracks (A MUST do if you're going to polish, seriously water coming out of cracks while polishing is a PITA so spend a few extra minutes blow drying and save a LOT of minutes later cleaning up splatter and dealing with wet pad).
NOW we were able to get a good look at the paint. Our new process for inspecting paint be it mobile or working at home is to:
CLOSE up the garage, cut out as much varying indirect light as possible (i.e the sun...it moves, clouds come and go etc.)
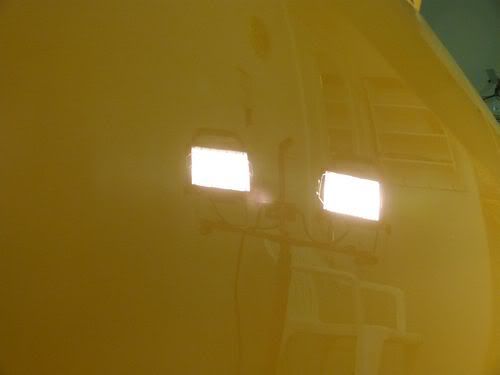
Set up our double halogen lights (CONTROLLABLE indirect OR direct light)
Get our home made Sun Gun out and start inspecting!
If you set up the halogens at one end of the car, say the front, but at a slight angle and have them shining towards the back...and then stand/kneel at the back of the car and look 'down' the car...this will really show any deeper scratches in the paint (examples will be shown later).
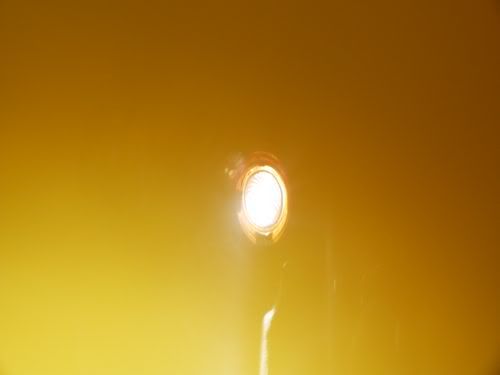
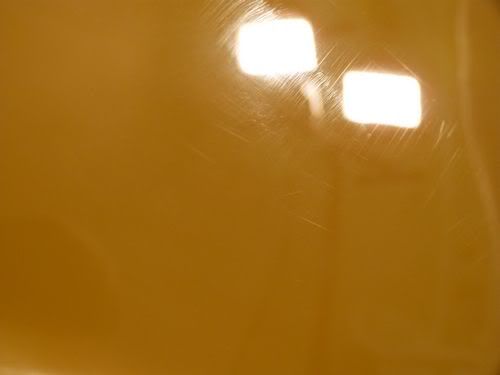
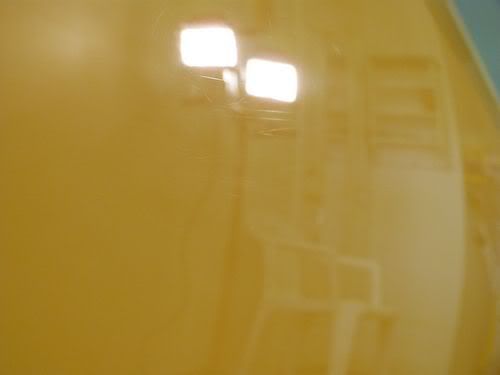
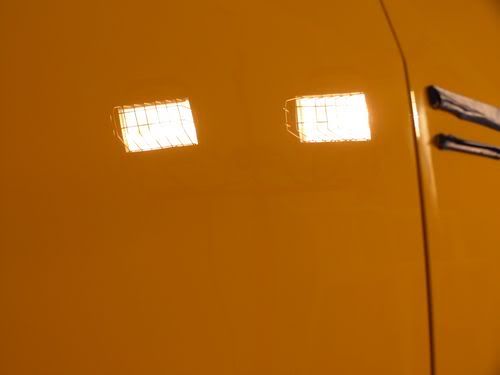
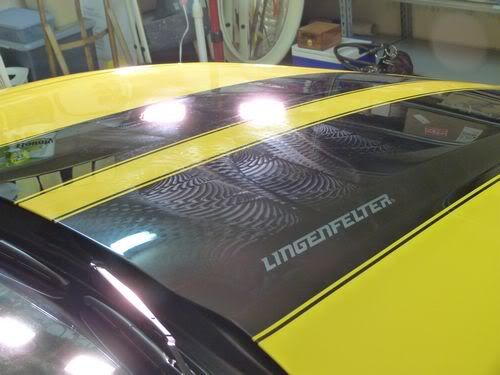
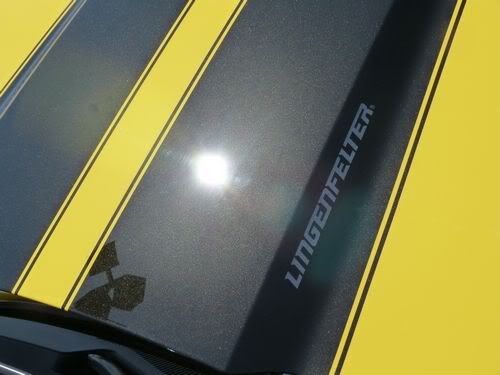
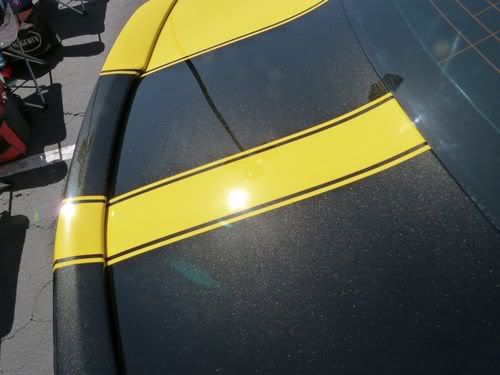
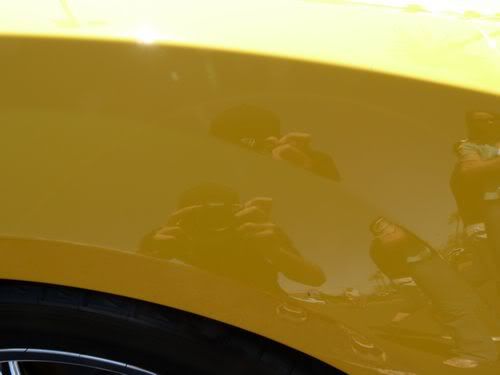
Using the sun gun directly on the paint, as most everyone knows, will show all of your swirls...as seen here.
Ah yes, here they are. Of course black shows easier, but metallic black can often hide swirls...not in this case though.
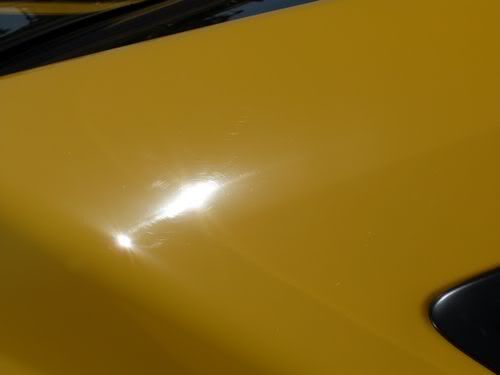
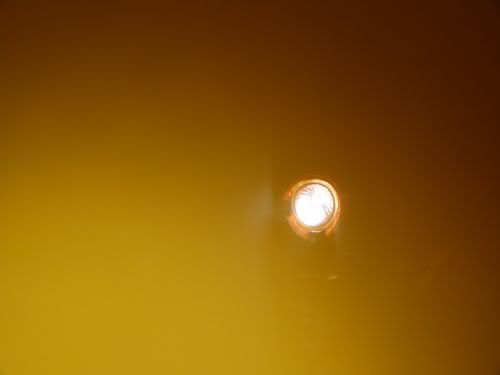
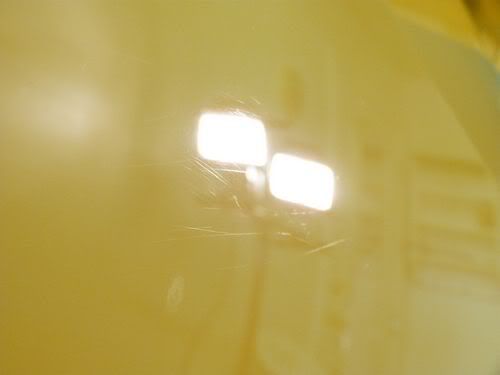
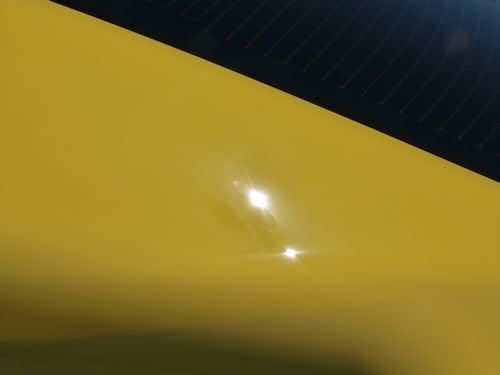
With a more controlled lighting set up, its even possible then to get good swirl shots on hard colors...like yellow:
You can see here, some are pretty deep.
After taking a look around...the car still didn't seem that bad. Had a few spots of concern but, nothing attrocious.
We went on and clayed it and got it prepped for polishing. We did a tape off on the hood to find out what would work with this paint. We had many variables with this paint.
First, we have a history with the painters. The FIRST time we polished the black camaro was last August. His was black and silver at the time. The clear was, at that time, a little softer than normal, but not super soft. D300 followed by 205 revealed these results on his paint:
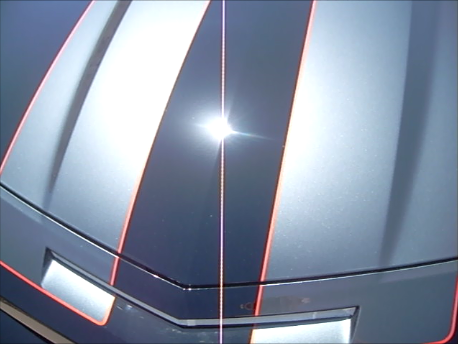
Nice right? His paint was soft enough to haze with D300/MF cutting pad, but hard enough to allow Megs 205 and a LC Polishing Pad finish it off to what you see above.
NOW, forward a couple months later, after the black had to be RE-painted because of the spots seen a few photos up.
This was painted by the SAME painters (at this point in time we did not suspect them as being total screw ups, we honestly thought it was artillary fungus, which it COULD have been...COULD being the primary word there). It was completely redone and this time burnt orange stripes were painted rather than silver. The owner had us come back out to polish it after it was painted...and MY GOD was it soft. Im talking...if you wipe too hard with the microfiber, IT SCRATCHED. THIS is why we now set up lights the way we do. In the sun, it was beautiful, but when you set up halogens at an angle in a dark garage, and then used the sun gun to shine from a distance (4-5 feet), scratches were very visible in this type of lighting that were NOT visible in the sun. By scratches, i mean very fine marring left from 205 and a polishing pad. We ended up having to use Menzernas 106 FA and a finishing pad to finally get it to come out right.
You see, we polished it out..and it looked good...we pulled it outside in the bright Az sun...and all 3 of us (owner included who has good eyes) circled the car, literally getting down on our hands and knees to check every angle. The neighbors probably thought we were nuts but hey, who cares right? It looked AWESOME. A guy drove by while we were looking at it and literally stopped and said "DAMNNNNNN"....went on to get OUT of his car and ask the owner if he would mind if he took some pictures lol. But once it was back in the garage, with the lights set up as noted above, the same areas the looked flawless in the sun, had VERY minor marring if you looked at the right angle...OR, you could see straight line scratches going the direction we wiped with a microfiber towel.
Now i tell you all this to point out that, we had NO idea what kind of clear we'd be dealing with. Was it going to be the 'manageable' clear we dealt with the first time we polished out the black Camaro, was it going to be SUPER soft like the second time we polished it, was it going to be something completely different? THEN, we had to consider the fact that the roof and QP had been repainted by a SEPARATE painter....again, another variable.
BUT, this is what we do, and this is why we do test spots!
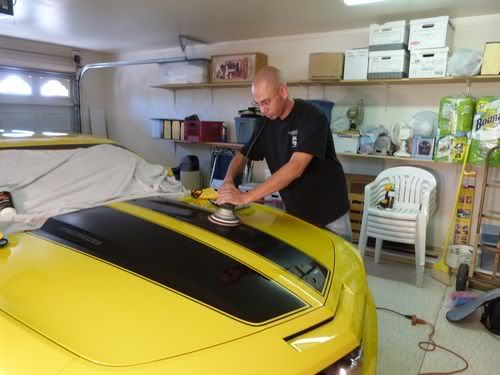
Here i am using the Flex 3401 with D300 and a 6" MF Cutting Pad. (in my experience, yes it leaves a light haze, but so does a DA, followed by 205, you can get a GREAT finish on most cars...and if not, we just try something different!)
Next my sis followed up with 205 and a LC white Polishing Pad:
We were crossing our fingers hoping for the "manageable clear" we experienced the first time on the black camaro.
Test results were in:
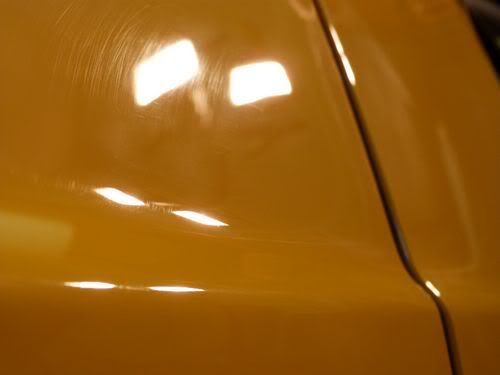
Success!
Left side you can still see a bit more of a duller finish while the right side you can see is nice and crystal clear. In person, this was much more obvious than the pictures, but if you have good eyes you can see the same thing from the photos.
So knowing that, we knew that almost the whole car should react the same. We still checked and double checked EVERY section but at least we had this positive test spot to go off of.
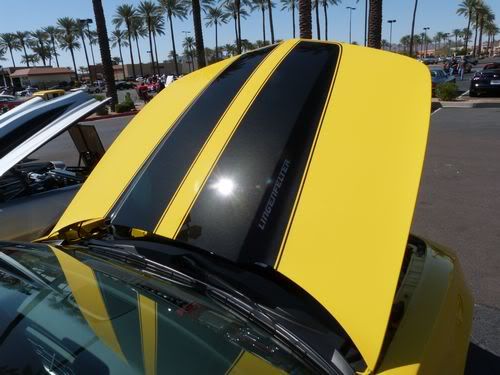
We continued on to finish the hood, then went to the passenger QP...all the while everything was turning out beautifully. Then up to the roof...here we knew we were dealing with a different paint/painter/clear. SO again, we really inspected the paint...tried out our combo and checked the results. And again, the results were beautiful. WHEW!
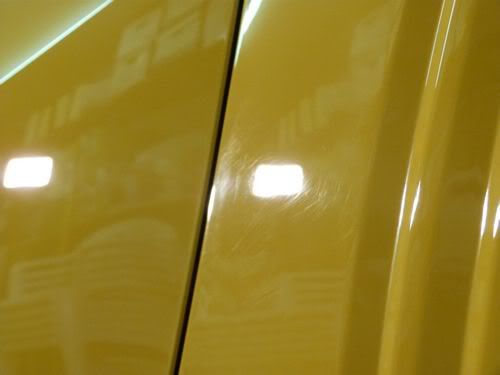
So after the roof was done i went to the passenger door to start compounding...i wiped my residue away and was surprised....there was a LOT of deeper scratches still left below the middle line of the door.
Now this is where the halogens set up at an angle shining towards me comes into play. With the sun gun, i could see a small area at a time and tell that hey, there were still some deep ones left, but i couldn't see a BIG area at once.
With the halogens...i could basically see the whole door when i laid back and looked at the area from the right angle.
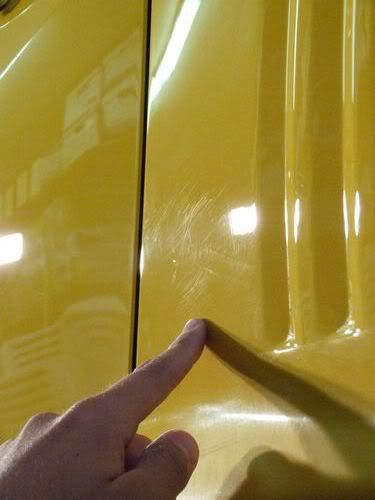
here are the photos i was telling you were coming to show you what i mean
I was literally laying down to take these pictures:
This is why it is SO important to check the paint at as many angles as possible.
Zoomed into the same spot shown above:
The owner had left to go to the Bass Pro Shop (SOOOOOO freakin' jealous!) So i gave him a ring to let him know that so far everything was coming out beautifully, but we ran into one bad section that definitely needed extra work. He gave us the OK to go on and do what we needed to do and to take the time we needed.
So first, I tried a second pass with the Flex to see if it would knock them out...it didn't. They just gave me the finger and said 'try again loser!'
....well, i did. I went and got out the Makita, set it up with an Optimum Microfiber Polishing (not cutting) pad and got out some 105. This area wanted to play rough, but we know how to deal with tough guys like that:nono
I set it between 1200 and 1500 rpms. One thing i'll tell you I found out when using a microfiber disc on a rotary is how you usually will go left/right then up/down...well...the fibers lay down according to how you initially start your buffing....obviously they are going to lay down according to how the polisher spins, but it seems they lay down at a SLIGHTLY different angle depending on if you start left/right or up/down. I start left/right on doors....and for those passes, the pad ran smoothly, but when i went to change to up/down passes...it seemed the fibers had to 'repossition' themselves if you will, to accomodate the new direction. If not done correctly or with really good technique, i found that the pad would try to skip on me. It wasn't TOO bad the first up/down pass i'd do, but the second time i did it, when the polish had dried out more...it was worse.
So, just throwing that out there. It could have been just me, im not a multi-year rotary pro like some. I can hold my own but someone more experienced may not have this problem.
Anyway, back to the issue at hand, after doing a section with the rotary and checking my results, i found that this was the ticket for these 'tough guys'...it knocked the hell out of them. I continued down the lower section of the door knocking out these deeper scratches. A couple sections took two passes even with the Makita...but eventually the deep guys were gone. After polishing it out carefully with 205 and checking to make sure no holograms were left, this is how we looked:
MUCH better don't you think?
I carried onto the QP on the passenger side. I found when i got there that above the wheel well and going up the 'hip' of the QP, there were more deep ones. Just a couple spots though, not the whole thing.
At this point I figured id continue on with the Flex....Dani and I both would check for deeper ones...and areas that were bad were marked off with a piece of tape for me to go back and re-polish with the Makita.
After that QP, there was only one other spot on the dirvers side, near the 'ribs' that was bad.
Again, notice the angle of the lights and the angle im looking at the area:
This was marked off with tape as well and then returned to with the rotary to knock those deep ones out...and we got the same result...a nice smoother clear finishin.
After about 6 or 7 hours of polishing between the two of us (so 12-14 'polishing' hours lol), we were done with the buffing.
The car looked great and it was time to do an ONR wash to remove all the dust and prepare for wax
Our wax of choice for this baby was again Wolfgang Fuzion.
Our process with this is I'll usually apply via DA the bulk of the car and my sister will come around with a hand pad and do all tight areas and edges (side mirrors, around emblems, door handles, around lights etc.)
Basically, i'll get everything i can and then she does the tight spots but will over lap some just to make sure the area is completely covered and no spots are missed.
Then we wait for it to cure, dress the tires, clean the windows, double check all tight trim spots for dust (windsheild wipers, gas chamber, emblems even though taped can sometimes get a few dust particles in them, grille etc).
After 40 minutes or so we removed the Fuzion and man...what a freakin' shine this thing had on it.
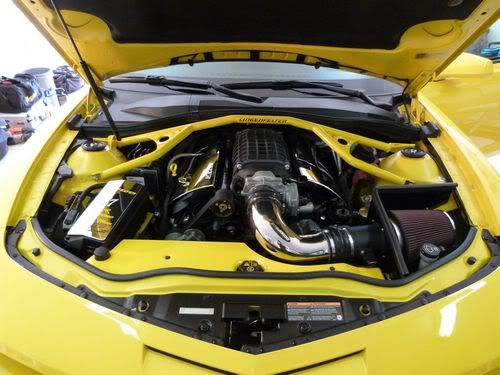
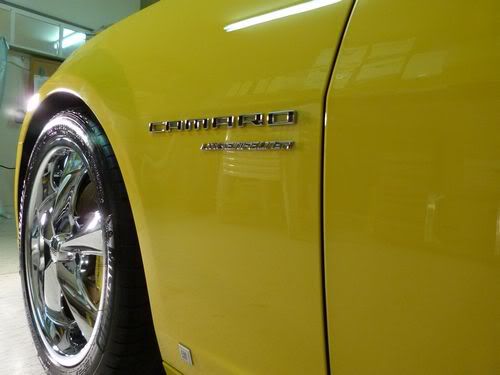
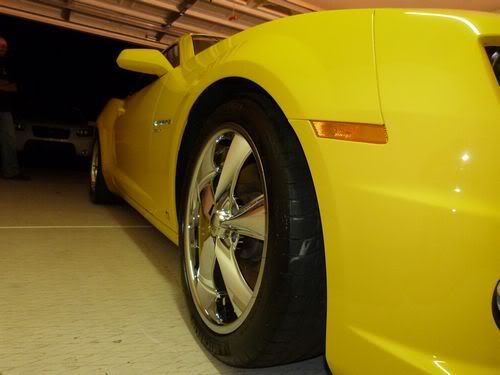
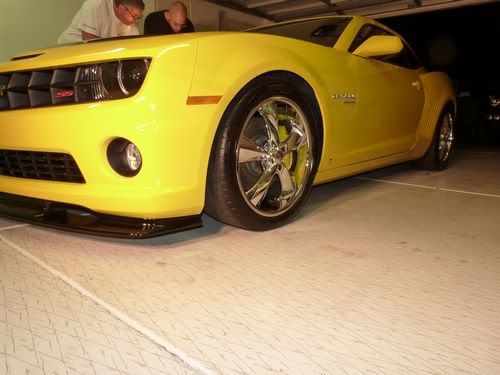
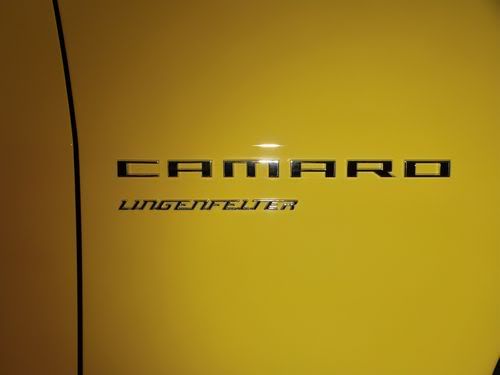
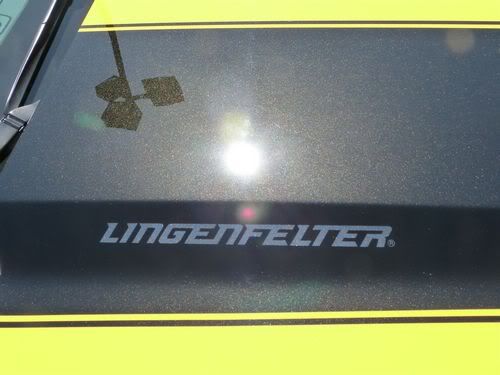
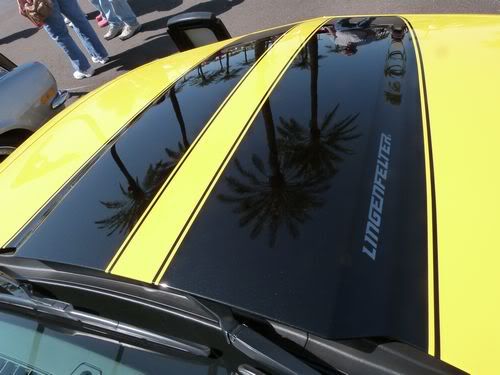
Lingenfelter baby, with Foose rims, tires dressed with Wolfgang Tire Gel:
Mike's mom was impressed, she told my sister "You two should be VERY proud of yourselves, not many people would take the time or have the know-how to do what you guys were able to do." :-D
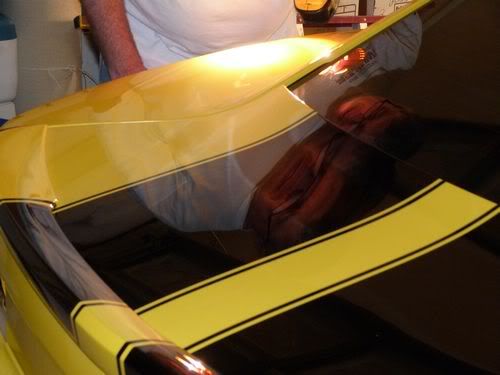
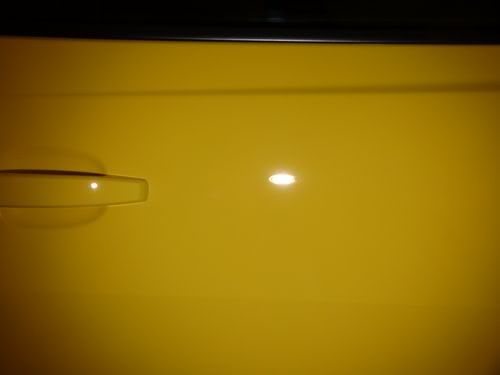
Here is Mike checking out the paint with our Sun Gun, gotta say the reflection is crisp as hell.
The reflection in the glass and in the paint are about the same...
Here I am with Mike inspecting the paint further. I believe i was pointing out to him the other few small black specks that were in the paint, similar to the one shown earlier.
Nothin like a polished Lingenfelter...literally in the picture lol
Now to show some after shots with our sun gun....herrrrrrrrrrrrrrrre we go!
Lingenfelter man!
The oleeeeeeee test spot, back to where it all began....
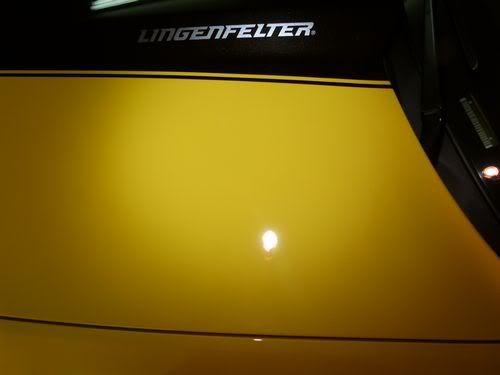
Close up...
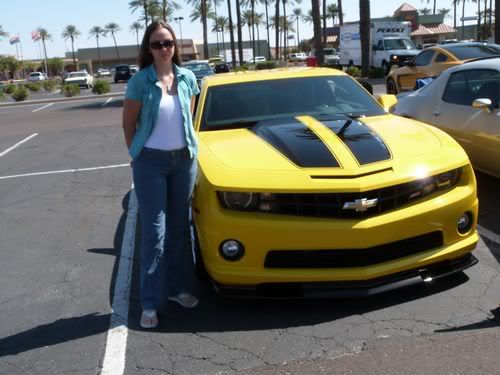
And of course i had to ask my sis to grab one picture of me next to it after we finished
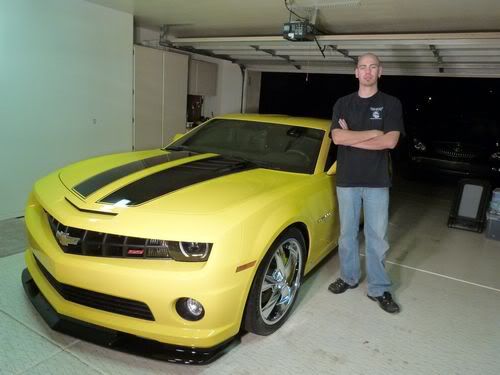
All in all, the car turned out great...he was happy, we were happy...his mom and wife were happy...heck even the neighbors came over and were happy! The neighbor said "I saw this thing when he first pulled it out this morning and i didn't think there was anyway it could look better, but i swear somehow you were able to do it!"
Cool
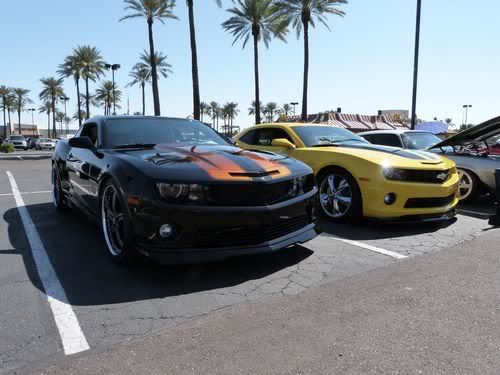
BUT, the story does not end there. Remember i told you he was going to take it to a show? Well...not only was he going to go, but Mark was going to go as well.
Now lets think about this for a minute, only 3 Lingenfelters west of the Mississippi, only 2 in Arizona and the two live over 3 hours apart from eachother...and both of the owners only show their cars on occasion....and we just HAPPENED to have polished both of these bad boys out....hmmm, what to do what to do...should we go and take advantage of this HUGE photo op?
YOU DAMN SKIPPY WE DO!
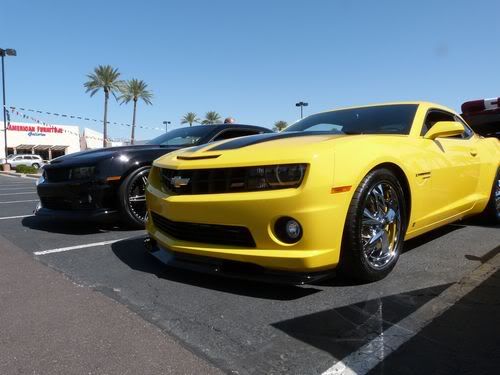
We grabbed some sun shots of Mikes Camaro first...just to inspect our work outside. Even though we crawled over the thing the night before with our lights, we STILL like to look at it in the sun as yet another reference point of how well we did:
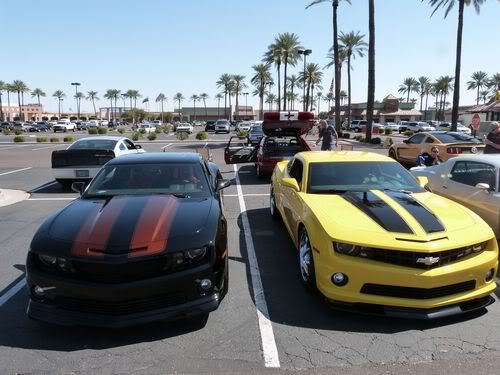
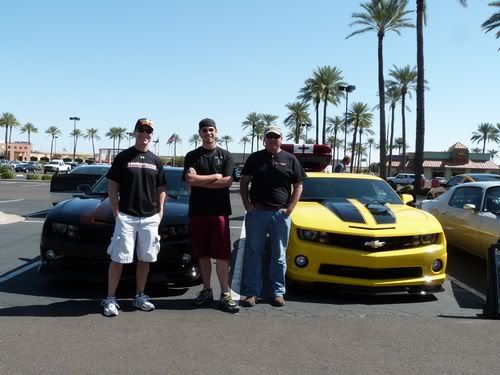
As you can see in this next picture, Marks car is actually 2 spaces over from Mikes...but Mark was nice enough to pull his over next to Mikes for us to get a few photos ...
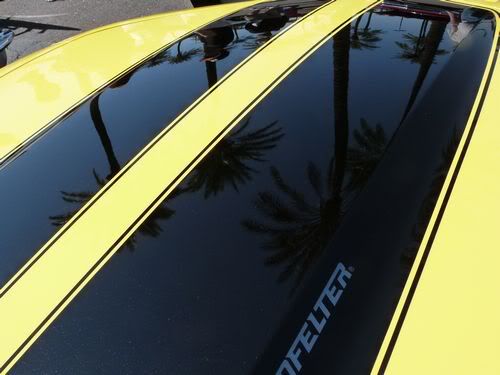
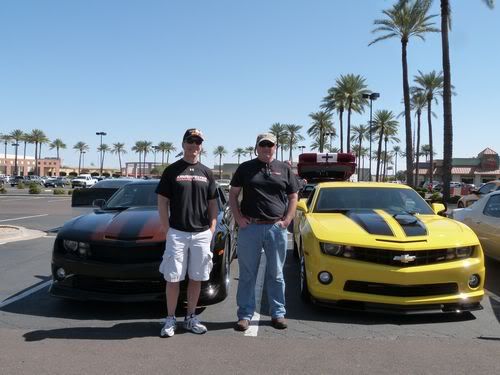
I love this pic:
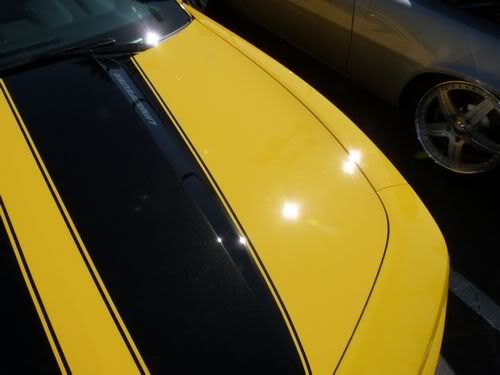
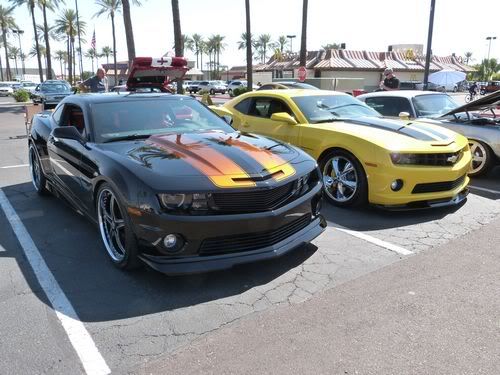
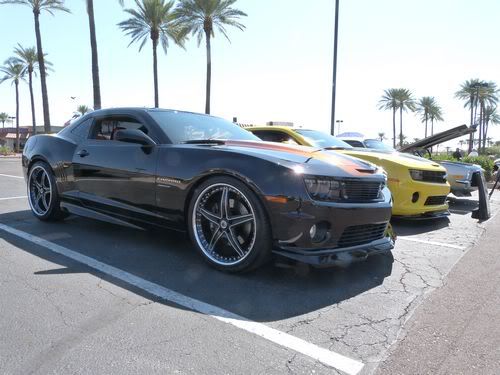
The gold flake in the black paint really came out after having the swirls polished away:
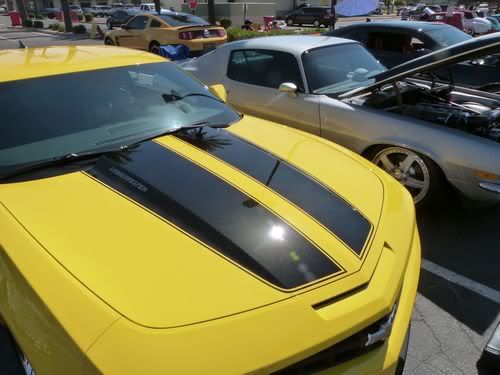
I didnt get a before picture, but here is an after of the area just above the hip that had some of those deeper scratches.
THIS picture...THIS picture right here....THIS picture is the S***!


Comment