

 Tweet
Tweet
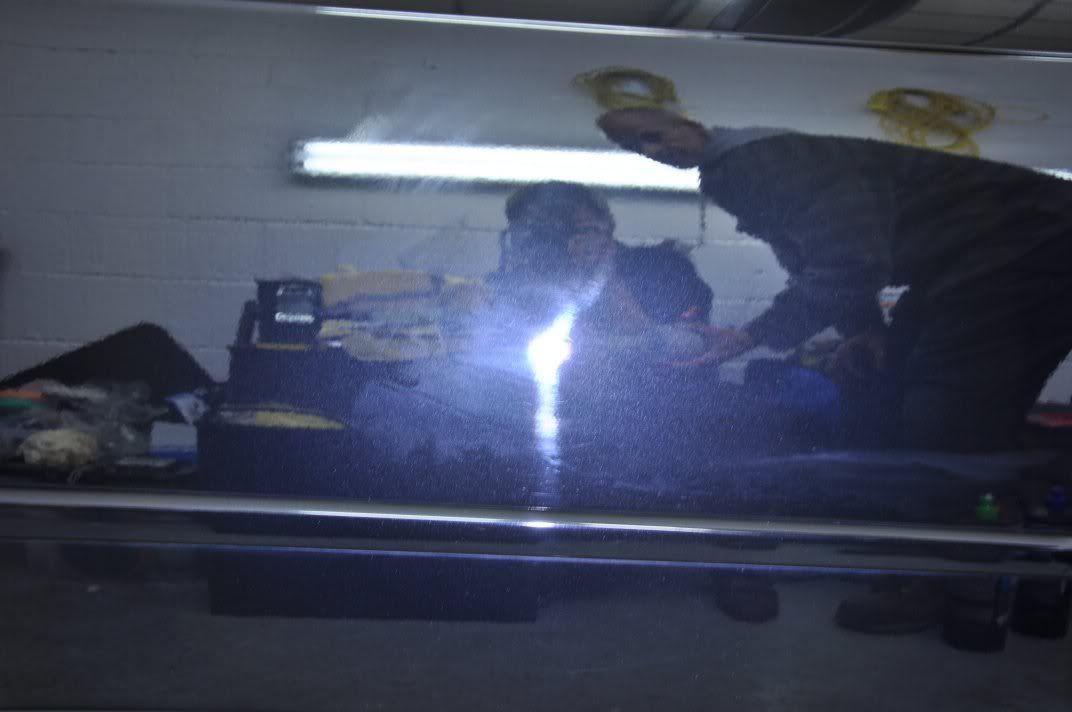
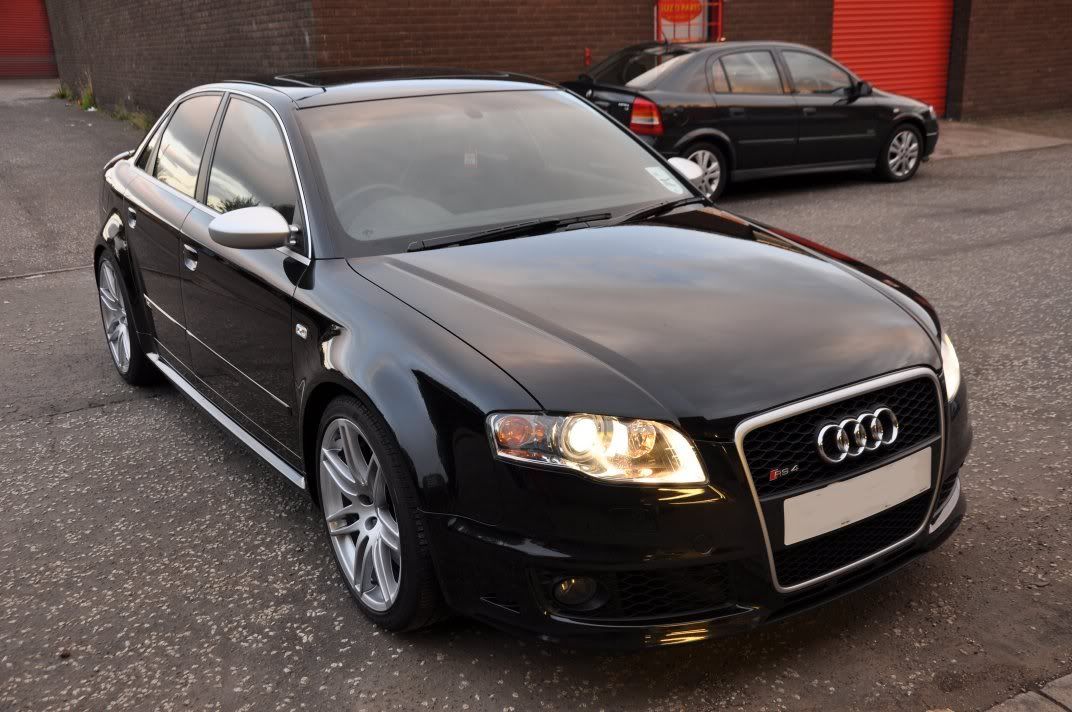
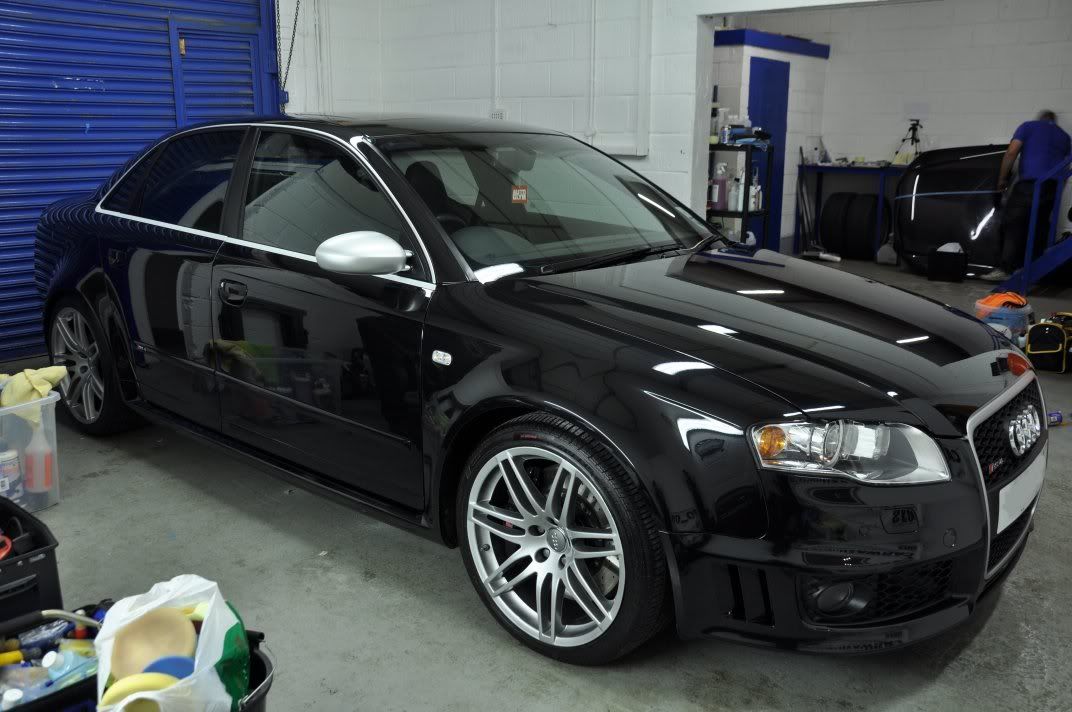
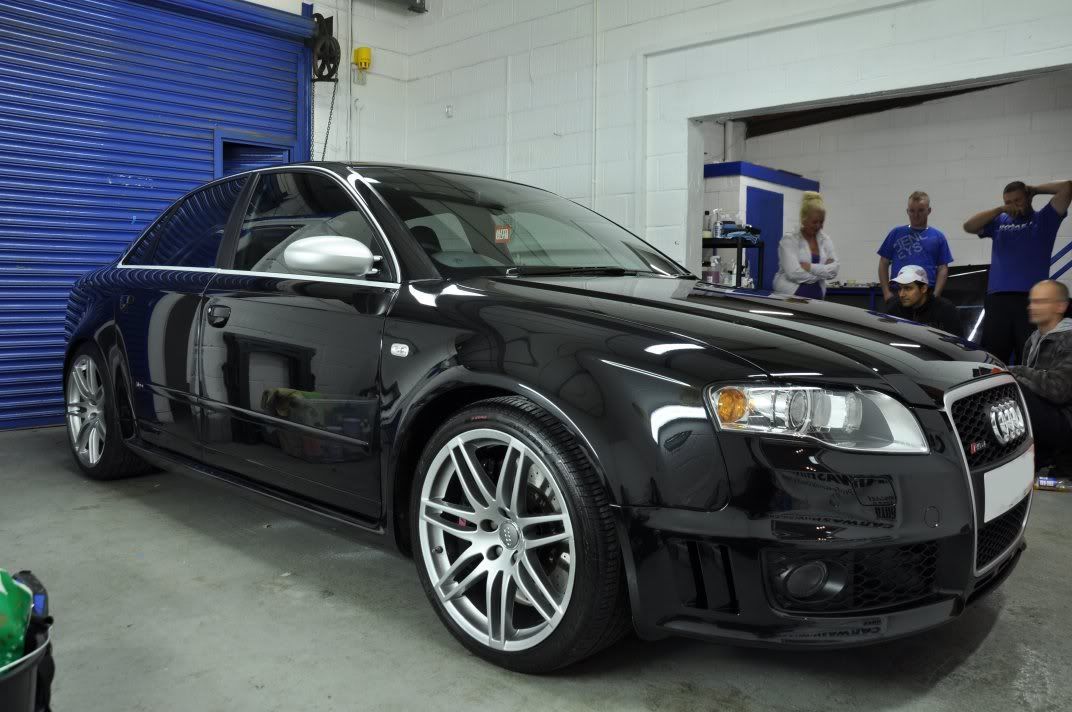
Following a recommendation from the previous RS4 that Gordon and I detailed, the owner of this RS4 booked in with myself, Gordon and Davy - the "Scottish A-Team" (used to love that show! :lol::lol - for an exterior detail of his car.
This detail was actually carried out last weekend, but I've been away drinking (sorry, learning Physics!! - I meant to say learning!!) in Frankfurt this week so haven't had much online time
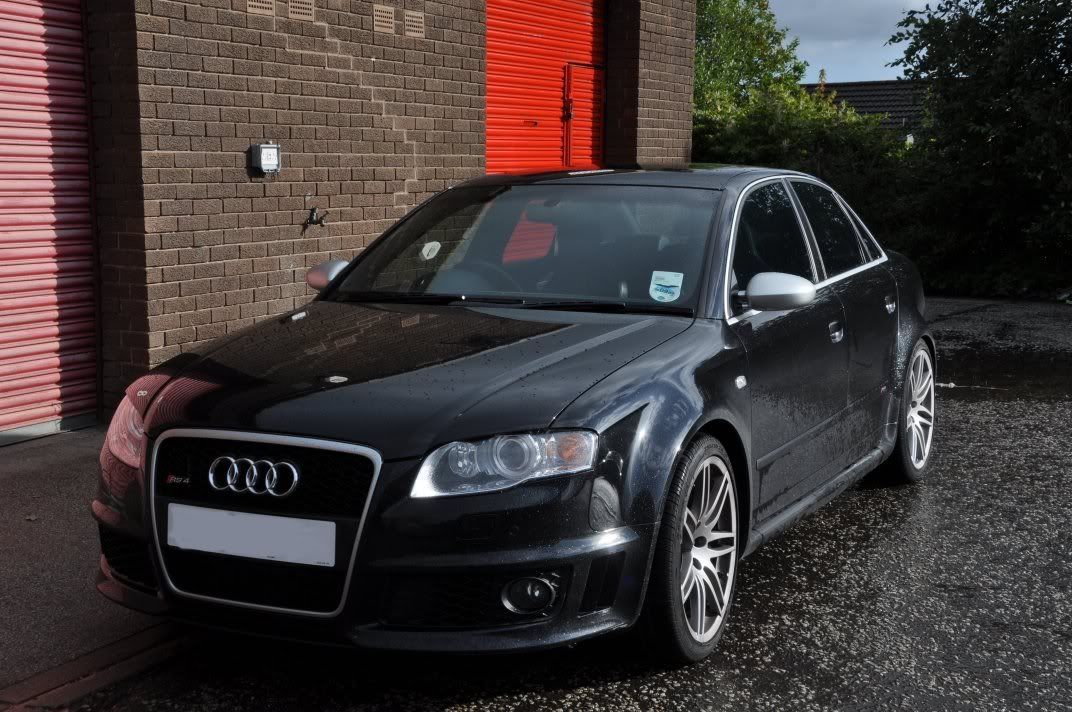
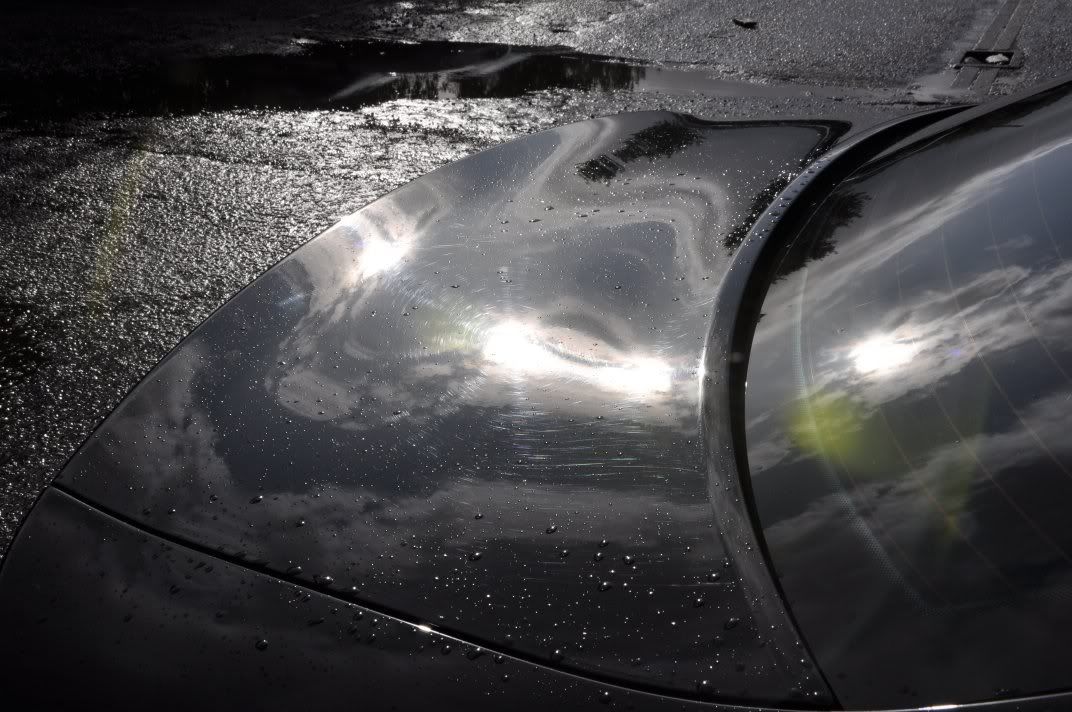
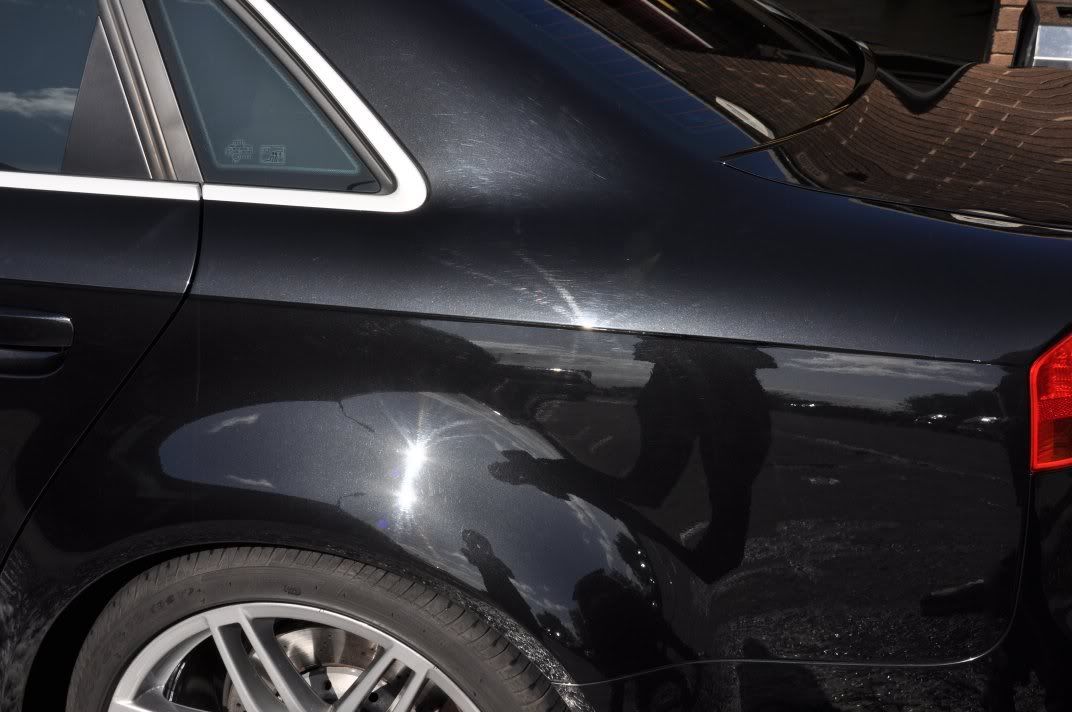
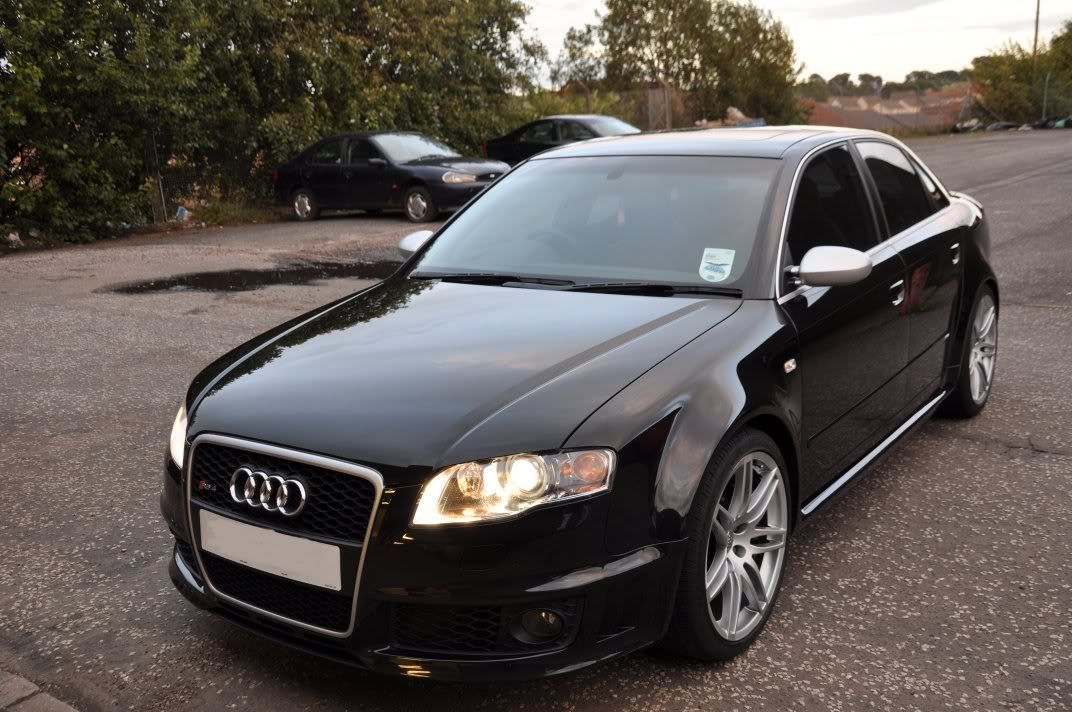
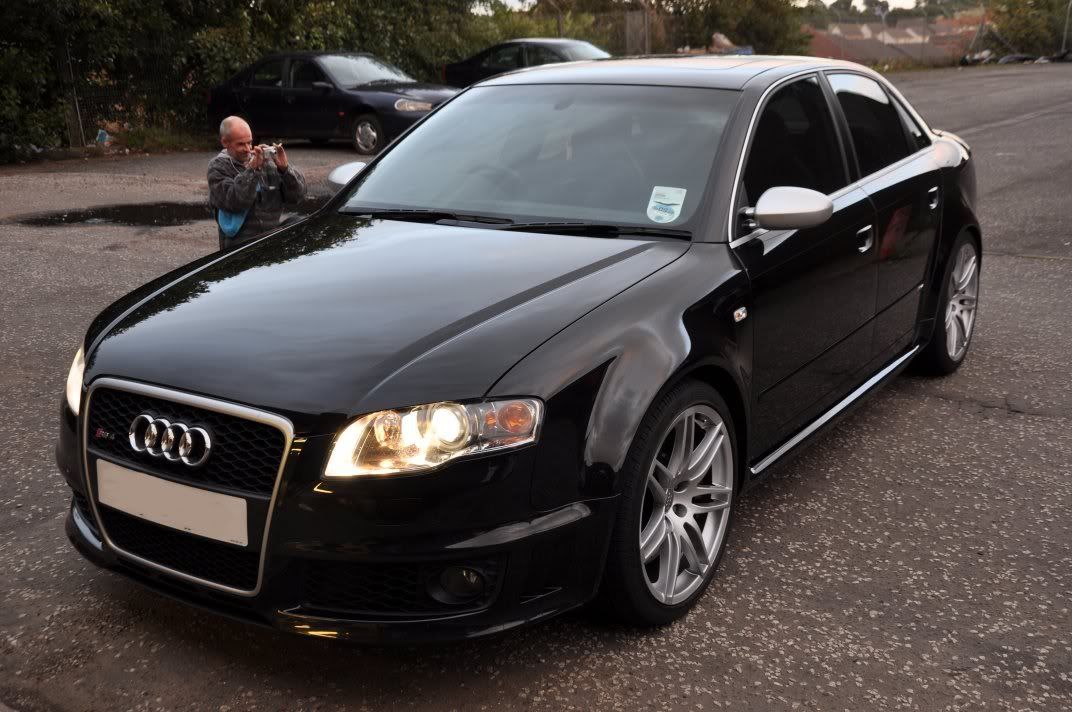
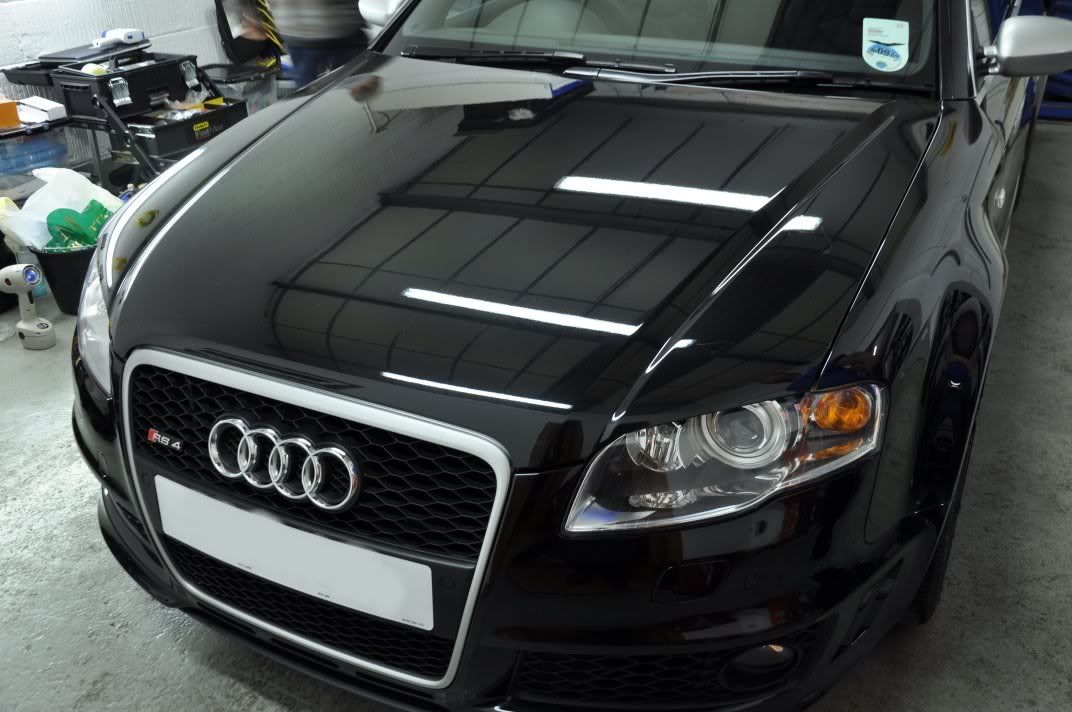
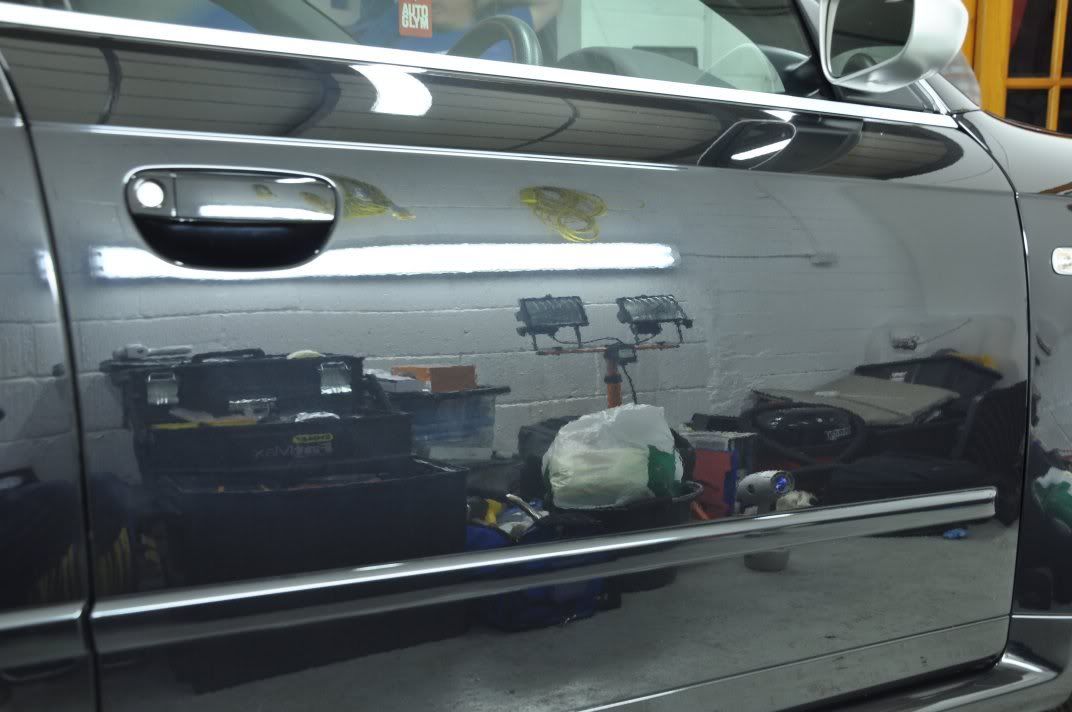
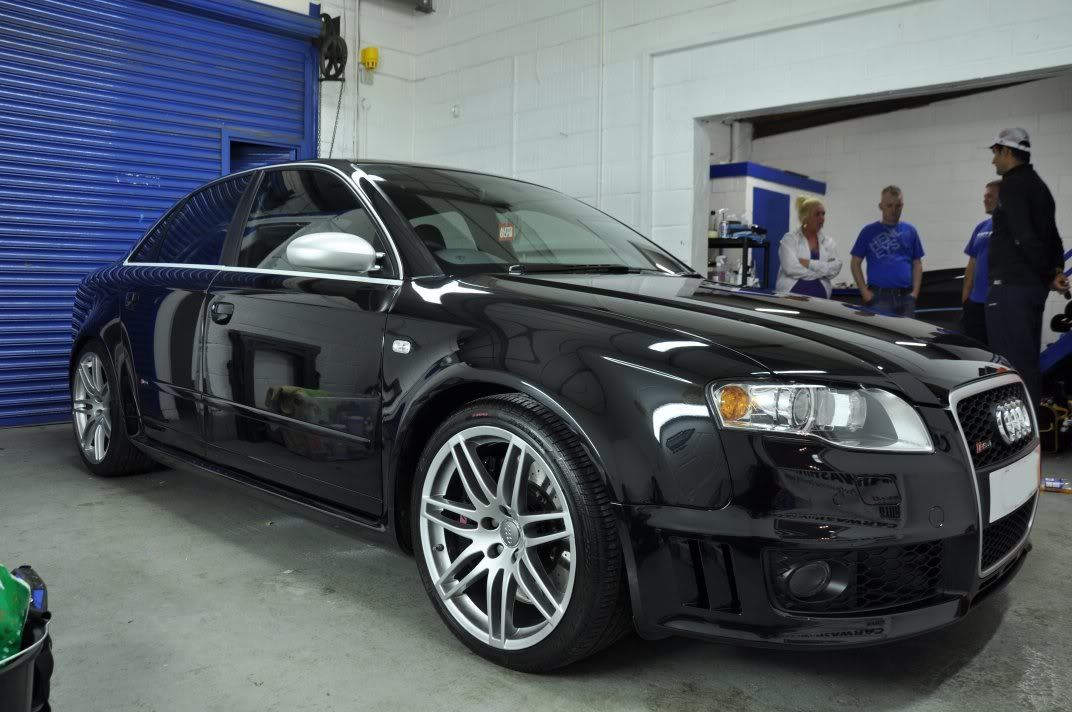
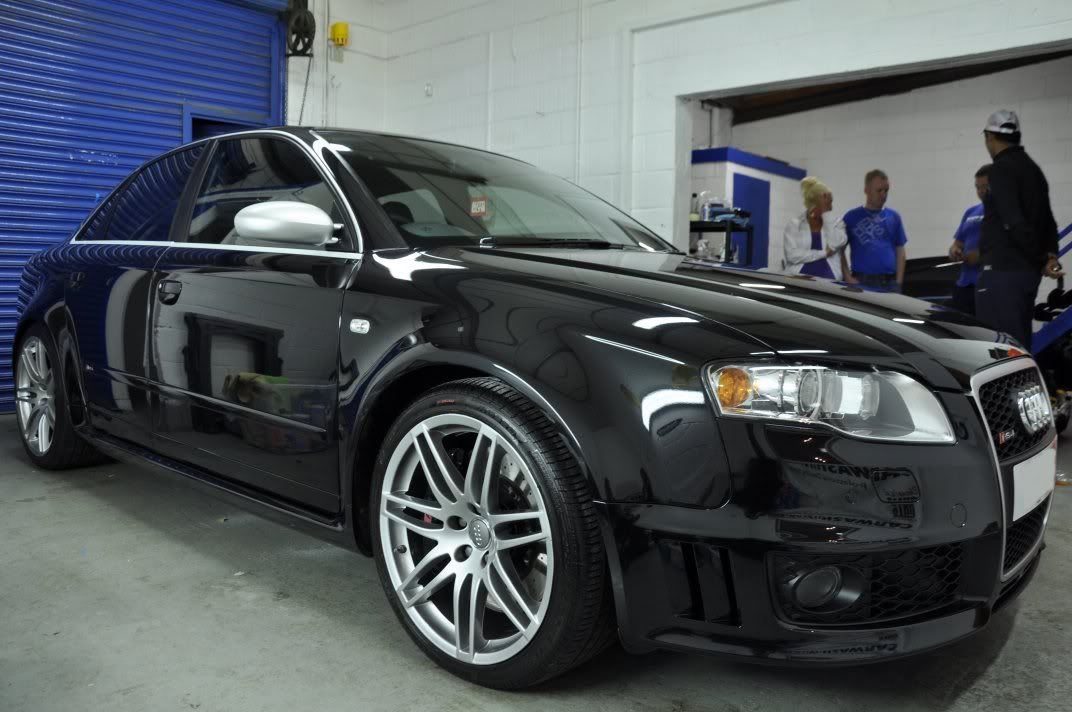
The car on arrival was as you'd expect - general road grime, which would need to be cleaned off before we could really assess the paint. The car on arrival:
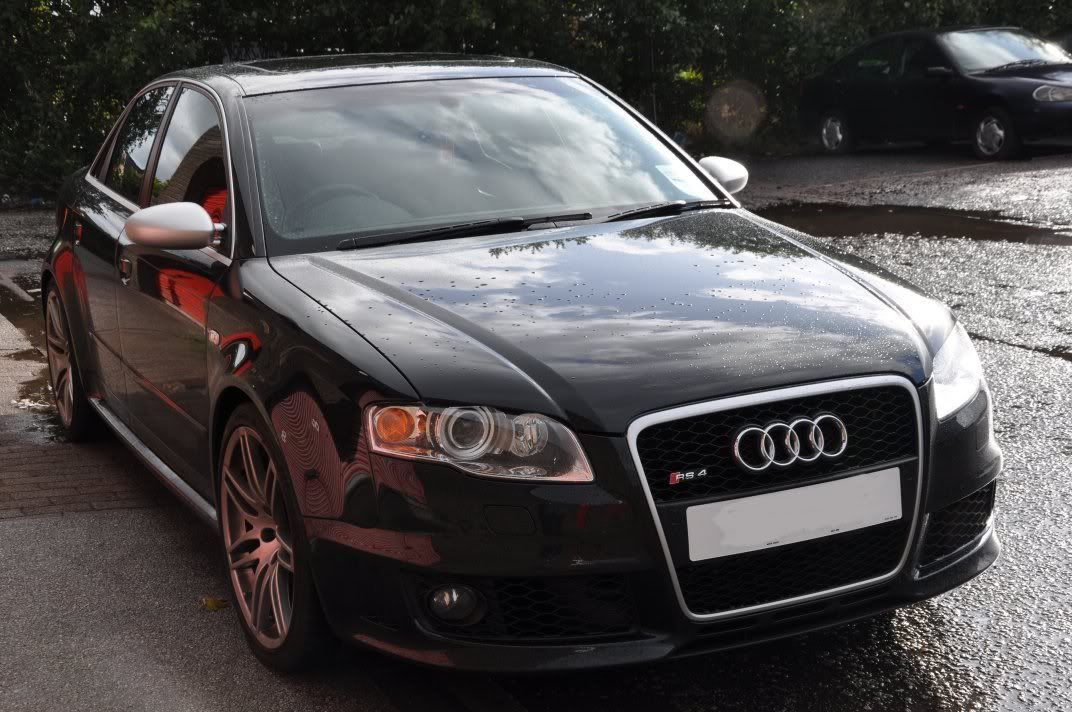
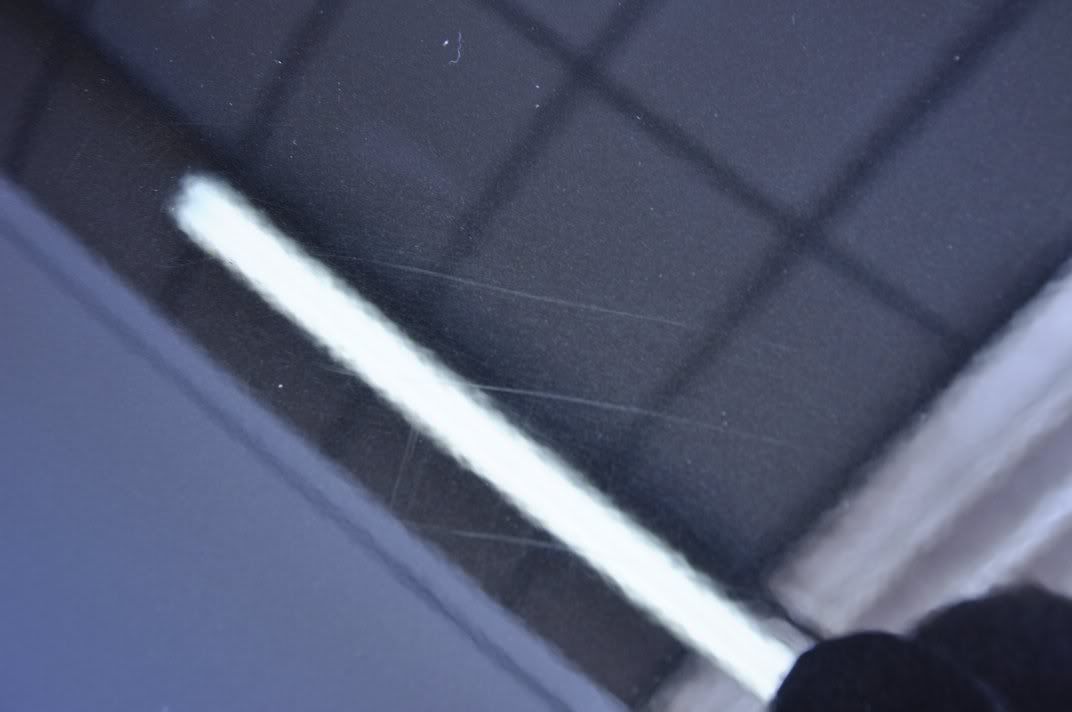
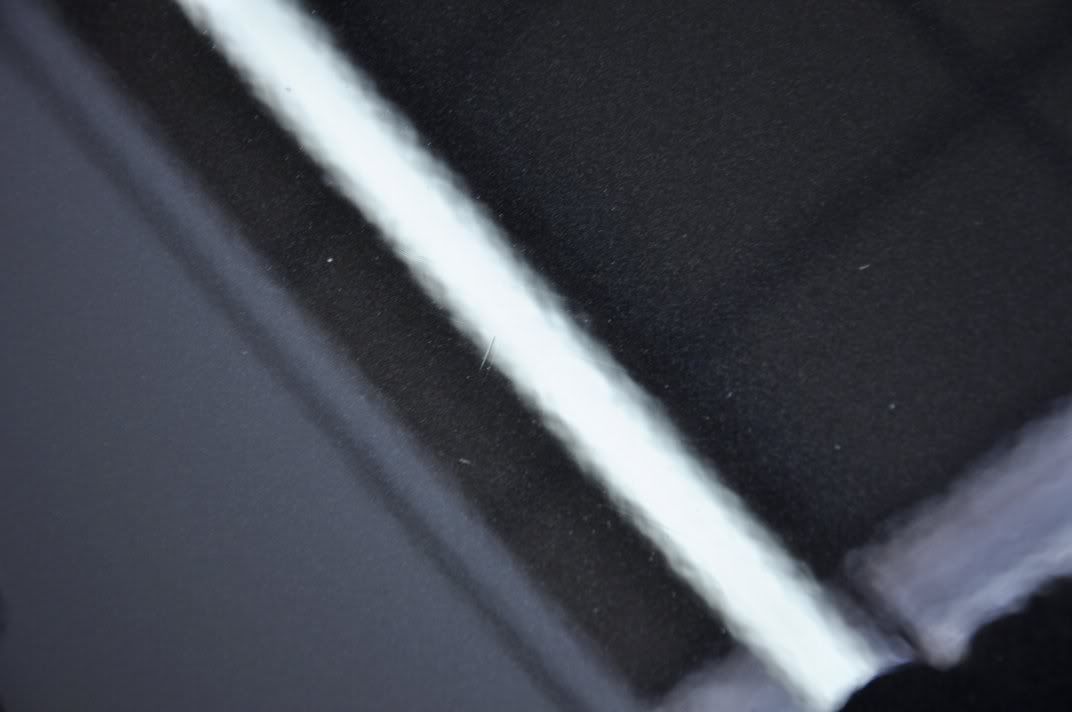
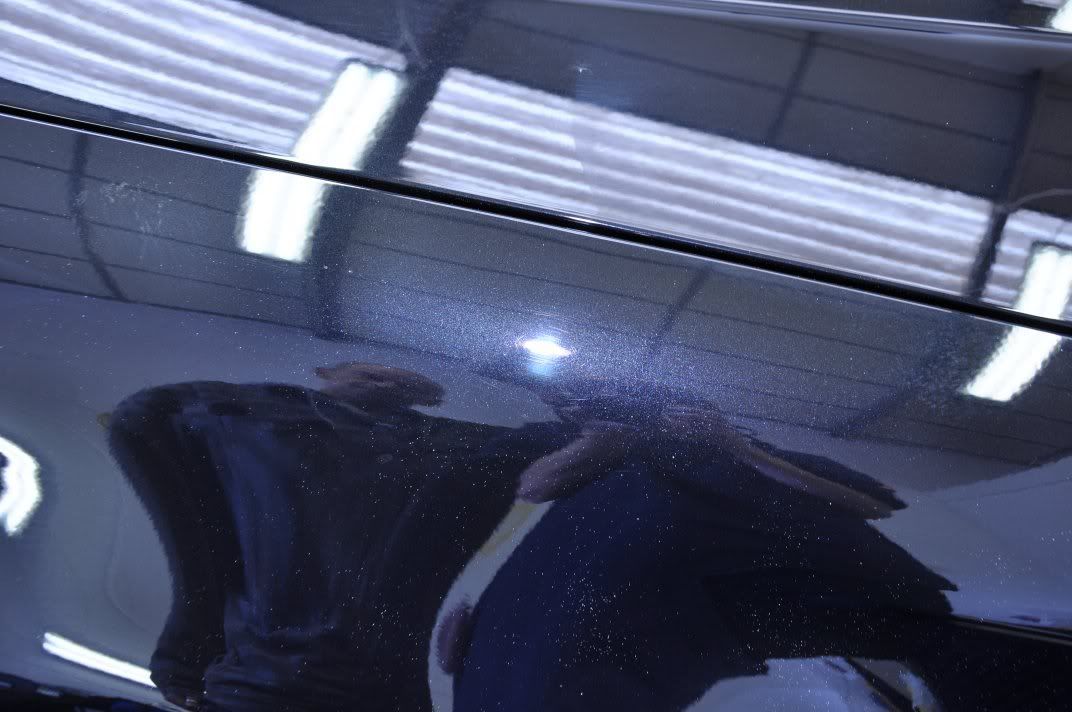
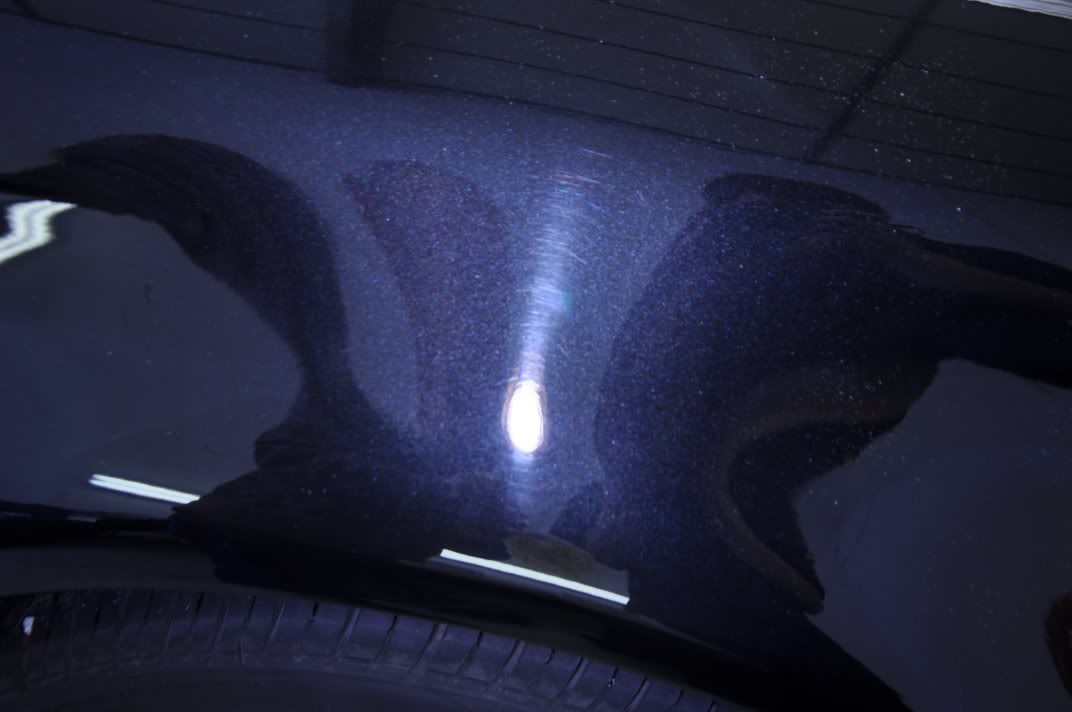
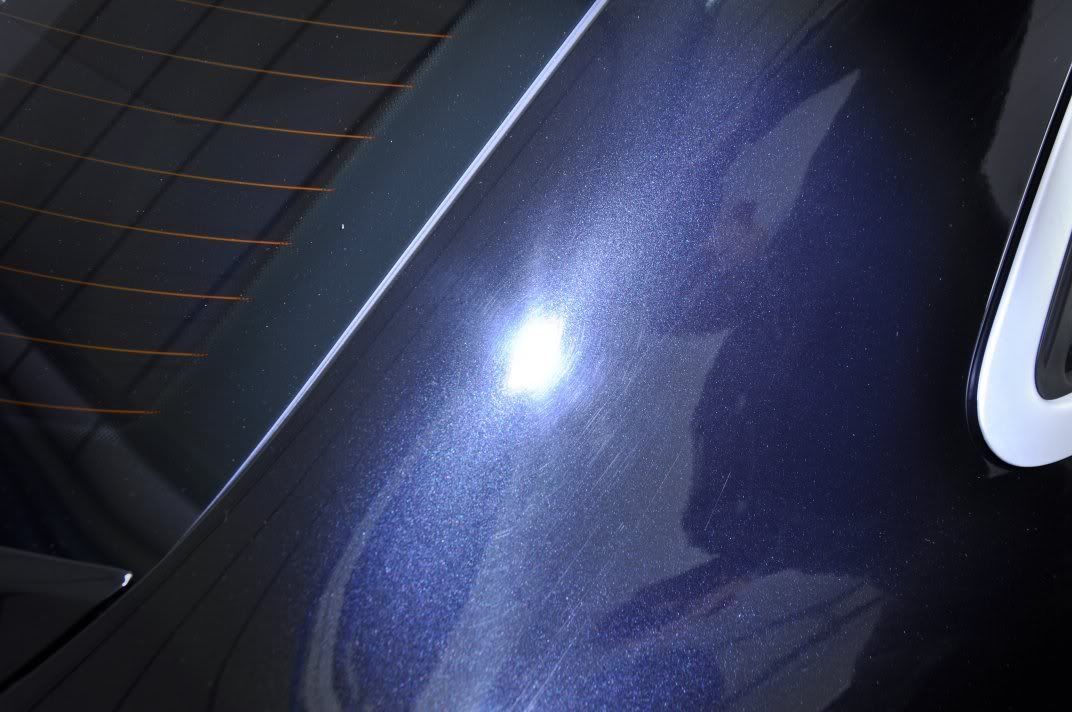
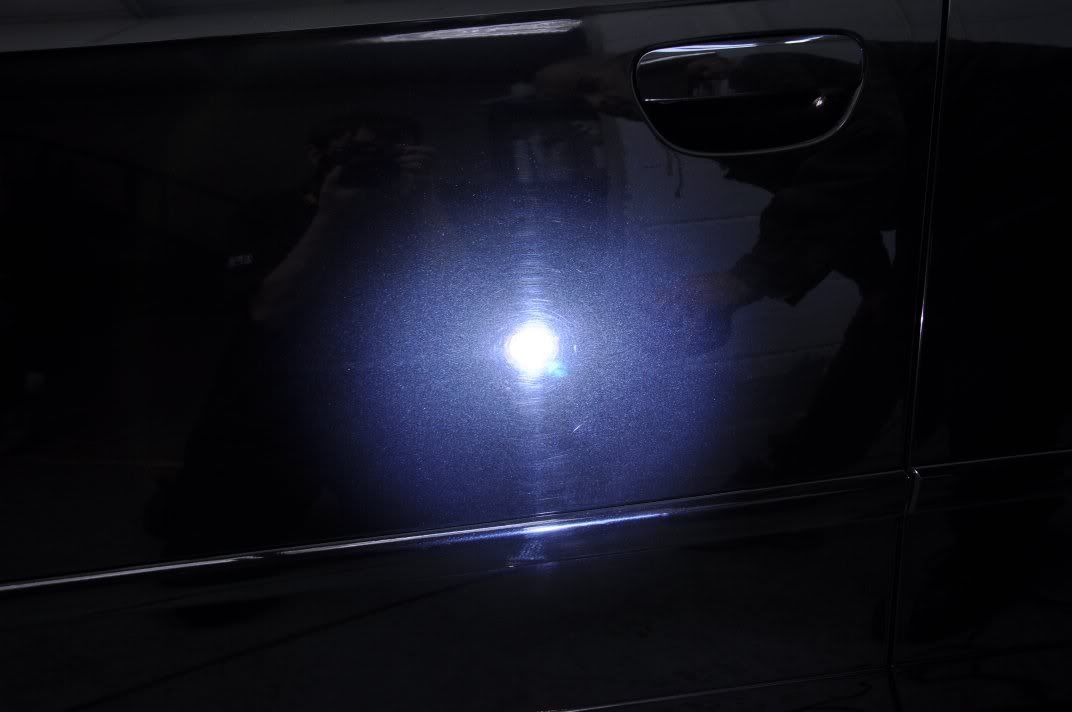
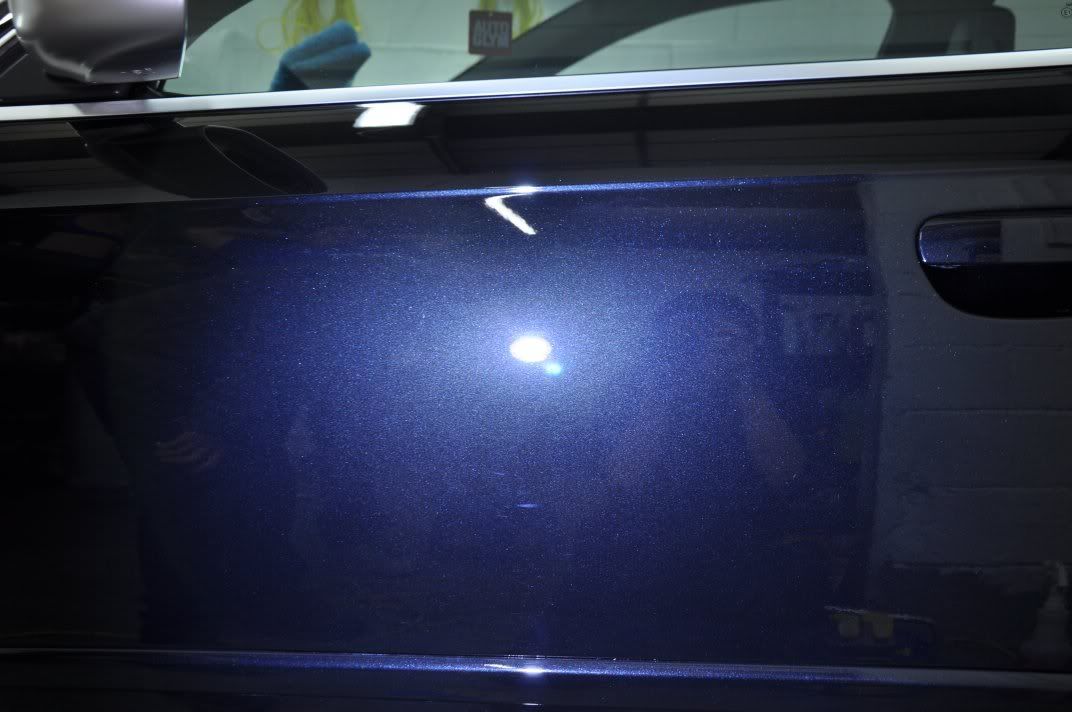
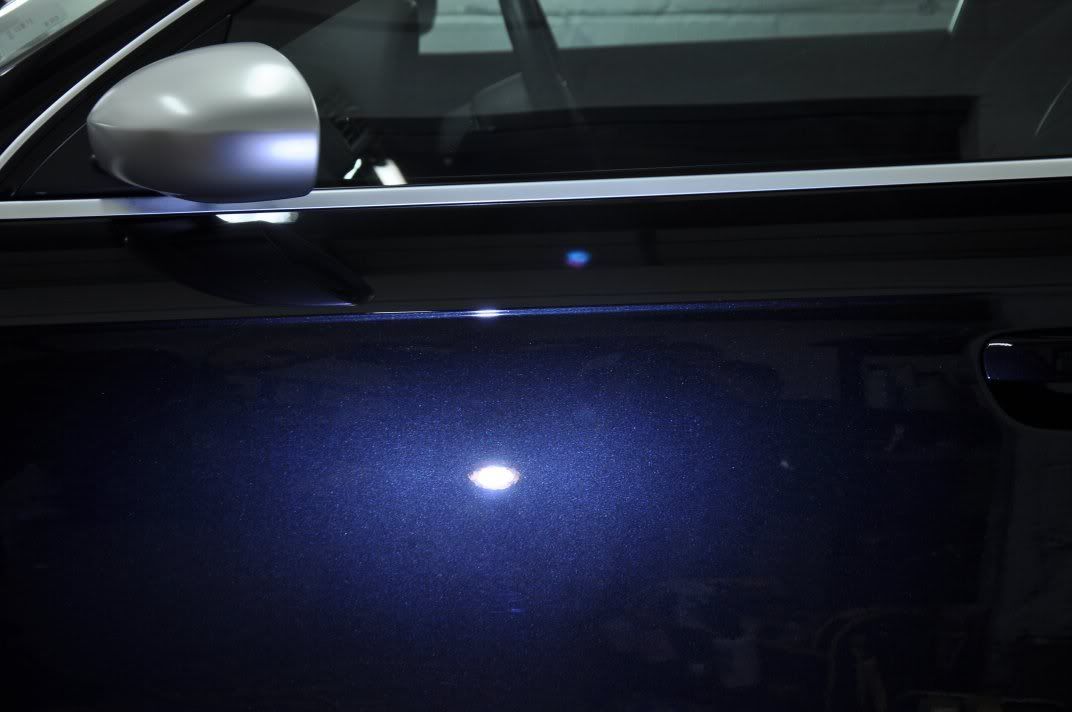
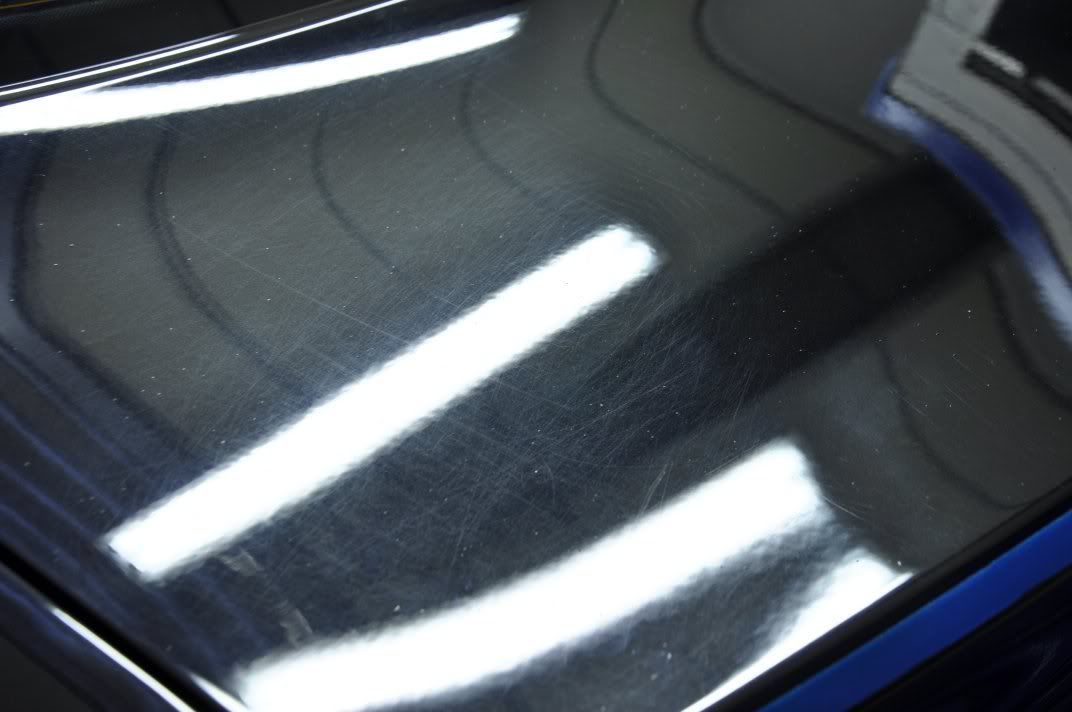
Fair share of swirls you can see already though!
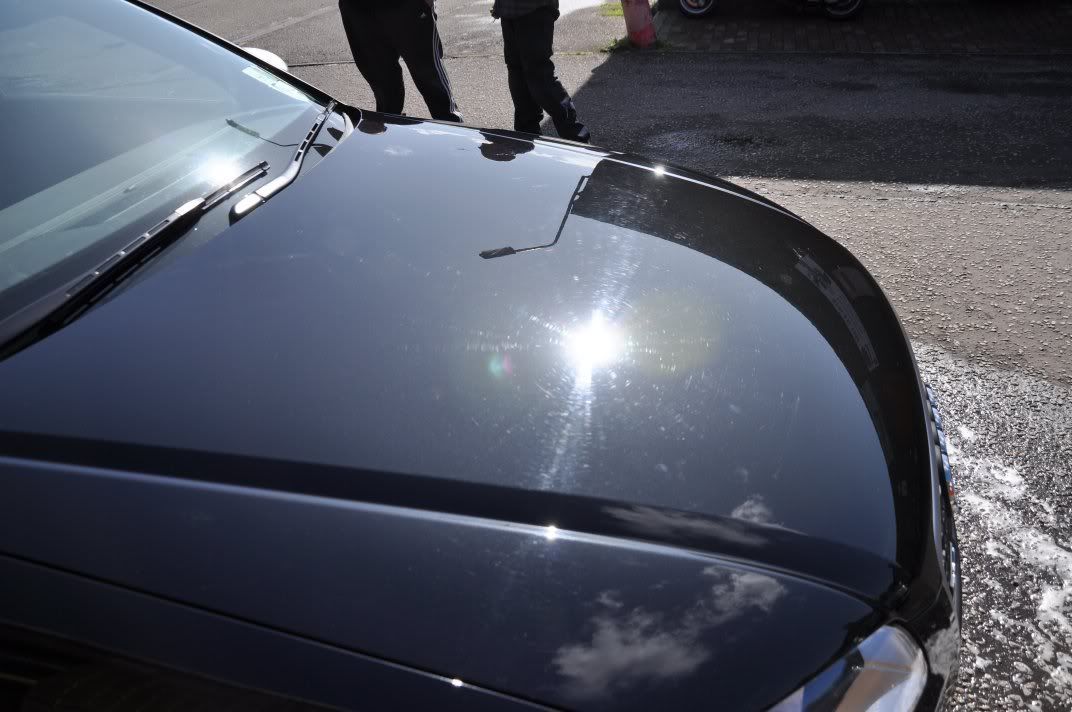
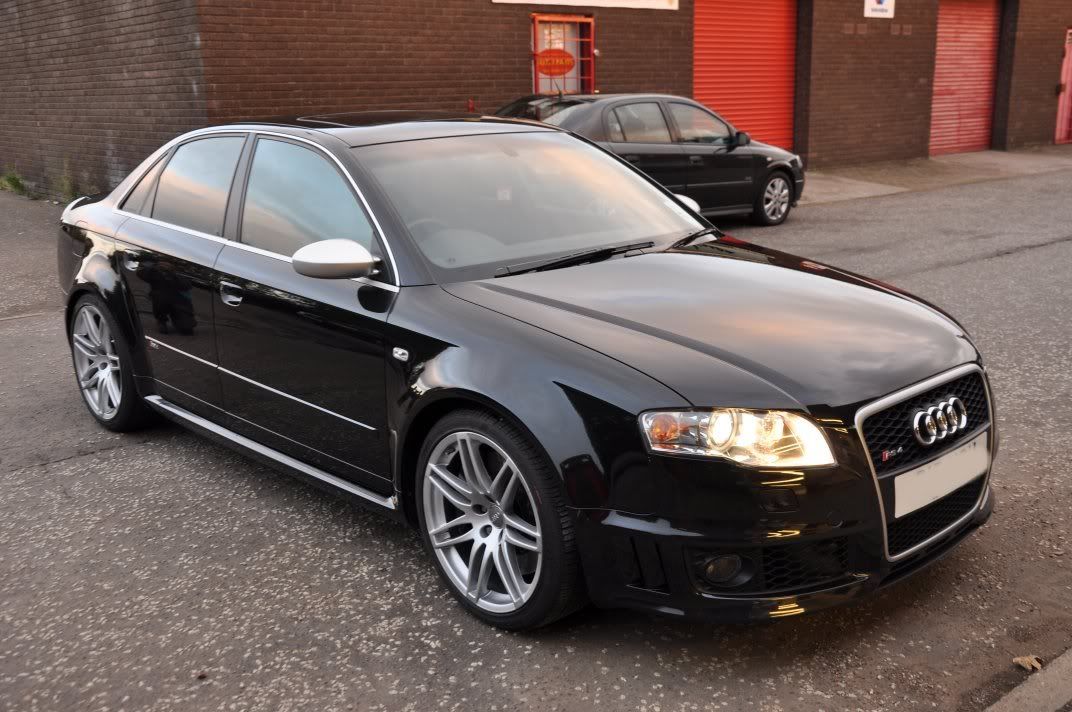
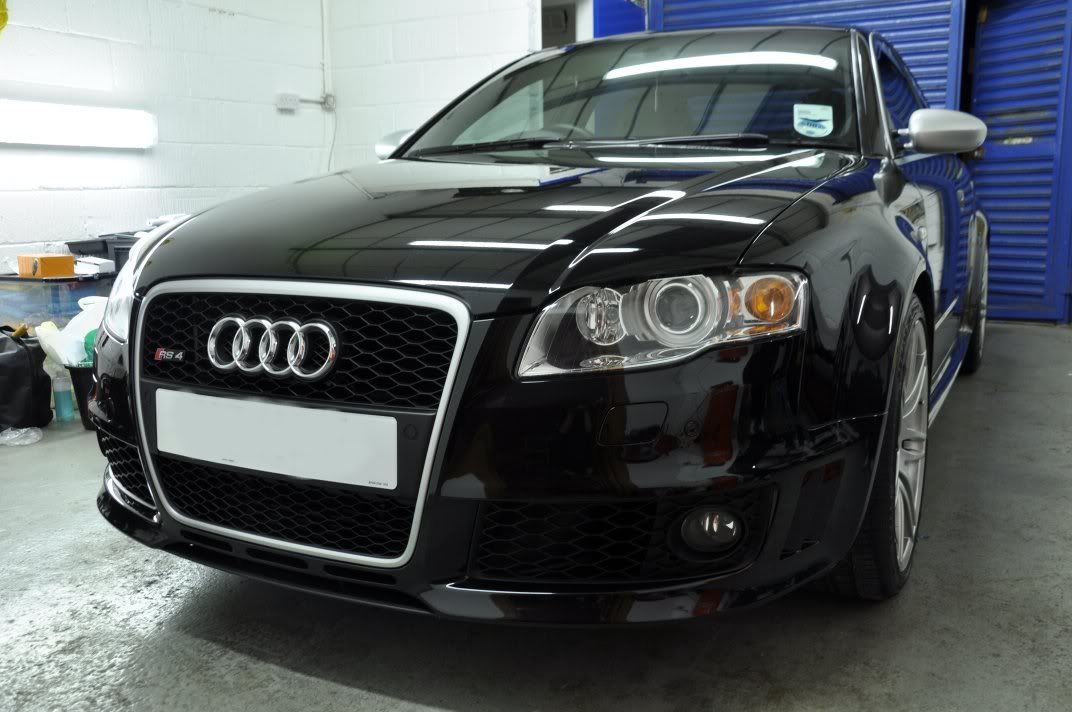
The car was washed in preparation for paint correction. Wheels with Bilberry, arches and tyres with G101, prefoam and rinse and then washed using Zaino Z7 and two bucket wash method. Rinsed off and dried and the car was already looking much better...
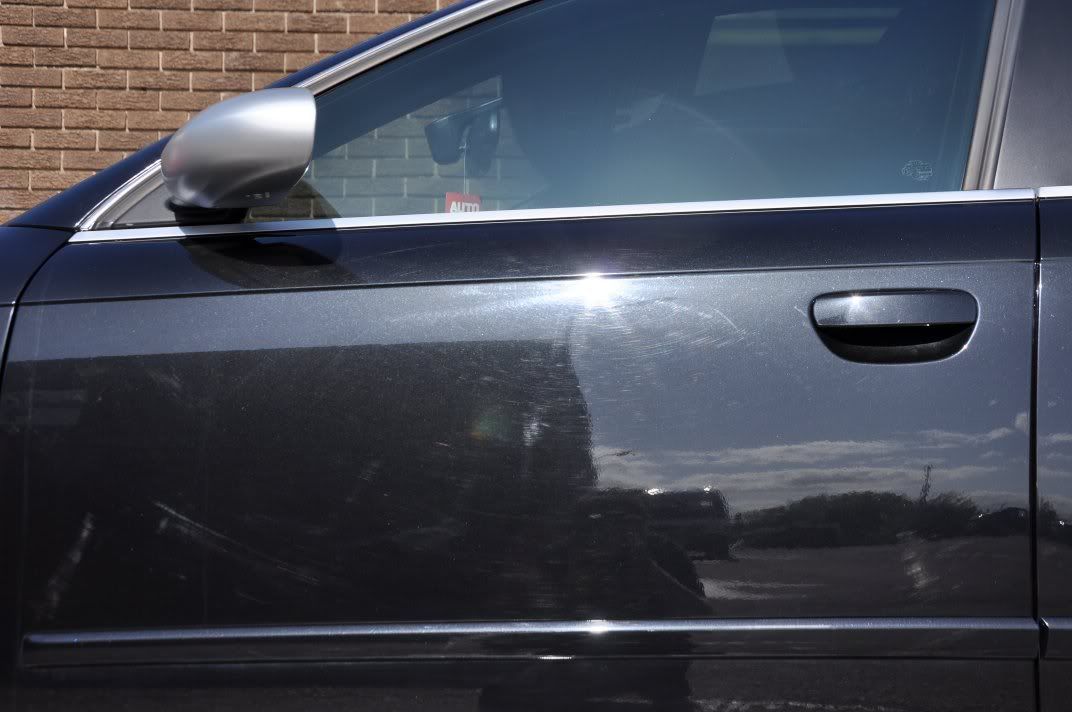
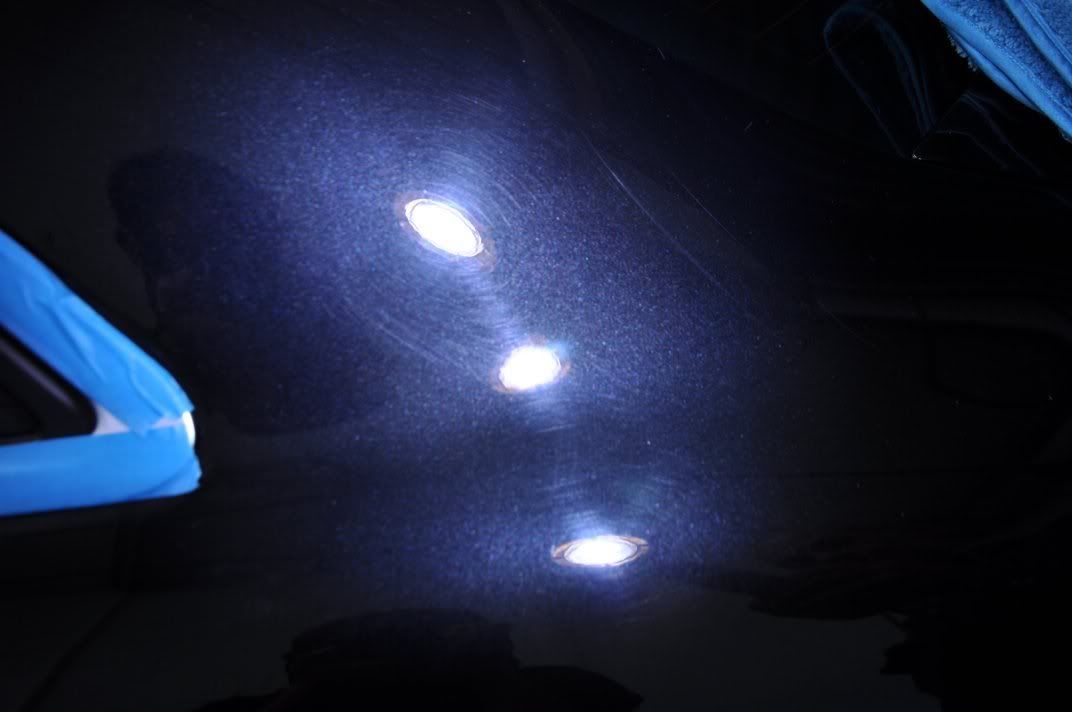
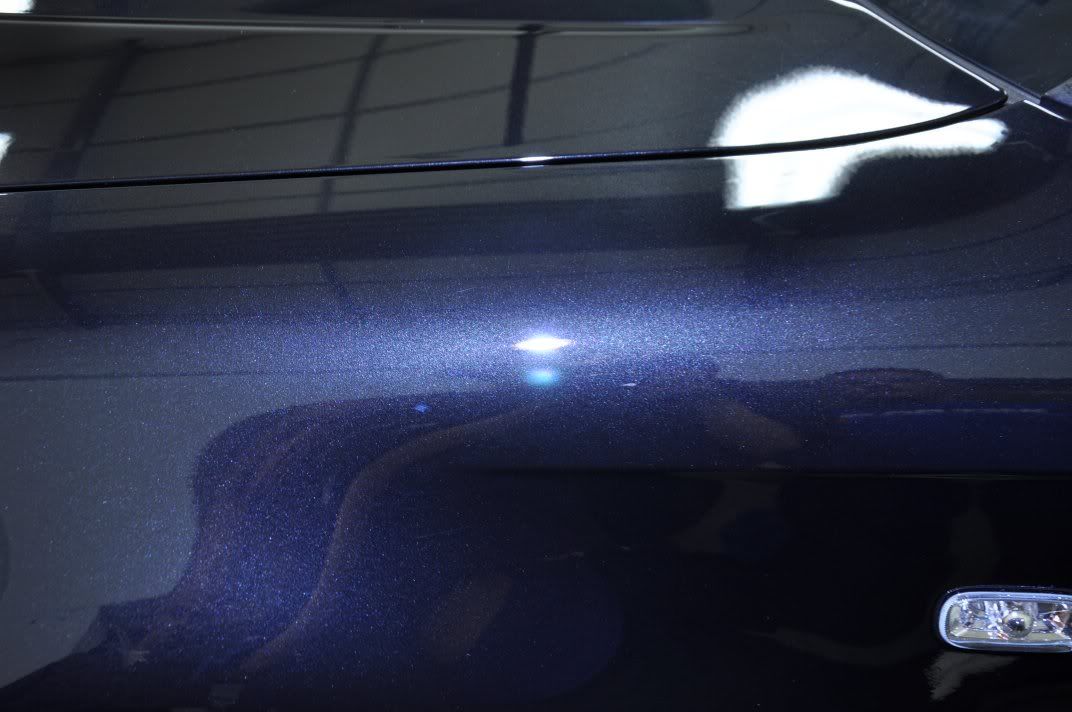
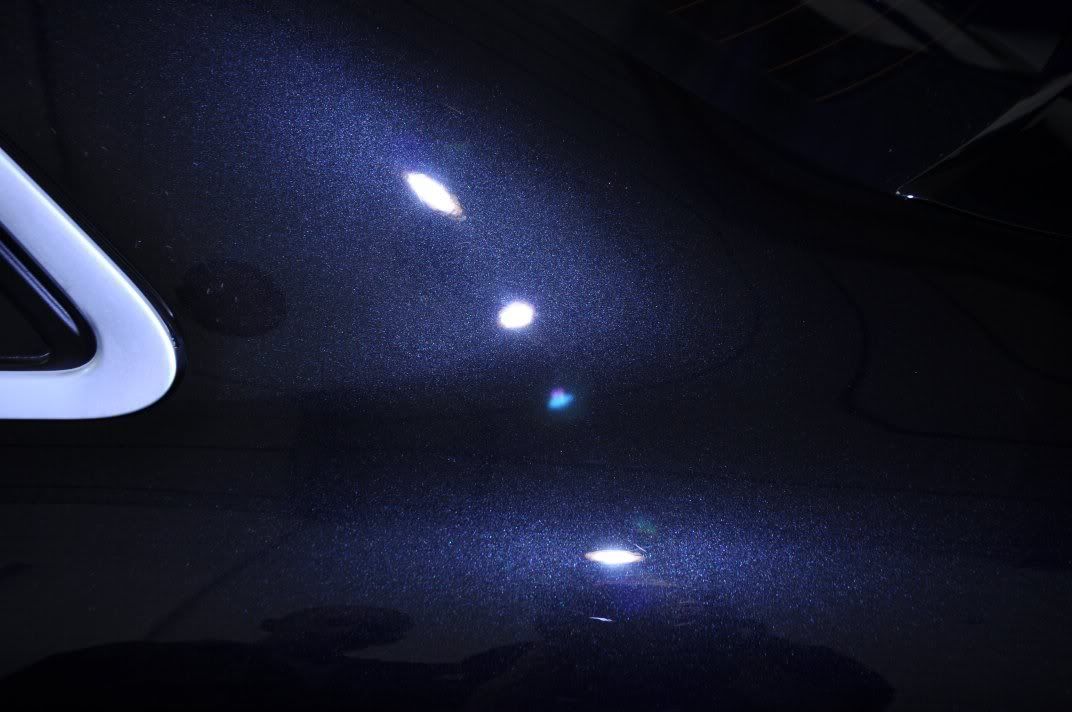
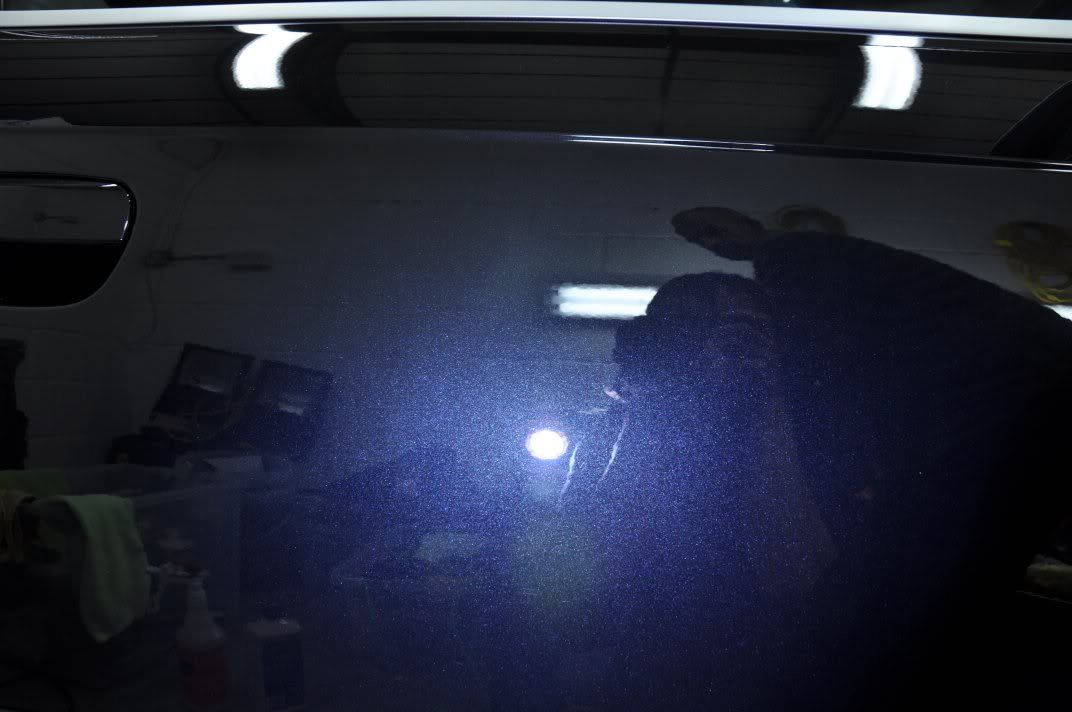
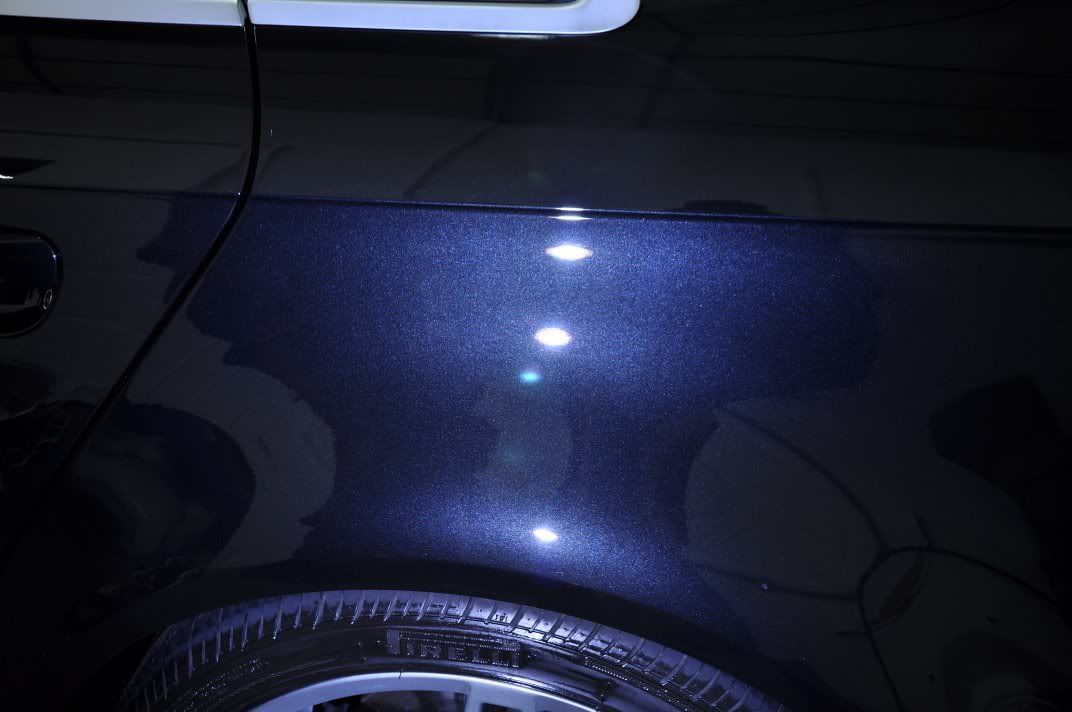
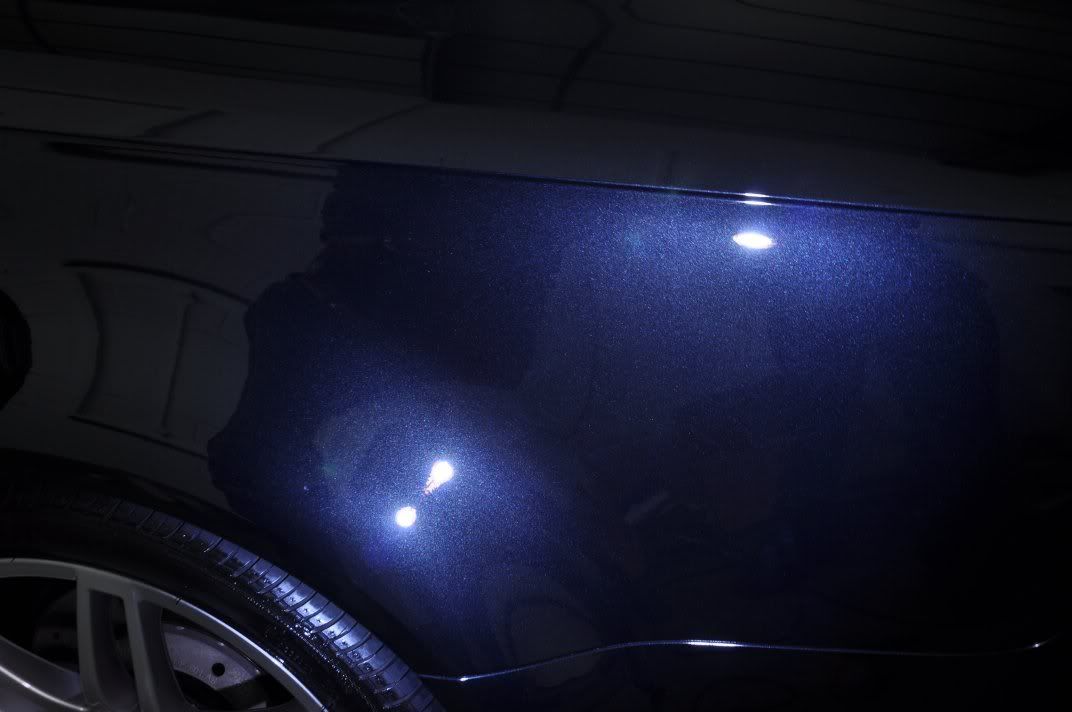
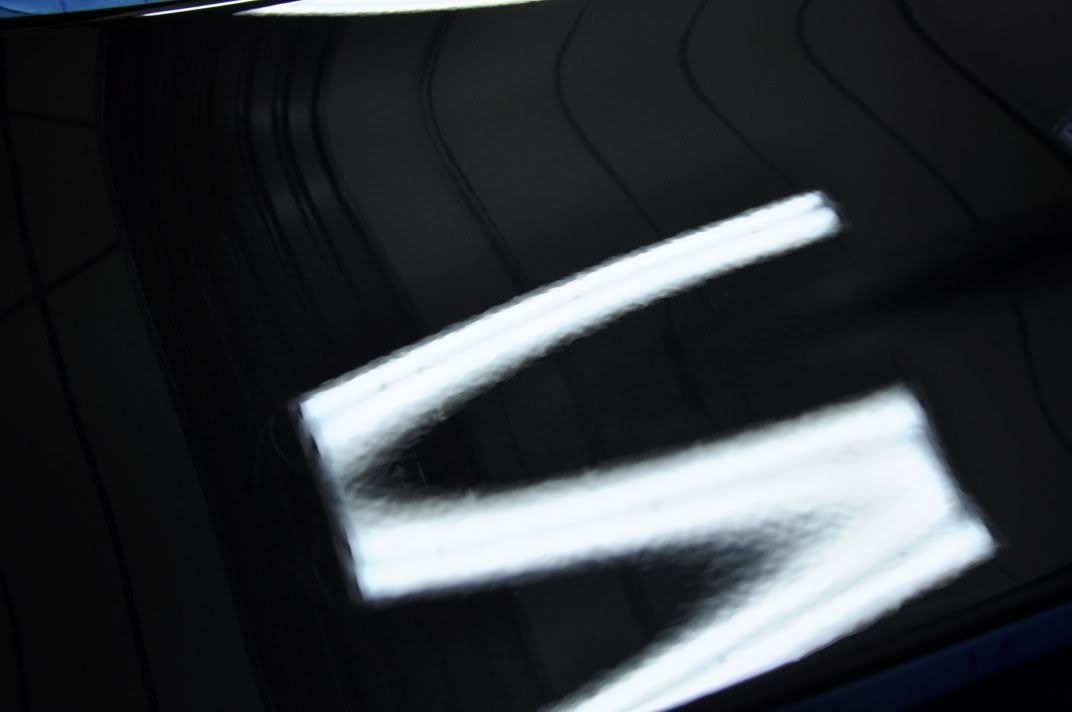
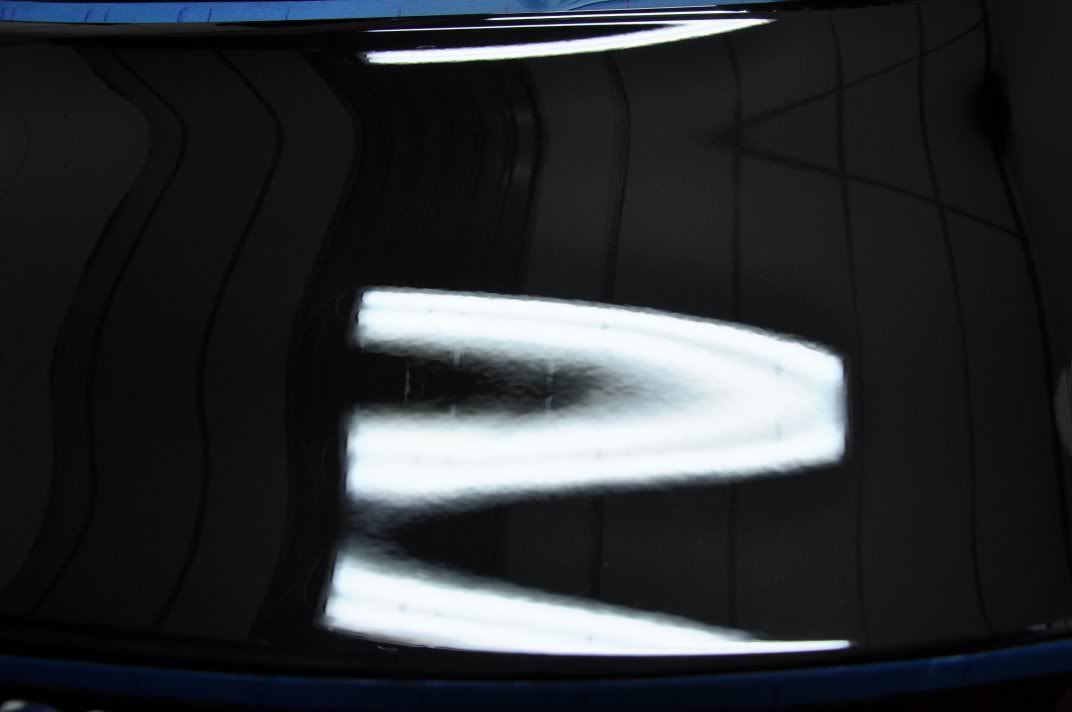
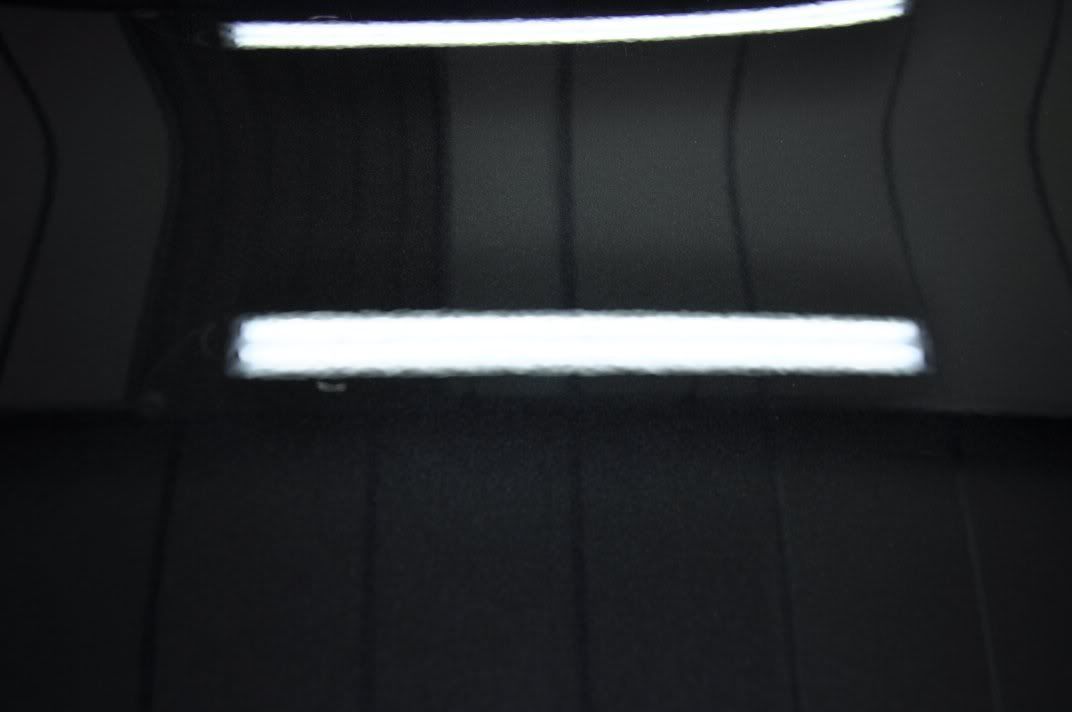
Under the sunlight, however, it is clear to see that the finish is covered in general swirls...
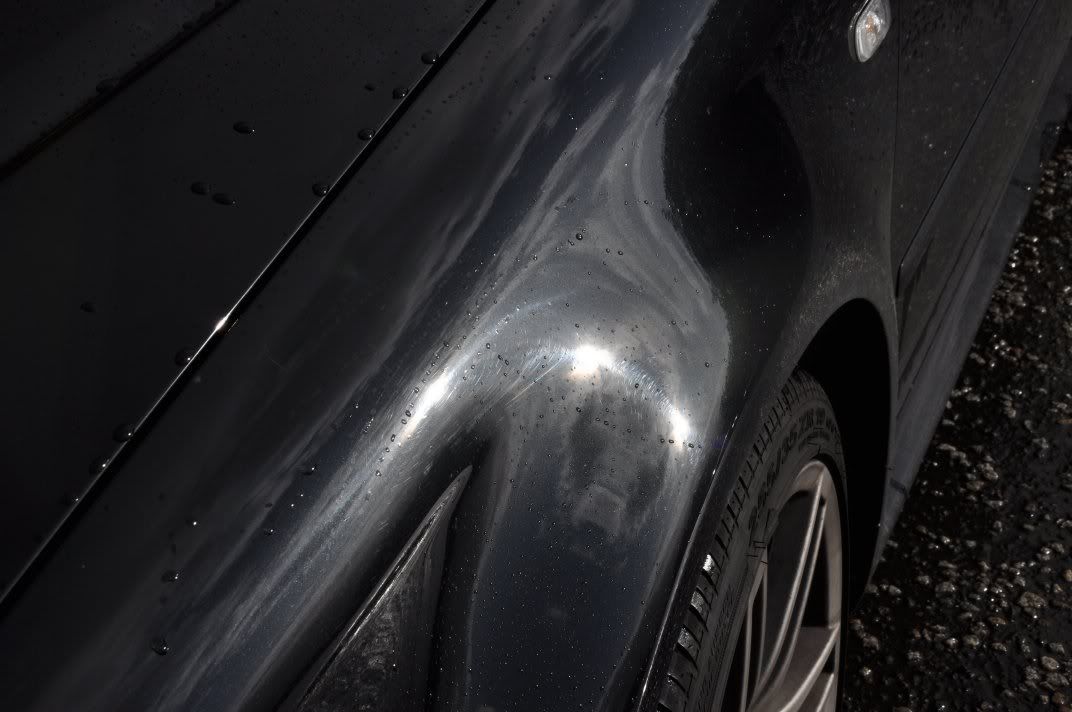
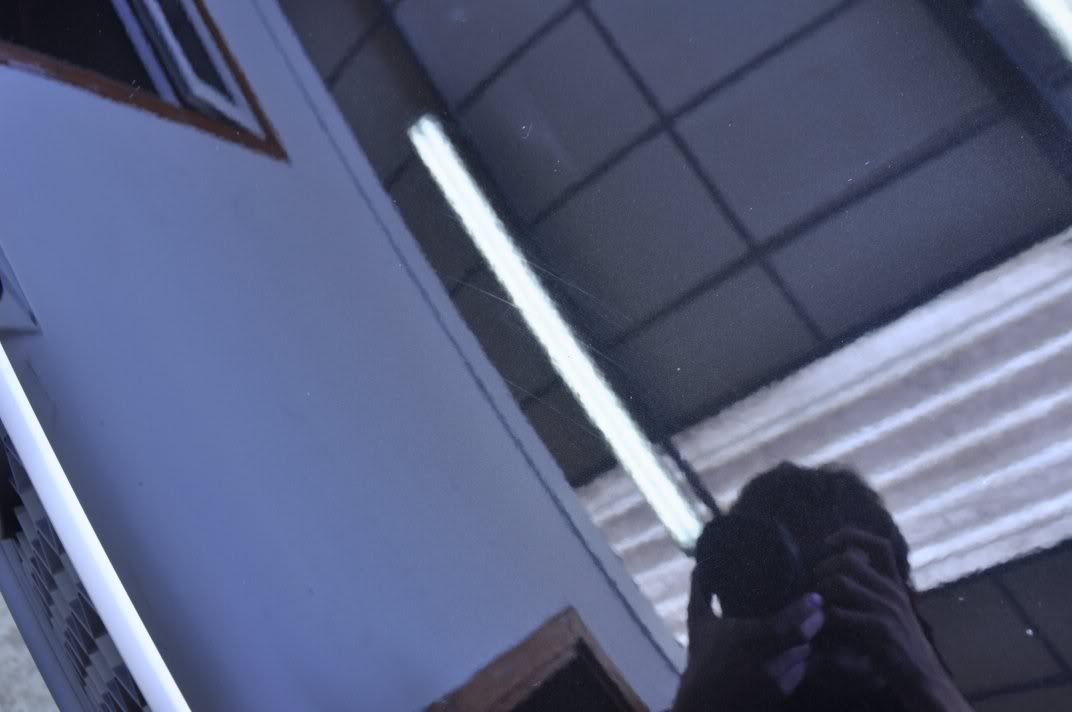
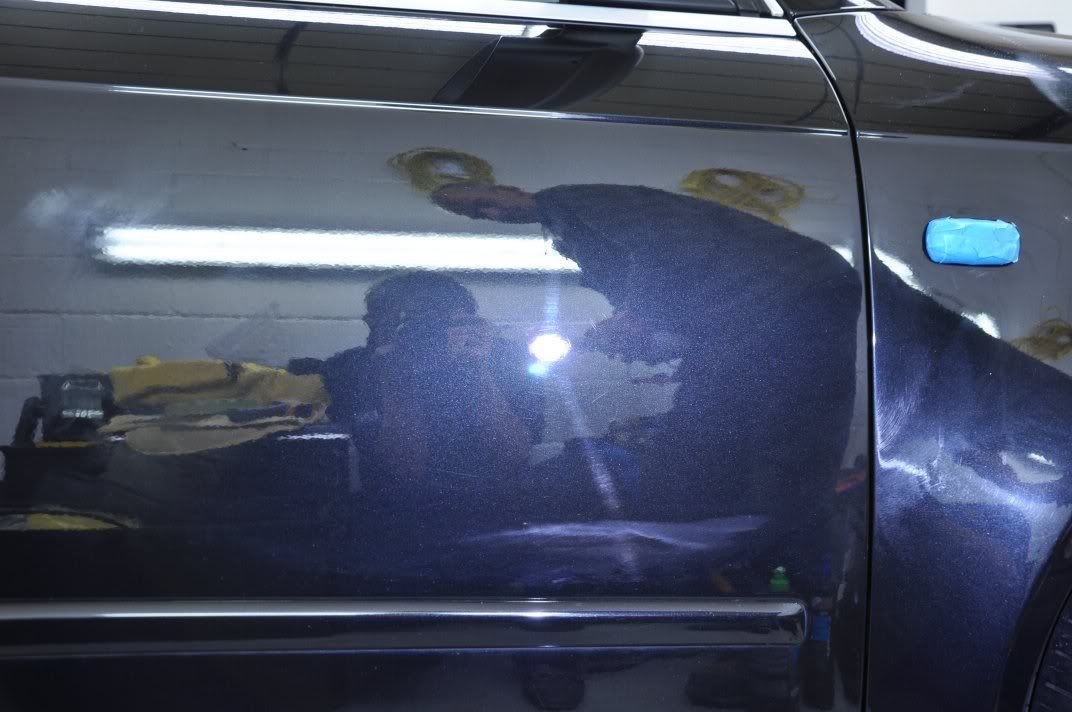
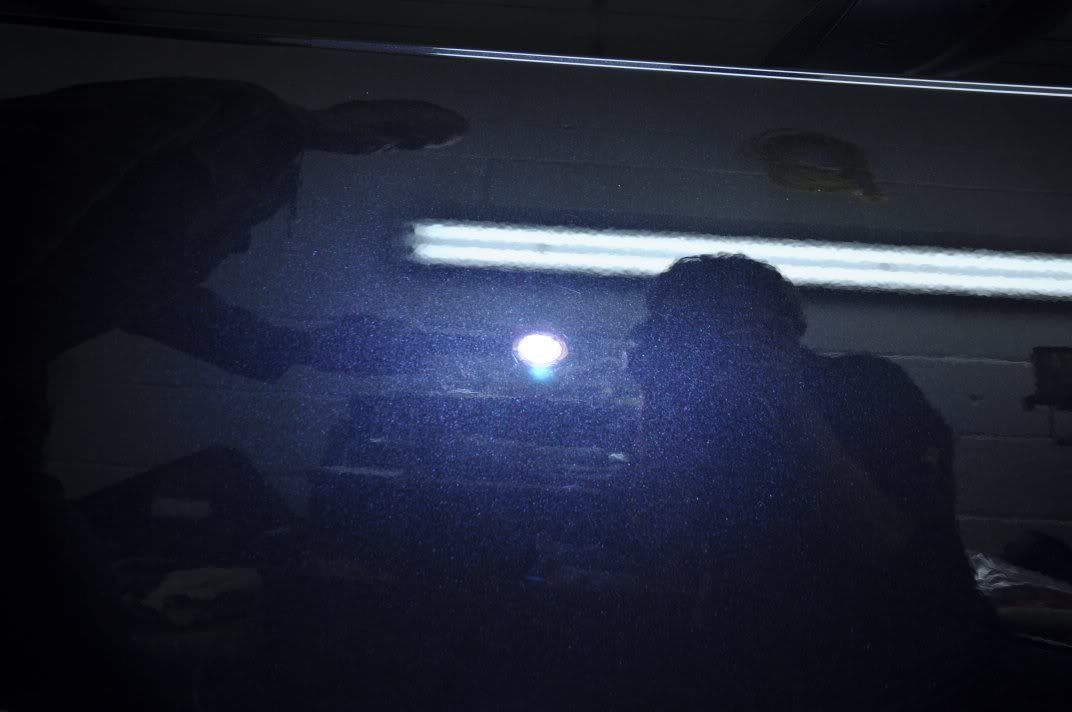
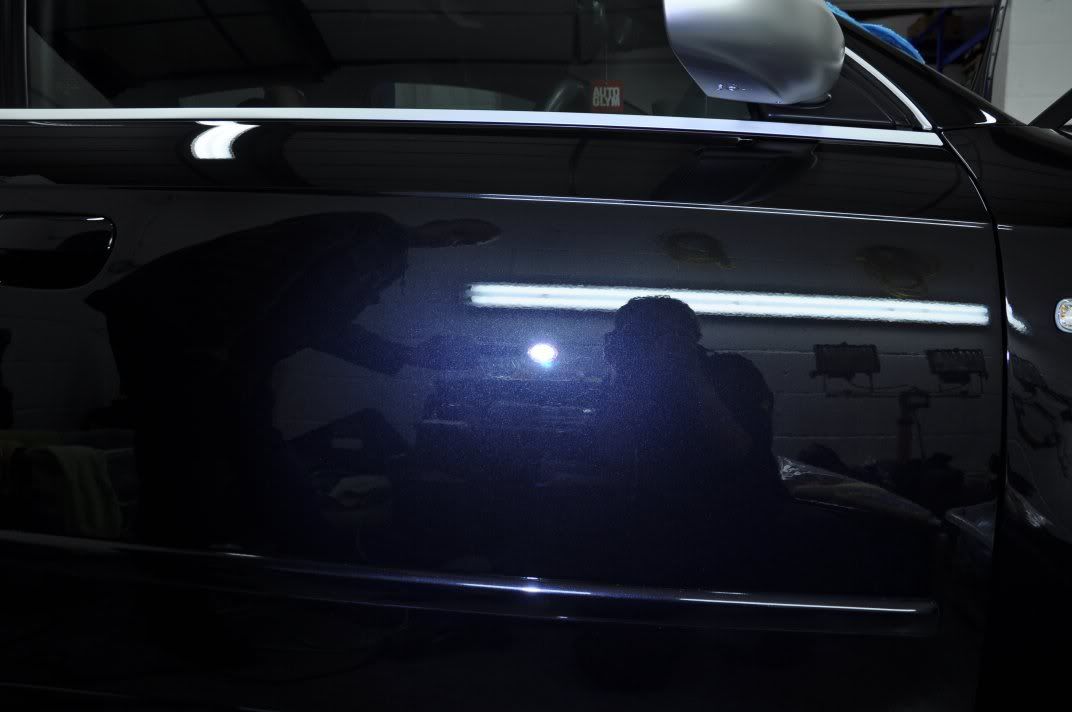
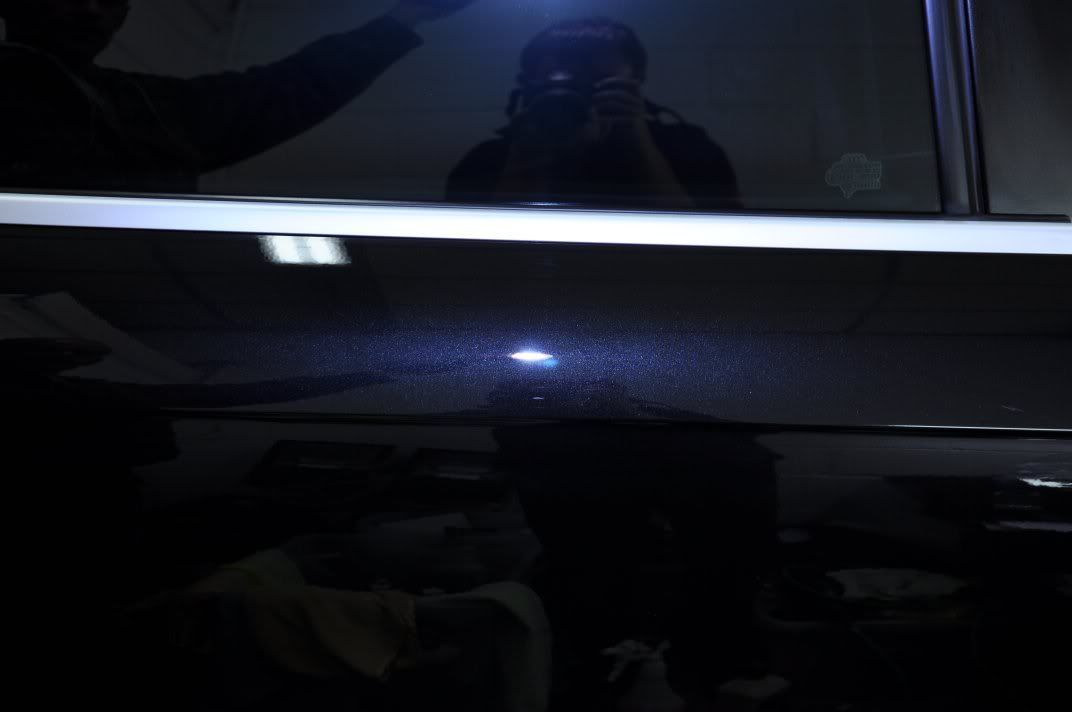
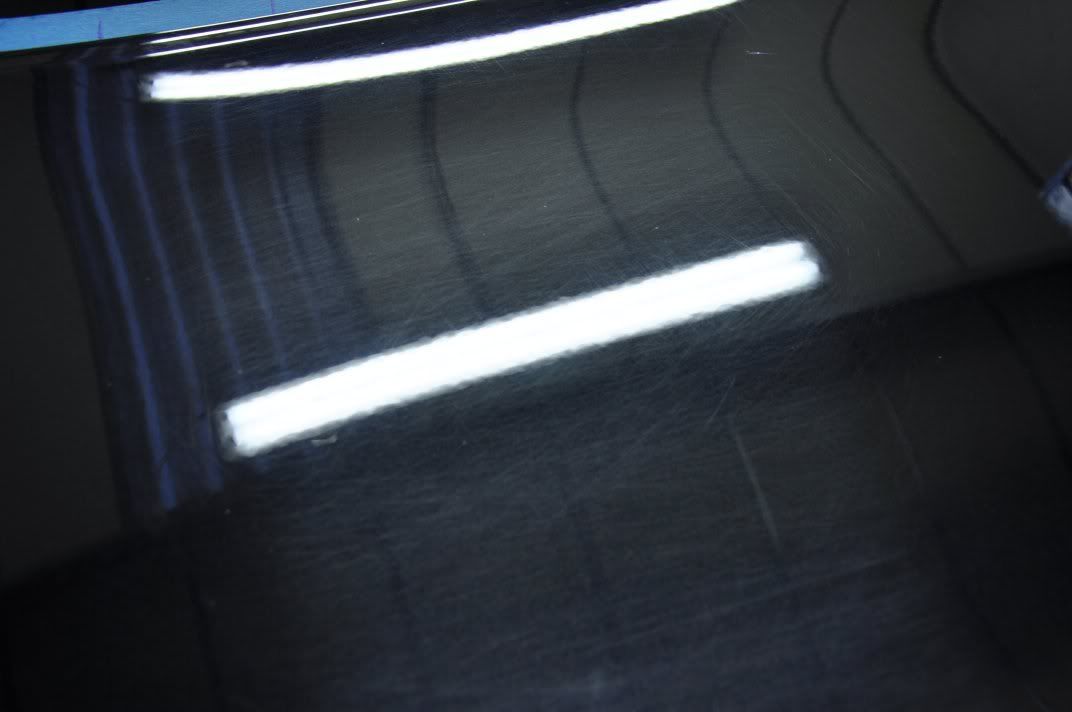
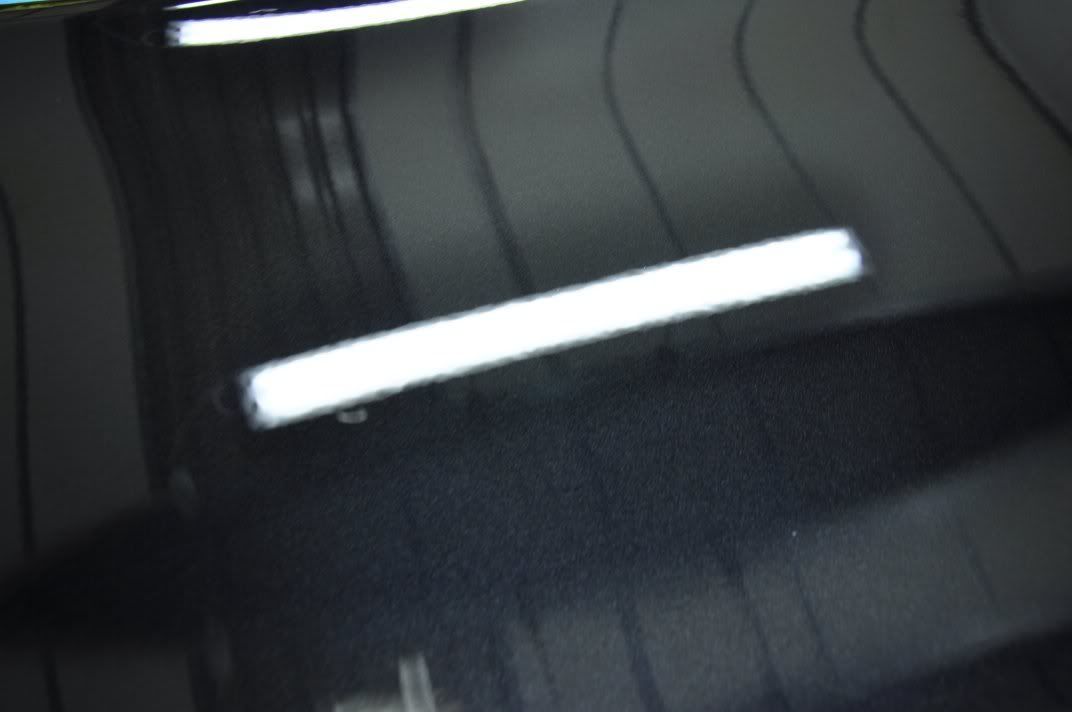
The boot was the worst panel on the car...
More on that later
The car was rolled into the unit, clayed and readied for polishing.
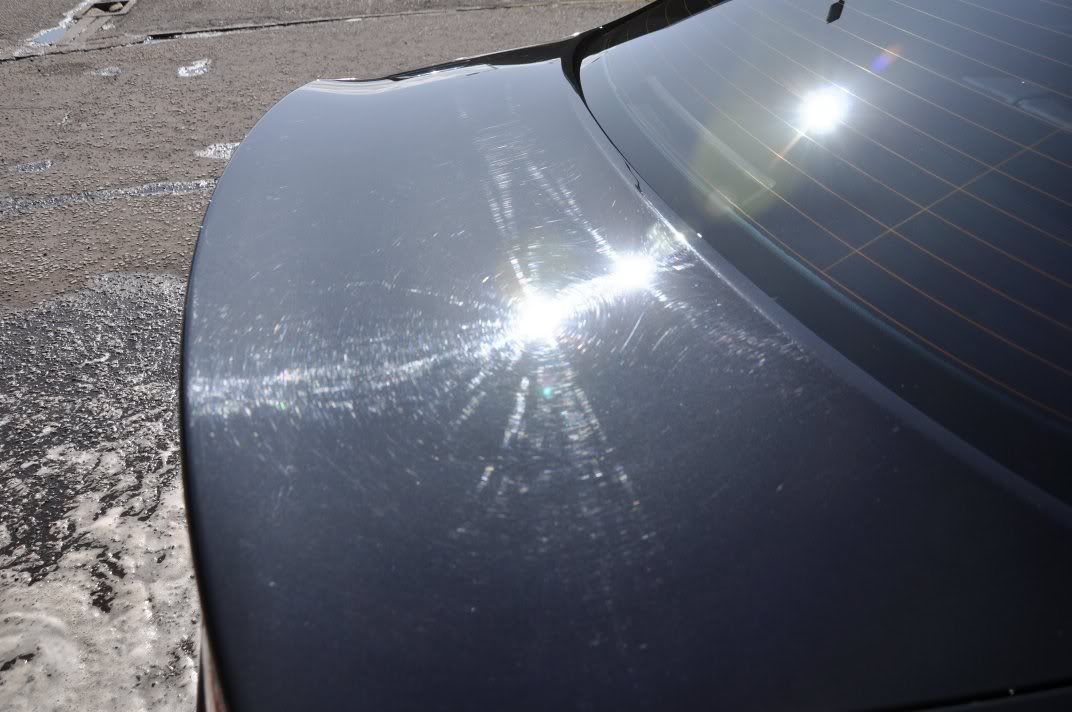
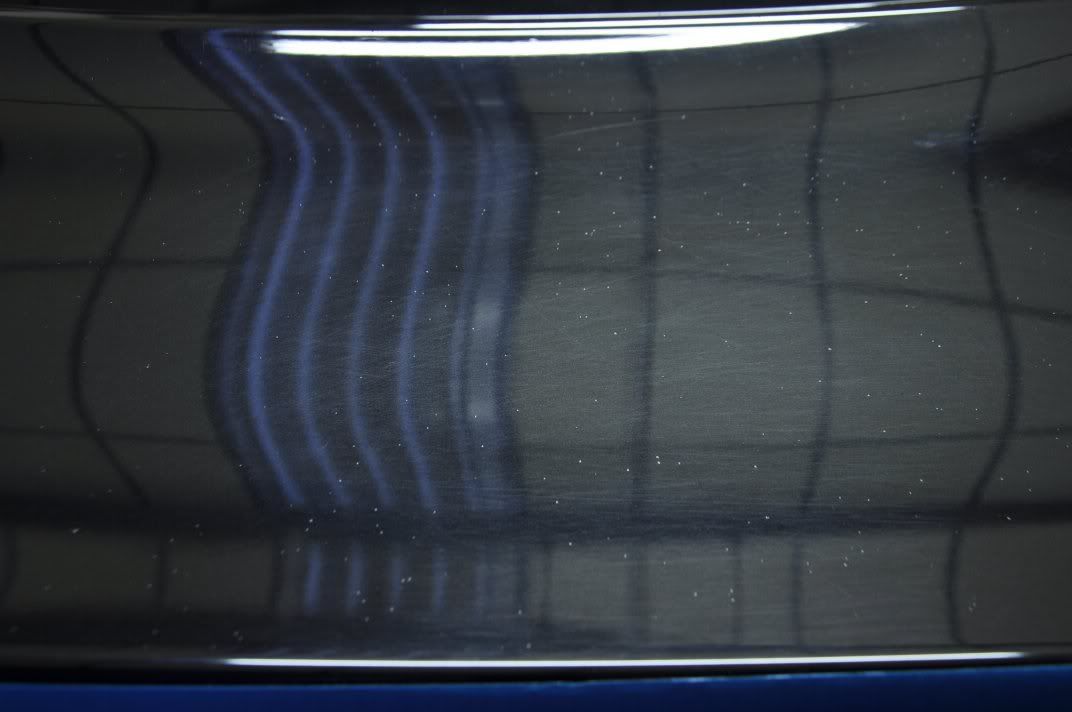
We decided to start on the bonnet...
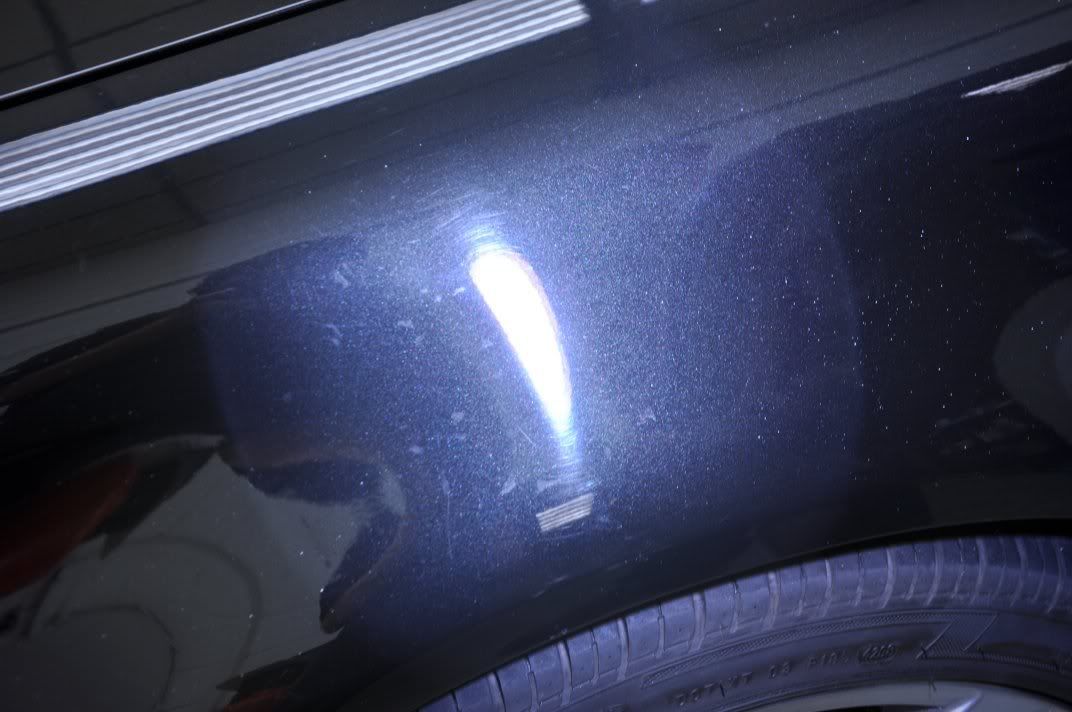
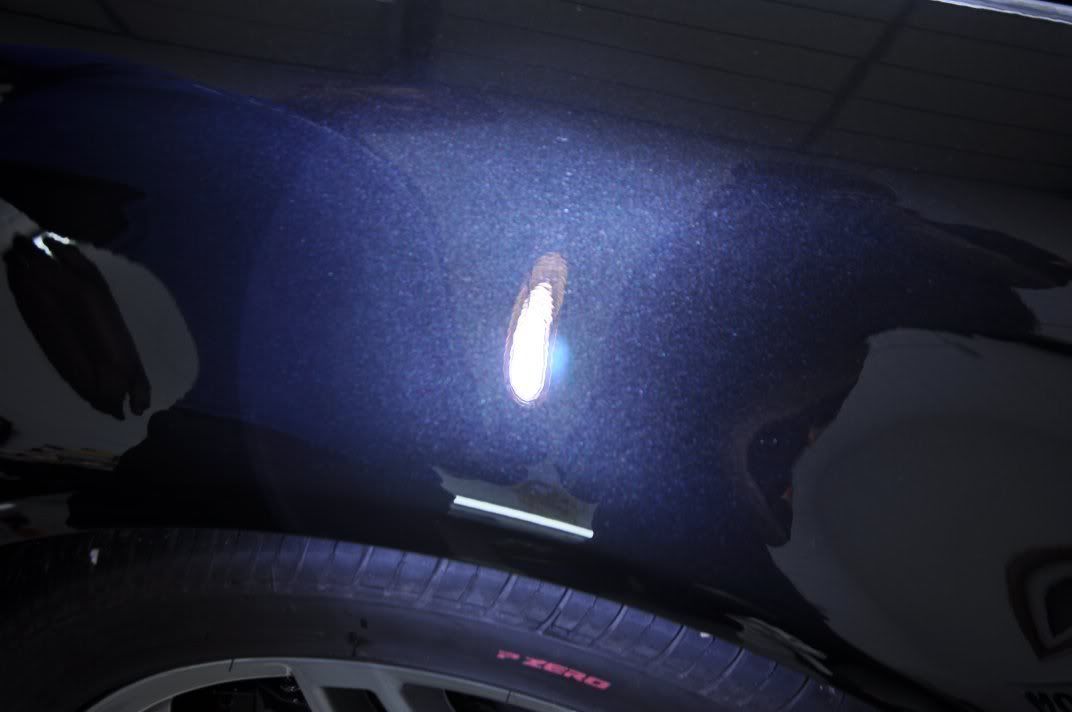
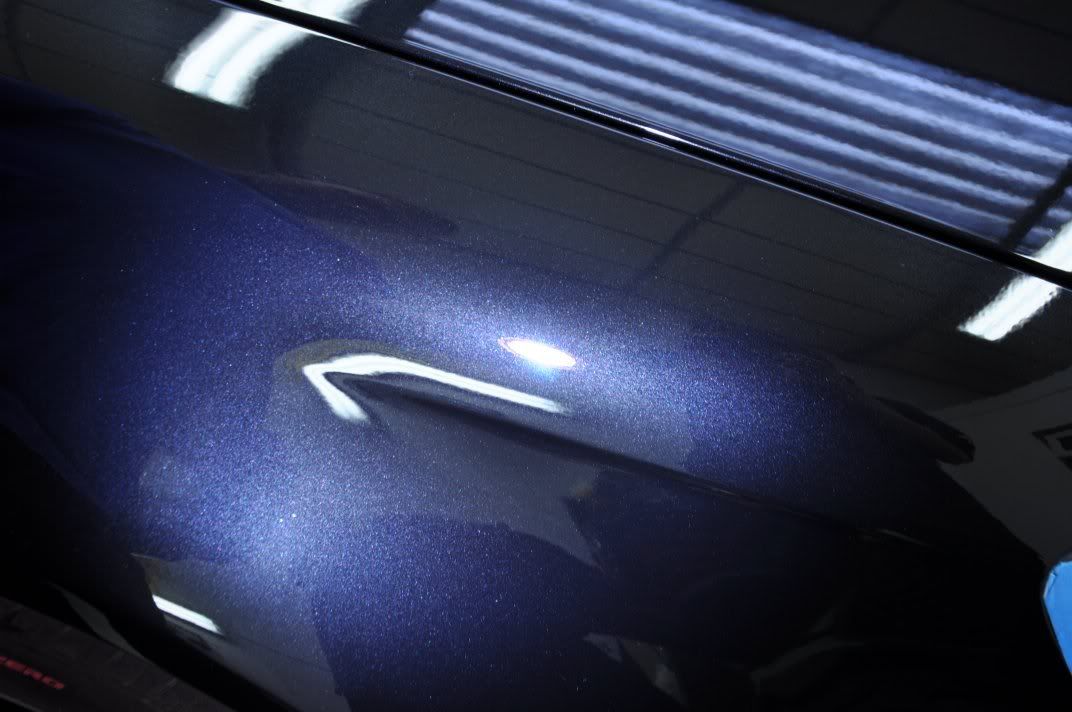
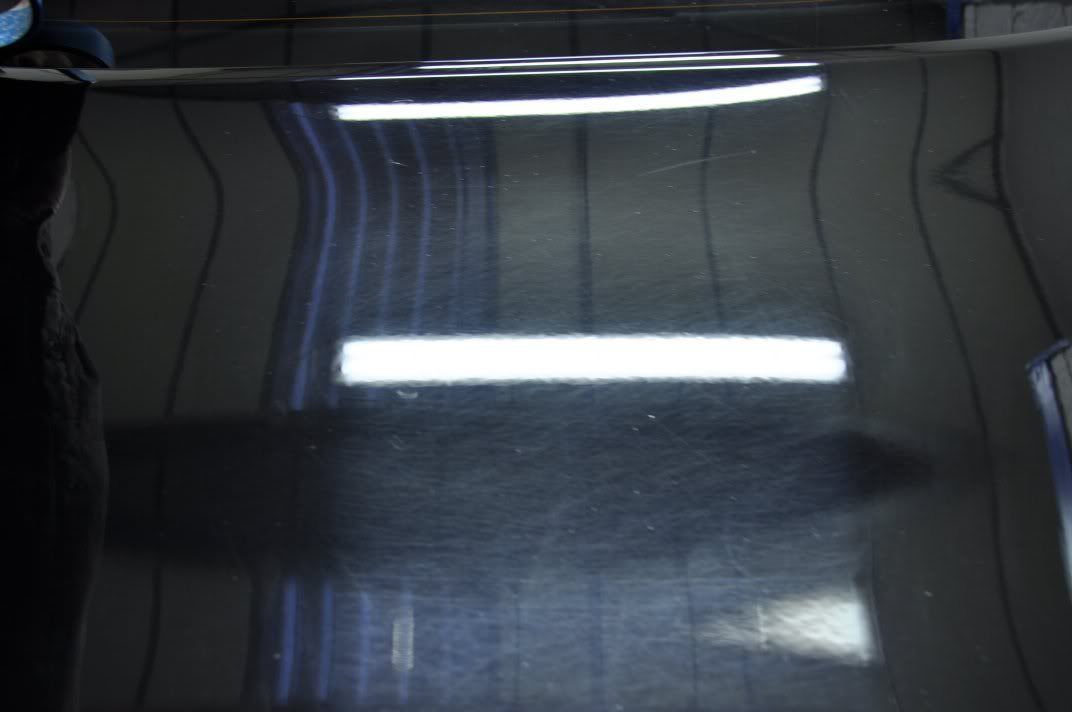
Also some deeper RDS...
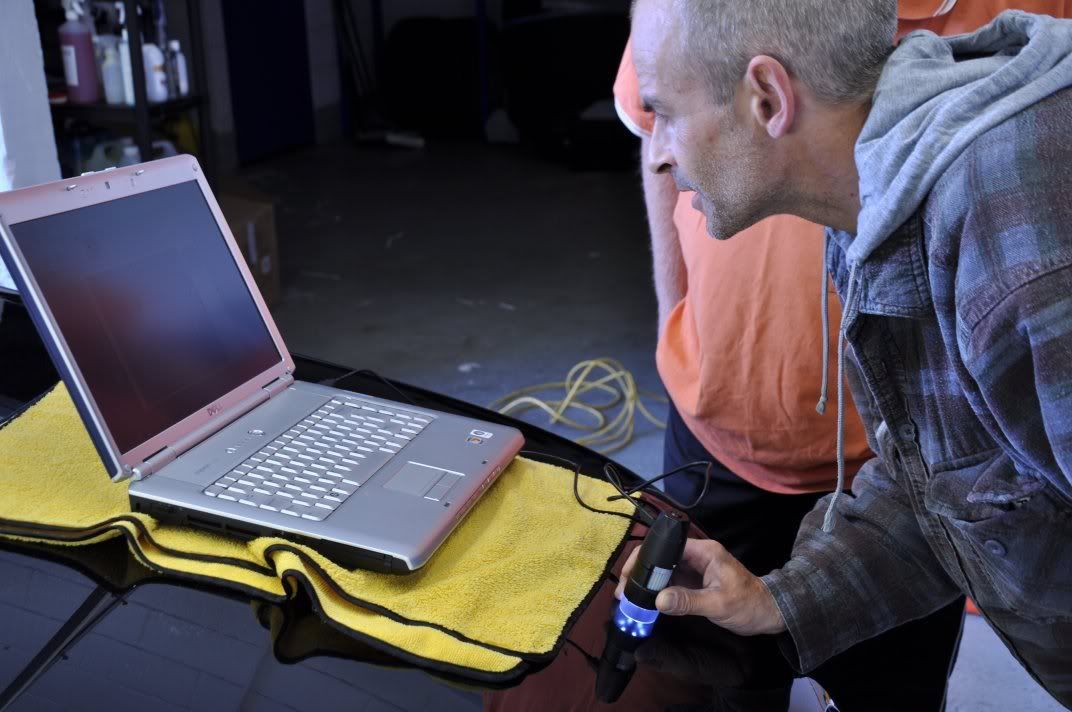
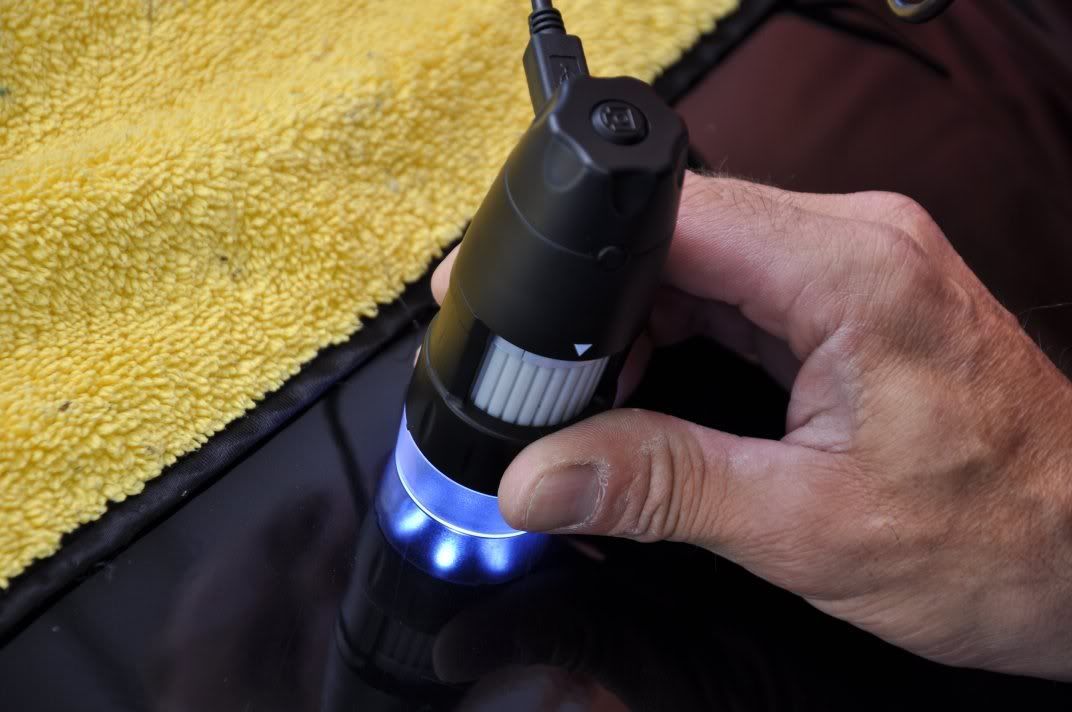
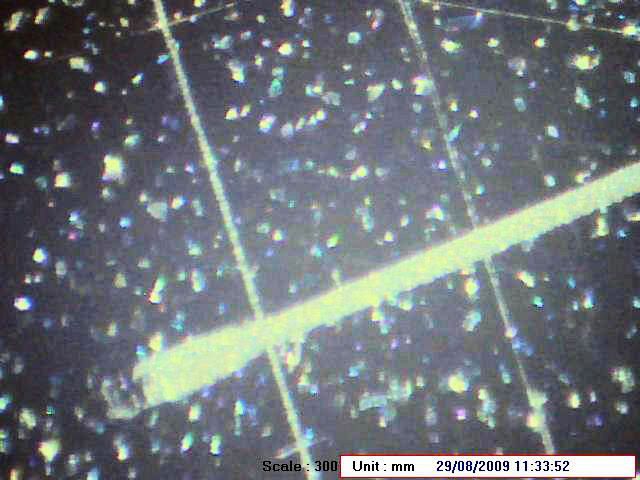
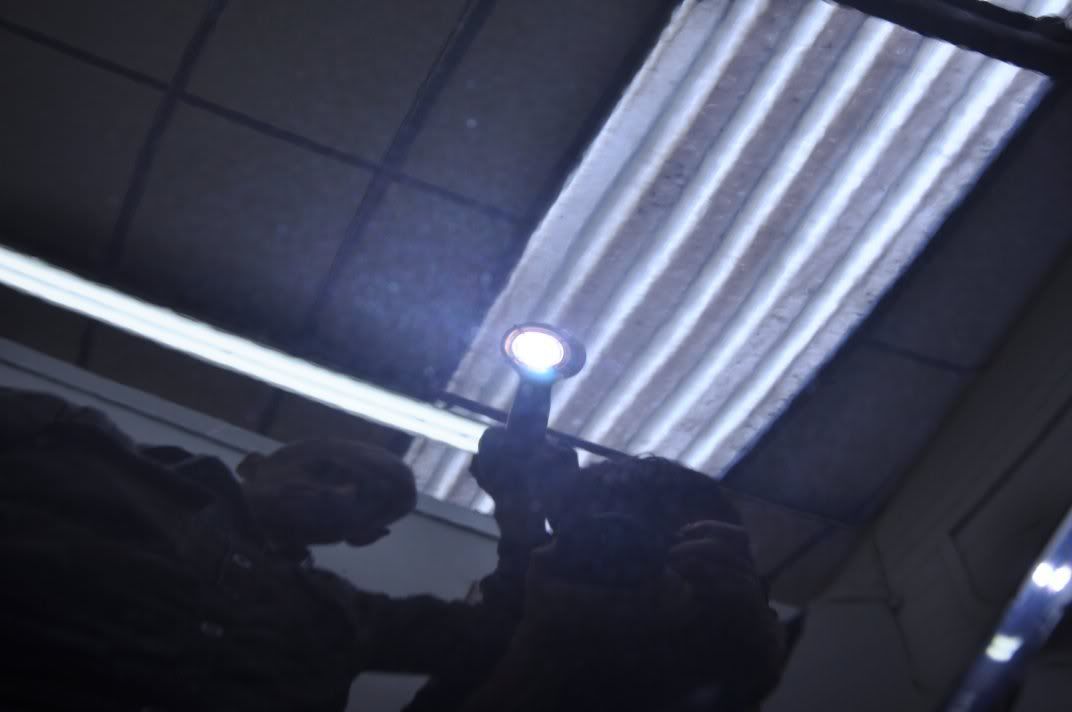
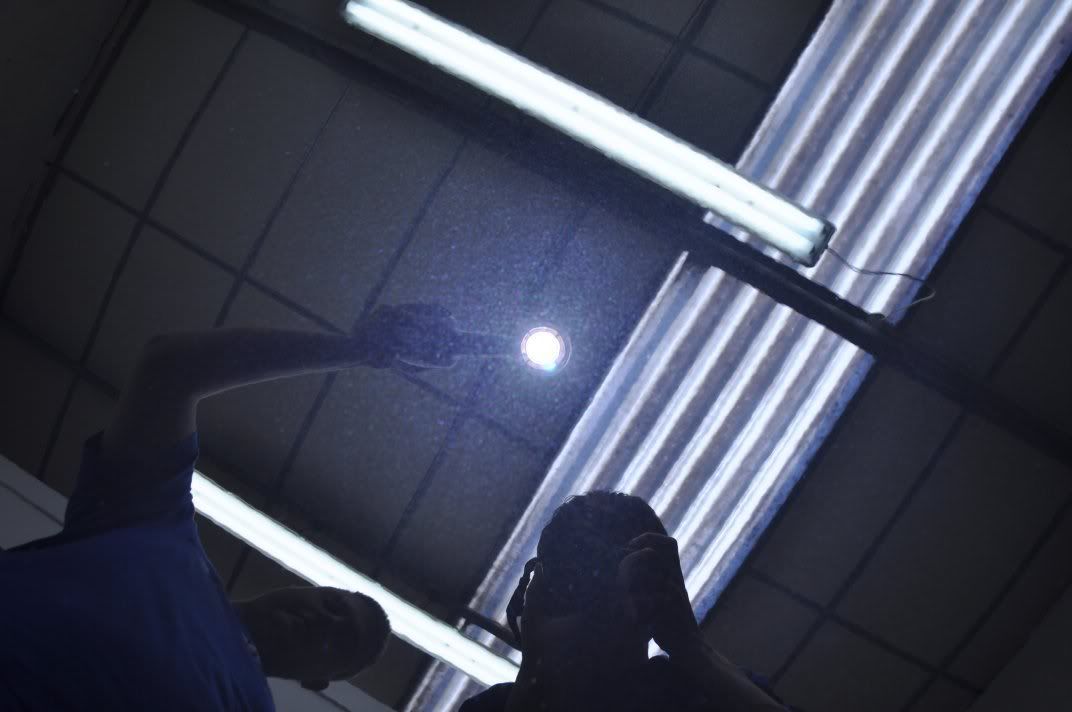
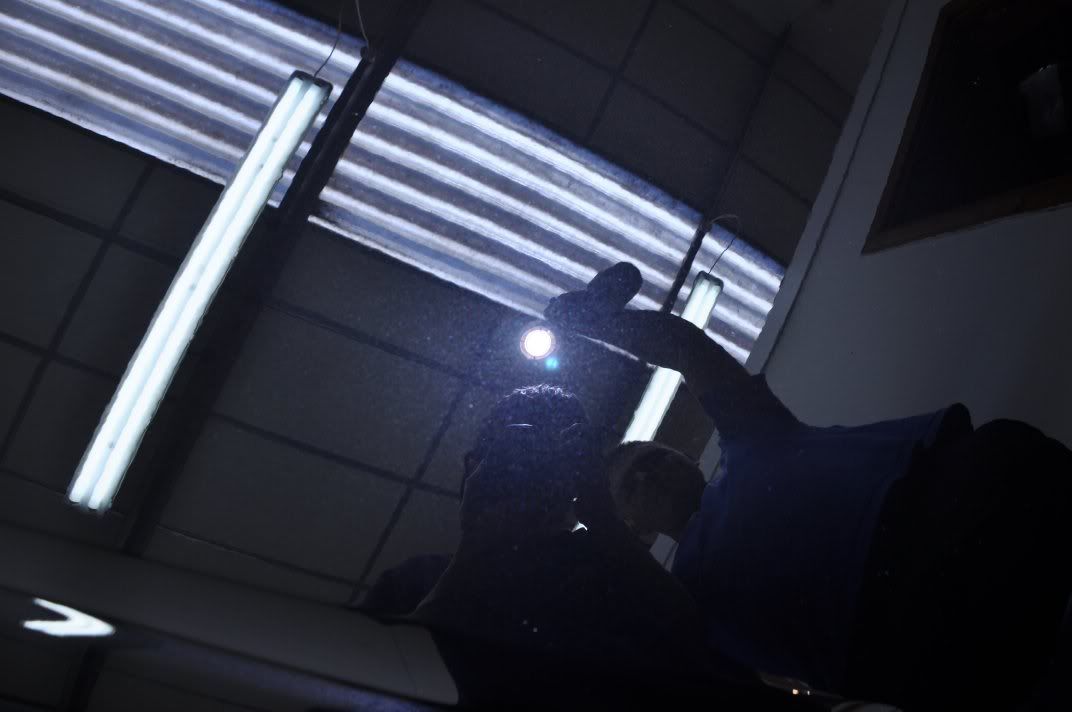
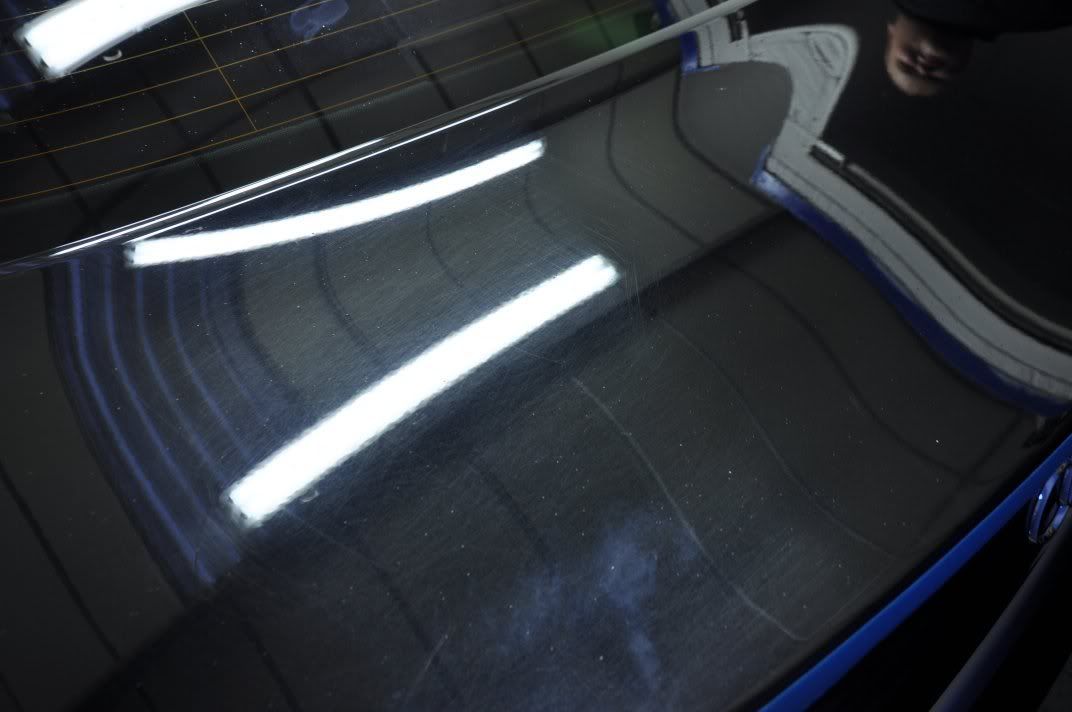
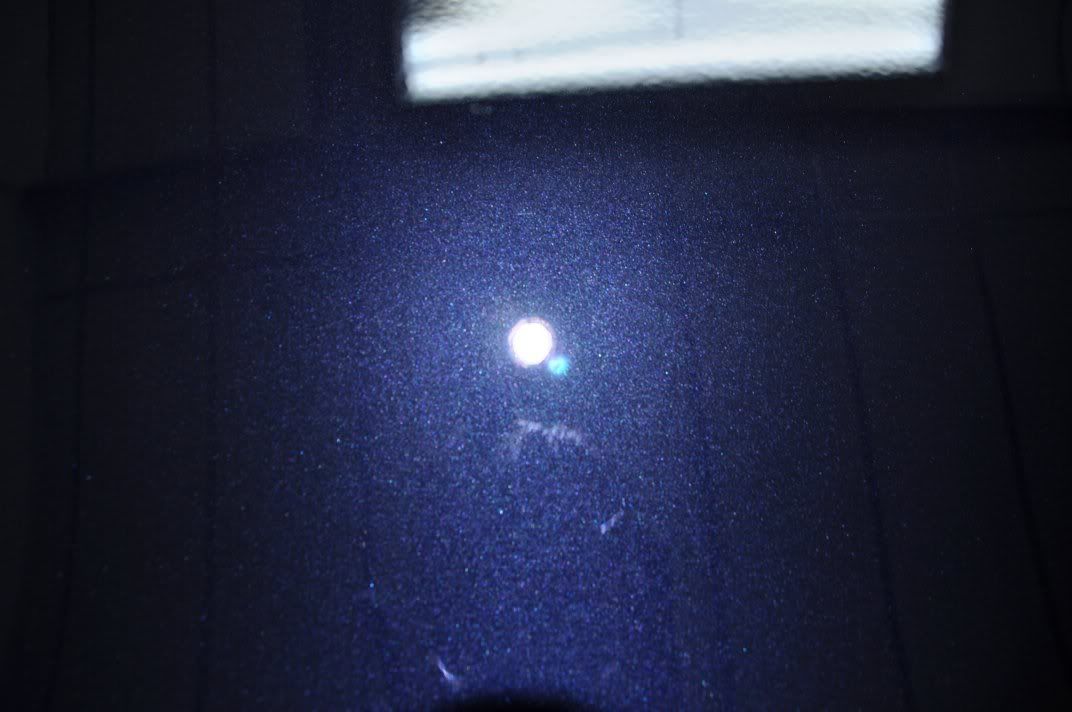
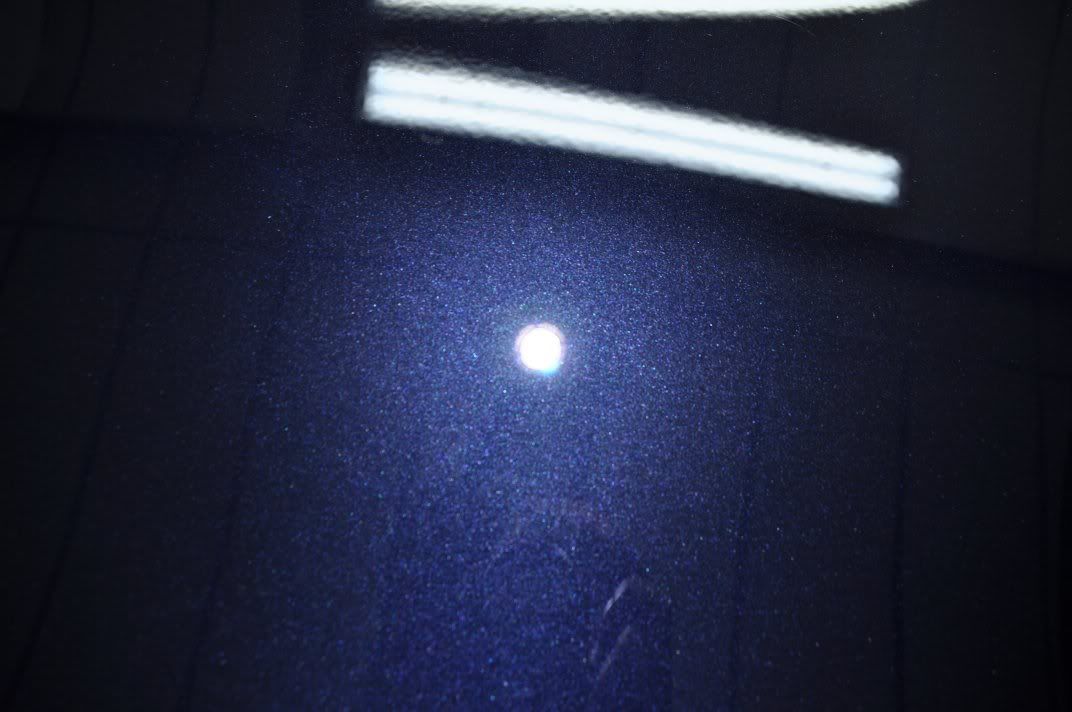
Lets have a closer look at these scratches, shall we ... Out with the microscope, as Gordon has been shopping again - he's a bit like Q, gadget for everything! :lol::lol:
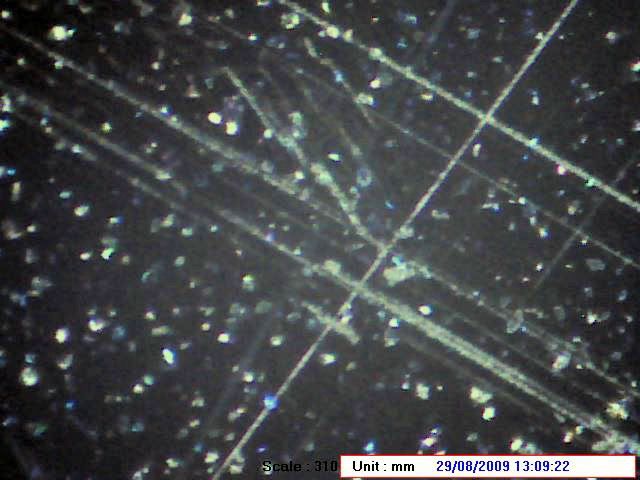
Useful for really seeing the severity of the mark however, and you can see here that the scratch is actually just fractured clearcoat, and a lot of this can be removed by "deburring" which rounds the edge of the mark and fully removed then by reducing the thickness... couple of microsciope images of the scratch:
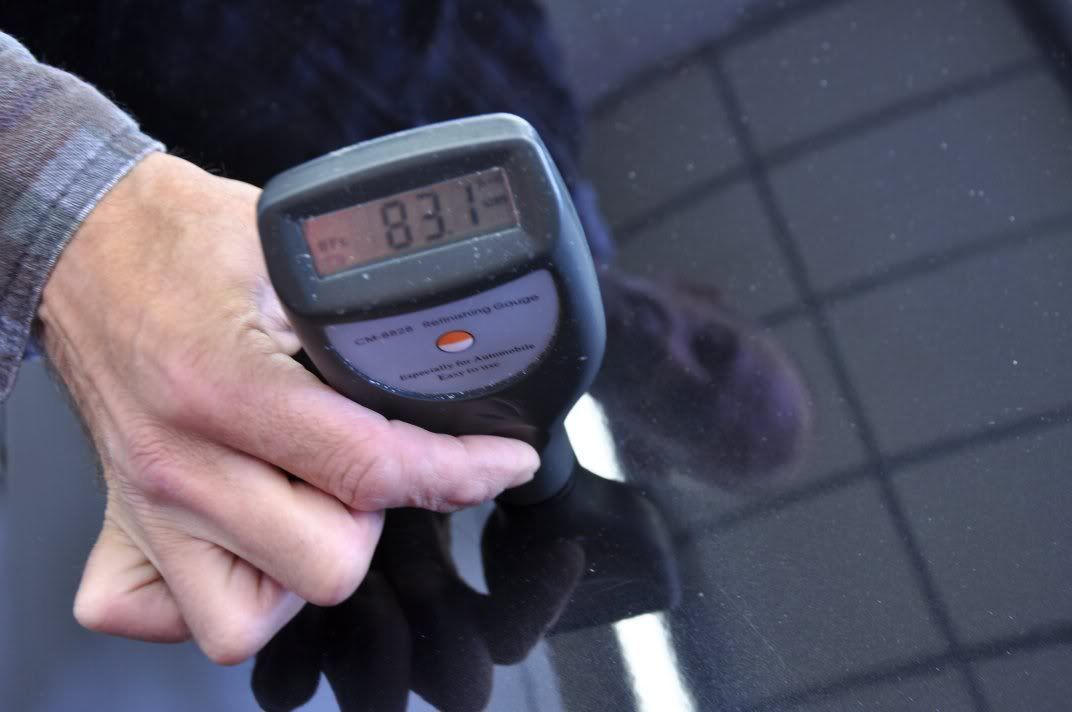
Our task now was to machine polish these marks out, which you may think would require heavy compounding on an Audi... but before jumping in with anything aggressive we start with a light cutting combo and assess the paint, both the correction achieved and the removal rates. Average thicknesses recorded on test spots, and re-measured (at constant temperature, monitored by IR thermometer) after each polishing set to assess the amount of paint removed, highly important when this is the observed thickness around the RDS...
:doublesho
Great!
Test section av thickness: 78.4 +/- 0.5um
So out with 106FA Final Finish on a white Chemical Guys Hexlogic Polishing pad, applied using the standard Zenith point technique as follows:
Max panel temp reached during set: 60.1degC.
Results... the RDS were still not removed, but reduced slightly (deburred, taking the whiteness away), and significant removal of the swirls as well:

Panel thickness after set: 79.5 +/- 1.2um
You may think its gone up, but this is simply showing little or no paint removed, amount removed inside the readings errors... With this in mind, I stepped up the cutting combo to Menzerna PO85RD3.02 Intensive Polish on a Hexlogic White. Applied using the standard Zenith Point technique as described...
Max panel temp during set: 57.3degC (less than Final Finish, interesting)
Results after show better removal of the RDS, full removal of the swirls, but still not perfect...
Thickness after this set: 79.0um
So still very little paint removed, pointing to this finish being quite hard and falling into the traditional Audi category - interesting to see how litlte paint needs to be removed for swirl correction, though
To step thing to the next level, I went for a Green heavy polishing hexlogic pad to bring the cut up a wee bit, and changed to a Regenerating technique for the polish application, as follows:
The additional work time from IP allows LSP ready finishing on polishing pads, matching 85RD in my experience, and on heavier polishing pads a little extra cut from the abrasives. You can tell the polish is being worked harder...
Max panel temp during set: 86.1degC
And the results, now much better indeed:
Its still not quite perfect though and given the current thickness is still reading 79um, indicating very low removal rates, we took the decision to step up to 3M Fast Cut Plus on selected areas for full removal. This decision was taken based on the observed removal rates, as without this info, it would be impossible to really know what an aggressive compound would do! FC+ was applied as follows, purely for correction:
Highest panel temp recorded during set: 60.2degC.
Results... better, even perfect:
Just needs refined
Paint thickness of 76.2um now, so overall removal from the testing and correction was just a couple of microns, safe even on this thinner paint.
Having assessed the paint, we now had the techniques for correcting the car. Paint correction was either Intensive Polish, or 3M Fast Cut applied as follows:
Intensive Polish
Fast Cut Plus
And refining was carried out using my favourite finishing polish - Meguiars #205, using a Double Zenith technique was follows:
Typical refining set time was four to five minutes, but the above method really does get a lot out of #205, and delivers a lot for the finish.
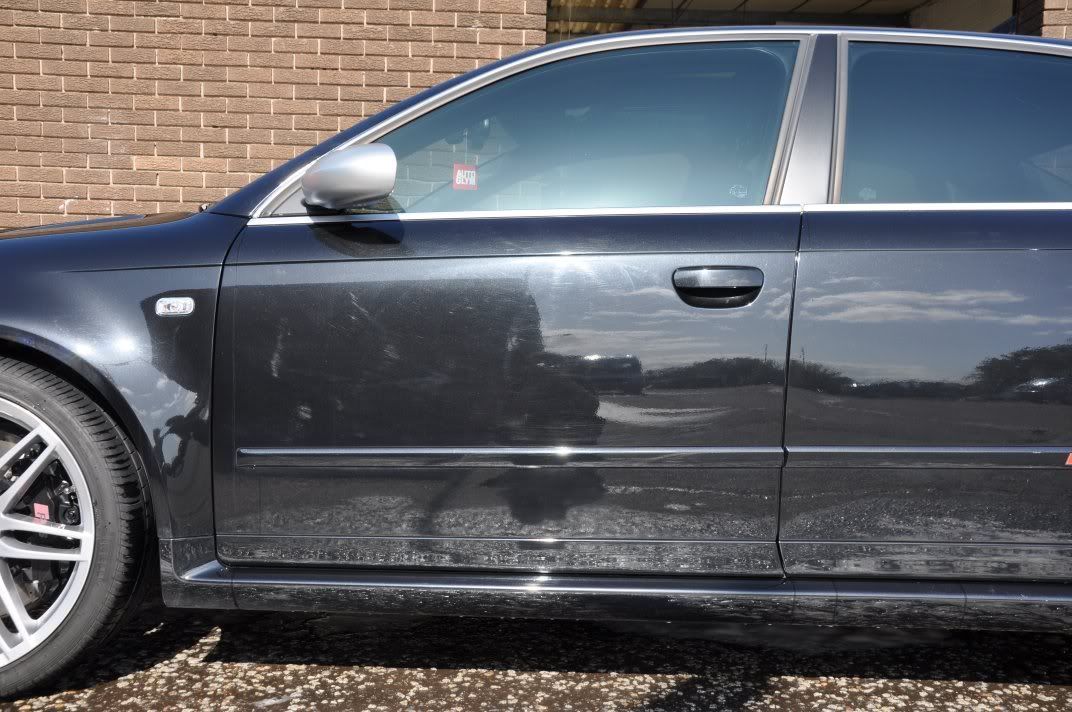
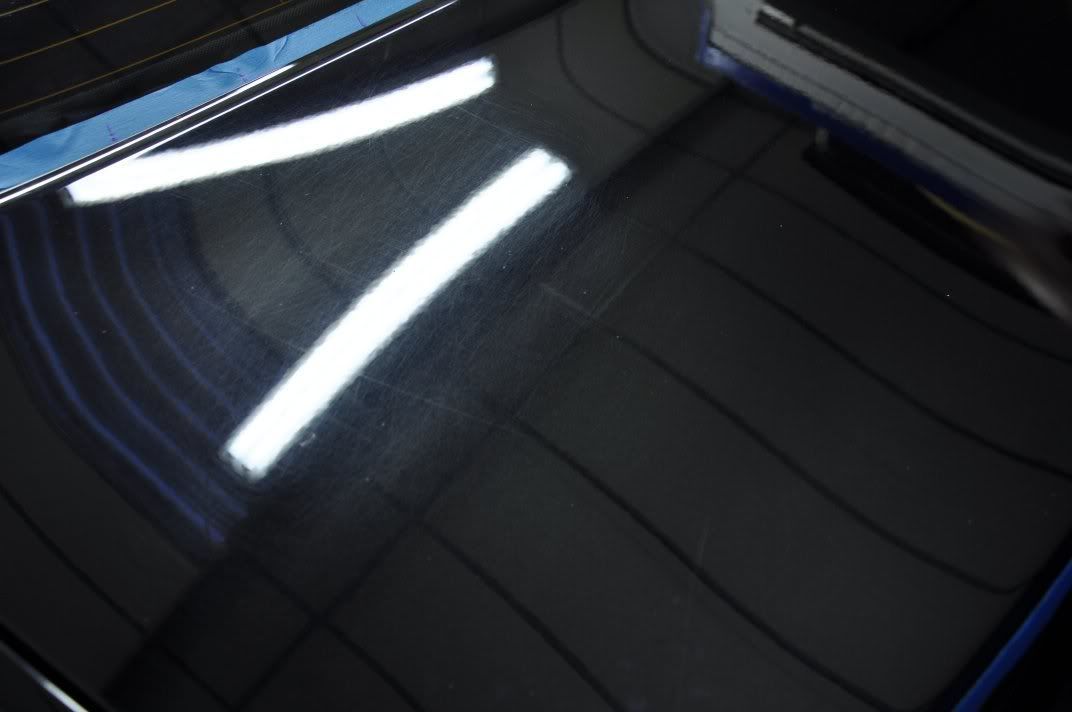
General before pics...
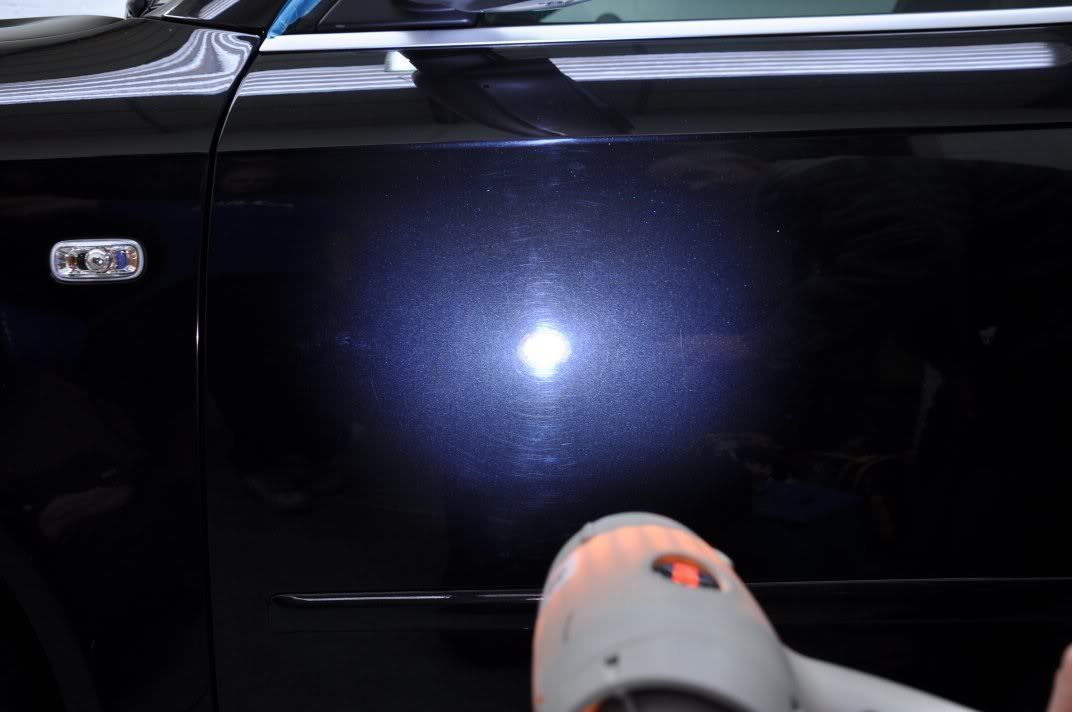
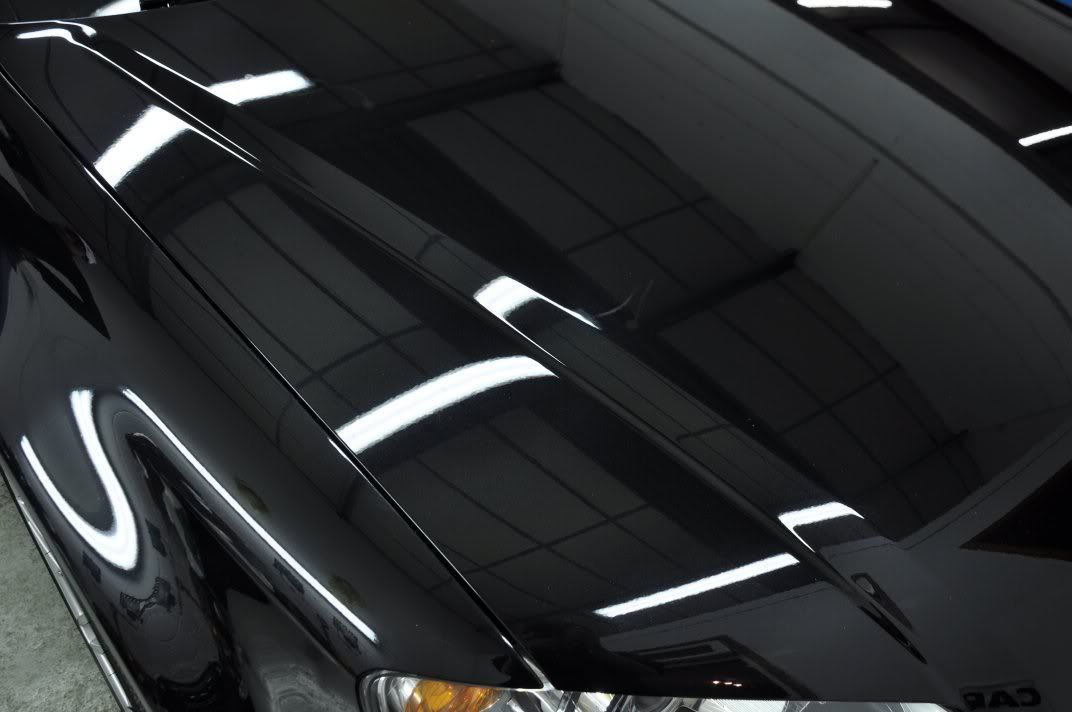
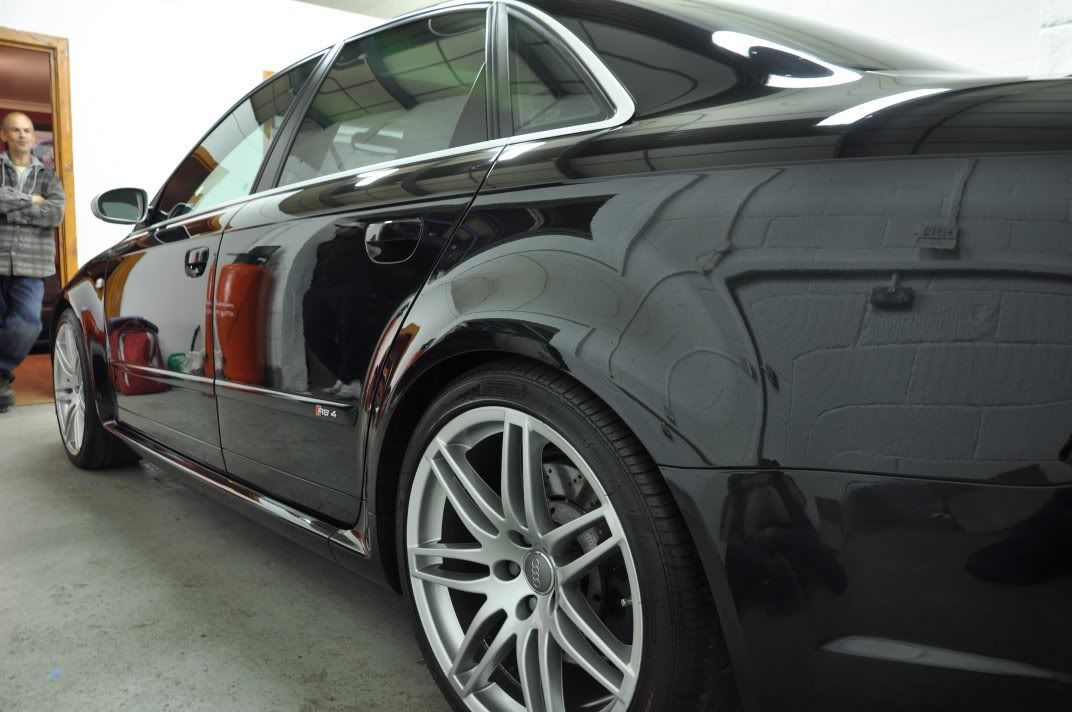
And after polishing shots...

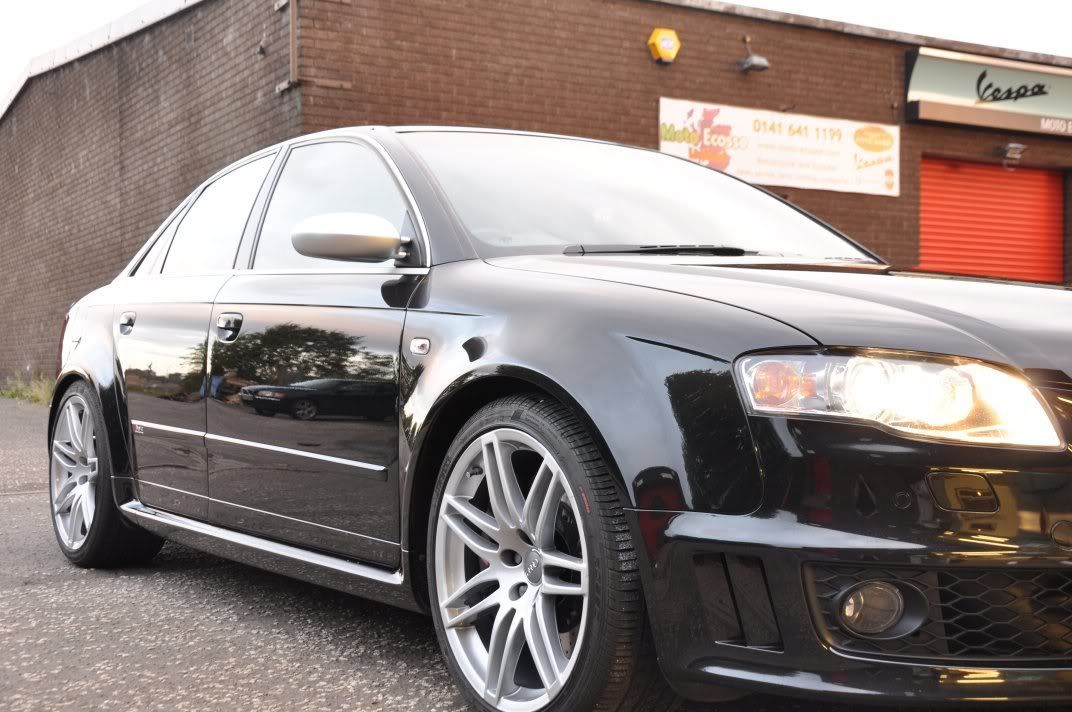
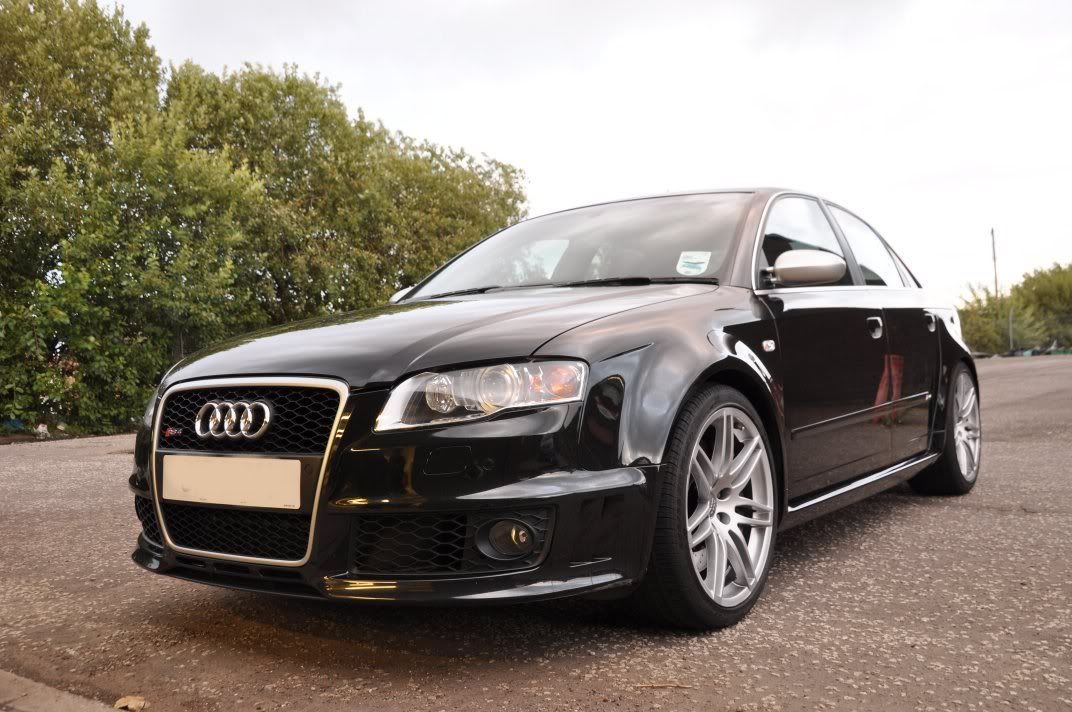
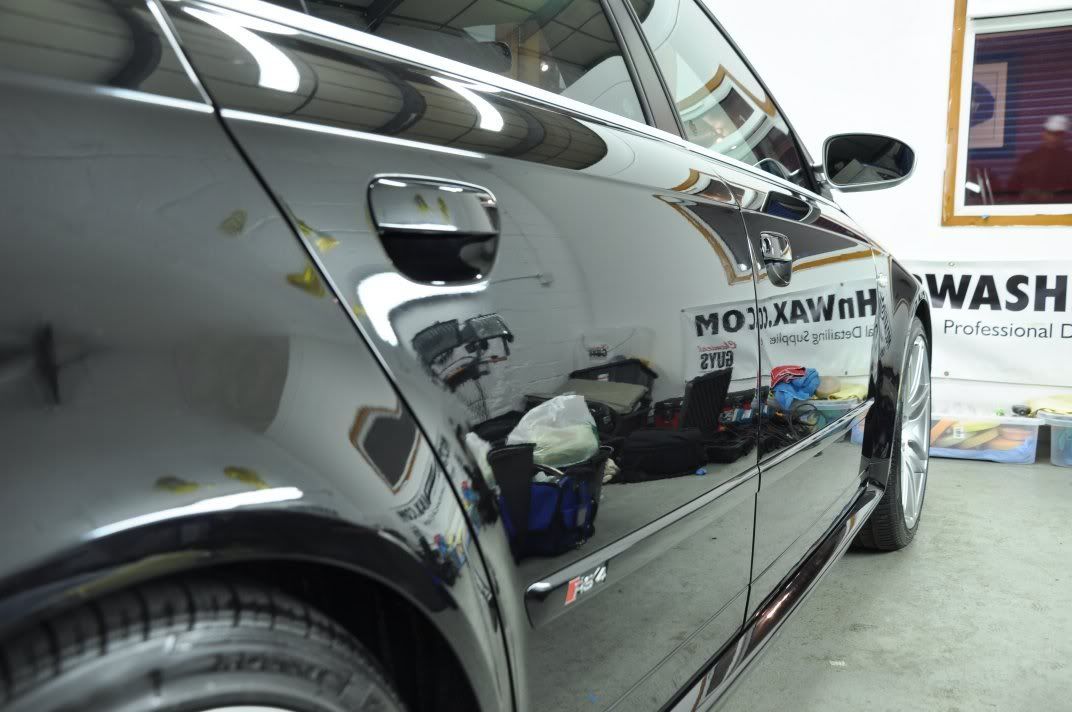
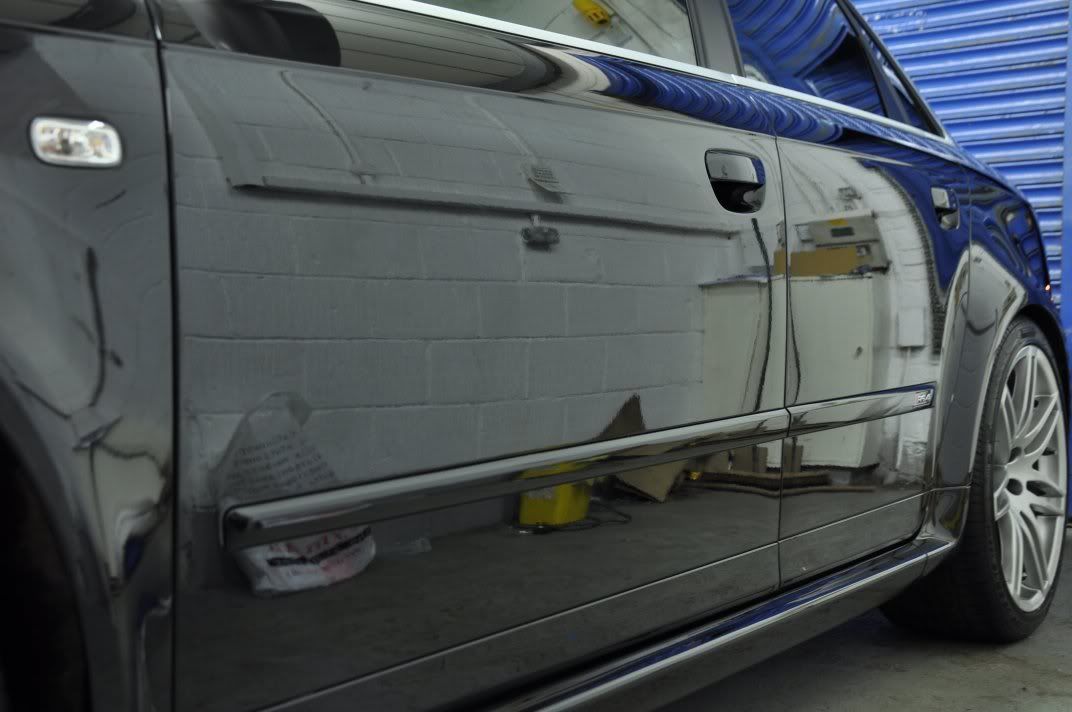
With time wearing on, we decided to roll the car out at circa 8pm - sides, bonnet and roof machine polishes (bumpers and bonnet not) to allow for some daylight pics of the work in progress to give you an idea of the machine finish in daylight...

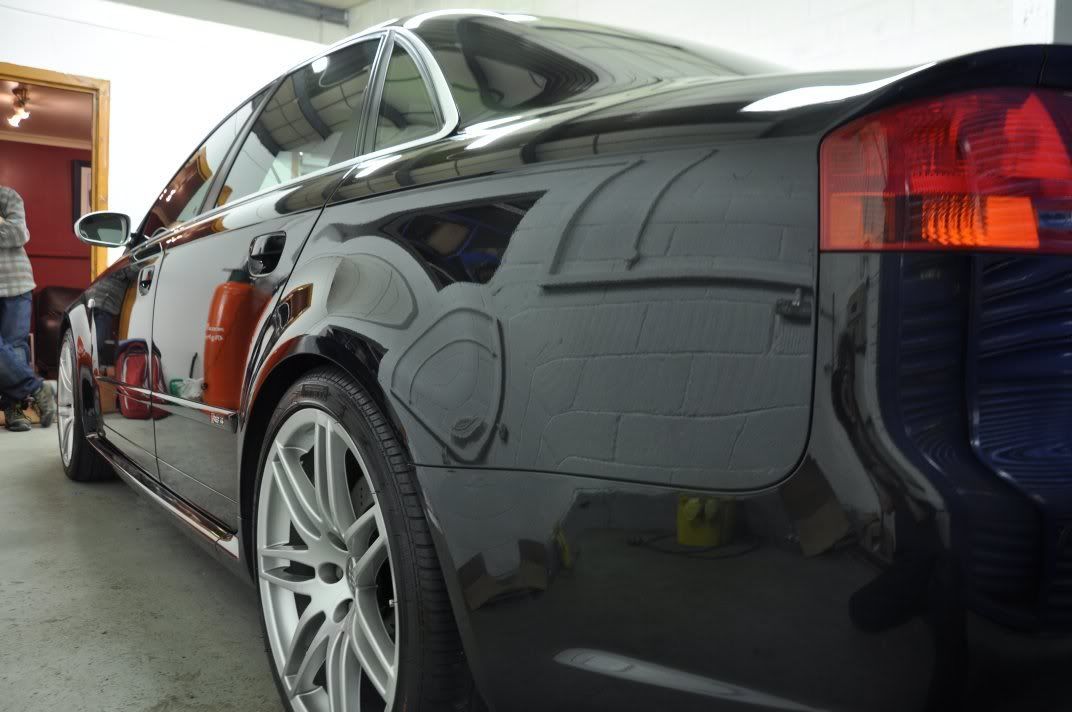
Back inside, time to finish off You may remember I mentioned the boot at the start, for being the worst panel... well, I wasn't joking! Under the strip lights you can see all the deep marks...
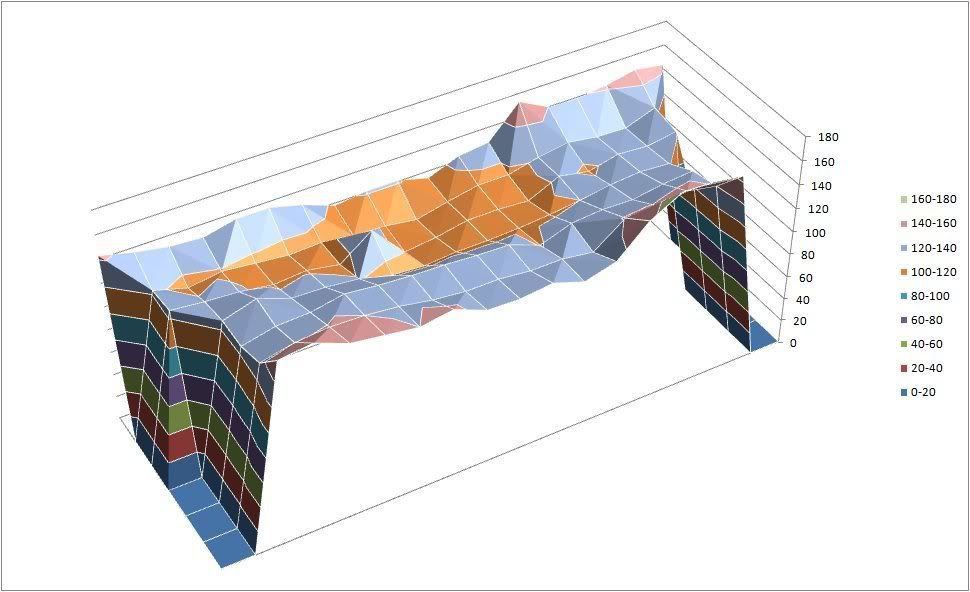
A paint map of the bootlid area before...
Correction was Fast Cut Plus, two hits required for a lot of the lateral running deep marks, followed by #205 to refine, giving the paint thicknesses after to be...
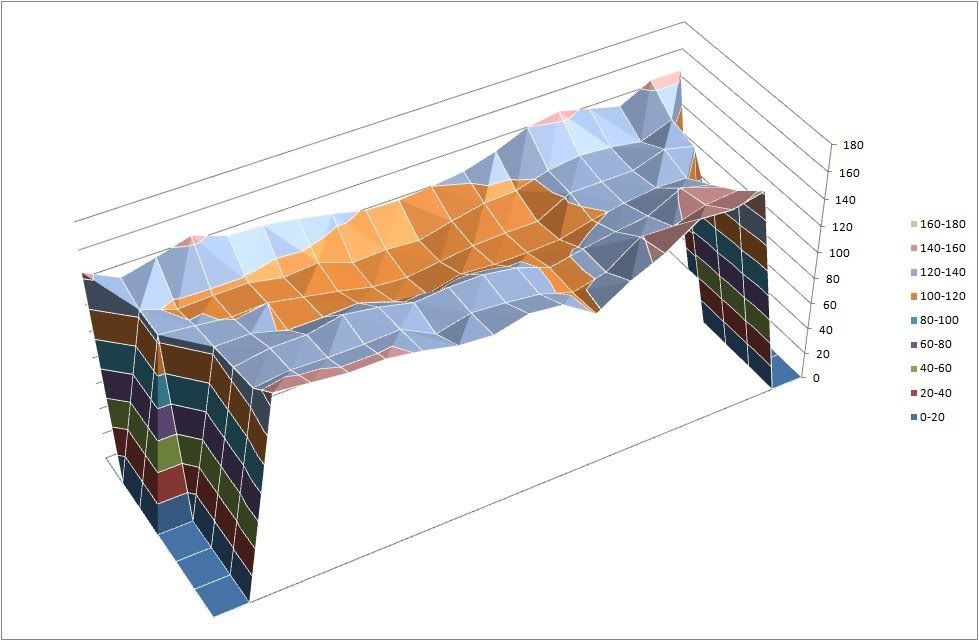
Notice how the orange area has grown, ie the paint has been thinned across the panel to achieve the correction.
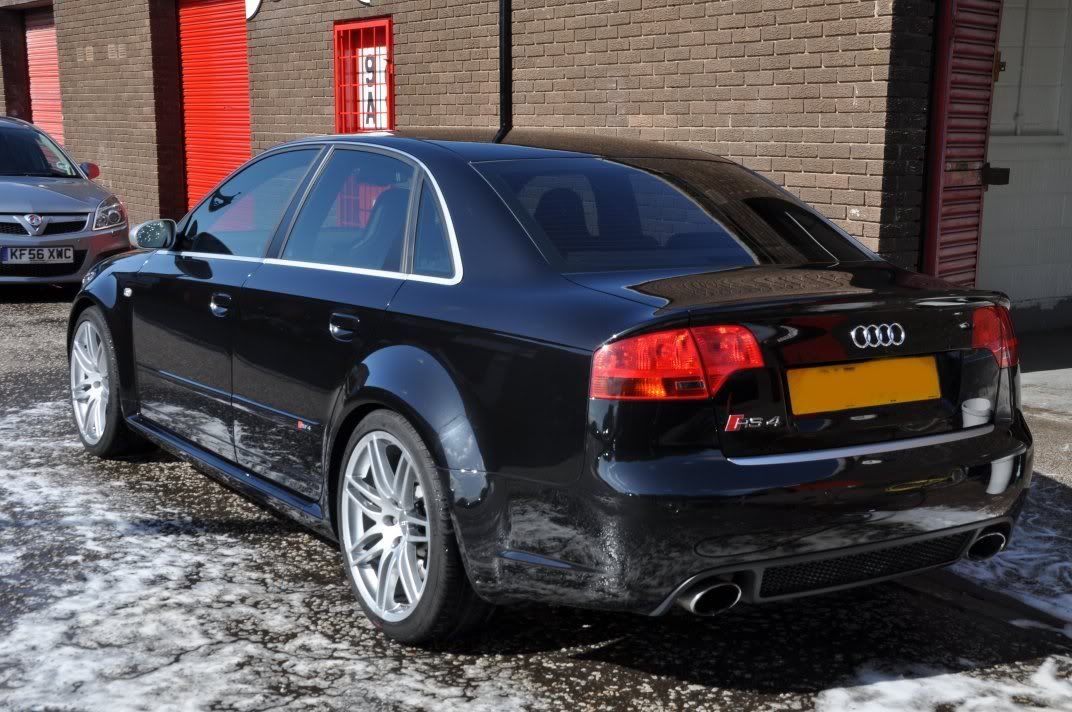
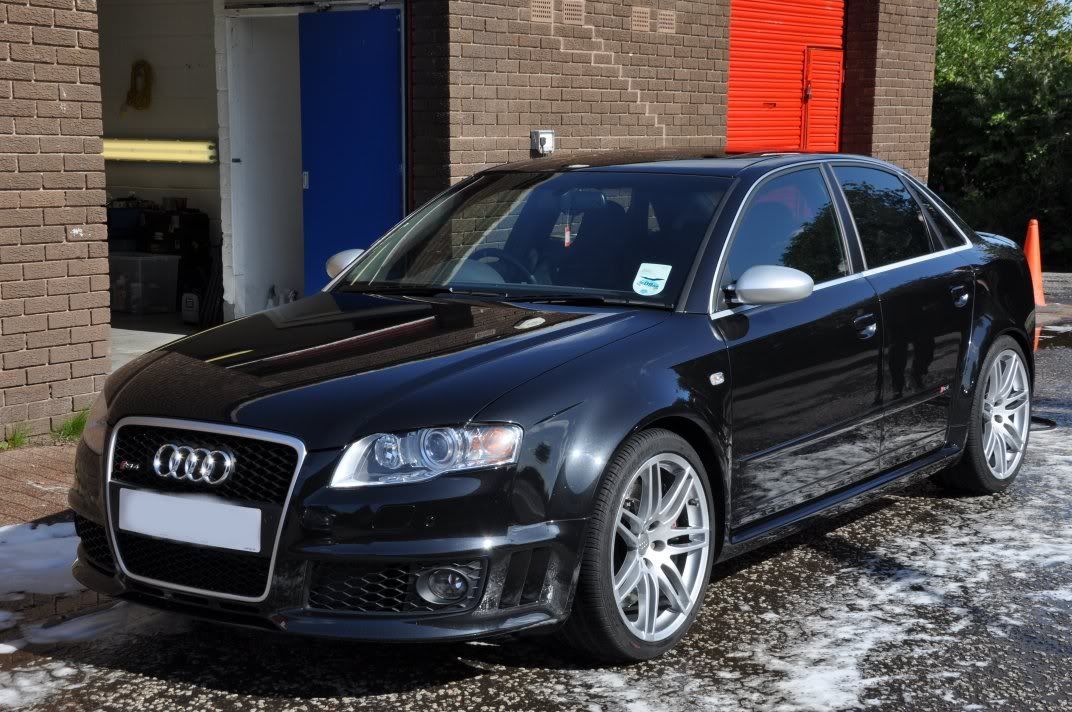
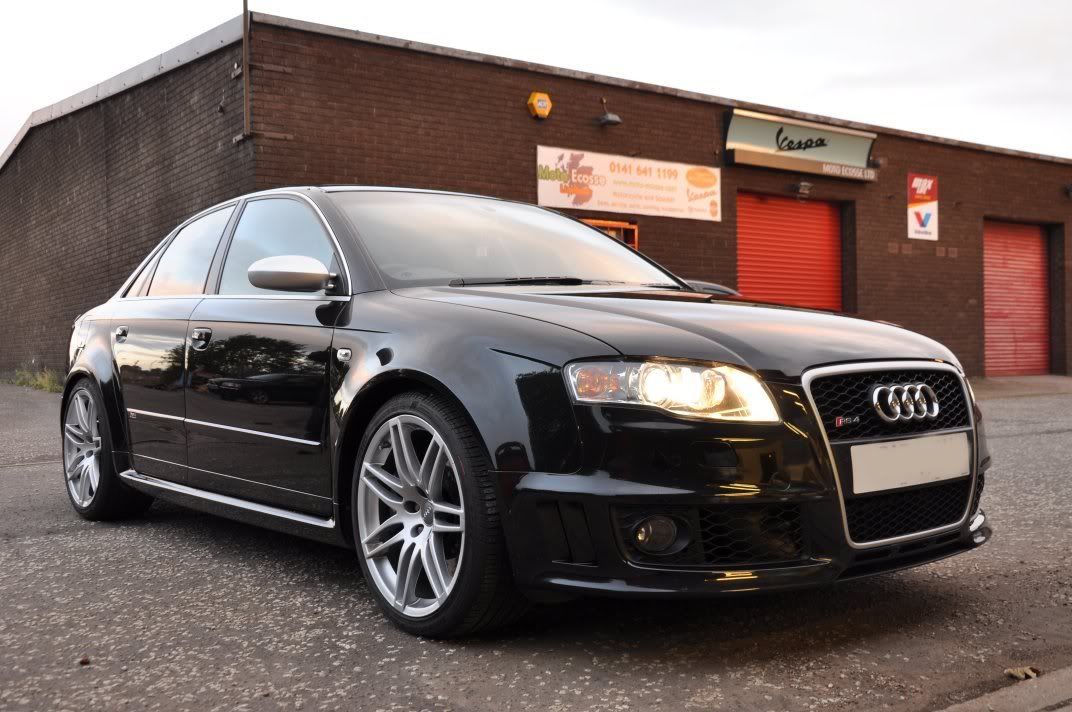
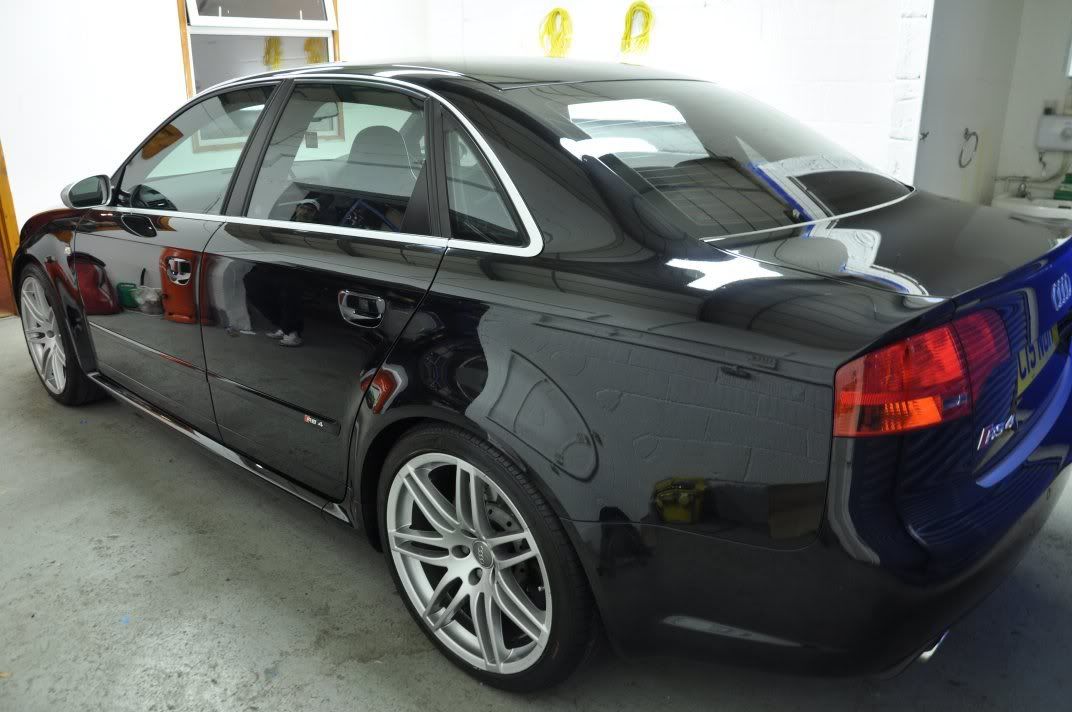
Worth it though, here's the afters...
Deep enough?

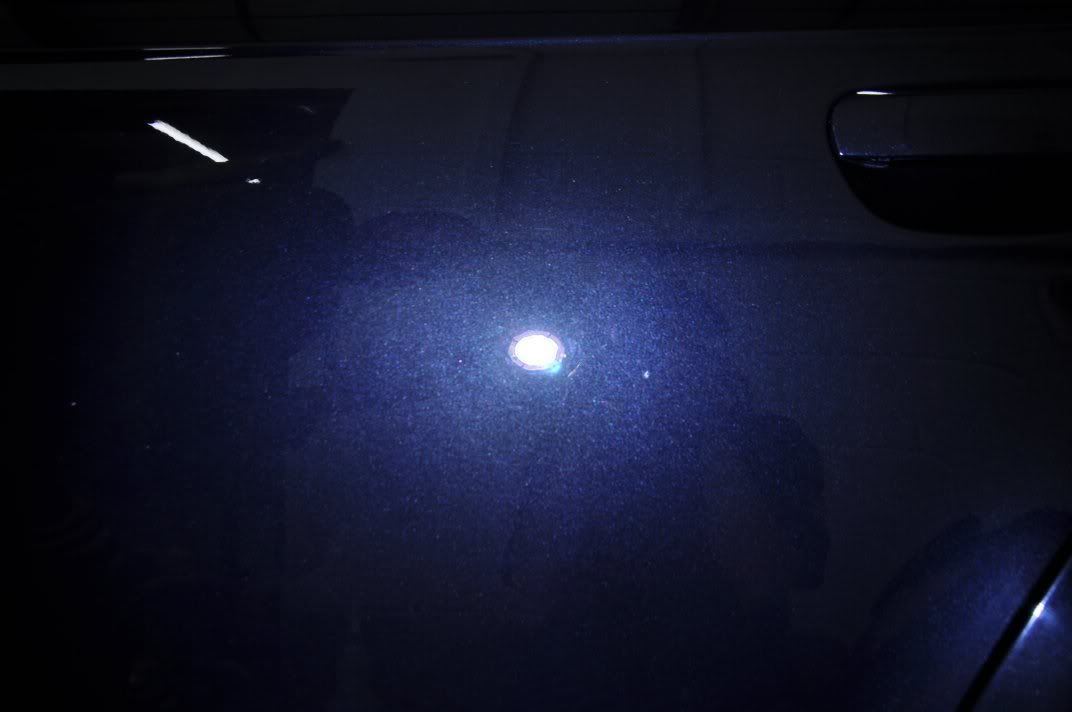
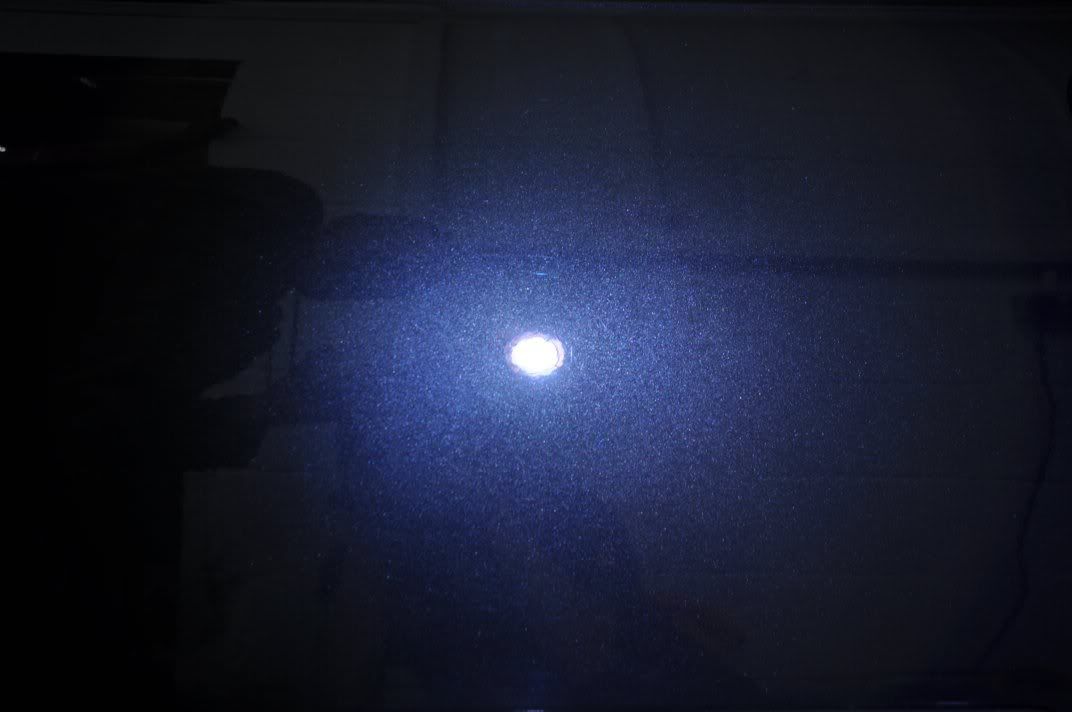
Lets really assess the quality of the finish - Sun Gun:
Happy with that
The paintwork was protected using a high quality, durable wax that is ideal for topping off a day's hard work with a machine polisher - Meguiars #16 Damn good value too, and performance to match products ten times its price! :thumb:
Glass was cleaned with Duragloss 751, Wheels with FK1000P, tyres with CG New Look.
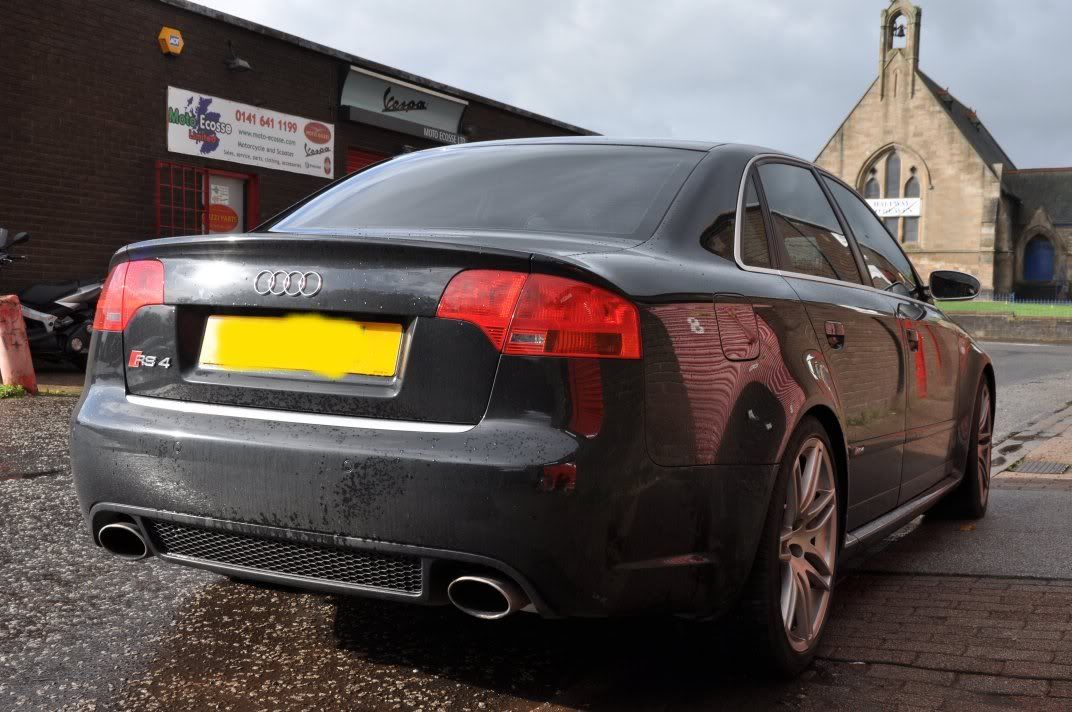
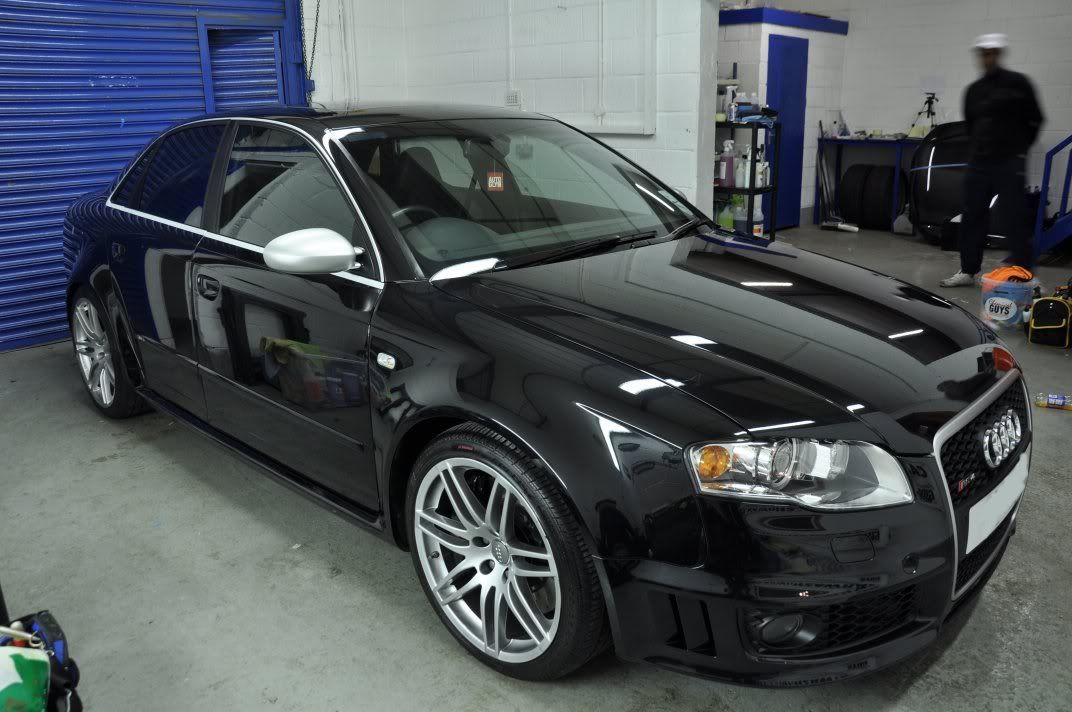
After shots, taken after midnight (and after a veritable feast from the local chippy, which was closing so just chucked all the remaining food in a bag for us!! Haggis, 2 sausages, steak pie, mince pie, black pudding, and a half pizza, and chips - between three of us, for a fiver)...
Big thanks go to Gordon (caledonia), and Davy (badly_dubbed) for joining me and forming what I consider to be a fantastic team - great laughs, great detailing guys
:thumb:
- for an exterior detail of his car. This detail was actually carried out last weekend, but I've been away drinking (sorry, learning Physics!! - I meant to say learning!!) in Frankfurt this week so haven't had much online time
The car on arrival was as you'd expect - general road grime, which would need to be cleaned off before we could really assess the paint. The car on arrival:
Fair share of swirls you can see already though!
The car was washed in preparation for paint correction. Wheels with Bilberry, arches and tyres with G101, prefoam and rinse and then washed using Zaino Z7 and two bucket wash method. Rinsed off and dried and the car was already looking much better...
Under the sunlight, however, it is clear to see that the finish is covered in general swirls...
The boot was the worst panel on the car...
More on that later
The car was rolled into the unit, clayed and readied for polishing.
We decided to start on the bonnet...
Also some deeper RDS...
Lets have a closer look at these scratches, shall we
... Out with the microscope, as Gordon has been shopping again - he's a bit like Q, gadget for everything! :lol::lol:Useful for really seeing the severity of the mark however, and you can see here that the scratch is actually just fractured clearcoat, and a lot of this can be removed by "deburring" which rounds the edge of the mark and fully removed then by reducing the thickness... couple of microsciope images of the scratch:
Our task now was to machine polish these marks out, which you may think would require heavy compounding on an Audi... but before jumping in with anything aggressive we start with a light cutting combo and assess the paint, both the correction achieved and the removal rates. Average thicknesses recorded on test spots, and re-measured (at constant temperature, monitored by IR thermometer) after each polishing set to assess the amount of paint removed, highly important when this is the observed thickness around the RDS...
:doublesho
Great!
Test section av thickness: 78.4 +/- 0.5um
So out with 106FA Final Finish on a white Chemical Guys Hexlogic Polishing pad, applied using the standard Zenith point technique as follows:
- Spread at 600rpm, light pressure and slow to medium machine movements to spread the polish
- Begin aorking at 1200rpm, light pressure and slow to moderate passes until the residue evenly spread
- Work at 1800rpm, light to moderate head pressure, increasing to heavy and then back through to light as the residue goes clear. Movement speed slow with fast sets inbetween the pin panel temperatures...
- Refine at 1200rpm, light pressure and slow machine movements for a couple of passes
Max panel temp reached during set: 60.1degC.
Results... the RDS were still not removed, but reduced slightly (deburred, taking the whiteness away), and significant removal of the swirls as well:
Panel thickness after set: 79.5 +/- 1.2um
You may think its gone up, but this is simply showing little or no paint removed, amount removed inside the readings errors... With this in mind, I stepped up the cutting combo to Menzerna PO85RD3.02 Intensive Polish on a Hexlogic White. Applied using the standard Zenith Point technique as described...
- Spread at 600rpm, light pressure and slow to medium machine movements to spread the polish
- Begin aorking at 1200rpm, light pressure and slow to moderate passes until the residue evenly spread
- Work at 1800rpm, light to moderate head pressure, increasing to heavy and then back through to light as the residue goes clear. Movement speed slow with fast sets inbetween the pin panel temperatures...
- Refine at 1200rpm, light pressure and slow machine movements for a couple of passes
Max panel temp during set: 57.3degC (less than Final Finish, interesting
)Results after show better removal of the RDS, full removal of the swirls, but still not perfect...
Thickness after this set: 79.0um
So still very little paint removed, pointing to this finish being quite hard and falling into the traditional Audi category - interesting to see how litlte paint needs to be removed for swirl correction, though
To step thing to the next level, I went for a Green heavy polishing hexlogic pad to bring the cut up a wee bit, and changed to a Regenerating technique for the polish application, as follows:
- Spread at 600rpm, light pressure and slow to medium machine movements to spread the polish
- Begin working at 1200rpm, light pressure and slow to moderate passes until the residue evenly spread
- Work at 1800rpm, moderate head pressure, increasing to heavy and then back through to light as the residue goes clear.
- Reduce speed to 1200rpm, slow passes with light pressure until residue "come back" with cooling panel temp
- Increase back to 1800rpm, moderate to heavy pressure and slow machine movements until residue clear again
- Refine at 1200rpm
The additional work time from IP allows LSP ready finishing on polishing pads, matching 85RD in my experience, and on heavier polishing pads a little extra cut from the abrasives. You can tell the polish is being worked harder...
Max panel temp during set: 86.1degC
And the results, now much better indeed:
Its still not quite perfect though and given the current thickness is still reading 79um, indicating very low removal rates, we took the decision to step up to 3M Fast Cut Plus on selected areas for full removal. This decision was taken based on the observed removal rates, as without this info, it would be impossible to really know what an aggressive compound would do! FC+ was applied as follows, purely for correction:
- Spread at 600rpm
- Begin working at 1200rpm, light pressure to get residue evenly spread
- Work at 2000rpm, moderate head pressure and medium to fast machine passes to keep panel temps low
Highest panel temp recorded during set: 60.2degC.
Results... better, even perfect
:Just needs refined
Paint thickness of 76.2um now, so overall removal from the testing and correction was just a couple of microns, safe even on this thinner paint.
Having assessed the paint, we now had the techniques for correcting the car. Paint correction was either Intensive Polish, or 3M Fast Cut applied as follows:
Intensive Polish
- Spread at 600rpm, light pressure and slow to medium machine movements to spread the polish
- Begin working at 1200rpm, light pressure and slow to moderate passes until the residue evenly spread
- Work at 1800rpm, moderate head pressure, increasing to heavy and then back through to light as the residue goes clear.
- Reduce speed to 1200rpm, slow passes with light pressure until residue "come back" with cooling panel temp
- Increase back to 1800rpm, moderate to heavy pressure and slow machine movements until residue clear again
- Refine at 1200rpm
Fast Cut Plus
- Spread at 600rpm
- Begin working at 1200rpm, light pressure to get residue evenly spread
- Work at 2000rpm, moderate head pressure and medium to fast machine passes to keep panel temps low
And refining was carried out using my favourite finishing polish - Meguiars #205, using a Double Zenith technique was follows:
- Spread at 600rpm
- Begin working at 1200rpm, light pressure and slow machine movements
- Work at 1500rpm, moderate head pressure and slow machine movements, changing to light pressure and faster movements as polish oils go clearer
- Refine at 1200rpm, light machine pressure and slow passes, for three or four passes
- Burnish at 900rpm, supporting the weight of the rotary, slow passes
Typical refining set time was four to five minutes, but the above method really does get a lot out of #205, and delivers a lot for the finish.
General before pics...
And after polishing shots...
With time wearing on, we decided to roll the car out at circa 8pm - sides, bonnet and roof machine polishes (bumpers and bonnet not) to allow for some daylight pics of the work in progress to give you an idea of the machine finish in daylight...
Back inside, time to finish off
You may remember I mentioned the boot at the start, for being the worst panel... well, I wasn't joking! Under the strip lights you can see all the deep marks...A paint map of the bootlid area before...
Correction was Fast Cut Plus, two hits required for a lot of the lateral running deep marks, followed by #205 to refine, giving the paint thicknesses after to be...
Notice how the orange area has grown, ie the paint has been thinned across the panel to achieve the correction.
Worth it though, here's the afters...
Deep enough?
Lets really assess the quality of the finish - Sun Gun:
Happy with that
The paintwork was protected using a high quality, durable wax that is ideal for topping off a day's hard work with a machine polisher - Meguiars #16
Damn good value too, and performance to match products ten times its price! :thumb:Glass was cleaned with Duragloss 751, Wheels with FK1000P, tyres with CG New Look.
After shots, taken after midnight (and after a veritable feast from the local chippy, which was closing so just chucked all the remaining food in a bag for us!! Haggis, 2 sausages, steak pie, mince pie, black pudding, and a half pizza, and chips - between three of us, for a fiver
)...Big thanks go to Gordon (caledonia), and Davy (badly_dubbed) for joining me and forming what I consider to be a fantastic team - great laughs, great detailing guys
:thumb:
Comment