

 Tweet
Tweet
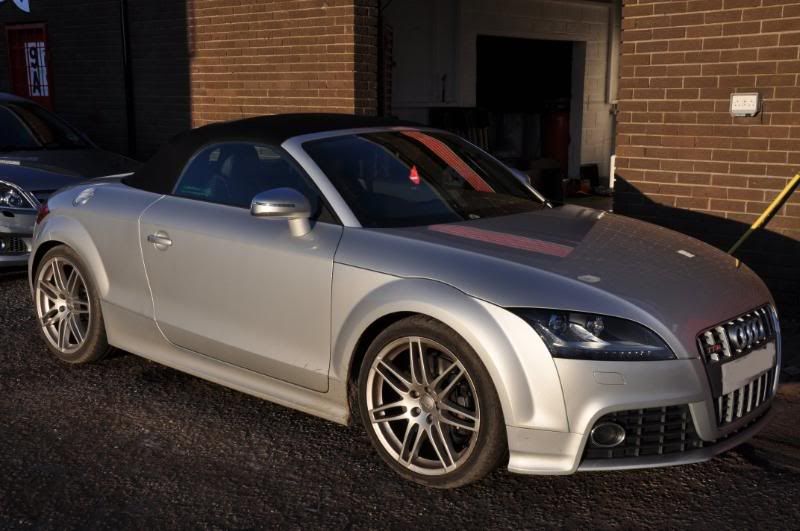
Another recent detail from Gordon and myself, this time on a silver Audi TTS. This was a tuition detail where the owner also takes part in the detail to learn detailing techniques during the process of the detail – this involves being taken aside throughout the day to practice on our scrap panels and then applying this to the detail of their own car under Gordon and I’s watchful eyes 
Silver is often regarded as one of these colours that it is not possible to make a notable difference on by detailing – it is true that the difference is not always as obvious as a dark coloured car, swirls are harder to see, but in my opinion you can still make a big difference to a silver car by decontaminating and machine polishing to enhance the clarity of the finish. So that was today’s aim!
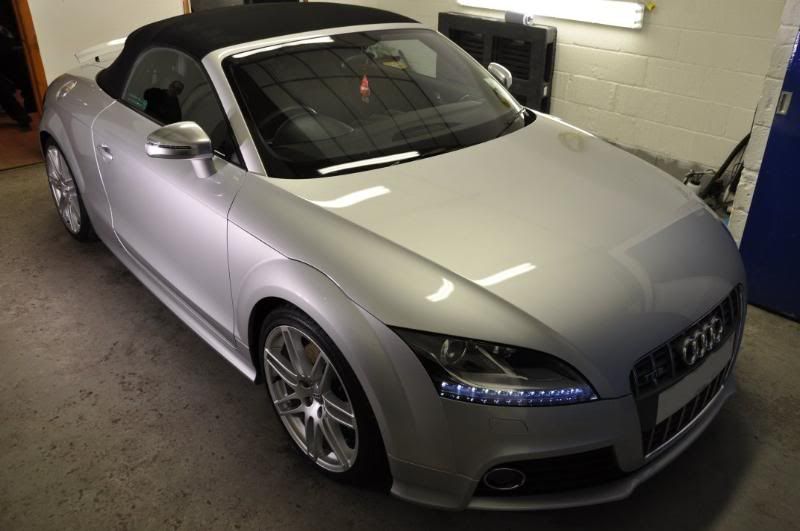
The car on arrival...
General winter road grime but looking generally quite clean. Standard wash procedure was carried out, starting with the wheels and arches using G101 as our APC and Chemical Guys Diablo as our wheel cleaner. After demonstrating wash techniques for wheels, arches and bodywork it was time to roll the car into the unit ready for the claying stage.
Clay of choice today was Chemical Guys White clay, quite a mild clay as this was all that was required for the light contamination present on this car. Using Meguiars Last Touch as a lube, the face of clay was sprayed to ensure it was wet and then a small section of the paintwork was saturated with the lube. Gordon is seen here claying...
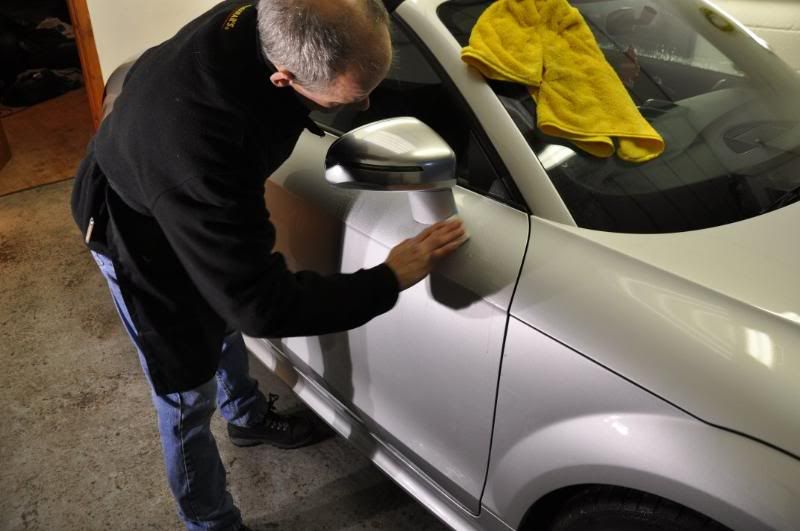
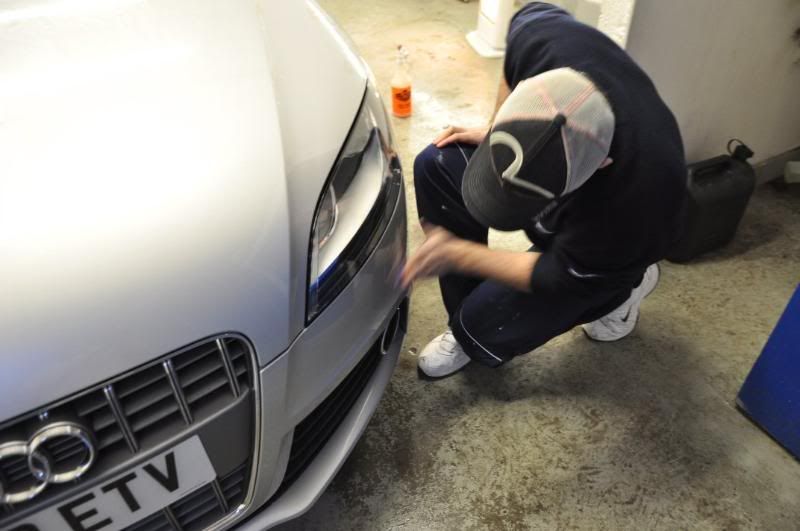
Only light pressure is used when claying with steady sweeping movements until the clat feels like it is running smoothly. If the clay feels like it is sticking, more lube is added to the paintwork and clay face. You cannot use too much lube when claying so don’t be shy – far better to use a little too much then use too little and marr the paint. As part of the tuition detail, the owner also gets involved in all processes including the claying...
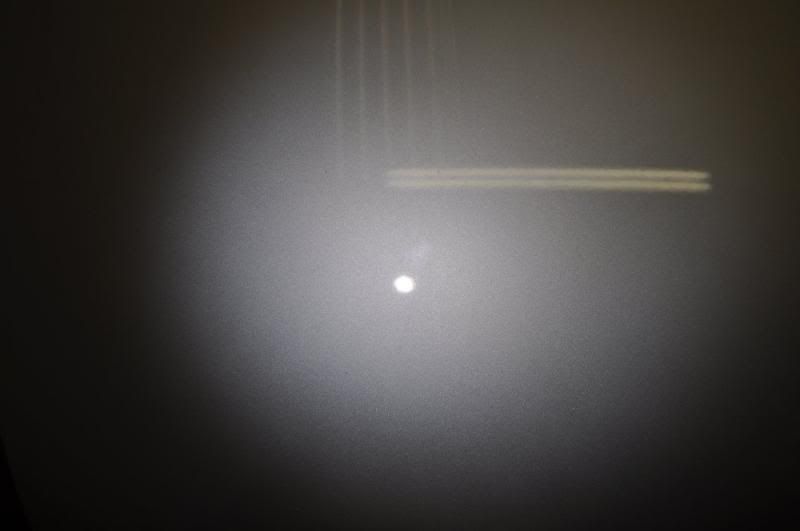
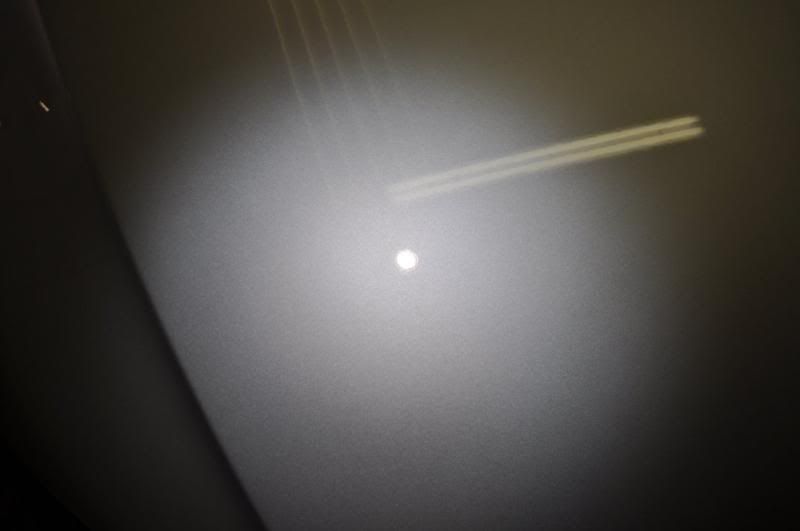
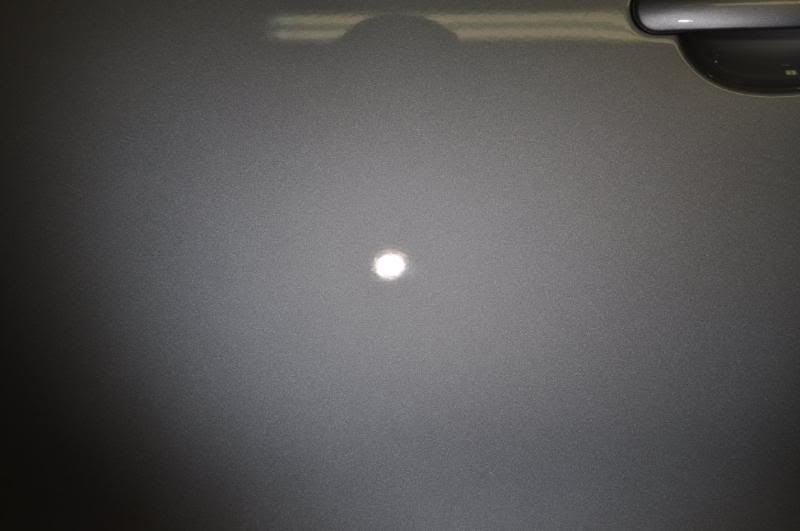
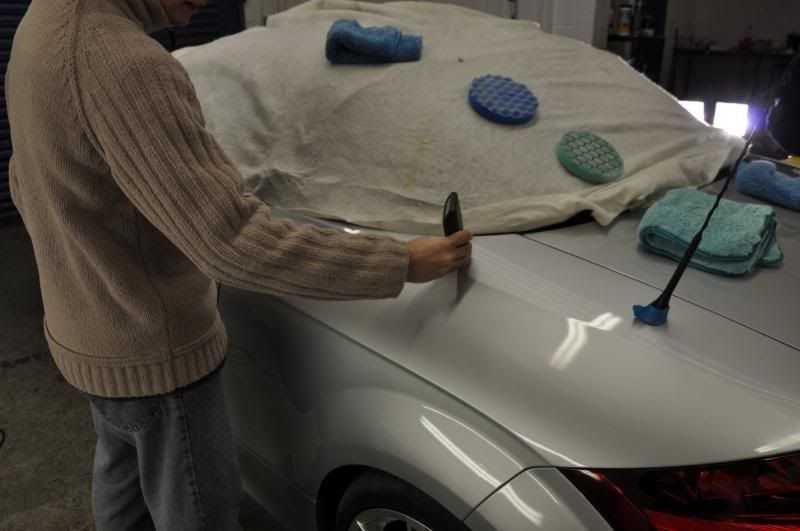
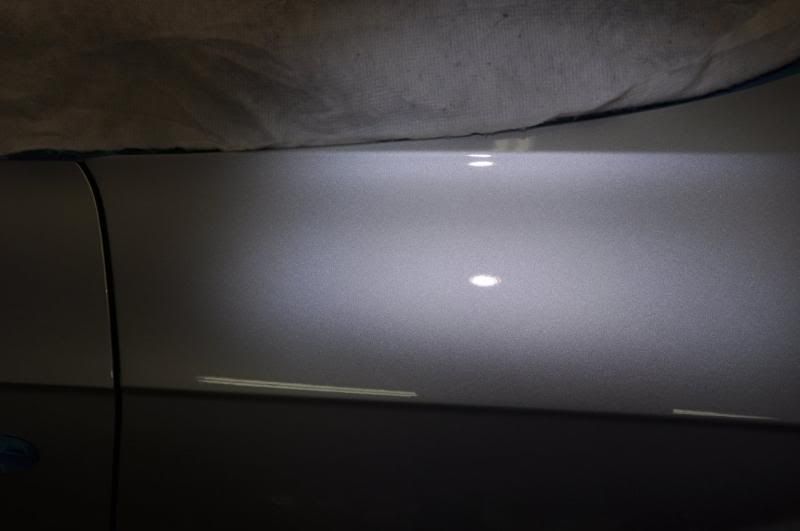
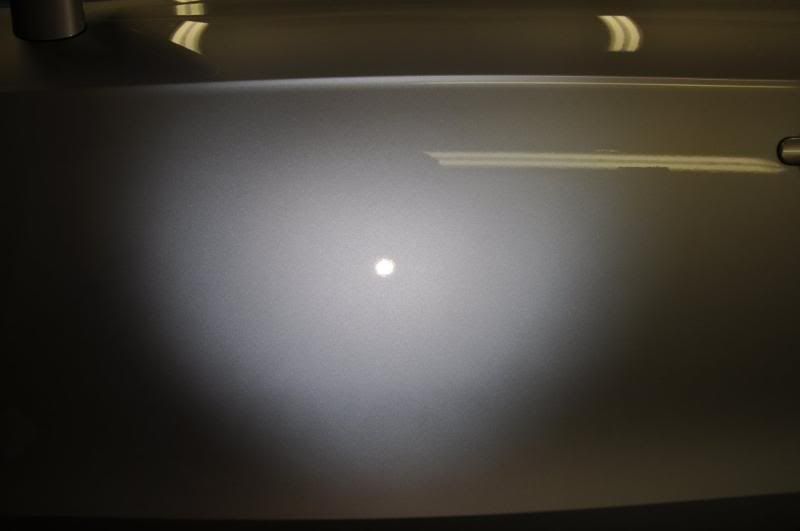
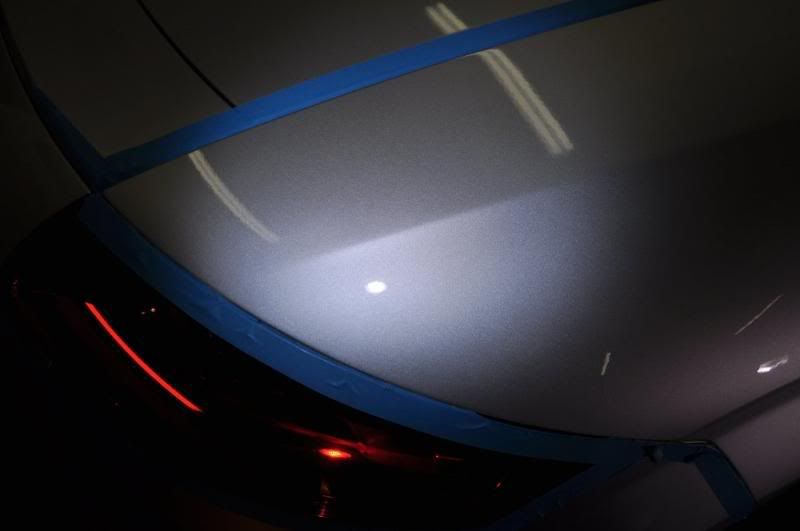
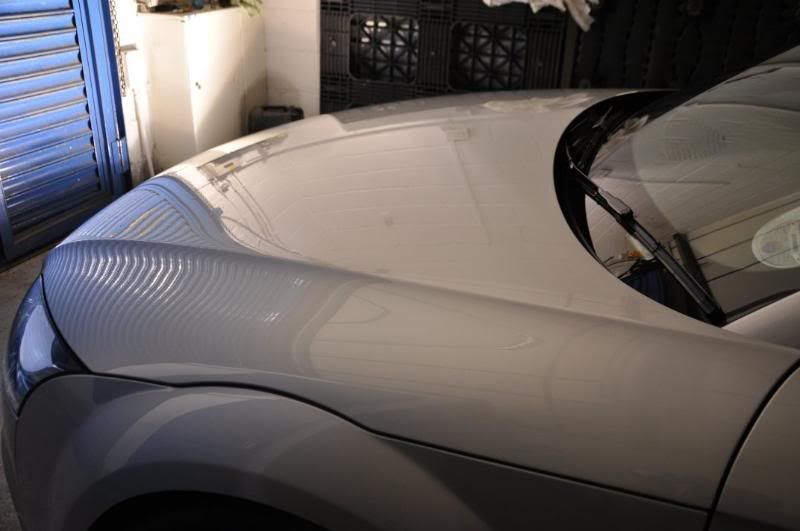
Once clayed and dried off with a miracle dryer, the car was ready for machine polishing. At this stage, Gordon worked with the owner on a scrap panel and worked through basics of rotary polishing including how to assess the paintwork and how to handle the rotary polisher. During this time, I got started on the bonnet of the TTS. Looking under the light, the paintwork at first glance looks in very good condition but what is less apparent here are some deeper RDS in the finish but also a general hazing which was reducing the clarity of the finish...

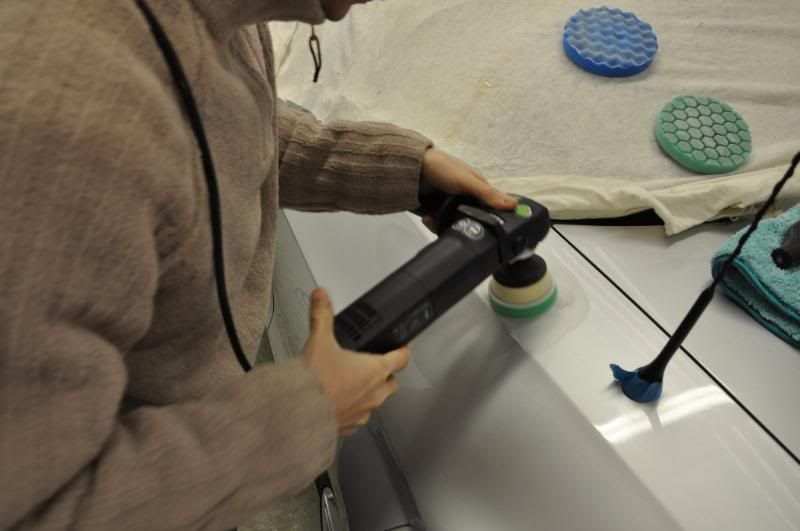
As always, we work up through the abrasive scales with both pad and polish, assessing the removal rates as we go to come to a conclusion for the best products to use across the car. On the bonnet, I found that stepping up to Fast Cut Plus on a Yellow Hexlogic Cutting pad served as a good way of enhancing the clarity of the finish by removing the hazing and also dealing with the RDS on this panel – seems an aggressive approach for what looked like a swirl free finish in the first place but there is more to paint correction and preparation than simply removing swirls. Total removal from the Fast Cut was only about 3um of paint so it was deemed a worthwhile step to generate the best possible clarity in the finish. Fast Cut was applied as follows:
1) Spread the compound at 600rpm
2) Begin working the compound at 1200rpm, light pressure to get the residue evenly spread across the paintwork ready to work.
3) Work at 2000rpm with moderate pressure until the residue went clear
No refining was carried out at this stage, this was instead kept for the finishing polish stage which was Meguiars #205 Ultra Finishing Polish, applied using a Double Zenith technique as follows where the speeds and the pressures were increased and then decreased together...
1) Spread the polish at 600rpm, no pressure
2) Begin working at 1200rpm with light pressure and steady machine movements
3) Work at 1500rpm, moderate pressure to work the abrasives, steady machine movements reducing the pressure after a couple of minutes to begin refining the finish
4) Refine at 1200rpm, light pressure and slow machine movements
5) Burnish the finish at 900rpm, supporting the weight of the rotary for very light pressure.
The end stages of this set are particularly important to ensure you have light pressure to refine the finish – watch for pressure points from contours to ensure you adjust your weight, otherwise you’ll end up with heavier than intended pressure which will give the abrasives more cut and you may end up with faint tails because of this (which *may* be filled by the #205). As always, an IPA wipedown was carried out panel by panel before photographing the results to ensure the finish is hologram free and no fillers are masking marks.
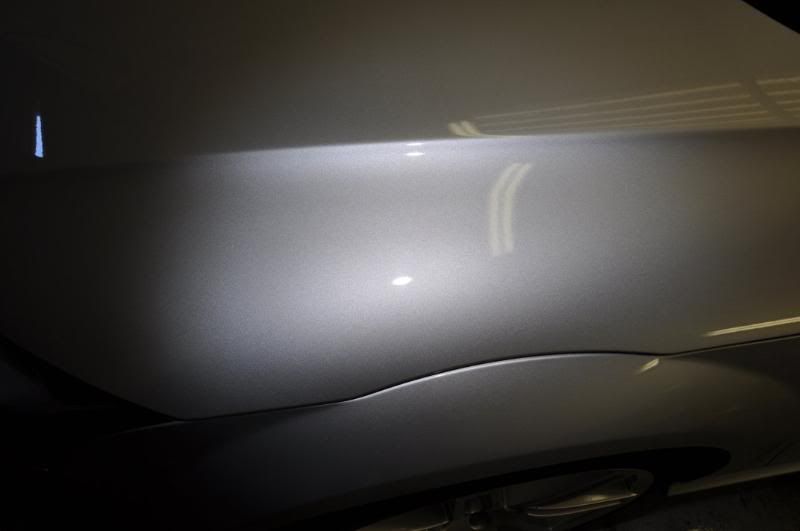
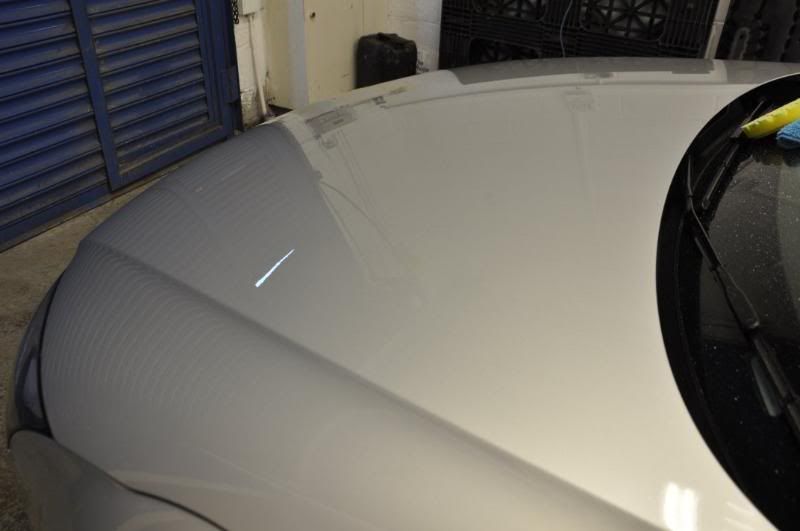
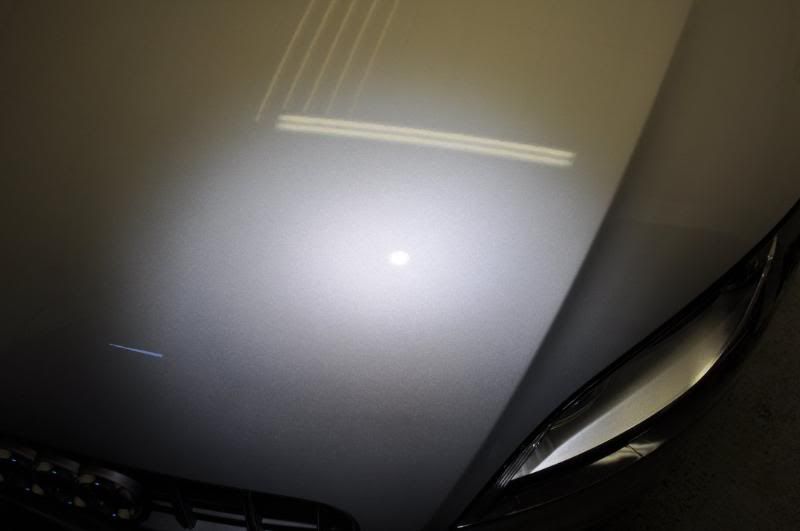
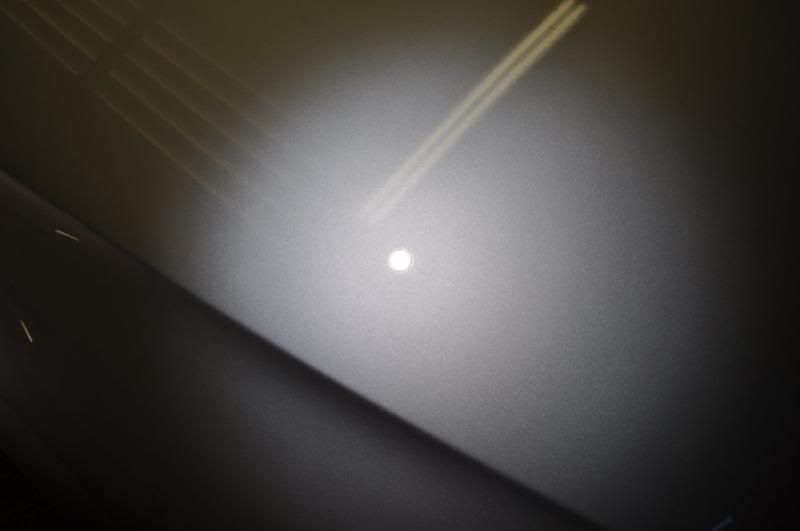
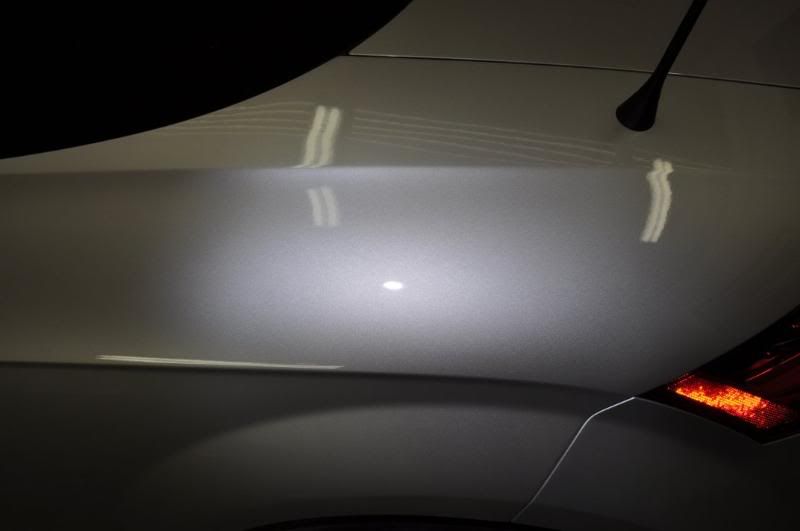
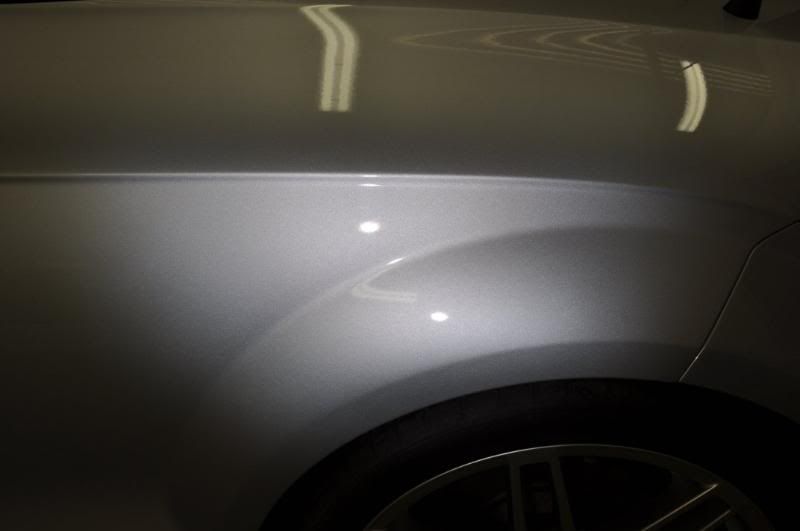
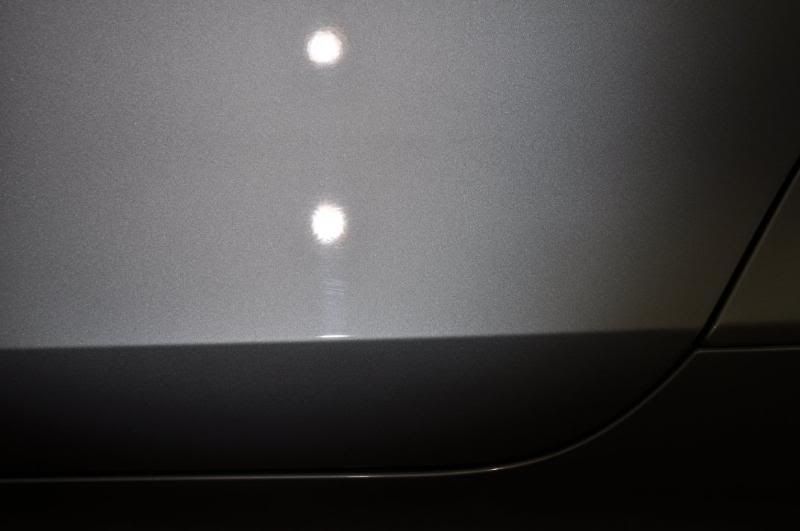
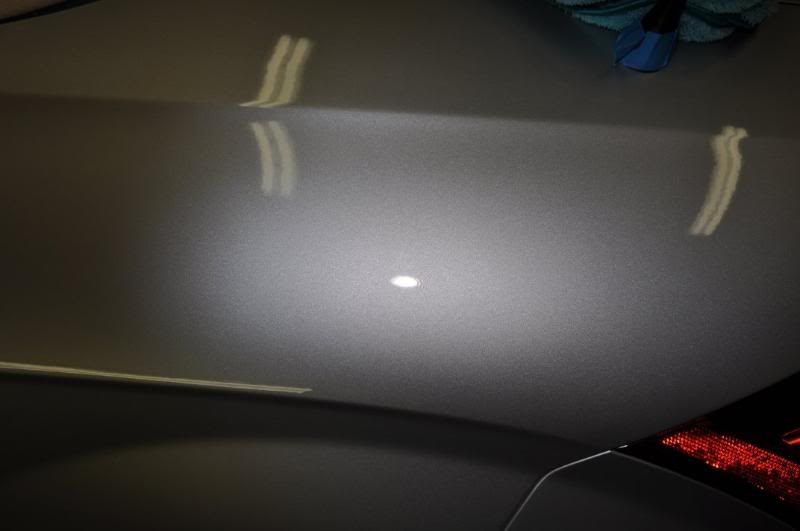
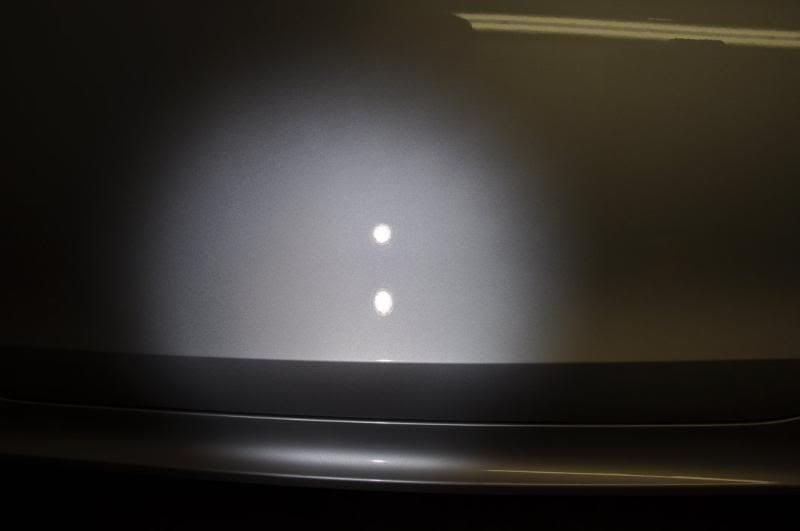
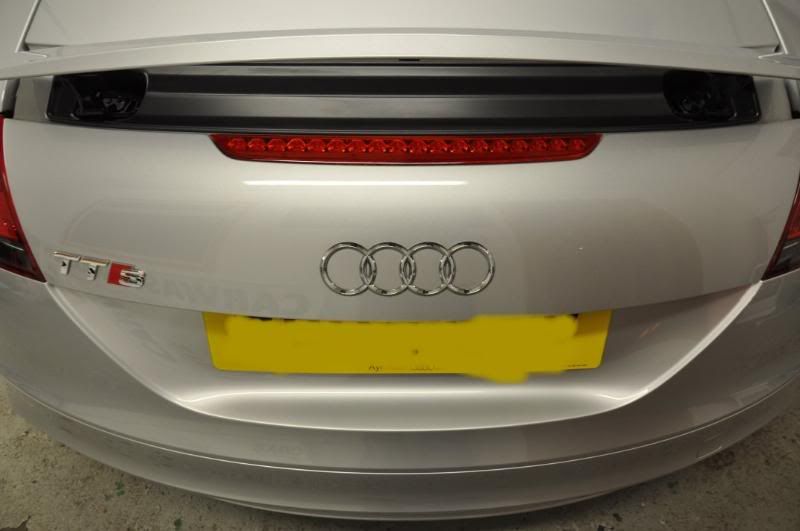
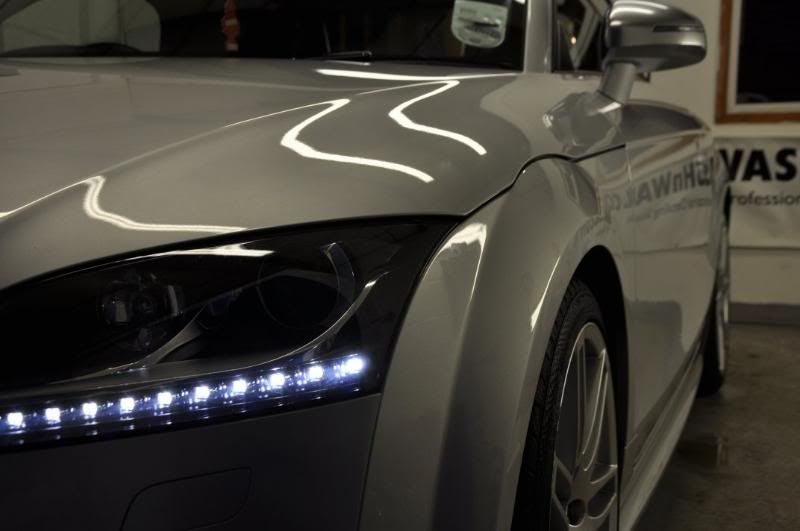
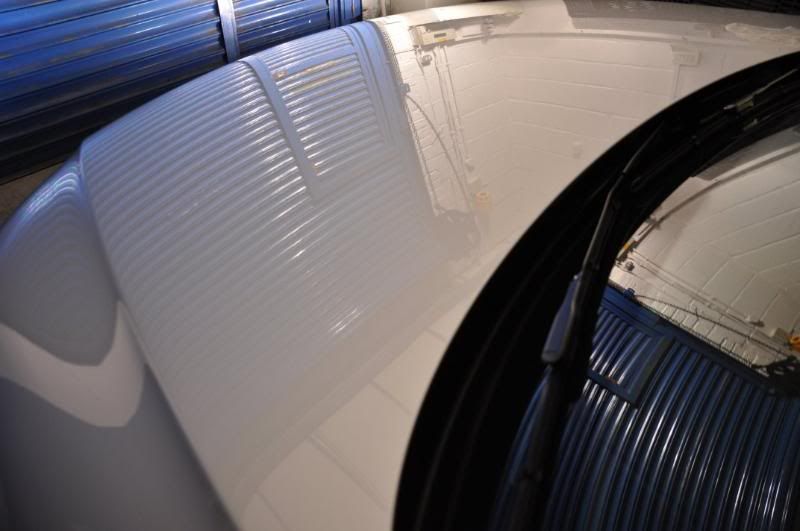
The end results of machining on the bonnet show an enhancement to the clarity of the finish – look for the sharpness of the bulb reflected and the ping of the flake in the after shots...
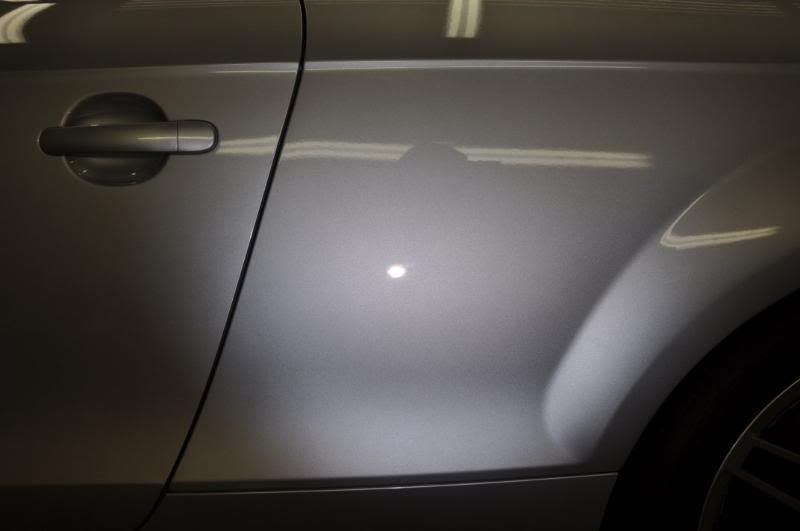
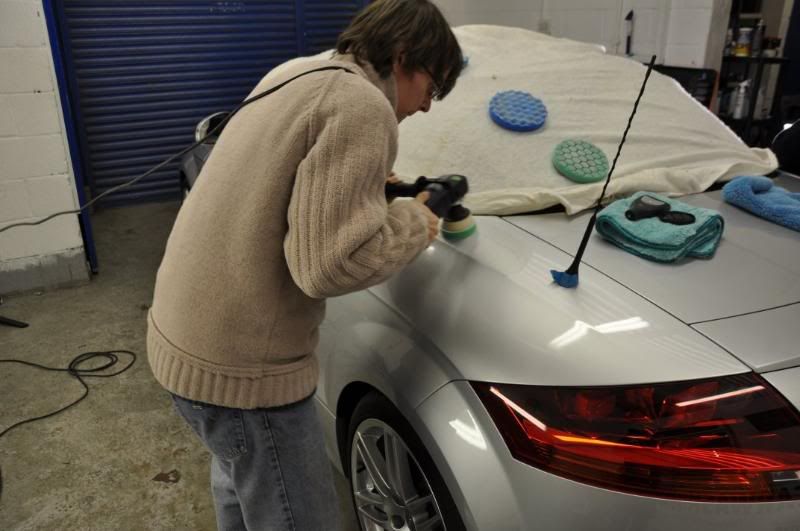
Once I had finished off on the bonnet, Gordon had finished his machine polishing practice session with the owner and it was time for them to get started on the car as well... the driver’s side was their chosen panels. In the befores, we can see the slight hazing that was present on the bonnet although less severe and the odd little bit of light wash marring here and there but nothing severe showing the owner has already mastered his washing techniques!...
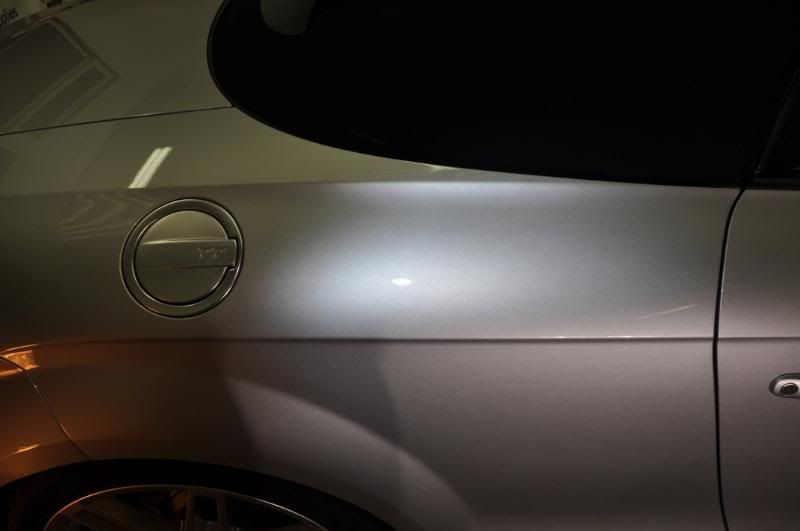

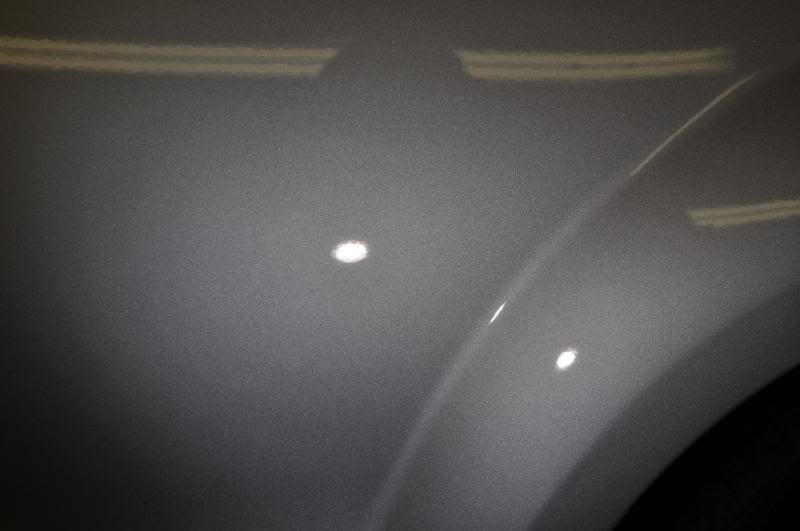
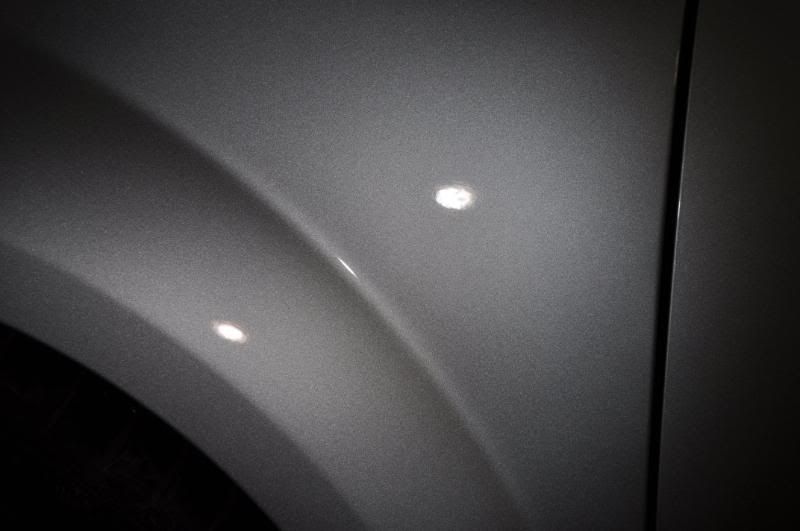
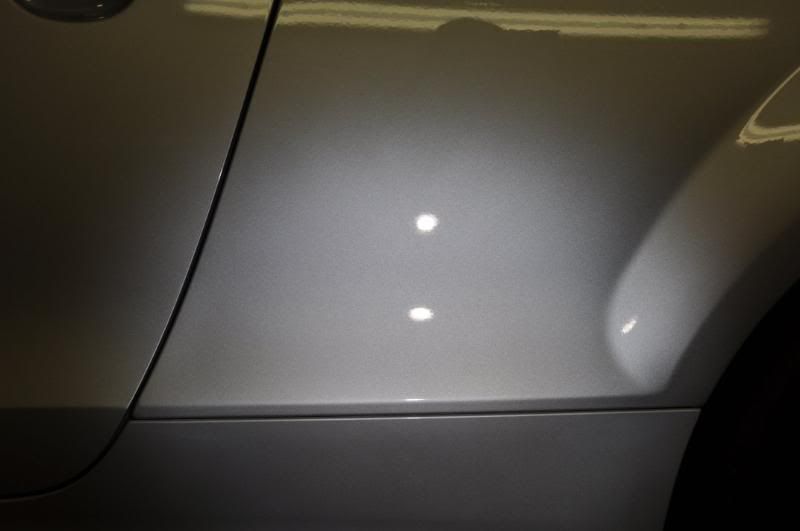
As they assessed the driver’s side, I got started on the passenger side which was showing the same style of hazing and the odd light wash mark as the driver’s side in the befores...
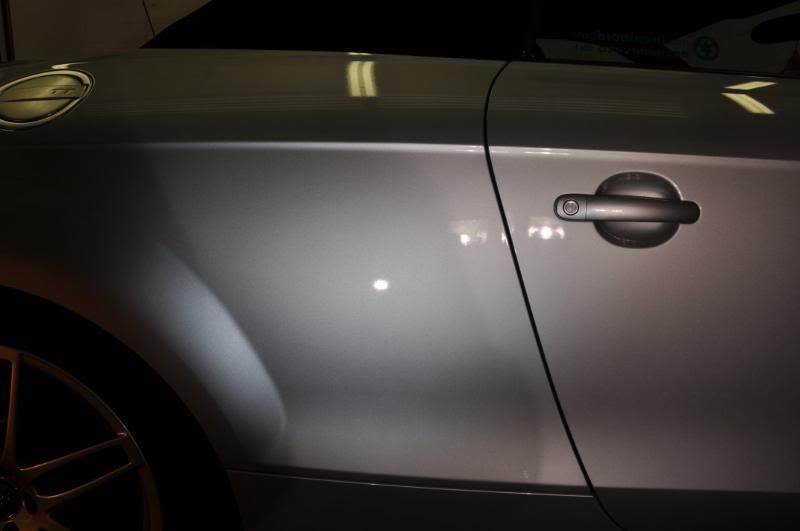
The wash marring was present on the lower panels – as expected as this is where the dirt build up is greatest and removal without marring is that little bit harder... the paint was in very good condition however showing the owner’s already very good wash methods (in fact the light marks there may be dealer inflicted)...
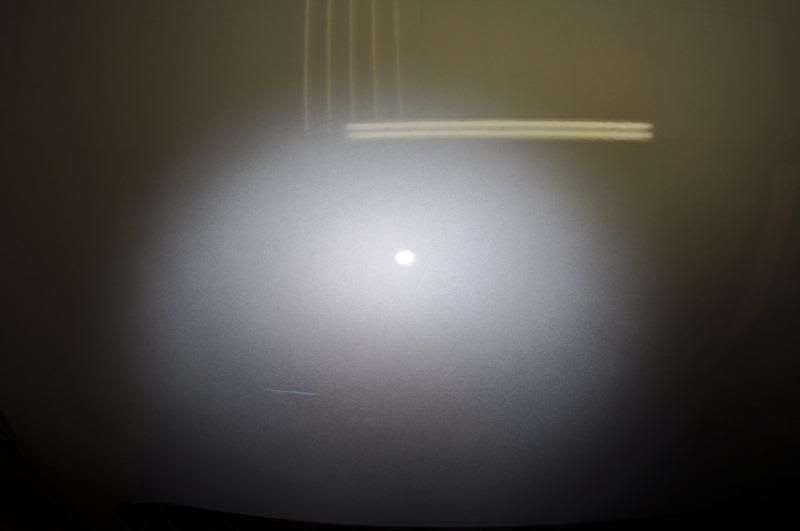
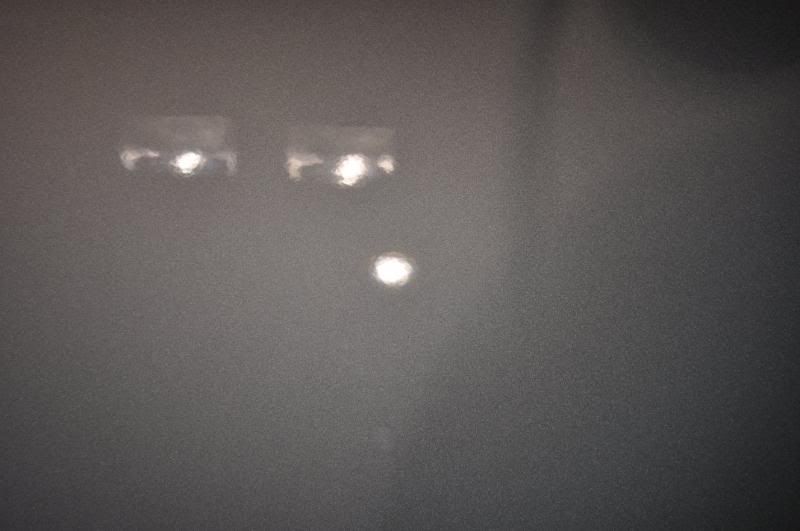
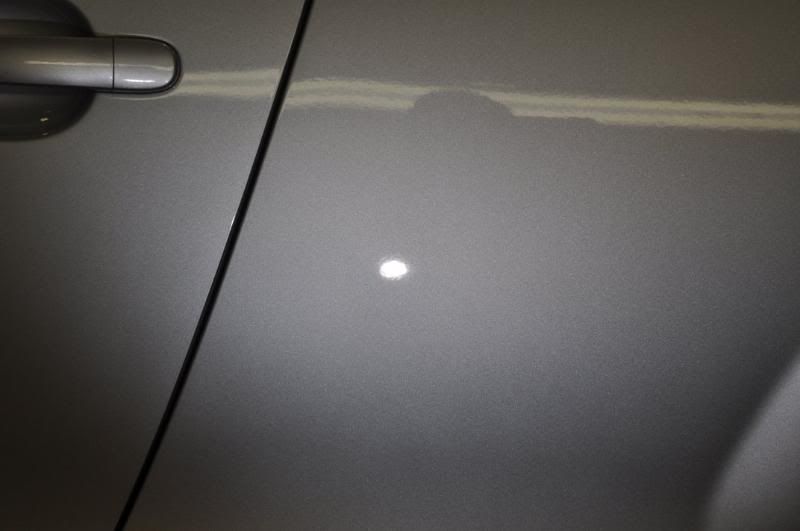
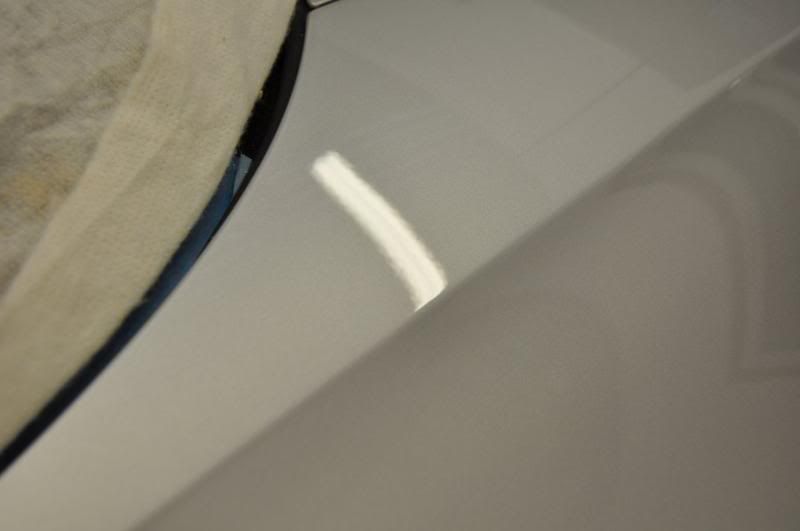
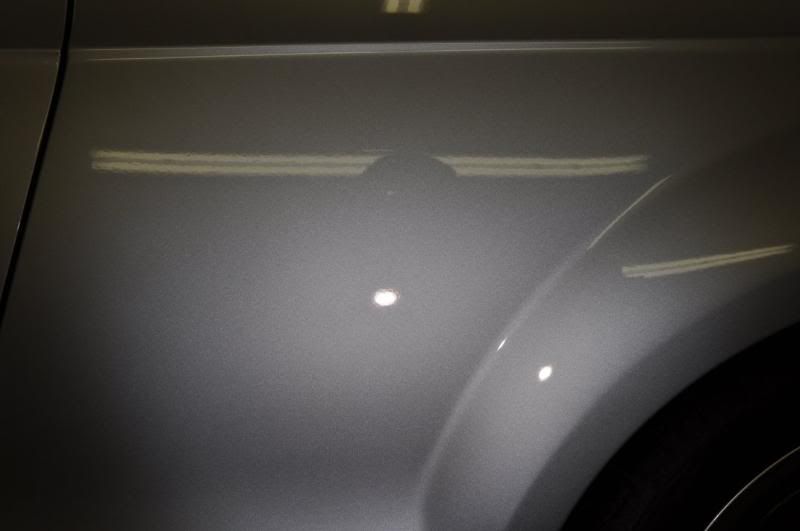
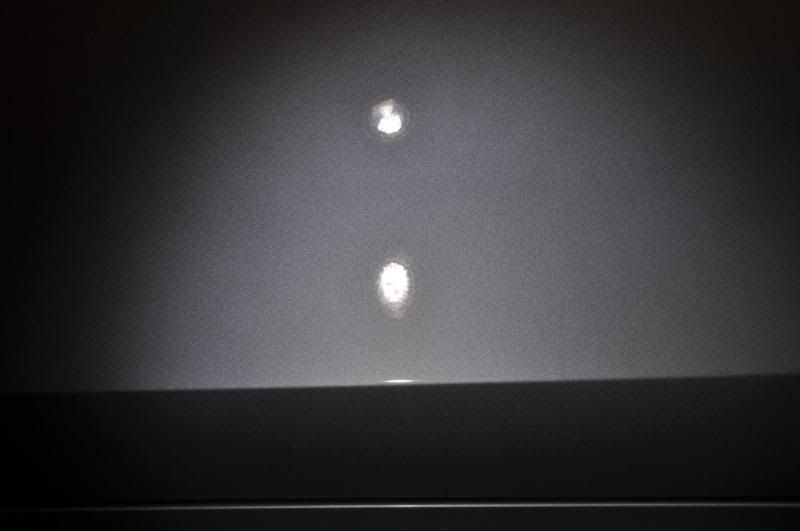
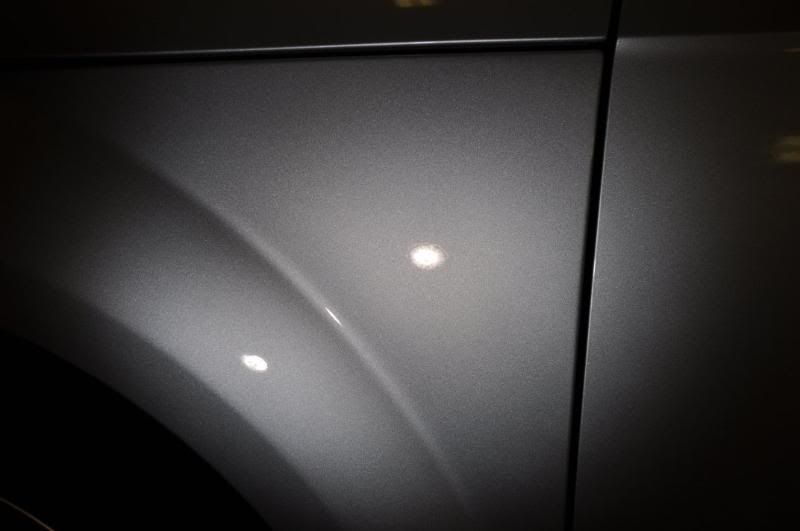
Also present in a few locations was the odd deep scratch (RDS) – an example of which is shown here...
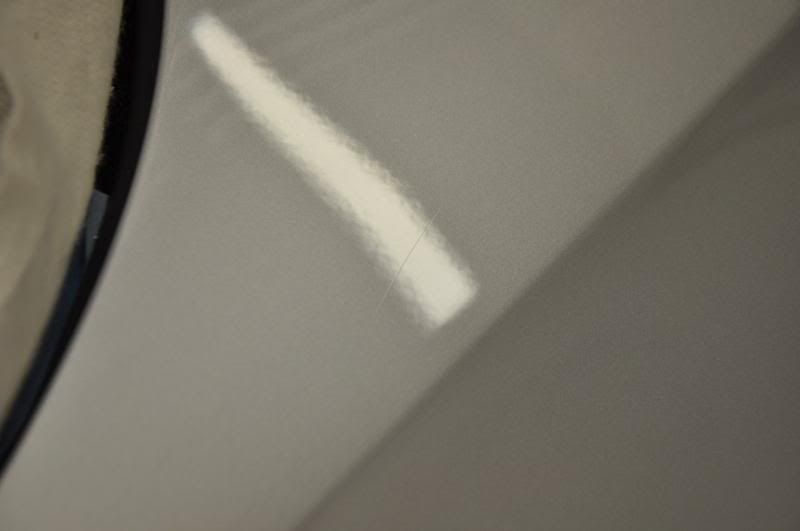
Photographing such marks is quite difficult as they show best under strip lighting rather than the Sun Gun. A typical camera with autofocus will focus on the brightest object which in this case is the light – by pulling that into focus, the scratch goes out of focus and is no longer visible. The above picture was taken using manual focus on the SLR camera to focus on the scratch.
The paintwork around the scratch was assessed for paint thickness...
Showing readings of around 120 – 130um total thickness this was consistent with the rest of the car highlighting unlikely previous polishing and unlikely respray. After testing, it was decided that 3M Fast Cut locally with a 3” 3M green compounding pad would be suitable for the mark, applied as above with maximum work speed of 2000rpm and moderate pressure...
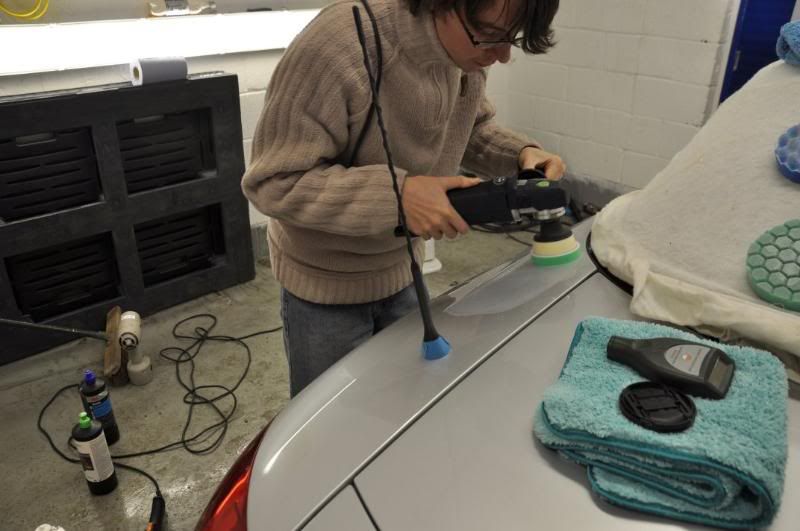
The little baby Festool RAP-80 really comes into its own on marks like this – being small and very light its ideal for spot correction and tight areas... I know the RAP-150 is getting a lot of press right now, and while it is undoubtedly a good machine I fail personally to see the huge excitement with it compared to a Makita which although heavier is just as smooth and seems to have a stronger motor more immune to bogging down under heavy workload. However, the RAP-80 is the machine which for me deserves the spot light – super design, very light and maneuverable and a lovely smooth machine in use, it does offer something above other rotaries for little tight spots on cars.
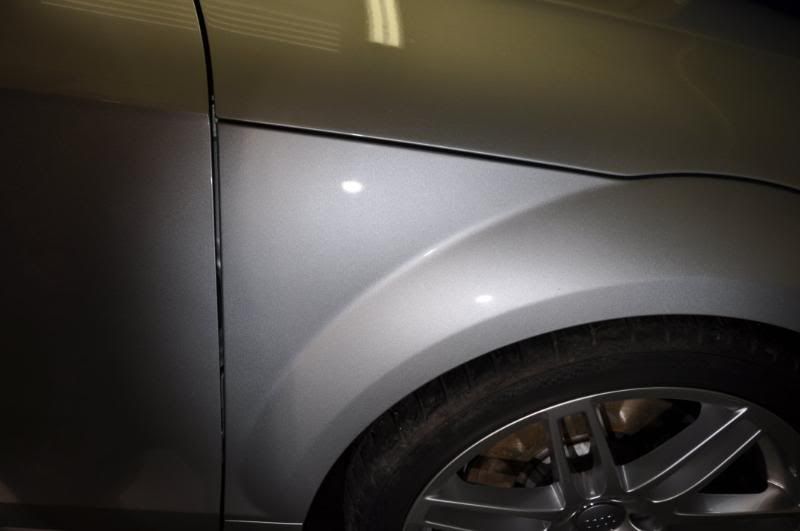
The end result of the correction stage shows the deeper mark removed...
As the hazing was less severe on the side panels, Menzerna PO85RD3.02 Intensive Polish was chosen as the correction polish using a Chemical Guys Green Hexlogic pad as follows...
1) Spread the polish at 600rpm
2) Begin working the polish at 1200rpm with light to medium pressure to build a little heat in the panel and get the residue evenly spread out – this stage will vary in length depending on conditions, keep at 1200rpm until the residue evenly spread which will take longer in colder, damper conditions
3) Wotk at 1800rpm, medium pressure until the residue goes clear.
No refinement was carried out at this stage as this was saved for Meguiars #205 applied as described above using a Double Zenith Technique.
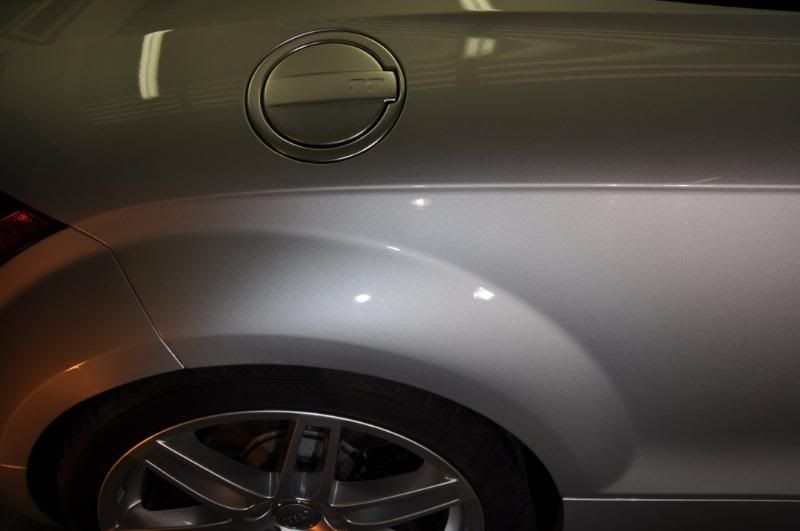
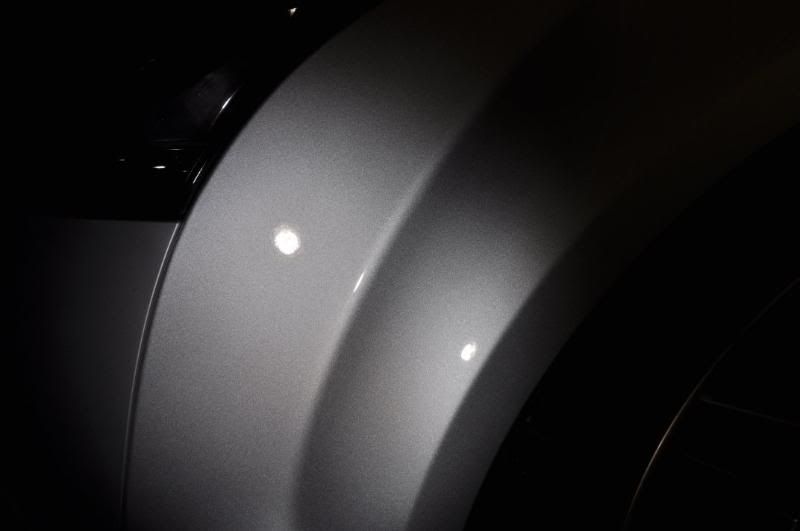
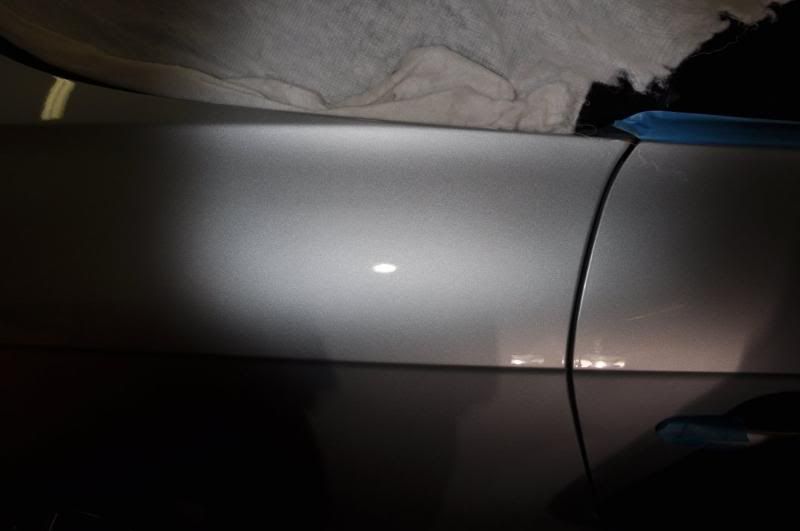
The end results down the passenger side...
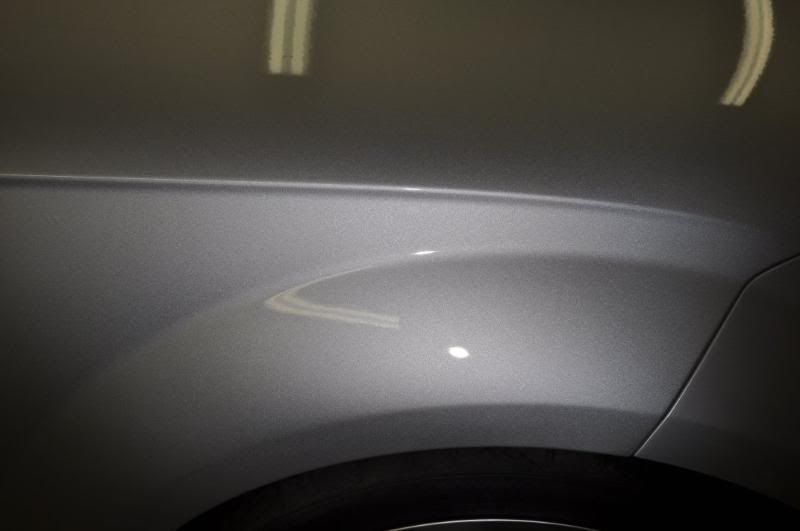
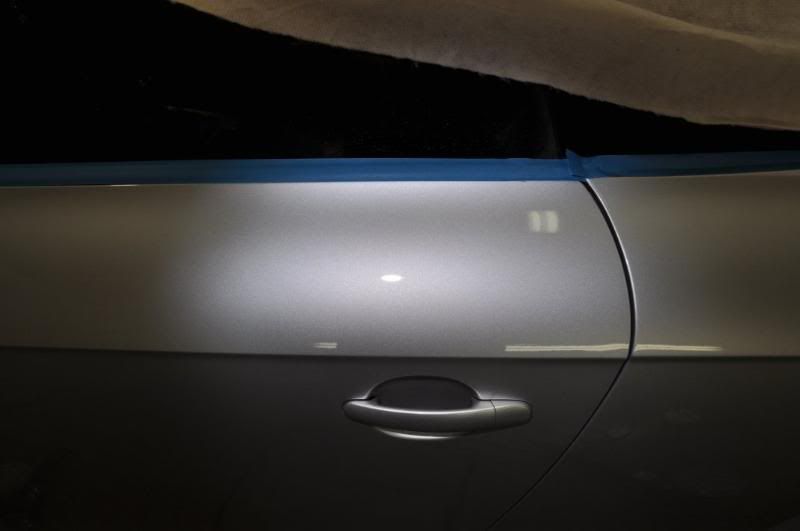
Wash marring removed...
More afters...
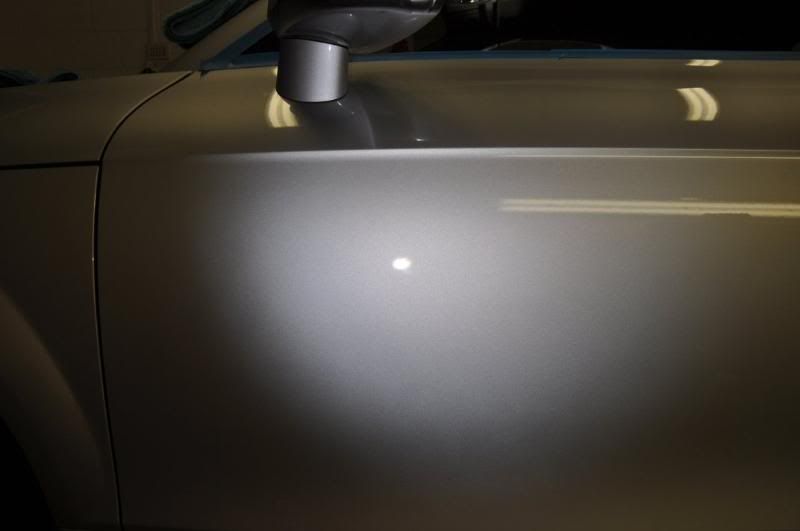
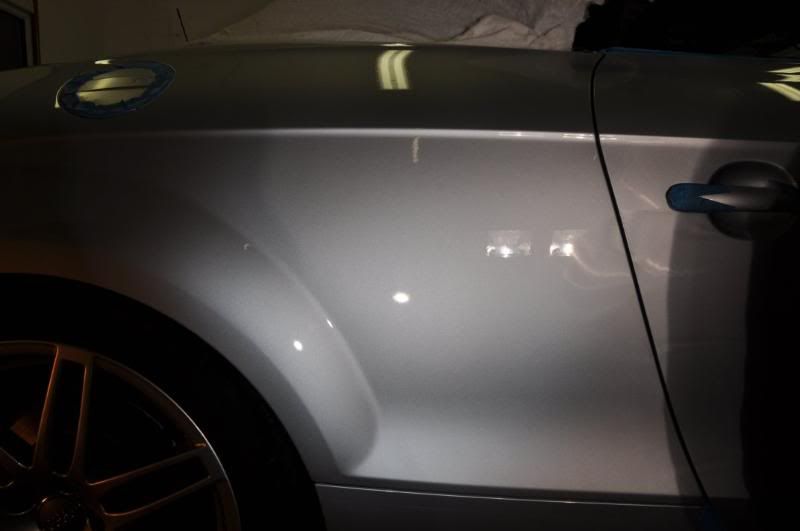
And from down the driver’s side...

Following the paint correction stage, the car was then fully wiped down with a second wipedown of IPA and checked before being ready for protection.
Gordon got the steam cleaner out to deal with some mould growth at the base of the hood...
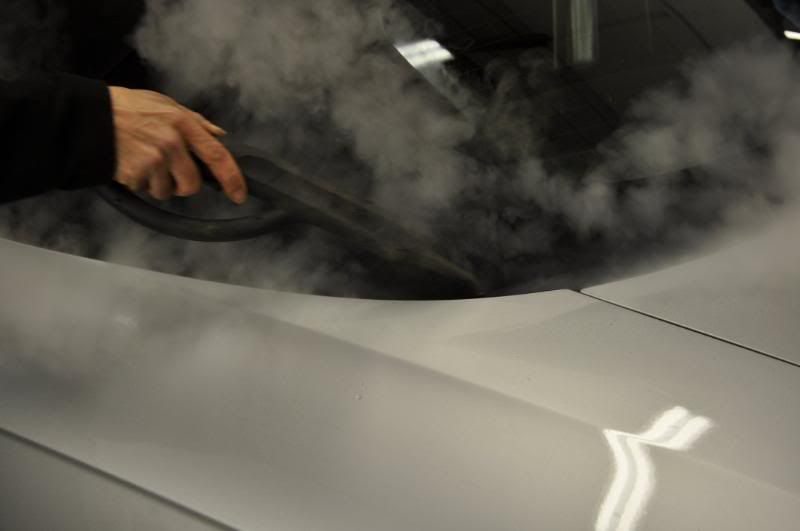
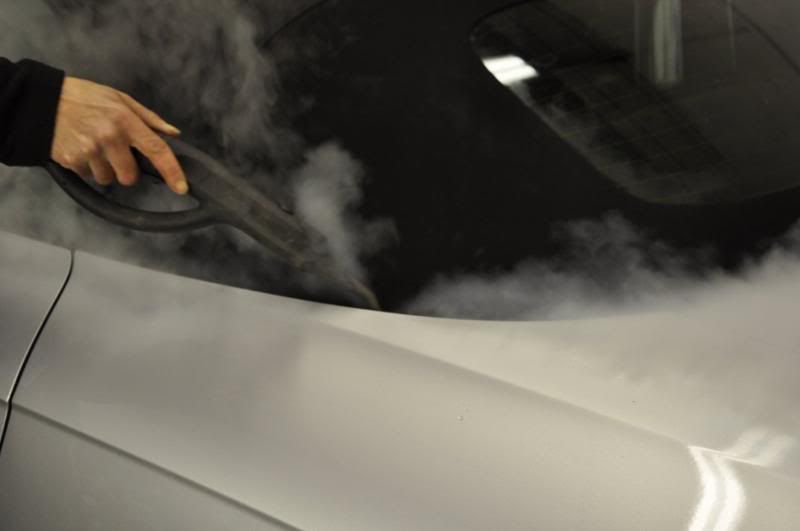
The full hood was steam cleaned and then protected with Chemical Guys Fabric Guard and allowed to dry (heated unit comes in very handy for this!).
Paintwork was protected using Duragloss 111 Clear Coat Polish (a sealant) preceded with 601 Polish Bonding agent for added durability. Tyres dressed with Espuma RD-50, wheels sealed with FK1000P. Trim was treated with Chemical Guys New Look Trim Gel. Glass cleaned with Stoner Invisible Glass. Exhaust tips with Zeppelin Custom Metal Polish.
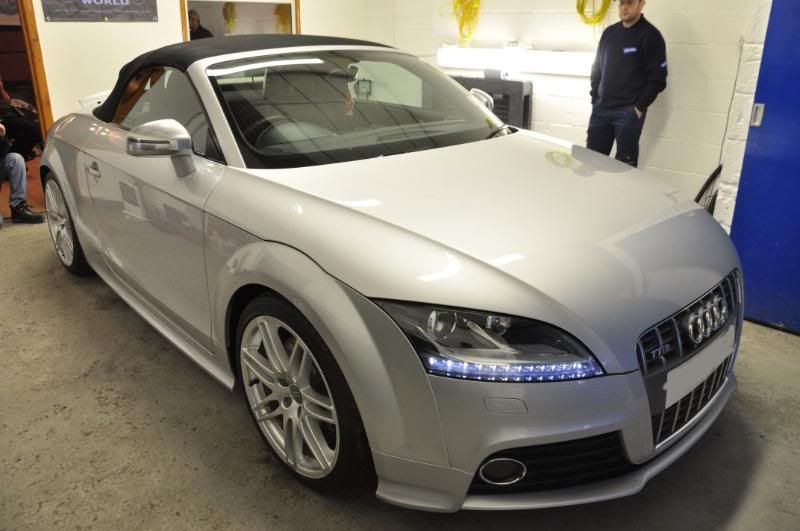
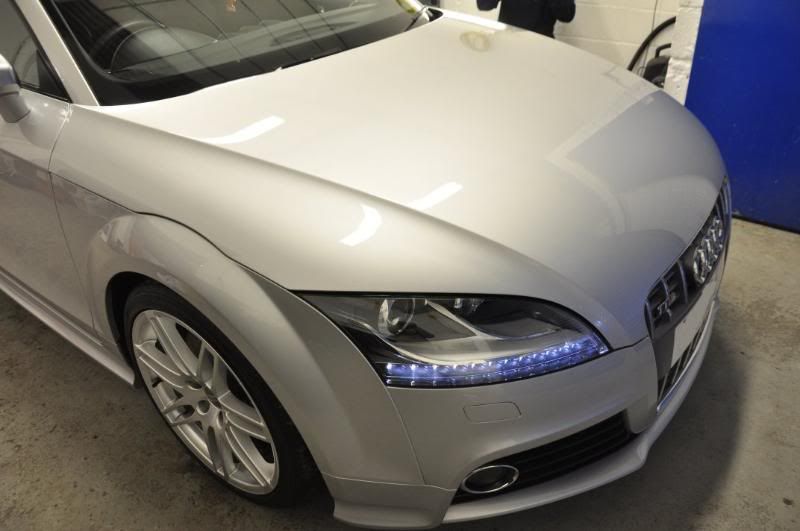
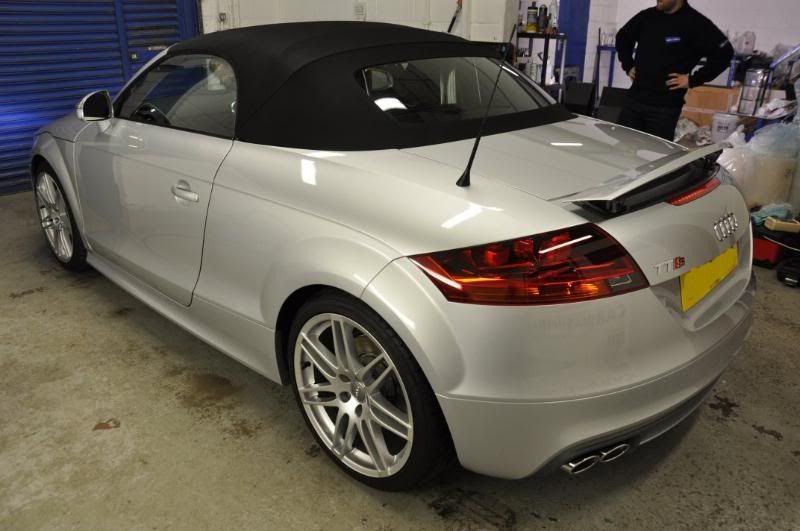
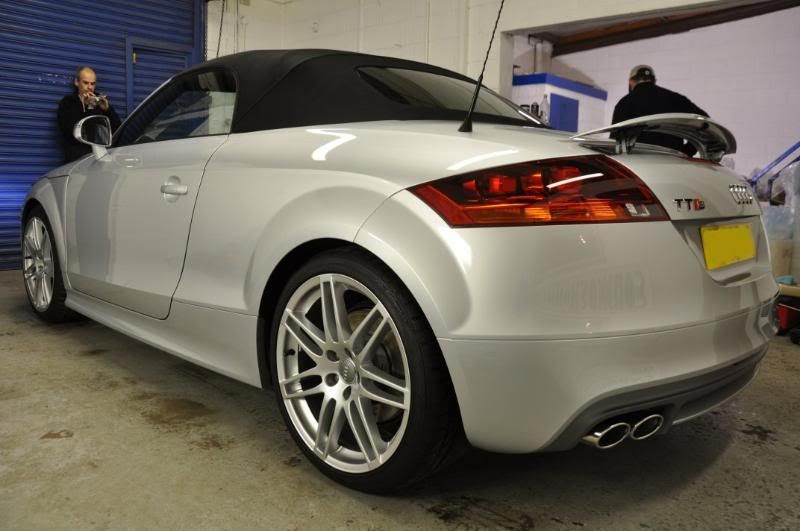
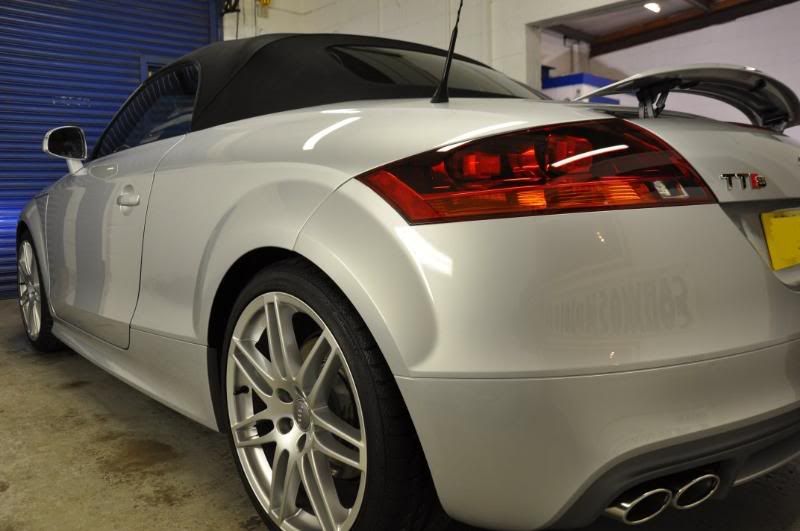
The end results...

Another very enjoyable tuition detail – its always nice at the end to get both the reward of the car looking good and of the owner feeling like they have got something out of the fay more than simply a shiny car
Silver is often regarded as one of these colours that it is not possible to make a notable difference on by detailing – it is true that the difference is not always as obvious as a dark coloured car, swirls are harder to see, but in my opinion you can still make a big difference to a silver car by decontaminating and machine polishing to enhance the clarity of the finish. So that was today’s aim!
The car on arrival...
General winter road grime but looking generally quite clean. Standard wash procedure was carried out, starting with the wheels and arches using G101 as our APC and Chemical Guys Diablo as our wheel cleaner. After demonstrating wash techniques for wheels, arches and bodywork it was time to roll the car into the unit ready for the claying stage.
Clay of choice today was Chemical Guys White clay, quite a mild clay as this was all that was required for the light contamination present on this car. Using Meguiars Last Touch as a lube, the face of clay was sprayed to ensure it was wet and then a small section of the paintwork was saturated with the lube. Gordon is seen here claying...
Only light pressure is used when claying with steady sweeping movements until the clat feels like it is running smoothly. If the clay feels like it is sticking, more lube is added to the paintwork and clay face. You cannot use too much lube when claying so don’t be shy – far better to use a little too much then use too little and marr the paint. As part of the tuition detail, the owner also gets involved in all processes including the claying...
Once clayed and dried off with a miracle dryer, the car was ready for machine polishing. At this stage, Gordon worked with the owner on a scrap panel and worked through basics of rotary polishing including how to assess the paintwork and how to handle the rotary polisher. During this time, I got started on the bonnet of the TTS. Looking under the light, the paintwork at first glance looks in very good condition but what is less apparent here are some deeper RDS in the finish but also a general hazing which was reducing the clarity of the finish...
As always, we work up through the abrasive scales with both pad and polish, assessing the removal rates as we go to come to a conclusion for the best products to use across the car. On the bonnet, I found that stepping up to Fast Cut Plus on a Yellow Hexlogic Cutting pad served as a good way of enhancing the clarity of the finish by removing the hazing and also dealing with the RDS on this panel – seems an aggressive approach for what looked like a swirl free finish in the first place but there is more to paint correction and preparation than simply removing swirls. Total removal from the Fast Cut was only about 3um of paint so it was deemed a worthwhile step to generate the best possible clarity in the finish. Fast Cut was applied as follows:
1) Spread the compound at 600rpm
2) Begin working the compound at 1200rpm, light pressure to get the residue evenly spread across the paintwork ready to work.
3) Work at 2000rpm with moderate pressure until the residue went clear
No refining was carried out at this stage, this was instead kept for the finishing polish stage which was Meguiars #205 Ultra Finishing Polish, applied using a Double Zenith technique as follows where the speeds and the pressures were increased and then decreased together...
1) Spread the polish at 600rpm, no pressure
2) Begin working at 1200rpm with light pressure and steady machine movements
3) Work at 1500rpm, moderate pressure to work the abrasives, steady machine movements reducing the pressure after a couple of minutes to begin refining the finish
4) Refine at 1200rpm, light pressure and slow machine movements
5) Burnish the finish at 900rpm, supporting the weight of the rotary for very light pressure.
The end stages of this set are particularly important to ensure you have light pressure to refine the finish – watch for pressure points from contours to ensure you adjust your weight, otherwise you’ll end up with heavier than intended pressure which will give the abrasives more cut and you may end up with faint tails because of this (which *may* be filled by the #205). As always, an IPA wipedown was carried out panel by panel before photographing the results to ensure the finish is hologram free and no fillers are masking marks.
The end results of machining on the bonnet show an enhancement to the clarity of the finish – look for the sharpness of the bulb reflected and the ping of the flake in the after shots...
Once I had finished off on the bonnet, Gordon had finished his machine polishing practice session with the owner and it was time for them to get started on the car as well... the driver’s side was their chosen panels. In the befores, we can see the slight hazing that was present on the bonnet although less severe and the odd little bit of light wash marring here and there but nothing severe showing the owner has already mastered his washing techniques!...
As they assessed the driver’s side, I got started on the passenger side which was showing the same style of hazing and the odd light wash mark as the driver’s side in the befores...
The wash marring was present on the lower panels – as expected as this is where the dirt build up is greatest and removal without marring is that little bit harder... the paint was in very good condition however showing the owner’s already very good wash methods (in fact the light marks there may be dealer inflicted)...
Also present in a few locations was the odd deep scratch (RDS) – an example of which is shown here...
Photographing such marks is quite difficult as they show best under strip lighting rather than the Sun Gun. A typical camera with autofocus will focus on the brightest object which in this case is the light – by pulling that into focus, the scratch goes out of focus and is no longer visible. The above picture was taken using manual focus on the SLR camera to focus on the scratch.
The paintwork around the scratch was assessed for paint thickness...
Showing readings of around 120 – 130um total thickness this was consistent with the rest of the car highlighting unlikely previous polishing and unlikely respray. After testing, it was decided that 3M Fast Cut locally with a 3” 3M green compounding pad would be suitable for the mark, applied as above with maximum work speed of 2000rpm and moderate pressure...
The little baby Festool RAP-80 really comes into its own on marks like this – being small and very light its ideal for spot correction and tight areas... I know the RAP-150 is getting a lot of press right now, and while it is undoubtedly a good machine I fail personally to see the huge excitement with it compared to a Makita which although heavier is just as smooth and seems to have a stronger motor more immune to bogging down under heavy workload. However, the RAP-80 is the machine which for me deserves the spot light – super design, very light and maneuverable and a lovely smooth machine in use, it does offer something above other rotaries for little tight spots on cars.
The end result of the correction stage shows the deeper mark removed...
As the hazing was less severe on the side panels, Menzerna PO85RD3.02 Intensive Polish was chosen as the correction polish using a Chemical Guys Green Hexlogic pad as follows...
1) Spread the polish at 600rpm
2) Begin working the polish at 1200rpm with light to medium pressure to build a little heat in the panel and get the residue evenly spread out – this stage will vary in length depending on conditions, keep at 1200rpm until the residue evenly spread which will take longer in colder, damper conditions
3) Wotk at 1800rpm, medium pressure until the residue goes clear.
No refinement was carried out at this stage as this was saved for Meguiars #205 applied as described above using a Double Zenith Technique.
The end results down the passenger side...
Wash marring removed...
More afters...
And from down the driver’s side...
Following the paint correction stage, the car was then fully wiped down with a second wipedown of IPA and checked before being ready for protection.
Gordon got the steam cleaner out to deal with some mould growth at the base of the hood...
The full hood was steam cleaned and then protected with Chemical Guys Fabric Guard and allowed to dry (heated unit comes in very handy for this!).
Paintwork was protected using Duragloss 111 Clear Coat Polish (a sealant) preceded with 601 Polish Bonding agent for added durability. Tyres dressed with Espuma RD-50, wheels sealed with FK1000P. Trim was treated with Chemical Guys New Look Trim Gel. Glass cleaned with Stoner Invisible Glass. Exhaust tips with Zeppelin Custom Metal Polish.
The end results...
Another very enjoyable tuition detail – its always nice at the end to get both the reward of the car looking good and of the owner feeling like they have got something out of the fay more than simply a shiny car
Comment