A couple of months back i posted a write up on a black C7 Stingray we saved from God knows what - since then I've received at least 4 calls from people booking appointments for CQuartz Finest - this however was the first Vette.
While 3 years old it only had about 13k miles on it, but its black and black in Arizona is stupid hard to care for. Between the heat and the hard water we have….hard water spots are often an issue:
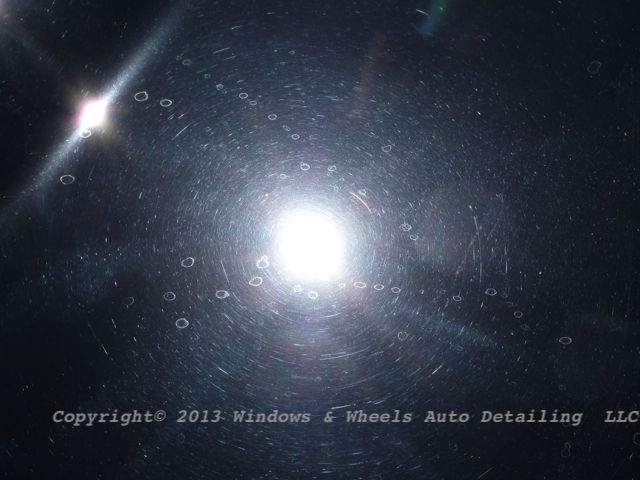
Oh and of course swirls, but thats a given. The owner had tried polishing it himself…and i'll be honest, ive seen a heck of a lot worse attempts, but the problem he was having was finishing it down. The whole car basically looked like it was heavily micro-marred but with some deep stuff here n' there as well. After we spoke to the owner in extent about our process and recommending a coating…we booked it. Correction, CQuartz Finest, CQuartz Dlux for trim and a wholllllle lot of gloss!
Day 1 started out as a prep day - washing, decontaminating, cleaning wheels/wells/barrels/tires
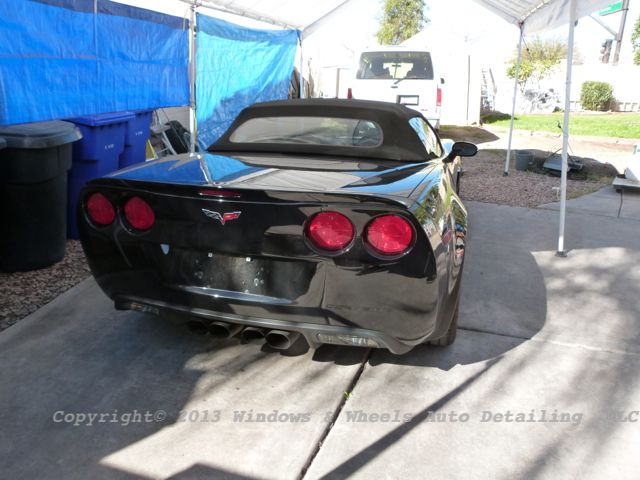
Here she is, ready for her bath:
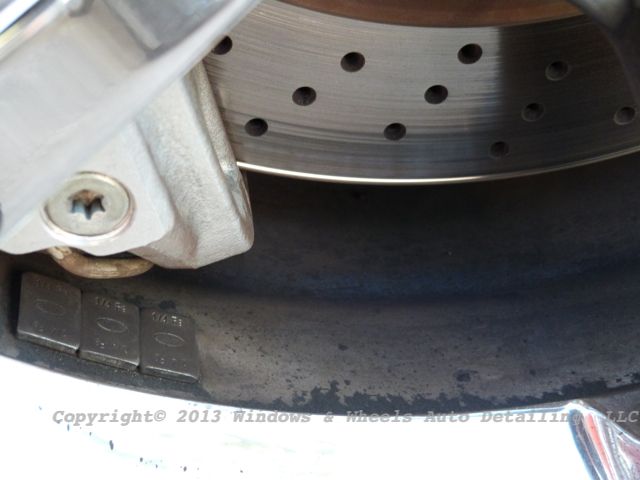
Barrels of the wheels were quite dirty:
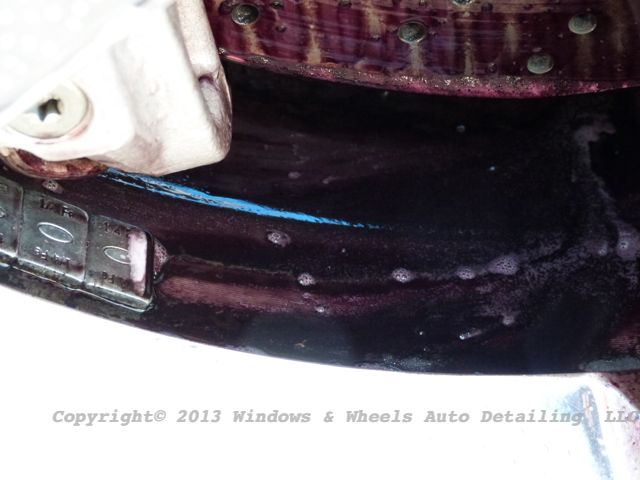
But we fixed that…love this wheel cleaner:
Wheel woolies to reach deep into the barrels:
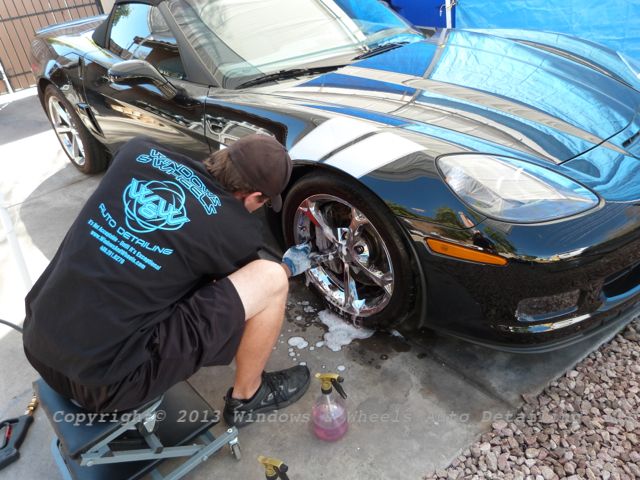
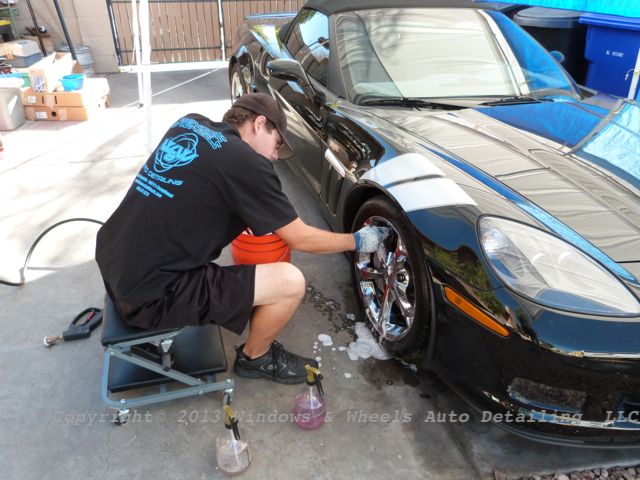
Check out the new shirts!
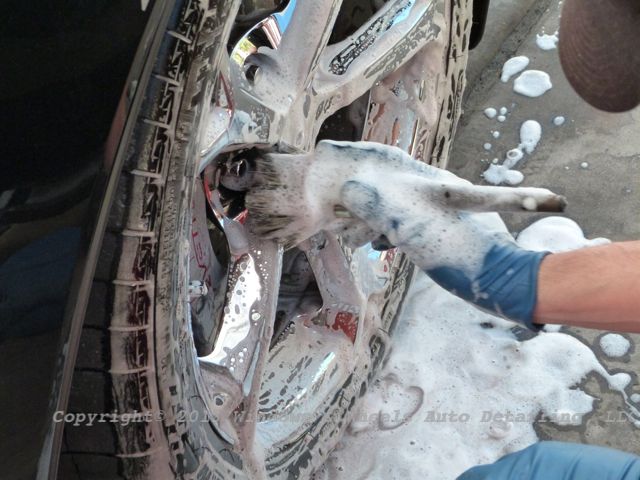
Ok back to the detail…the most awesome wheel brush ever used to clean the faces:
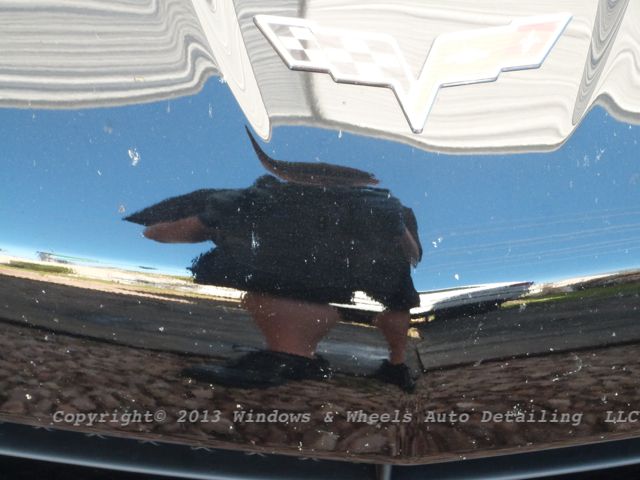
And of course its a Vette…so it had bug splatter:
Serious dirt behind the license plate and the tips were….yeah, they just needed some work thats all:

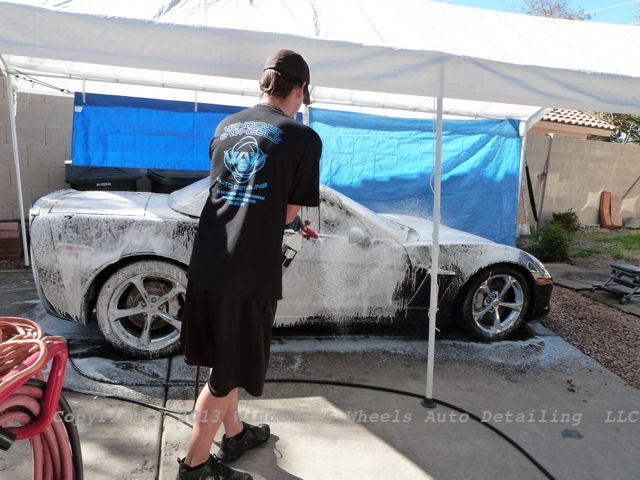
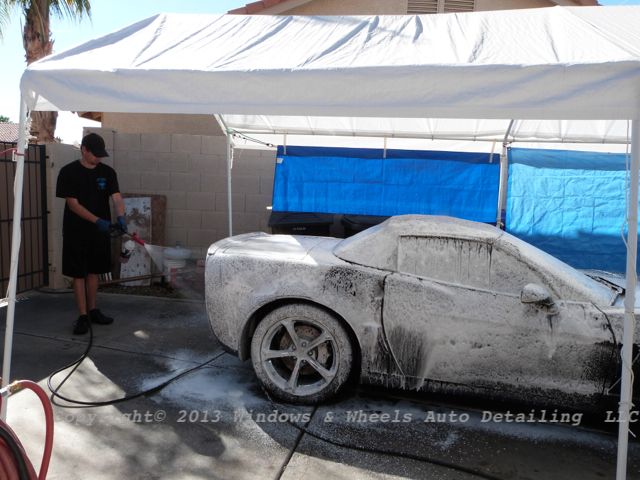
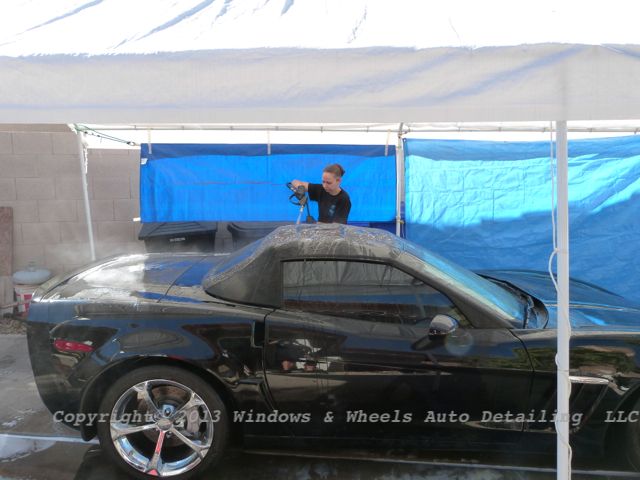
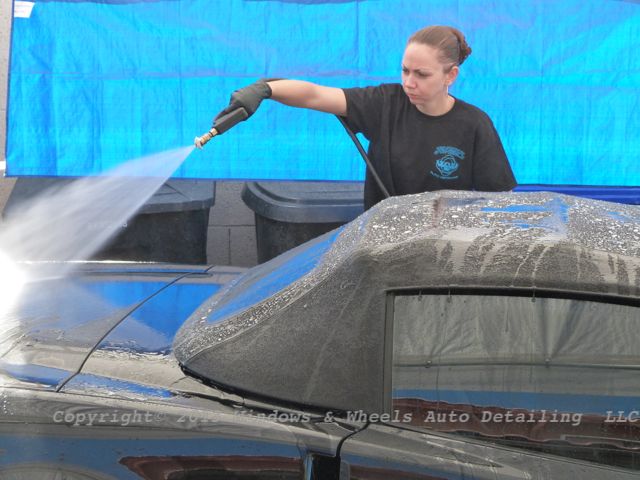
Then it was time to foam her up! I love Iron-X Wash as our prep wash…things like those bugs clean off relatively easily without needing any type of bug remover in most cases…not to mention it goes on like shaving cream:
Next we clayed it and then it was time to pull it into the sun and see how it looked all stripped down with no waxes etc on the paint:
All surfaces were covered with the micromarring..and all top surfaces had a ton of water spots:
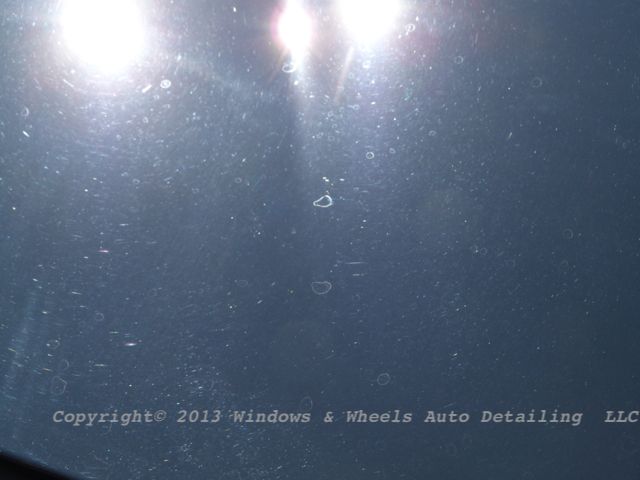
Bird bomb etching….
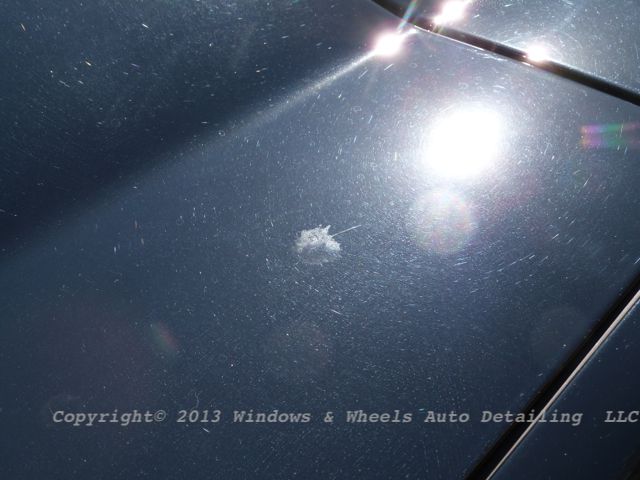
More hard water spots and hazing:
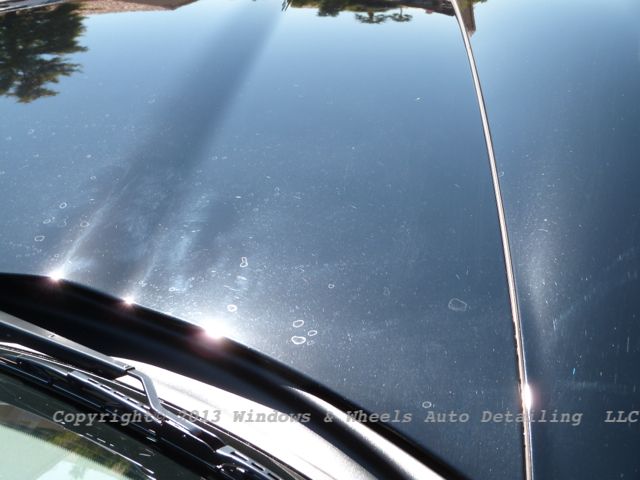

Rear hatch had the same thing:
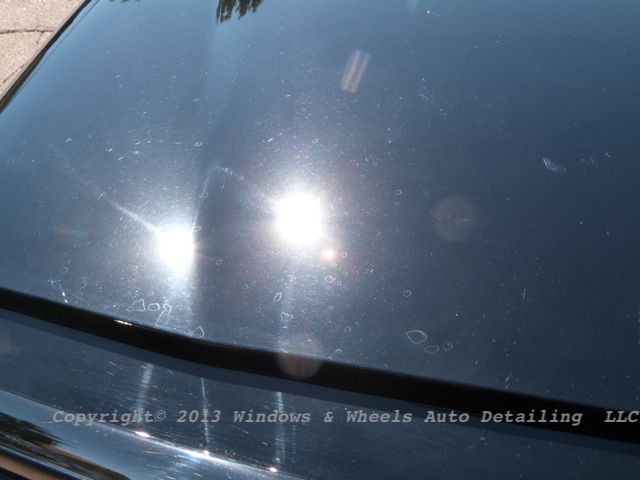
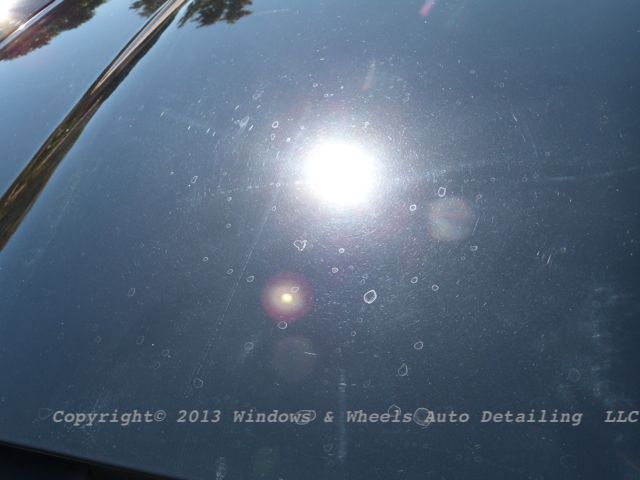
Sides were all micro-marred up as well. From afar the paint looked black but in direct light it definitely had more of a greyish hue:
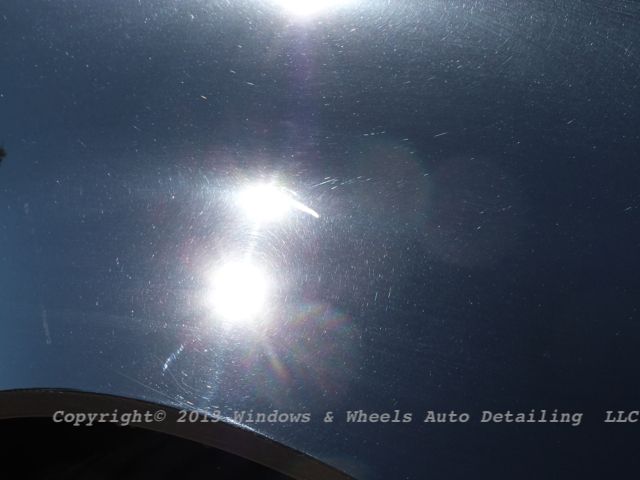
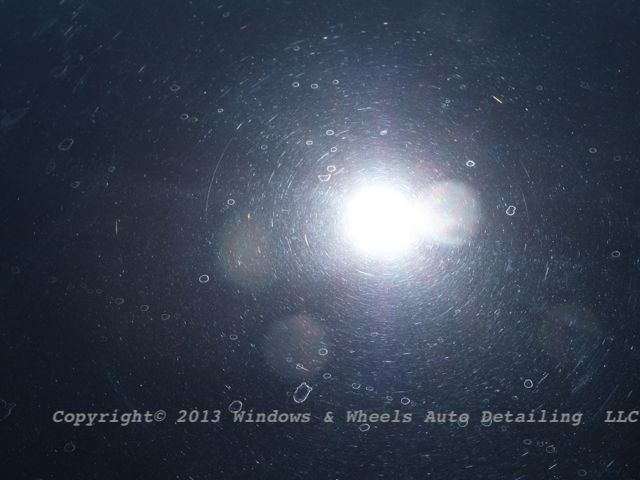
Solution? Meguiars 205….this was an all Megs kinda detail. While many use 205 to polish with..it can also make for an excellent cut when super heavy compounding is not needed. Less dust, easier wipe off and a cleaner finish with much less marring to polish up.
Teamed up with the Rupes 21 and a Megs Microfiber Finishing pad…made for some amazing defect removal:
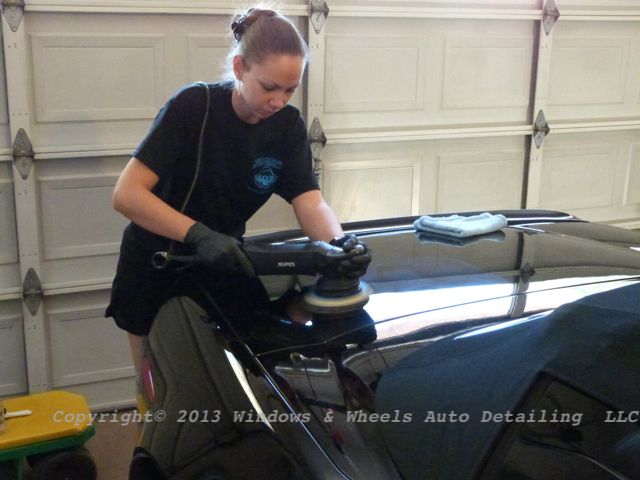
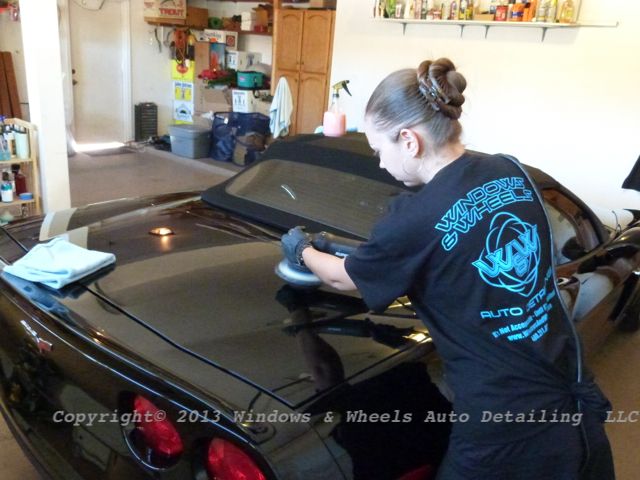
CLEAN YOUR PAD! I swear i cant emphasize this enough, but even while compounding, cleaning your pad after every section has so many benefits….Less marring, less build up on the pad, the pad stays fresh longer, it continues to give a consistent finish section to section. You end up using less compound/polish. Its just a good thing to do.
We spent the rest of the day cutting the defects…with 205. Pausing only for that same black C7 (ironic huh?) we did a couple months back - as he comes in regularly for washes now.
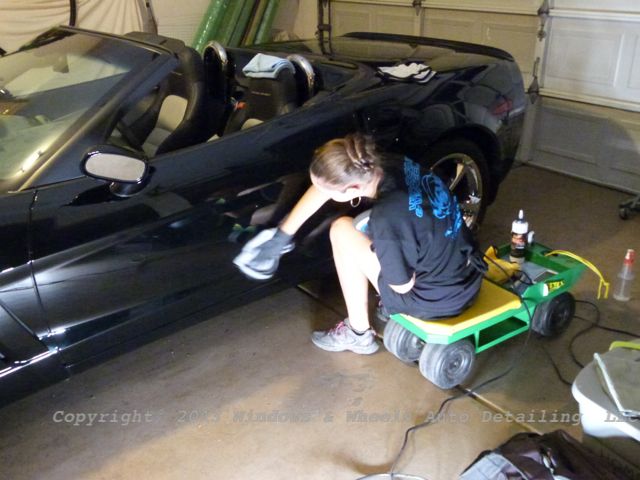
All compounding was completed and Dani managed to polish nearly 2/3 of the car while i was working with "Lil Rupes" as Dani calls it (The 75LRH) to cut the small areas that needed extra attention.
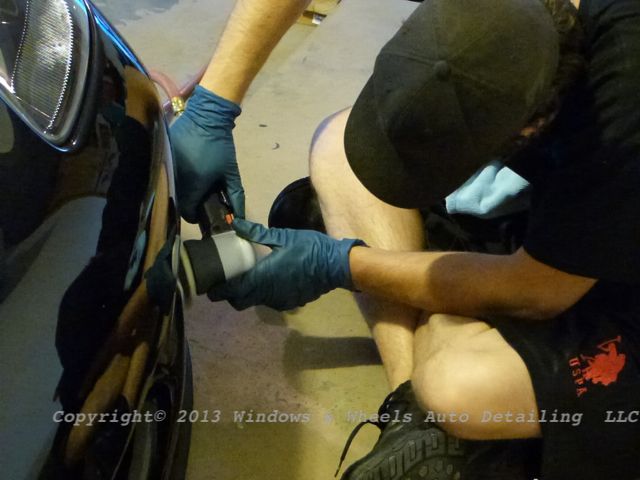
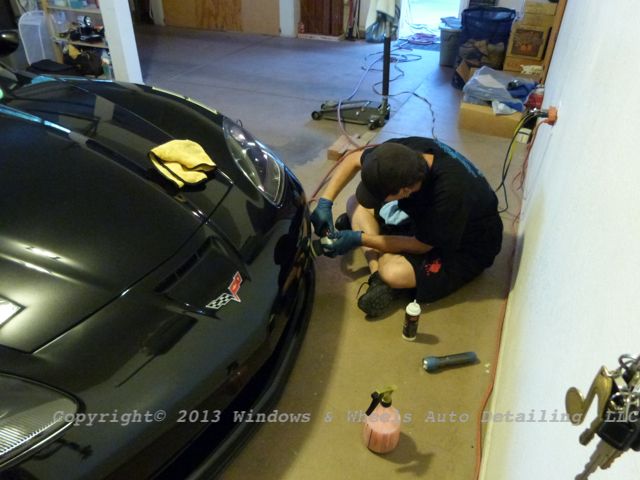
Here is Dani doing the final polishing with 205 and a black finishing pad:
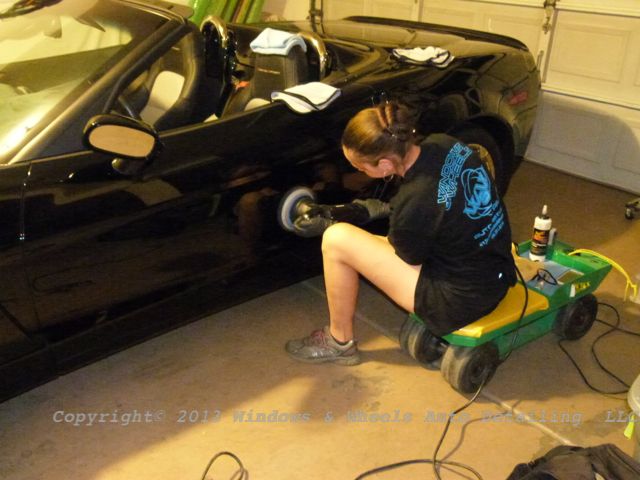
This process worked well into the night, we didn't finally knock off till close to 10. The next morning we were up and at it again, i pulled it out into the sun to see how we were looking…and i swear I WAS impressed with our work:
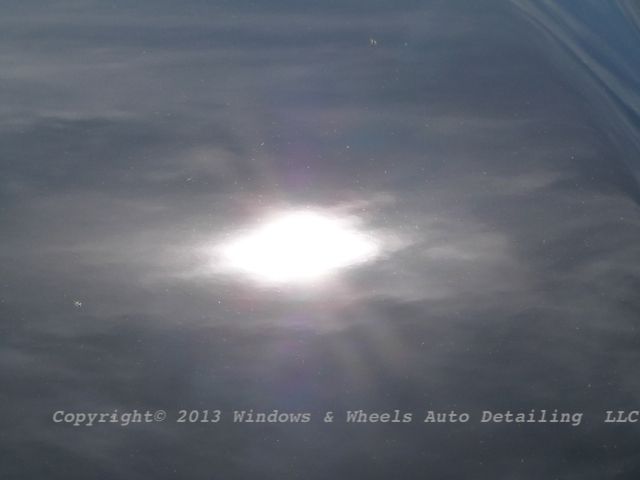

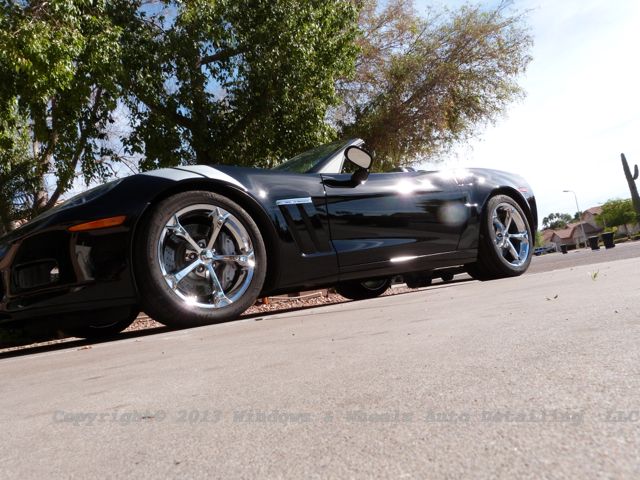
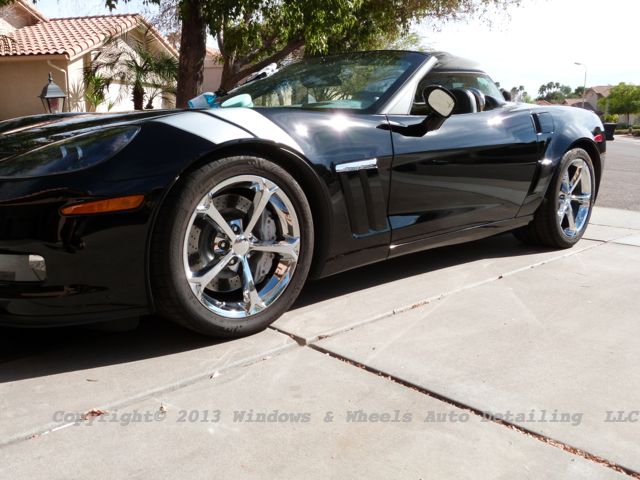
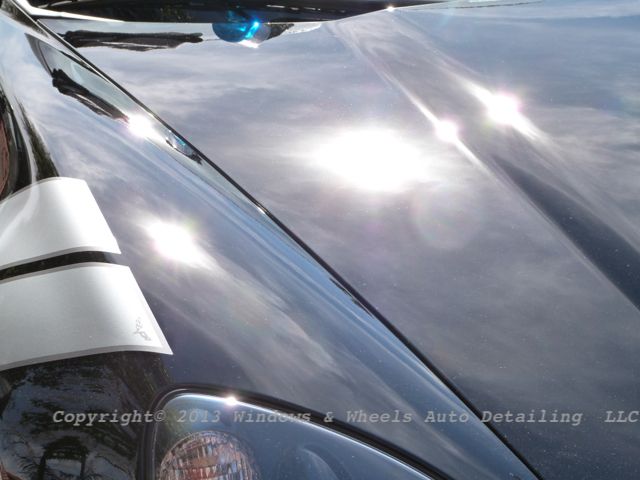
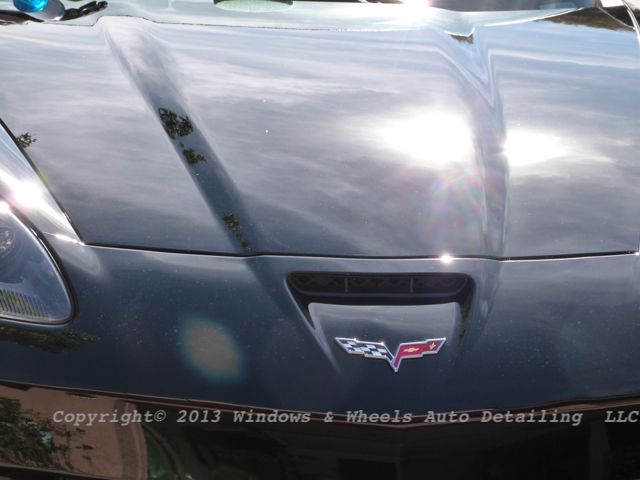
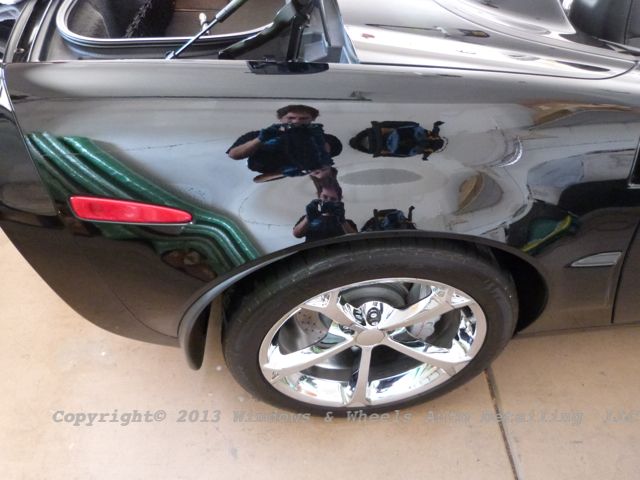
Note this is naked paint…no CQuartz Finest on it yet, this is just after polishing…and it looked that great.
But there was still more work to be done. Both bumpers and the rear hatch still had to be polished, as did the small areas (like side mirror and the painted area behind the headrest). Back to work:
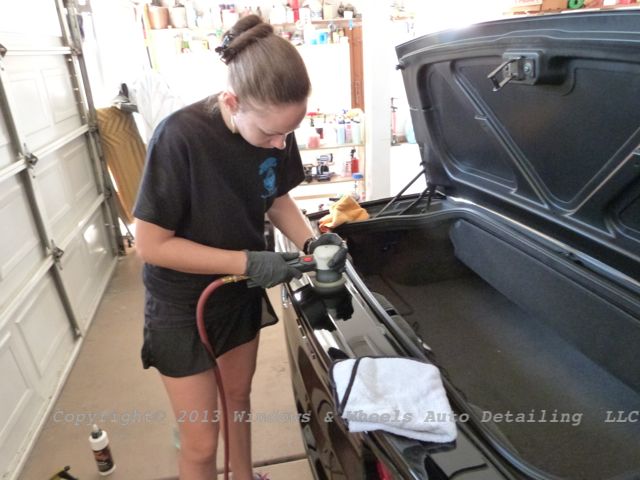
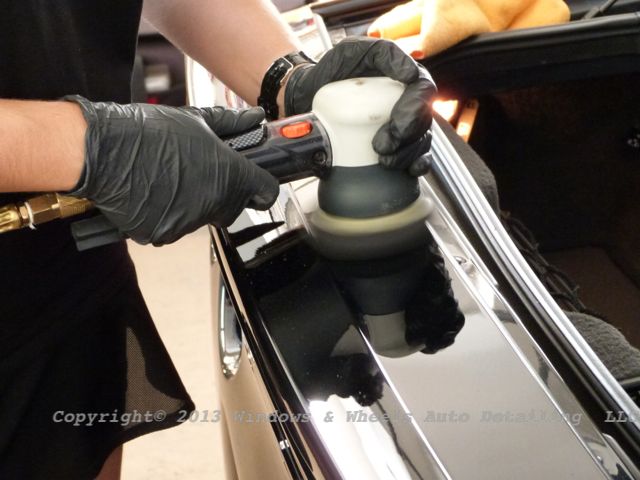
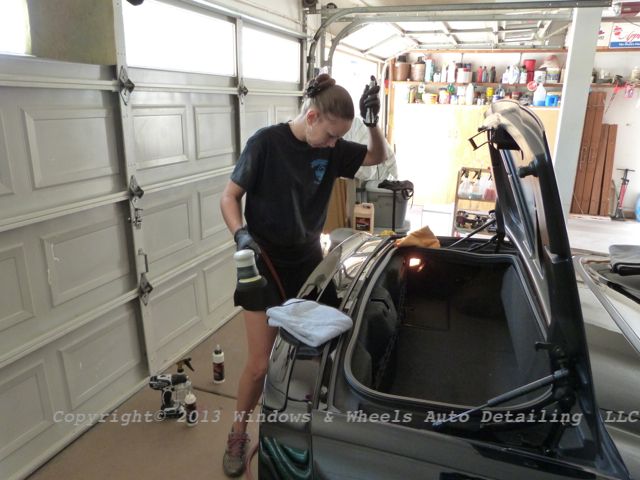
For those who dont know…this machine is worth every penny…Kevin Brown is the man for polishing tools…all day everyday!
Checking to make sure all is good:
Gloss sure was good:
After all the polishing was complete, it was time for an Eraser wipe down…gotta make sure all of those polishing oils are off the paint before applying Finest.
Hey look, the Eraser blue matched our new shirts
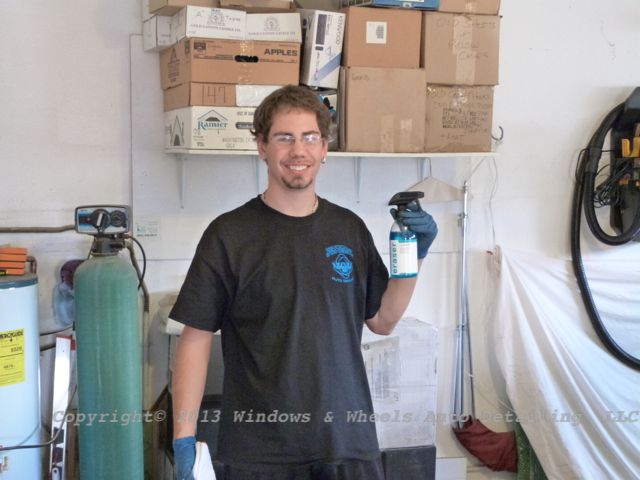
Designated towels used ONLY for Eraser….being careful not to mar the finish in any way:
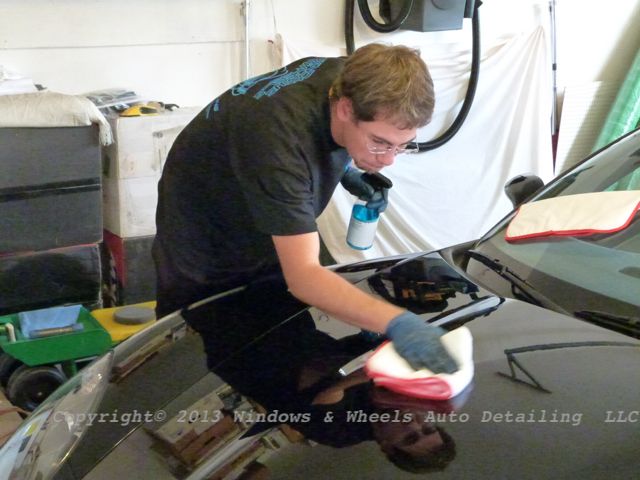
Double checking….yup…all is good, no filling or marring here:
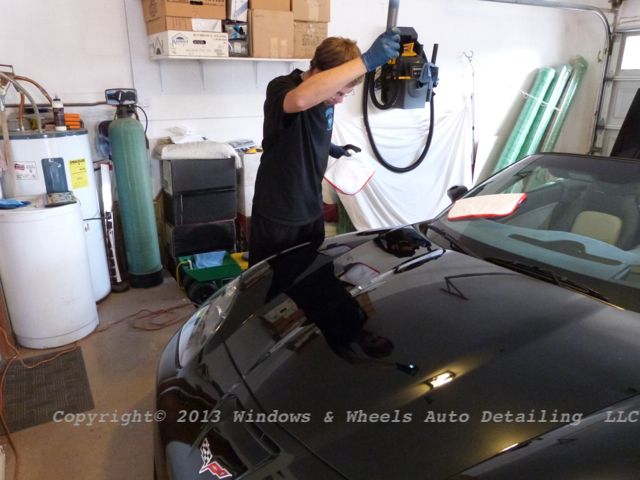
We're very thorough with the wipe down…it makes no sense to spend HOURS polishing…only to rush the prep and risk either marring up the paint..or accidentally leaving behind polish reside and end up having that hinder the bonding of Finest.
But finally…the time has come. Oh yes, there will be gloss:
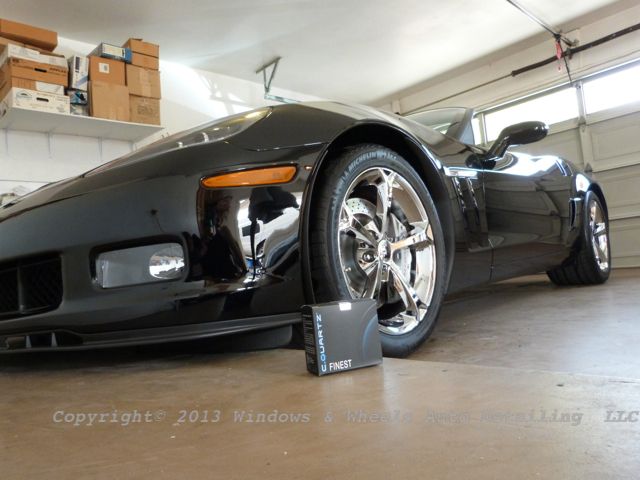
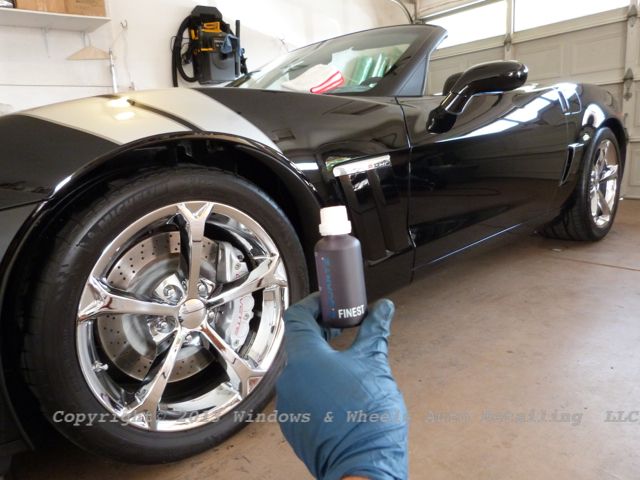
This little bottle holds some insane gloss, protection…and vapors that will make you high as a kite! But its worth it i tell you!
Litte bits at a time. Small block, micro-suede towel and a little bottle…time to prime the towel:
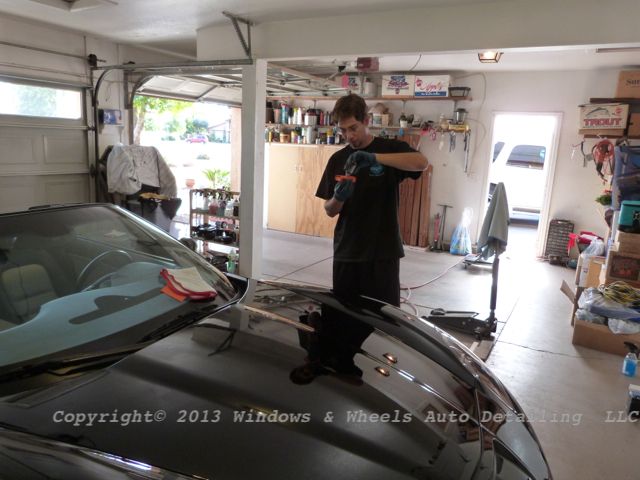
Then apply in a cross hatch pattern, being sure to do your final stroke in the direction you want the water to flow:
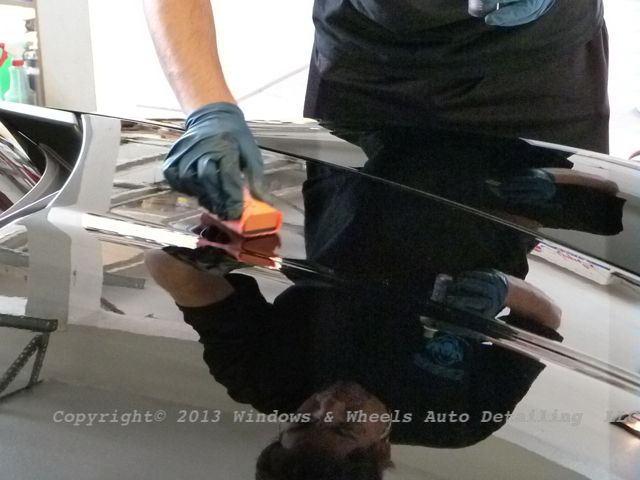
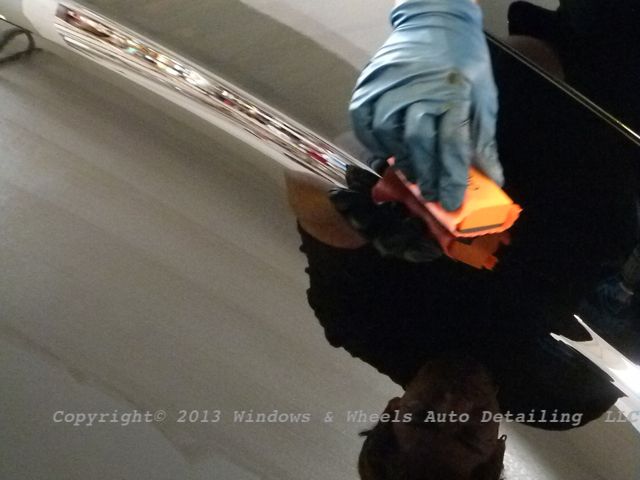
Gotta keep my distance from the paint…
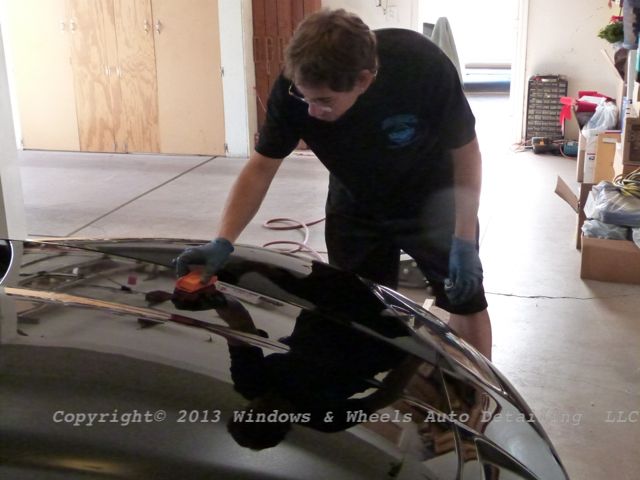
I tackle the top portions while Dani starts coating the sides…then i'll help her finish up whatever is left. Then we coated the wheels while the first coat on the paint was curing.
After that was done, the 1st coat was wiped off, 2nd coat was applied - and while it cured Dani started applying Dlux to all the plastic trim…which made a HUGE difference.
Getting the paint polished and coated is like buying a fine, custom tailored suit….adding on Dlux is like buying the perfect shoes, tie and cufflinks to go with that suit…its subtle but makes all the difference:
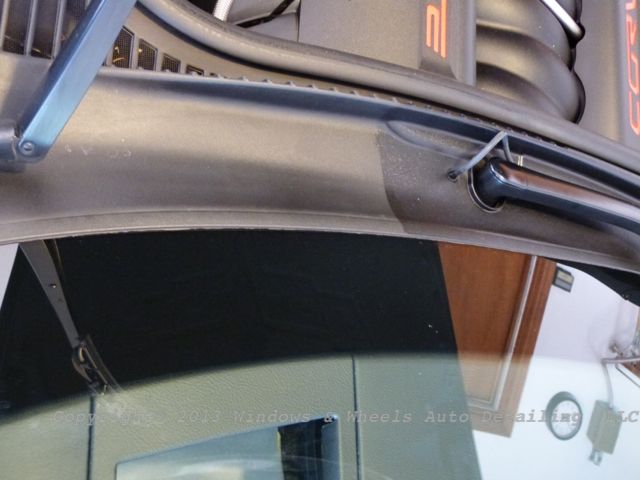
Details….details….

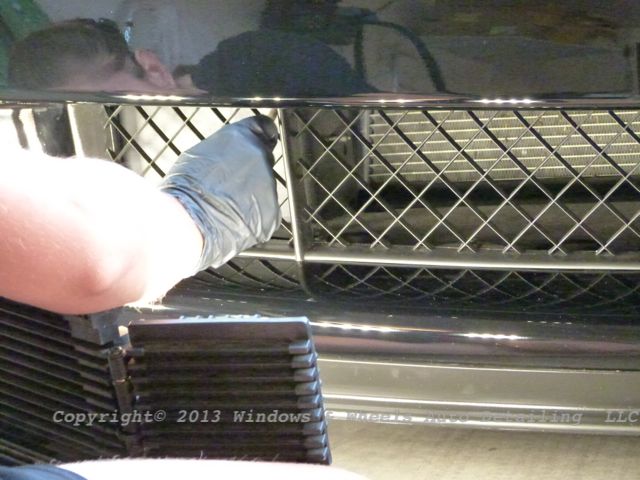
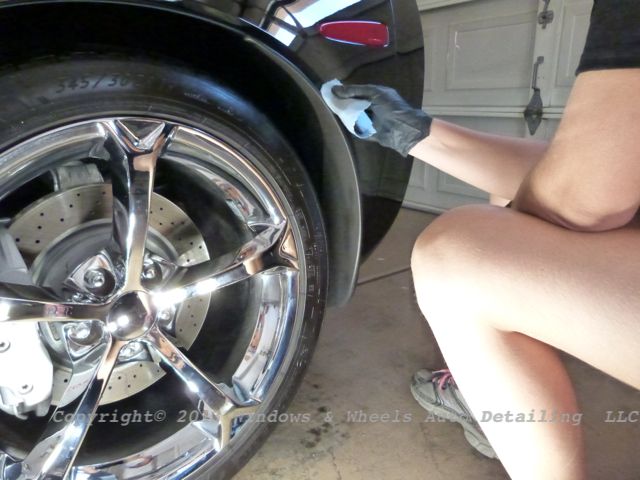
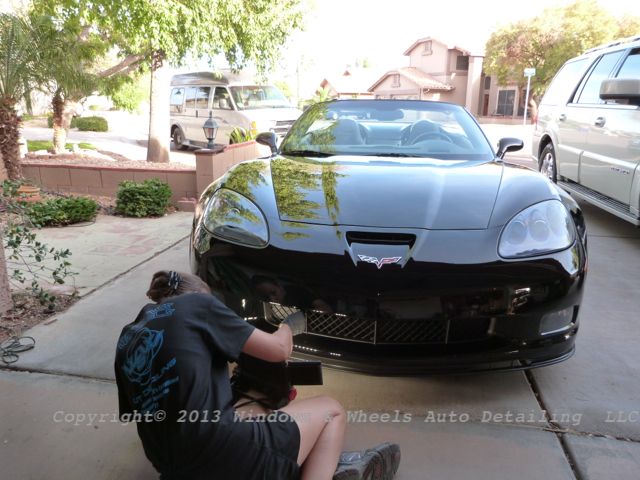
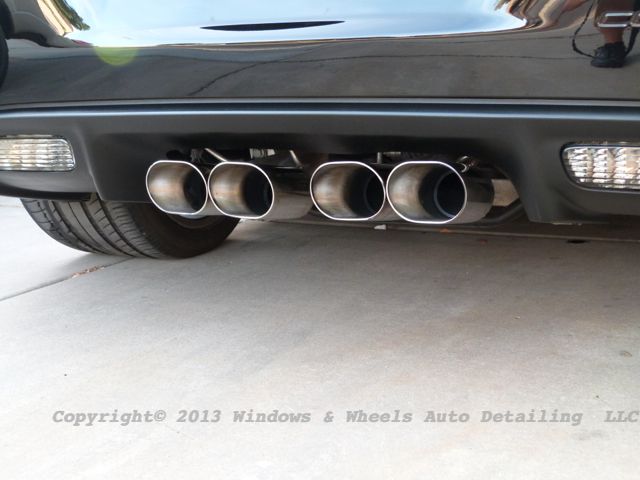
While she finished that up, i worked on some details of my own. Those nasty exhaust tips and I had a date…they needed to pop. The paint was glowing, the trim surrounding the tips was dark and gorgeous…the only thing we DIDNT want to be black…was those tips.
M105/205, Megs polishing cone and the powerball mini helped a lot to bring these babies back:
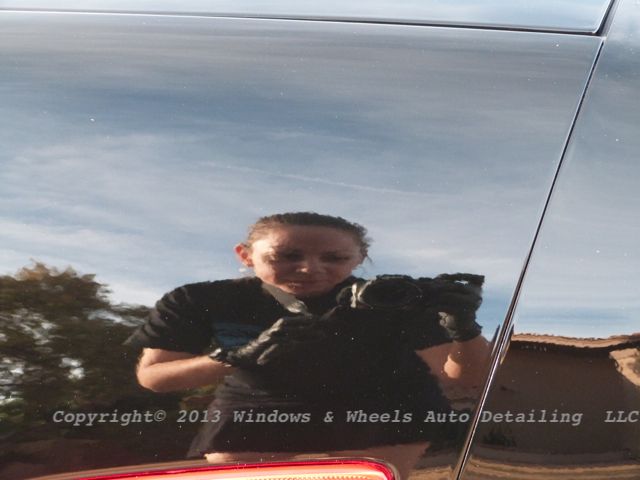
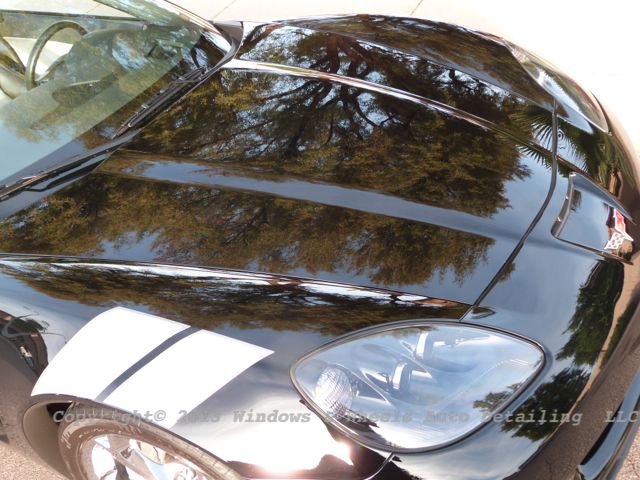
Now for those of you who read our writes, im sure you've seen "The Tree"…we have a tree in our front yard and often times it makes for an excellent reflection shot….it always looks good…but on some cars it looks EXCEPTIONAL. And this was one of those cases….this photo has not been edited:

Its ok…take a minute to enjoy…i am.
Ok are you back? Good cause here's one thats equally as nice:
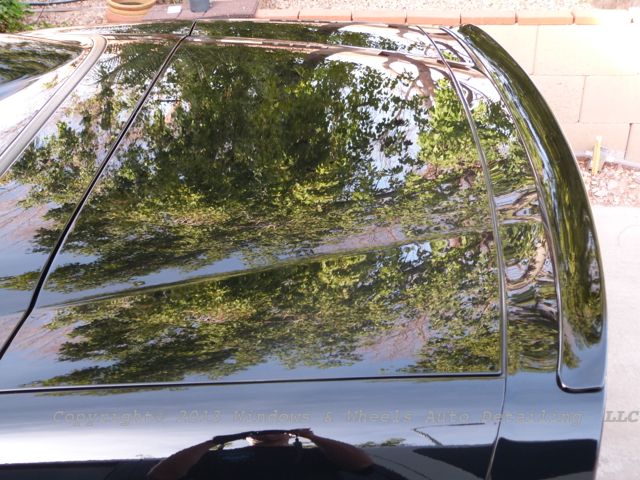
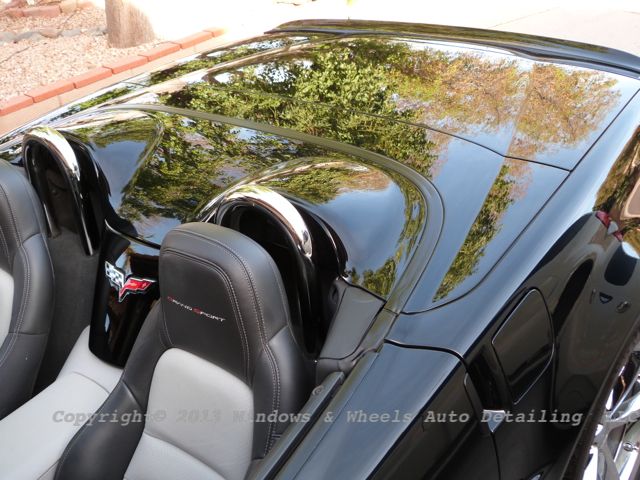
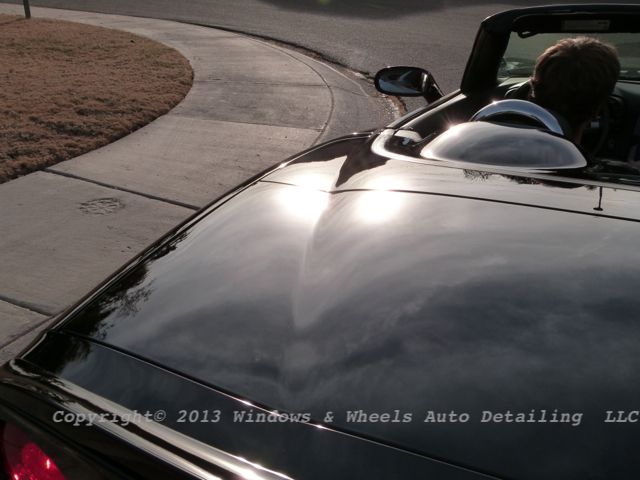
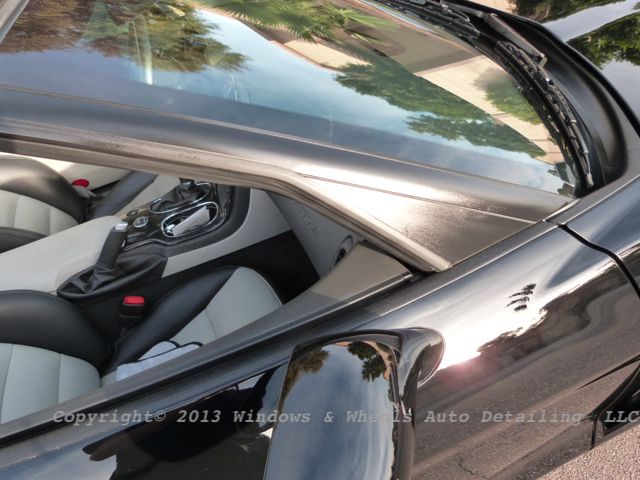
Note the paint inside the car is just as glossy….thats why we put the top down, so we could polish that paint as well as coat it. Makes all the difference.
We also did a quick interior…the owner considered having the whole thing done but decided against it for now…but being that its a convertible in Az, it had a LOT of dust inside of it. A thorough wipe down and quick vacuum made all the difference - and even though it was nearly dark when the owner picked it up, he noticed it right away and was very appreciative.
One last pic of…the tree:
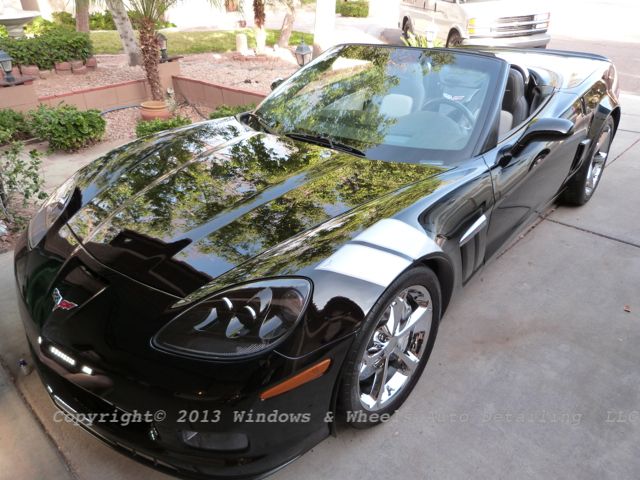
BOO YAH! Love black, love vettes, love what we do…this makes it all worth it.
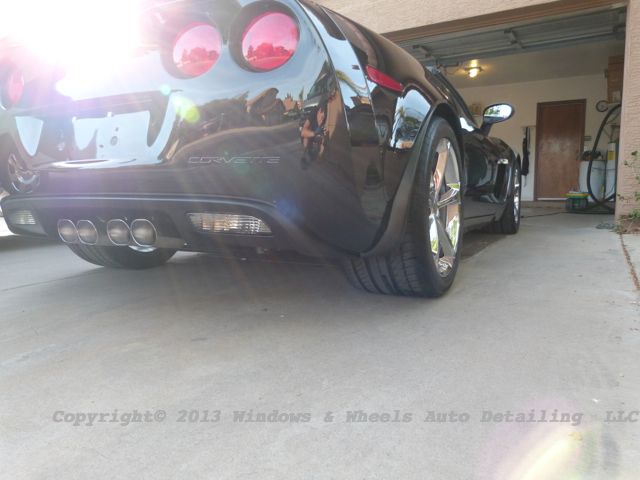
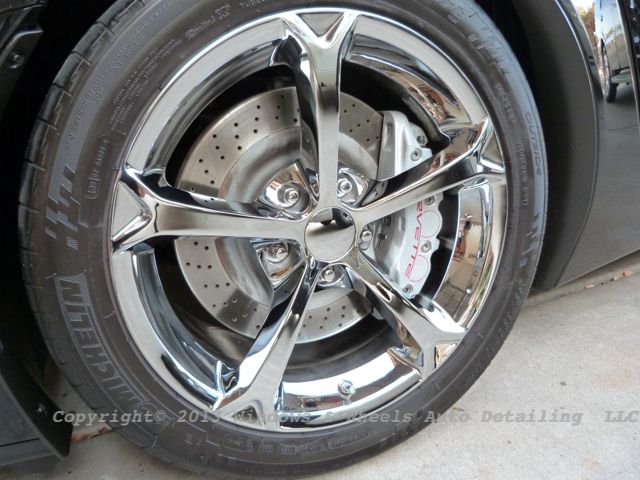
Wheels looked amazing, the plastic that popped out along the edges were too coated with Dlux, while the inner wells were dressed:
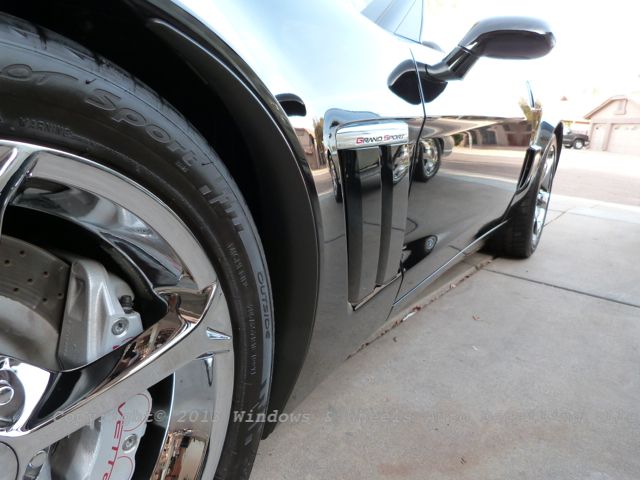
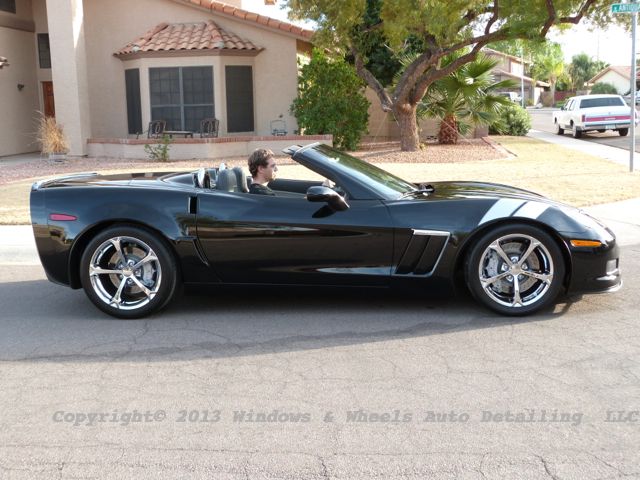
Thats one bad GS:
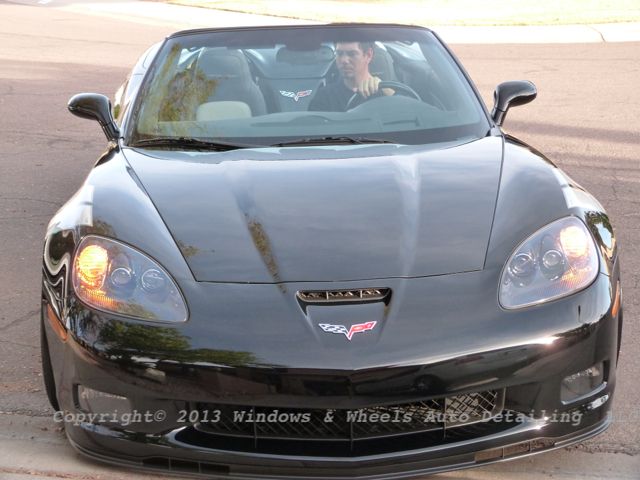
Now time to back her out for some sun shots:
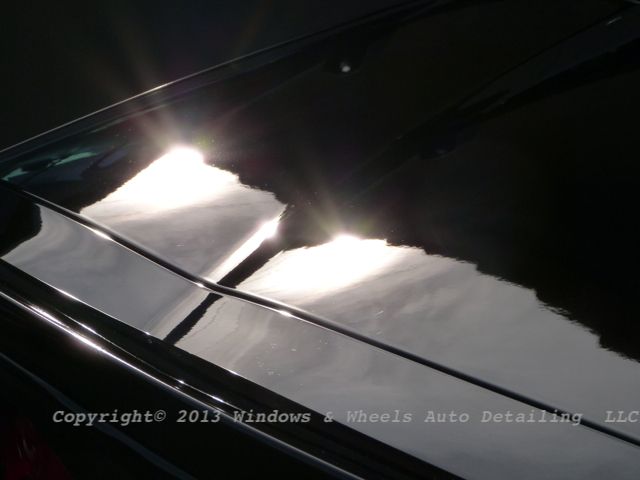
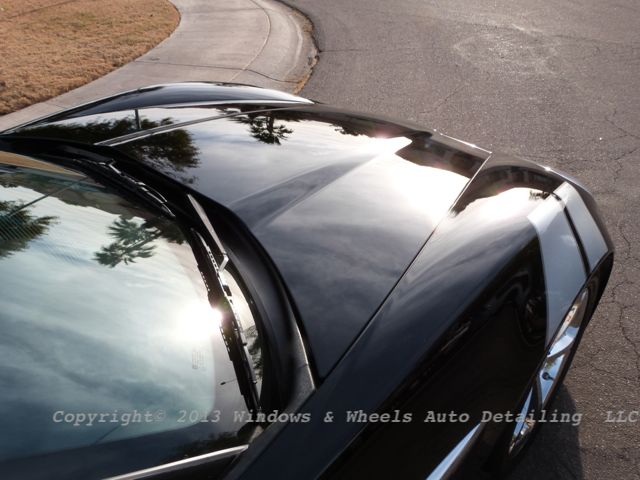
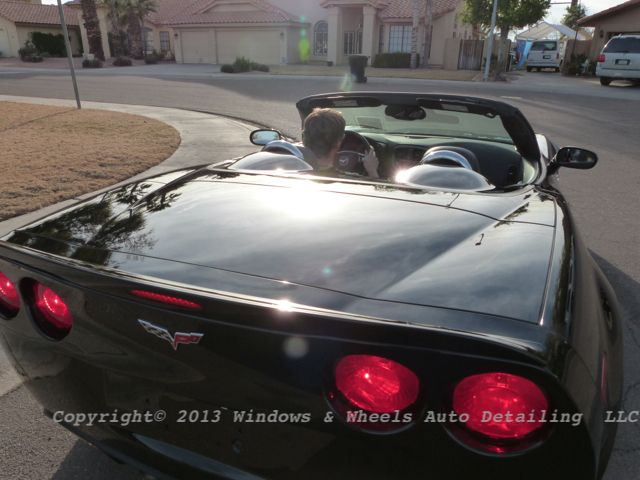
Just a pool of black:
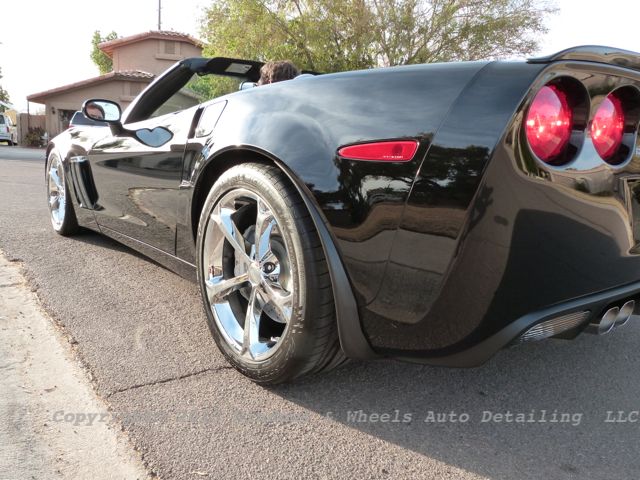
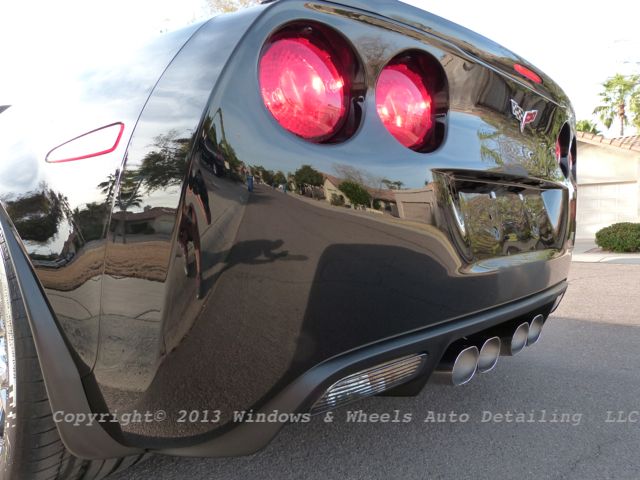
I love the C7s, but i'll always have a place for the C6 in my heart…a shout out to the round tail lights.
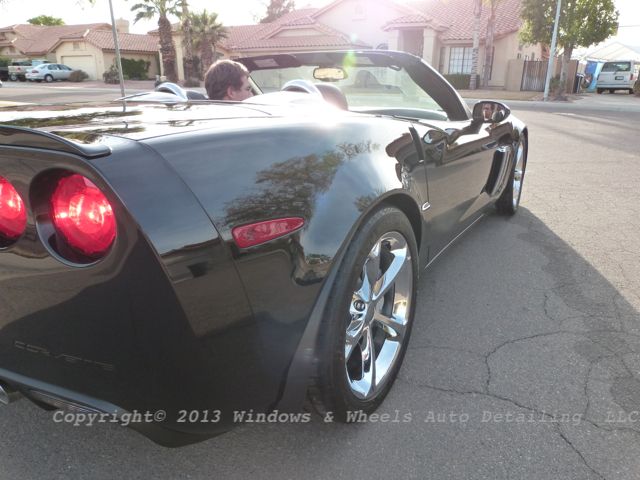
Look who!
Finest, even making dead leaves look good:
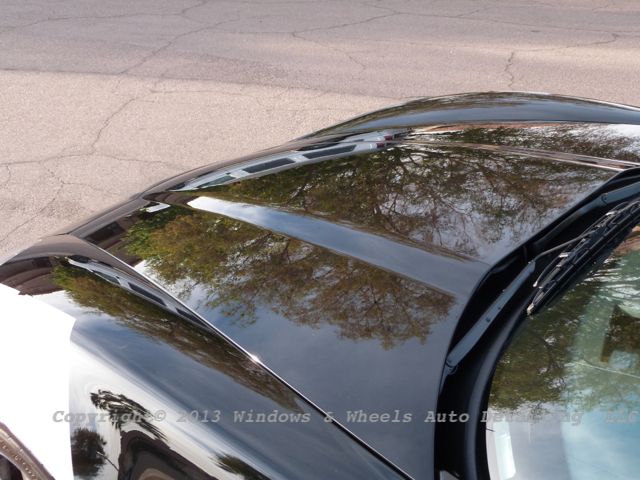
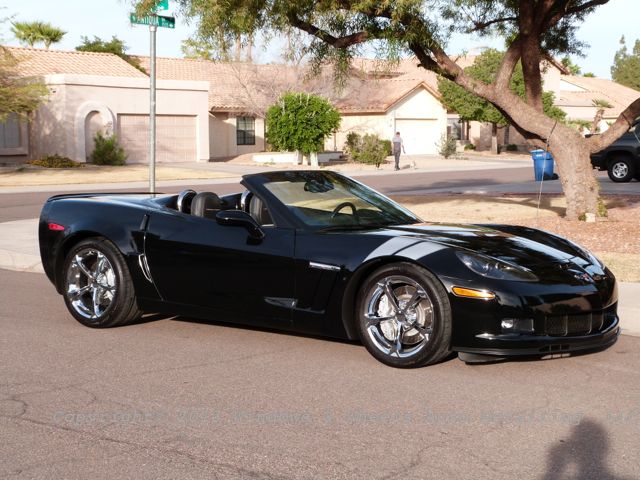
BLACK!

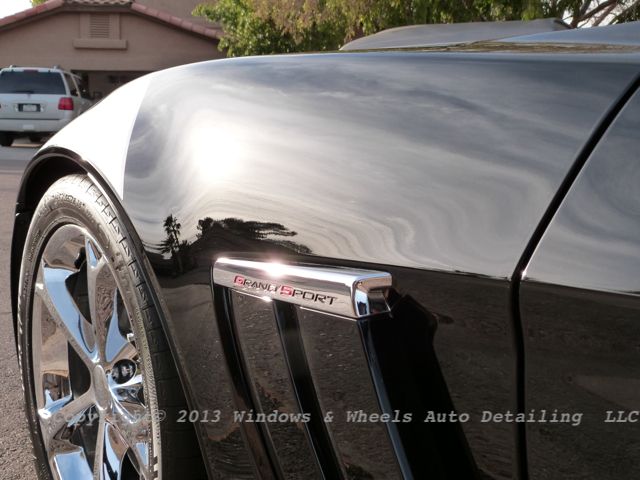
No more bugs here, one of the better looking front bumpers ive ever seen on a Vette…glowing…and with super clean plastic inserts shining with Dlux..yes i love this:
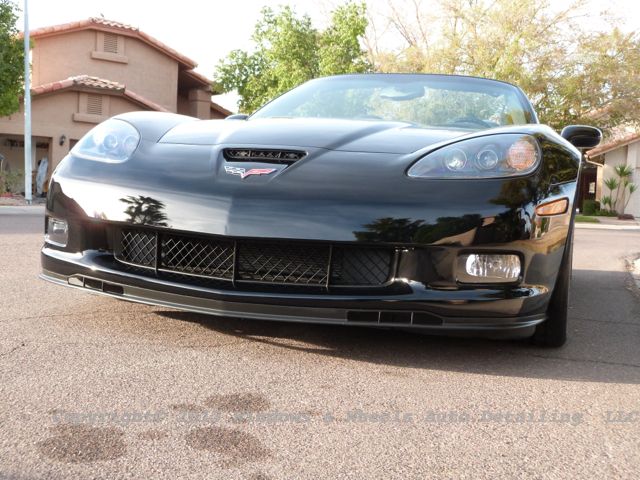
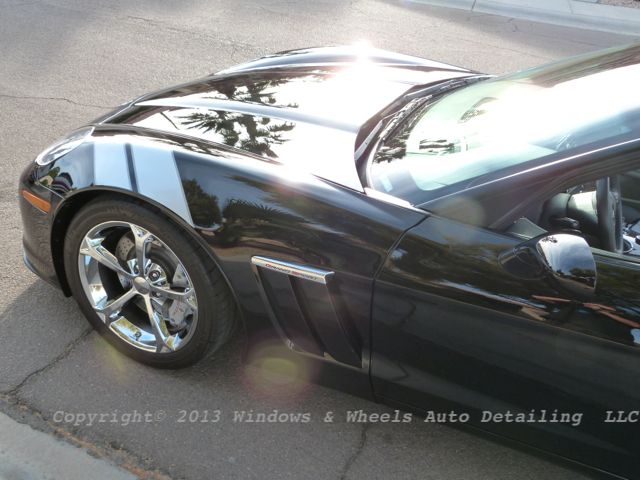
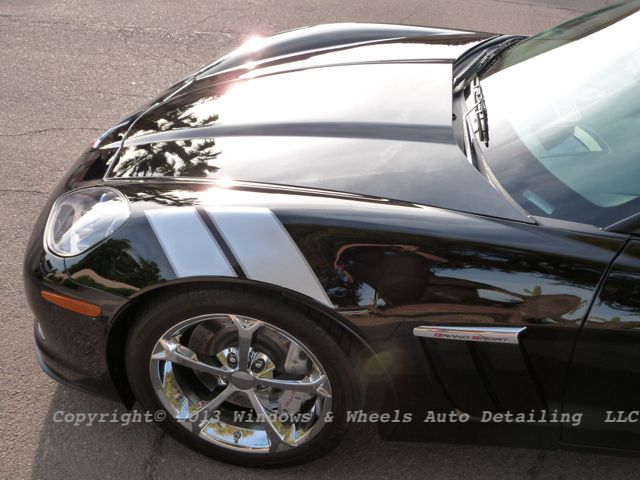
Yes, im slathering this write up with tons of after shots…this car and this job deserves every one:
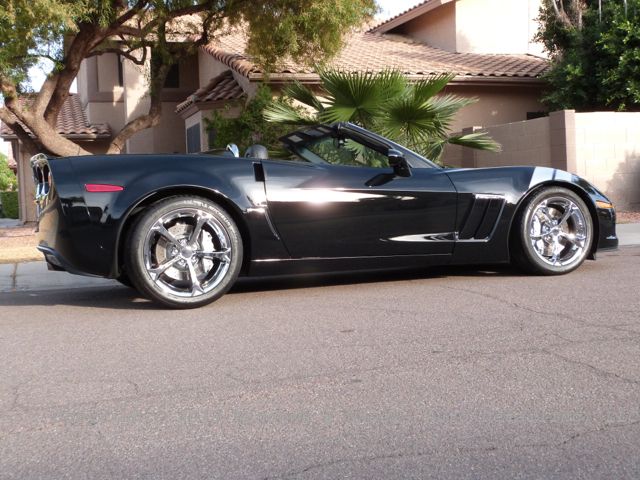
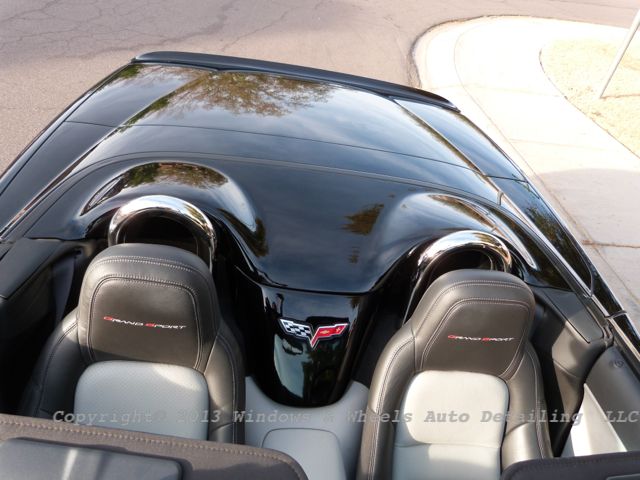
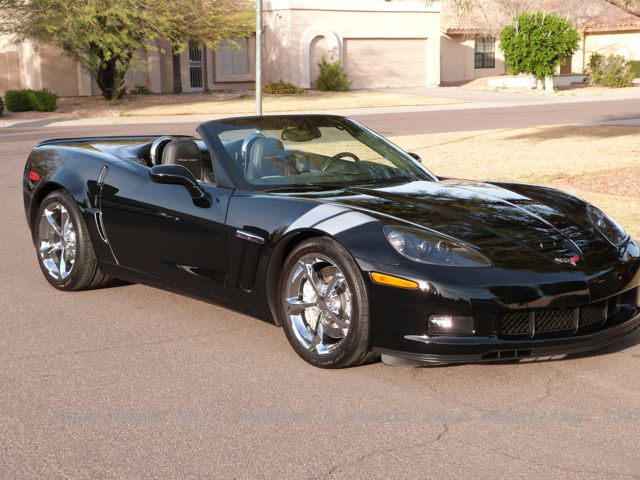
No more swirls or micromarring here…or water spots…or bird bomb etchings…or..
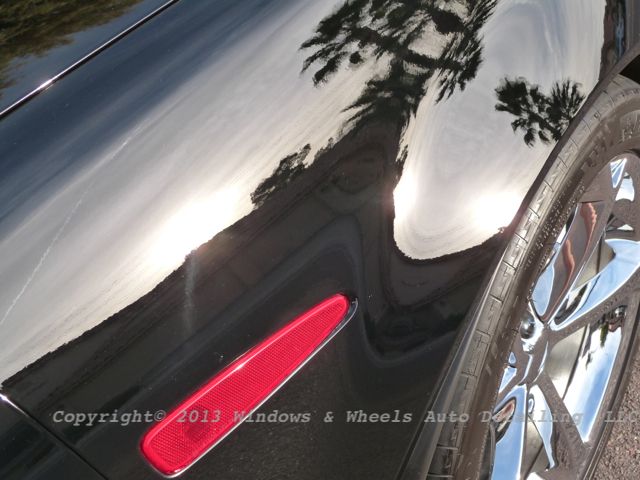
Dlux along the sides of the windshield looked great:
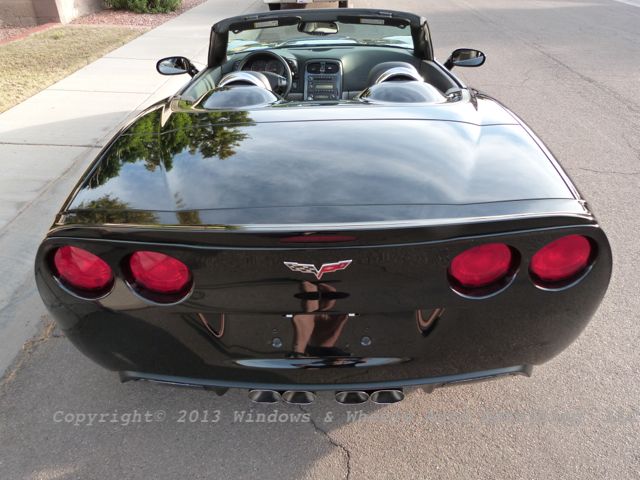
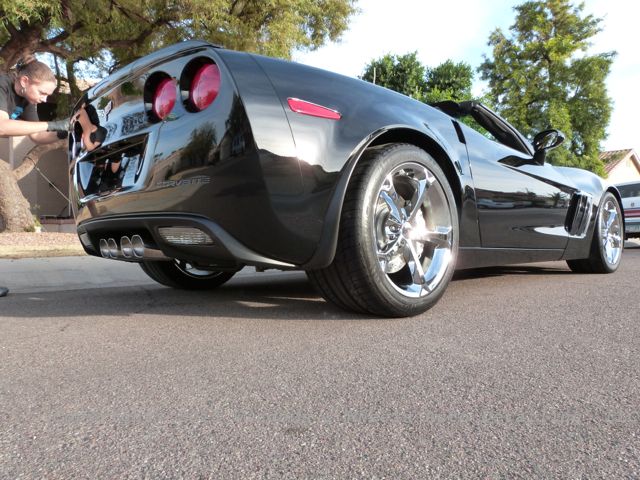
Final shot:
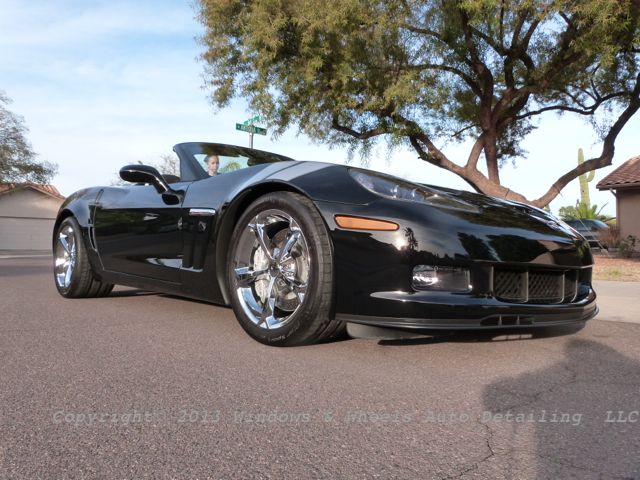
The owner arrived, even though it was sun set he was impressed but asked if we'd do a walk around with him - so i grabbed our light. He was very happy with everything and complimented us on delivering very high quality work - making note that its difficult to find anyone in any field now days who really takes pride in their work. He also sent me this text after he got home:
"I just checked the finish with a high powered LED light...it looks nearly flawless!"
Gotta love owners like that!
Hope you all enjoyed the write up and the slew of pics…this was the first correction we've had in a while. Lately its been a lot of 1-step and Coat jobs on new cars…so when we booked this baby it was like….lets get it on! We have a BMW coming in this weekend for the same thing…but many more swirls. We're pumped!
Thanks all for checking it out.
While 3 years old it only had about 13k miles on it, but its black and black in Arizona is stupid hard to care for. Between the heat and the hard water we have….hard water spots are often an issue:

Oh and of course swirls, but thats a given. The owner had tried polishing it himself…and i'll be honest, ive seen a heck of a lot worse attempts, but the problem he was having was finishing it down. The whole car basically looked like it was heavily micro-marred but with some deep stuff here n' there as well. After we spoke to the owner in extent about our process and recommending a coating…we booked it. Correction, CQuartz Finest, CQuartz Dlux for trim and a wholllllle lot of gloss!
Day 1 started out as a prep day - washing, decontaminating, cleaning wheels/wells/barrels/tires
Here she is, ready for her bath:

Barrels of the wheels were quite dirty:

But we fixed that…love this wheel cleaner:

Wheel woolies to reach deep into the barrels:


Check out the new shirts!
Ok back to the detail…the most awesome wheel brush ever used to clean the faces:

And of course its a Vette…so it had bug splatter:

Serious dirt behind the license plate and the tips were….yeah, they just needed some work thats all:

Then it was time to foam her up! I love Iron-X Wash as our prep wash…things like those bugs clean off relatively easily without needing any type of bug remover in most cases…not to mention it goes on like shaving cream:


Next we clayed it and then it was time to pull it into the sun and see how it looked all stripped down with no waxes etc on the paint:
All surfaces were covered with the micromarring..and all top surfaces had a ton of water spots:

Bird bomb etching….

More hard water spots and hazing:


Rear hatch had the same thing:


Sides were all micro-marred up as well. From afar the paint looked black but in direct light it definitely had more of a greyish hue:


Solution? Meguiars 205….this was an all Megs kinda detail. While many use 205 to polish with..it can also make for an excellent cut when super heavy compounding is not needed. Less dust, easier wipe off and a cleaner finish with much less marring to polish up.
Teamed up with the Rupes 21 and a Megs Microfiber Finishing pad…made for some amazing defect removal:


CLEAN YOUR PAD! I swear i cant emphasize this enough, but even while compounding, cleaning your pad after every section has so many benefits….Less marring, less build up on the pad, the pad stays fresh longer, it continues to give a consistent finish section to section. You end up using less compound/polish. Its just a good thing to do.
We spent the rest of the day cutting the defects…with 205. Pausing only for that same black C7 (ironic huh?) we did a couple months back - as he comes in regularly for washes now.
All compounding was completed and Dani managed to polish nearly 2/3 of the car while i was working with "Lil Rupes" as Dani calls it (The 75LRH) to cut the small areas that needed extra attention.


Here is Dani doing the final polishing with 205 and a black finishing pad:


This process worked well into the night, we didn't finally knock off till close to 10. The next morning we were up and at it again, i pulled it out into the sun to see how we were looking…and i swear I WAS impressed with our work:


Note this is naked paint…no CQuartz Finest on it yet, this is just after polishing…and it looked that great.
But there was still more work to be done. Both bumpers and the rear hatch still had to be polished, as did the small areas (like side mirror and the painted area behind the headrest). Back to work:


For those who dont know…this machine is worth every penny…Kevin Brown is the man for polishing tools…all day everyday!
Checking to make sure all is good:

Gloss sure was good:

After all the polishing was complete, it was time for an Eraser wipe down…gotta make sure all of those polishing oils are off the paint before applying Finest.
Hey look, the Eraser blue matched our new shirts


Designated towels used ONLY for Eraser….being careful not to mar the finish in any way:

Double checking….yup…all is good, no filling or marring here:

We're very thorough with the wipe down…it makes no sense to spend HOURS polishing…only to rush the prep and risk either marring up the paint..or accidentally leaving behind polish reside and end up having that hinder the bonding of Finest.
But finally…the time has come. Oh yes, there will be gloss:


This little bottle holds some insane gloss, protection…and vapors that will make you high as a kite! But its worth it i tell you!
Litte bits at a time. Small block, micro-suede towel and a little bottle…time to prime the towel:

Then apply in a cross hatch pattern, being sure to do your final stroke in the direction you want the water to flow:


Gotta keep my distance from the paint…

I tackle the top portions while Dani starts coating the sides…then i'll help her finish up whatever is left. Then we coated the wheels while the first coat on the paint was curing.
After that was done, the 1st coat was wiped off, 2nd coat was applied - and while it cured Dani started applying Dlux to all the plastic trim…which made a HUGE difference.
Getting the paint polished and coated is like buying a fine, custom tailored suit….adding on Dlux is like buying the perfect shoes, tie and cufflinks to go with that suit…its subtle but makes all the difference:

Details….details….


While she finished that up, i worked on some details of my own. Those nasty exhaust tips and I had a date…they needed to pop. The paint was glowing, the trim surrounding the tips was dark and gorgeous…the only thing we DIDNT want to be black…was those tips.
M105/205, Megs polishing cone and the powerball mini helped a lot to bring these babies back:

Now for those of you who read our writes, im sure you've seen "The Tree"…we have a tree in our front yard and often times it makes for an excellent reflection shot….it always looks good…but on some cars it looks EXCEPTIONAL. And this was one of those cases….this photo has not been edited:

Its ok…take a minute to enjoy…i am.
Ok are you back? Good cause here's one thats equally as nice:


Note the paint inside the car is just as glossy….thats why we put the top down, so we could polish that paint as well as coat it. Makes all the difference.
We also did a quick interior…the owner considered having the whole thing done but decided against it for now…but being that its a convertible in Az, it had a LOT of dust inside of it. A thorough wipe down and quick vacuum made all the difference - and even though it was nearly dark when the owner picked it up, he noticed it right away and was very appreciative.
One last pic of…the tree:

BOO YAH! Love black, love vettes, love what we do…this makes it all worth it.

Wheels looked amazing, the plastic that popped out along the edges were too coated with Dlux, while the inner wells were dressed:

Thats one bad GS:

Now time to back her out for some sun shots:


Just a pool of black:

I love the C7s, but i'll always have a place for the C6 in my heart…a shout out to the round tail lights.


Look who!


Finest, even making dead leaves look good:


BLACK!


No more bugs here, one of the better looking front bumpers ive ever seen on a Vette…glowing…and with super clean plastic inserts shining with Dlux..yes i love this:


Yes, im slathering this write up with tons of after shots…this car and this job deserves every one:


No more swirls or micromarring here…or water spots…or bird bomb etchings…or..

Dlux along the sides of the windshield looked great:


Final shot:

The owner arrived, even though it was sun set he was impressed but asked if we'd do a walk around with him - so i grabbed our light. He was very happy with everything and complimented us on delivering very high quality work - making note that its difficult to find anyone in any field now days who really takes pride in their work. He also sent me this text after he got home:
"I just checked the finish with a high powered LED light...it looks nearly flawless!"
Gotta love owners like that!
Hope you all enjoyed the write up and the slew of pics…this was the first correction we've had in a while. Lately its been a lot of 1-step and Coat jobs on new cars…so when we booked this baby it was like….lets get it on! We have a BMW coming in this weekend for the same thing…but many more swirls. We're pumped!
Thanks all for checking it out.


Comment