• If this is your first visit, be sure to check out the FAQ by clicking the link above. You may have to register before you can post: click the register link above to proceed. To start viewing messages, select the forum that you want to visit from the selection below.

Announcement

Collapse
No announcement yet.

1965 (Corrected) Red Mustang

Collapse
X
 
  • Filter
  • Time
  • Show
Clear All
new posts

  • 1965 (Corrected) Red Mustang

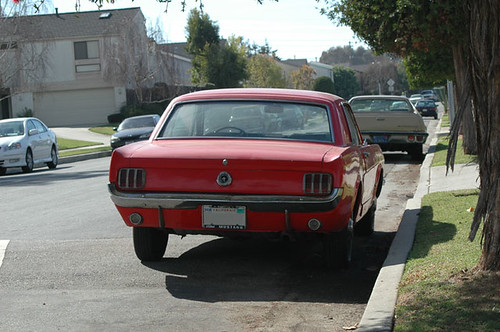
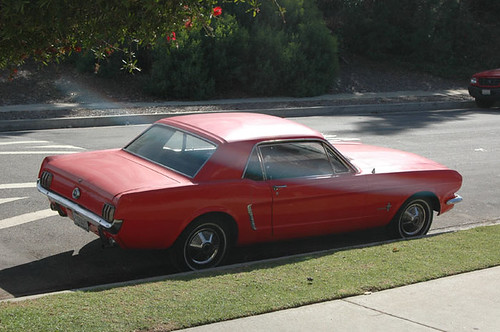
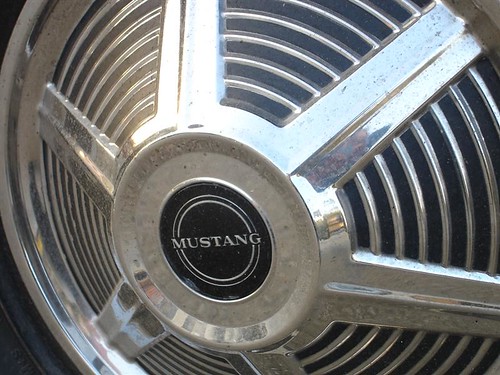
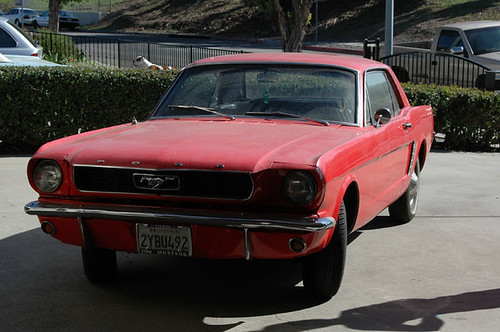
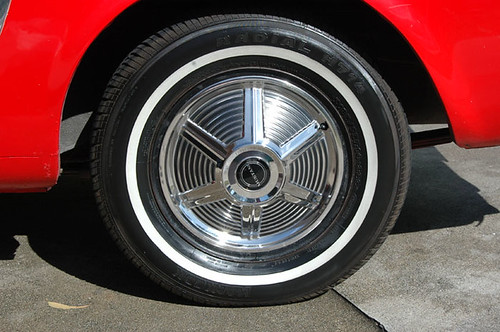
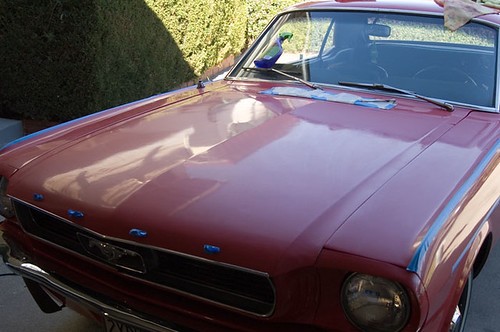
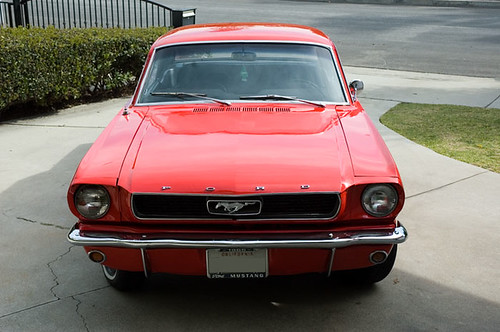
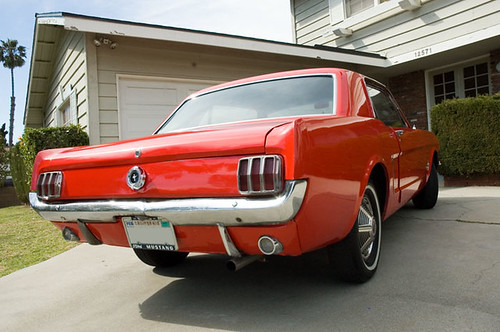
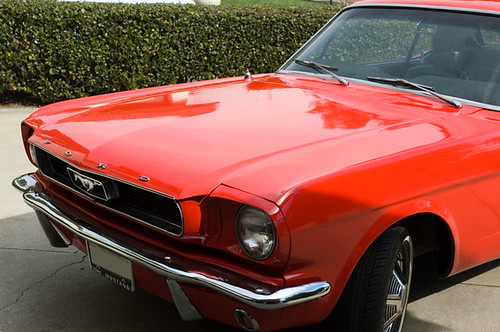
    A new neighbor moved in next door, and I saw this red mustang parked out front. I didn't know it belonged to him, but being car crazy, I taped a sheet of paper on his windshield saying I loved this car and wanted to buff it out, and to call me. Later that night while taking out the trash, I met the owner of the cars' girlfriend and she told me a bit about it. Weeks later I finally met the owner, he came to hang out at a MINI Cooper clinic I put on today for my MINI club.


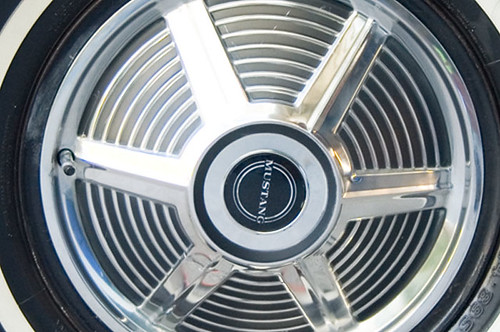
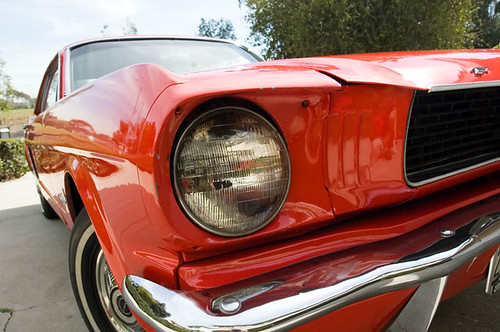
    Being parked outside, everyday I passed by, I couldn't wait to get my hands on this car and make it beautiful!!!


    Looking at the finish it reminded me exactly of the 68 Camaro I did.


    I found out the owner had bought it as a "fun" car and was fixing it up--he thought about selling it, but getting a new paint job first. I said I didn't think he needed new paint and I showed him the Camaro pix and he was interested.

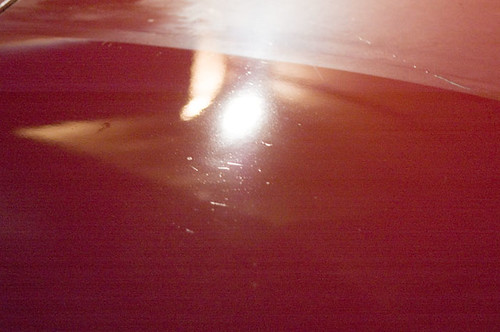
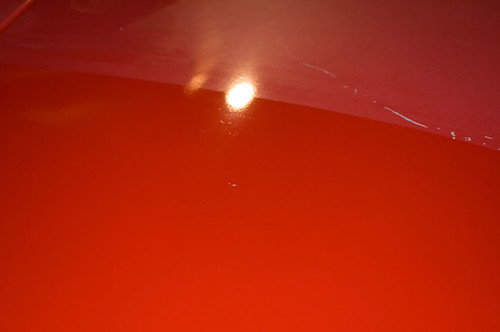
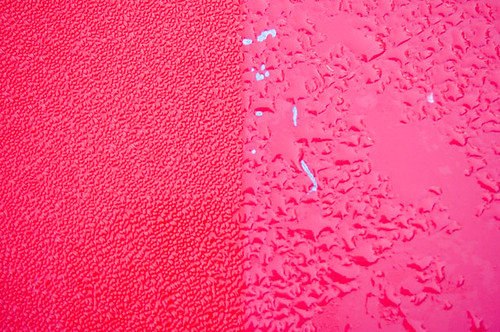
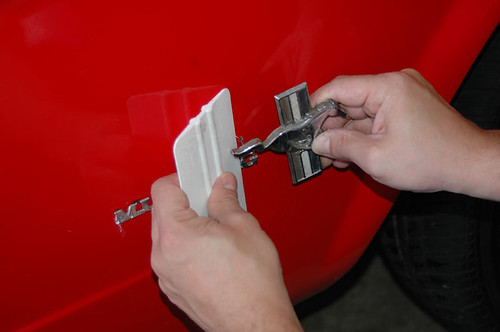
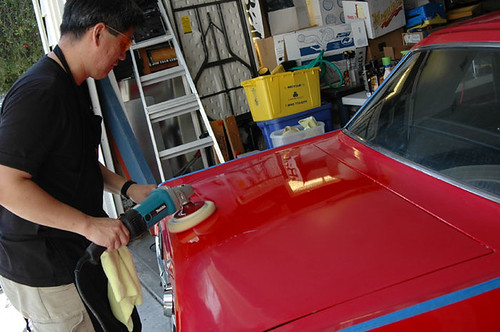
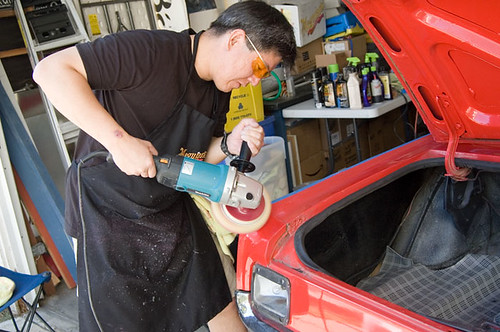
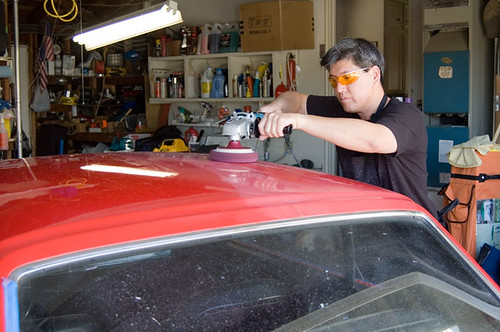
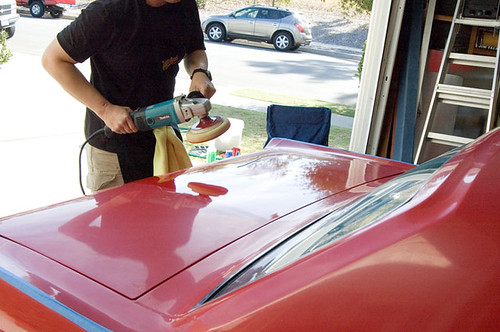
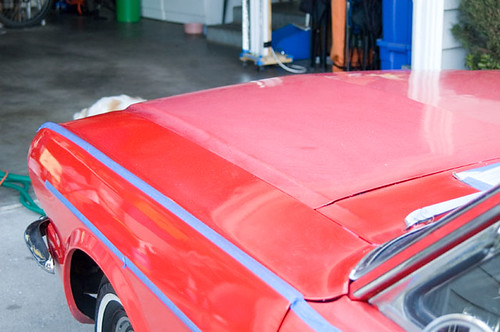
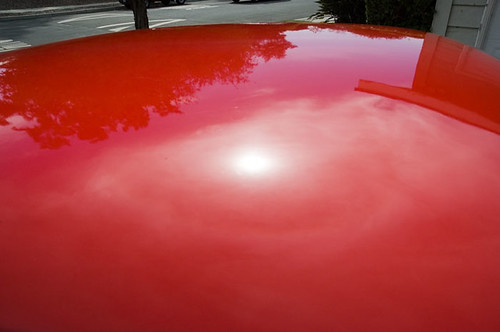
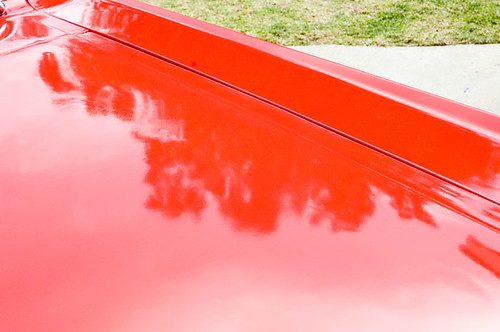
    So today I got to do a test spot on his trunk. It was late at night and these aren't very good pix but you can see a dramatic difference in gloss and swirls. The surface was washed and rinsed then claybarred before doing 3 passes of M80 with the Rotary. I did 1 pass of M83 to pull some deeper scratches out and finished with 2 passes of M80 with the PC followed by M21.


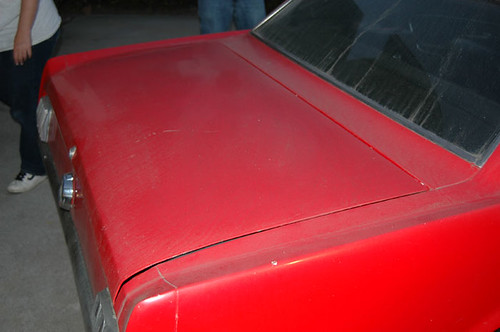
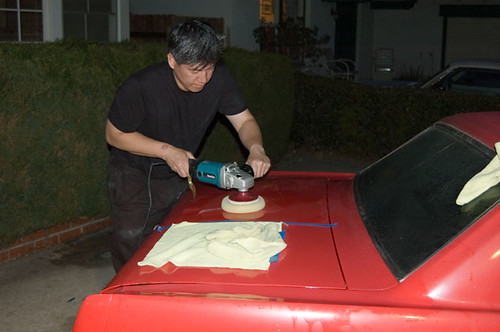
    A little buffing and I knew I was working with a single stage paint which brought a big smile to my face. The owner wasn't sure if it had a clear coat or not--I was sure it didn't, even before I began working.


    Tomorrow will be the complete buffout.
    Last edited by OctaneGuy; Feb 13, 2006, 12:59 PM.
    Richard Lin
    ShowCarDetailing
    5548 E. La Palma Ave
    Anaheim, CA 92807
    toll free: 866 707 9292

  • #2
    Wow!

    That looks like a fun car to buff out Richard. Older, cool cars like this Mustang sure are a lot more fun to work on the all the new stuff on the road.

    Cars with older single-stage finishes also make for more dramatic before & after photos as the you're removing not only swirls and scratches, but also oxidation which tends to dull the color and even change it in extreme cases. Modern cars with clear coat finishes for the most part only have swirls and scratches to contend with and often times the paint is hard and scratch-sensitive that it takes all the fun out of polishing on them.

    Just a note of caution... be careful around all the raised body-lines, edges and corners as it can be very easy to burn through these areas even when working by hand.

    We're all looking forward to your photos and write-up!
    Mike Phillips
    760-515-0444
    showcargarage@gmail.com

    "Find something you like and use it often"

    Comment


    • #3
      richard, can't wait to see the end result!

      Comment


      • #4
        Just a quick, that Mustang, is not a 1968. It's a 1964.5-1966. Starting in 1967, the body got bigger, and among other changes, the tail lights and the tail light panel was inverted.

        Otherwise, have fun, they are great little cars
        I want 4" Softbuff pads!

        Comment


        • #5
          Cant wait to see the outcome.My father has a 65 same color but it has a 347 stroker and C4 trans.It used to have a 260ci.
          2007 Mustang GT/CS white 5sp. named Cali
          Show Car Detail

          Comment


          • #6
            Very nice project Richard,I am looking forward to see your
            full story, I have a very simular project coming on next weekend
            It's 1970 Ford Mustang Fastback Mach1.

            You can read about it in this topic, if you like and i still can use
            some help with it:

            1970 Ford Mustang Fastback Mach1

            Good luck and thx.
            I just love detailing

            Comment


            • #7
              OK Richard, you got my attention!
              Looking forward to your write-up!

              Originally posted by Mike Phillips

              Just a note of caution... be careful around all the raised body-lines, edges and corners as it can be very easy to burn through these areas even when working by hand.
              Very true! Old stangs have interesting body lines!

              Alex
              Mandarina Racing

              Comment


              • #8
                If someone showed you this picture

                then this picture

                Would you think it were the same car?

                Or this

                And this?


                Or maybe this

                Then this?


                I performed a test spot on the trunk lid first.

                Paint on my pad confirmed I was dealing with a single stage

                Look at the difference!


                I used M80 and M21 for the LSP and the next day this is how it looked after having sat outside and the mist collected on the paint. Look at the size and spacing of the water beads and best of all the striking color difference.


                So here's the car ready for washing


                I prepared my NXT Car Wash


                First I rinsed the wheels

                Then I sprayed Wheels Brightener


                Then I hosed it down, clay barred it, applied NXT Polysh, used APC to clean the sidewalls, then dressed with Endurance High Gloss Gel


                As many parts were removed as possible: Badges, tail light covers, rear view mirror. A plastic squeegee was invaluable here for protecting the paint while making it easy to remove the parts.


                This allowed me to clean and polish the components while giving more access to paint while buffing

                I used my Makita with a yellow pad at first with M83

                Results were good but a little slow. I also had a lot of problems with M83 becoming too gummy. The effort to wipe off the residue was enormous. Applying more M83 and using that to loosen the residue for wiping off helped quite a bit, but was still a lot of effort. Since I knew we had a lot of work ahead of us, we needed to reduce the effort. I resorted to using a red cutting pad with M80 which helped significantly from both the standpoint of cutting speed as well as being more dense, less absorbent, thus less product buildup inside the pad. However I frequently cleaned the pad and changed to the yellow pad for buffing on delicate areas. The owner and myself taped off the high points for safety, and a very light touch was used to gently "cleanse" the paint.

                Look at the progress!

                Once the harsh sun went away we pulled the car back out to work in the shade


                We worked from the back forwards. The hood hadn't been worked on yet.

                Look at the difference as I worked on a panel at a time

                Another Progress Shot- I buffed while the owner wiped!


                As I restored the finish, paint defects could be seen like this. This was in a small area where the hood was extremely flexible.


                AFTER
                What an amazing transformation! From flat pink to deep glossy red!


                I strove for a swirl free finish with as few defects as possible.

                I made one complete rotary pass, and about 4 passes of the PC with M80. With the rotary, I alternated between the W7006 and W8006 pad where necessary, depending on what I felt needed more cutting ability.

                Final wax was M21


                I truly love working on classics! The amount of improvement possible with a single stage finish is dramatic. I think this was probably one of the nicest "Welcome to the Neighborhood" presents I've ever given!
                Richard Lin
                ShowCarDetailing
                5548 E. La Palma Ave
                Anaheim, CA 92807
                toll free: 866 707 9292

                Comment


                • #9
                  That's absolutely stunning! Awesome job

                  Comment


                  • #10
                    The owner must have been in disbelief the whole time... Fantastic results.

                    2017 Subaru WRX Premium - WR Blue

                    Comment


                    • #11
                      amazing job .... again lol
                      Patrick Yu
                      2003 Honda Accord
                      2008 Honda Accord EX-L V6

                      Comment


                      • #12
                        Very nice work Richard, you, with the help of the owners, have taken this old Mustang's finish to its maximum potential! And as usual, another awesome write-up with great photos that tell the entire story. This will not only help others to better understand the process and the work required behind the results, but is also a great reflection on your dedication to the craft of polishing paint.


                        One of the things that happens when your restore an older finish like this is you remove oxidation and restore richness of color as well as clarity to the paint. The result of this cleaning and polishing process is a beautiful finish, as your pictures clearly demonstrate, but also, now all of the defects that cannot be fixed or complete removed are now easier for your eyes to see, such as the paint blemishes in one of the photos...

                        It's the nature of the beast and if this were a piece of furniture the term for these blemishes would be patina


                        This restoration of clarity so that not only does the paint look beautiful again, but now you can also see defects that were before hidden, doesn't diminish the value of the work or the results and is the basis for a catch-phrase I coined years ago...

                        Taking a car's finish to its maximum potential

                        You can't always correct every defect in a car's finish, especially older cars, but you can take what's left to its maximum potential.

                        For most people, this is enough as the only other options are to do nothing or have the car repainted and the later costs thousands of dollars to do it right.


                        Good job!


                        Don't you just love working on older classic cars with single stage paint?
                        Mike Phillips
                        760-515-0444
                        showcargarage@gmail.com

                        "Find something you like and use it often"

                        Comment


                        • #13
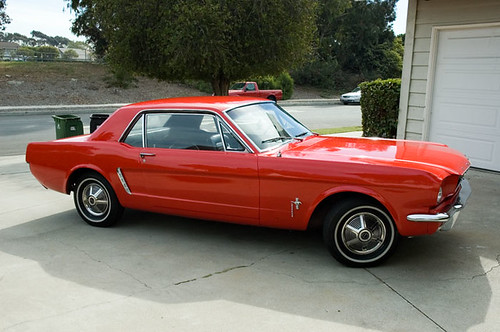
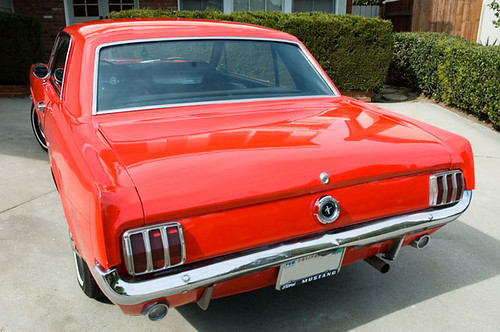
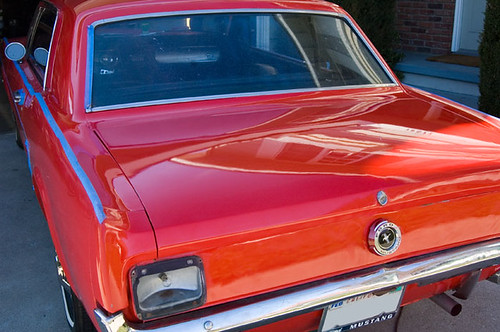
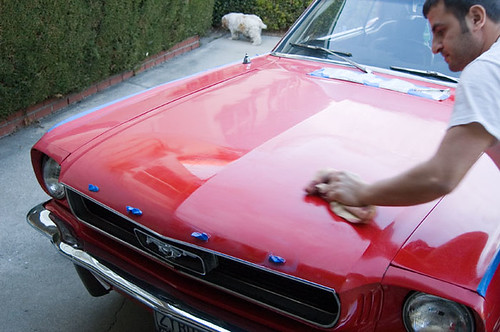
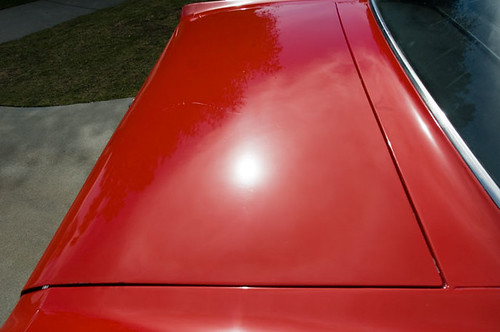
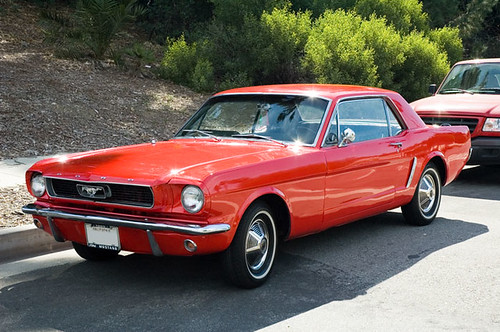
                          What an amazing transformation! It honestly looks like the car was repainted!

                          Just amazing what the proper technique and product selection can do!
                          Owner, Scott's Mobile Auto Detailing

                          Comment


                          • #14
                            Wow! GREAT JOB!

                            I had a '65 and I know how much I loved it!

                            I know the owner of that car has to be very greatful!

                            SRT-10 Silver

                            Comment


                            • #15
                              richard, yet another excellent detail! great job buddy!

                              Comment

                              Working...
                              X
                              gtag('config', 'UA-161993-8');