

 Tweet
Tweet
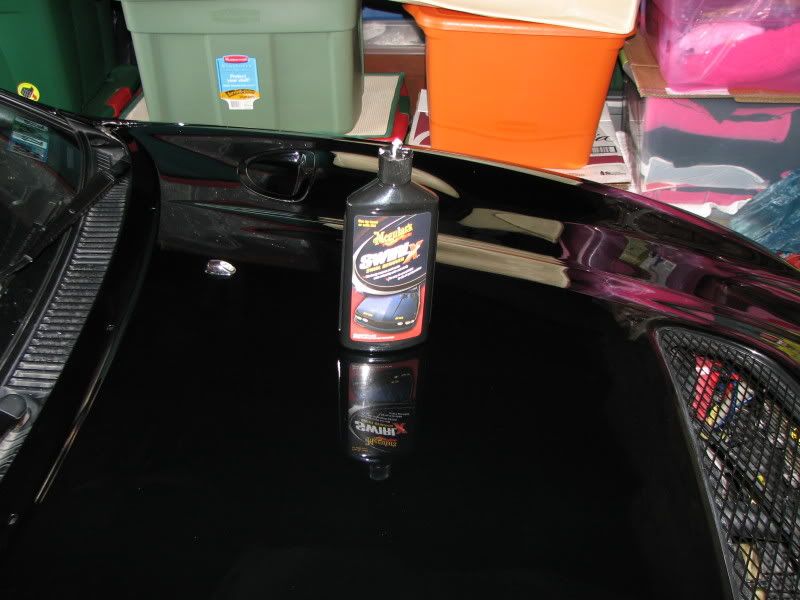
Over the weekend I picked up a bottle of swirlX and decided to try it out.
I have a question about my results.
I own a black car, and as we all know, black cars are known for their swirls.
Here is what I started out with..
Here is what i started out with after a basic wash.

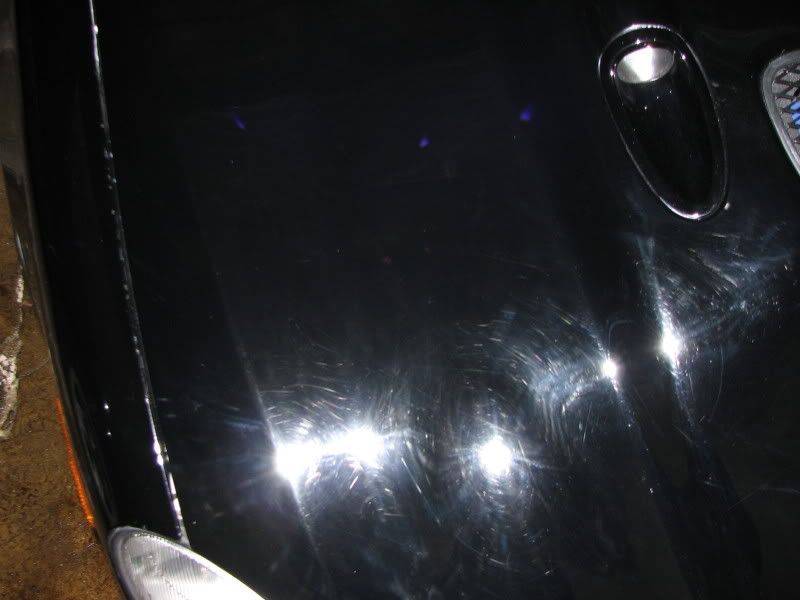
I then applied the swirlx with a terry pad, working each section in at a time until I felt the product begin to dry up.
Then after initial wipe down, I took a picture and saw this...
Looks terrible right? I got a little worried at this point, but started thinking that perhaps all these swirls were not really new damage, but just left over product that didn't fully get removed when I wiped the car down.
So I decided to wax the hood with tech wax, to see if the wax would remove the rest of the product that was left over. I took another pic, and right away the problem seemed to have been fixed.
So my question is, am I right to assume that the extra swirls I was seeing was just left over product, or did the swirlX damage my clear coat in any way, and the wax is just concealing it?
In case you are wondering, the whole car came out great. Assuming that swirlX didn't add any new swirls, I'm actually really happy with the difference it made in my car.
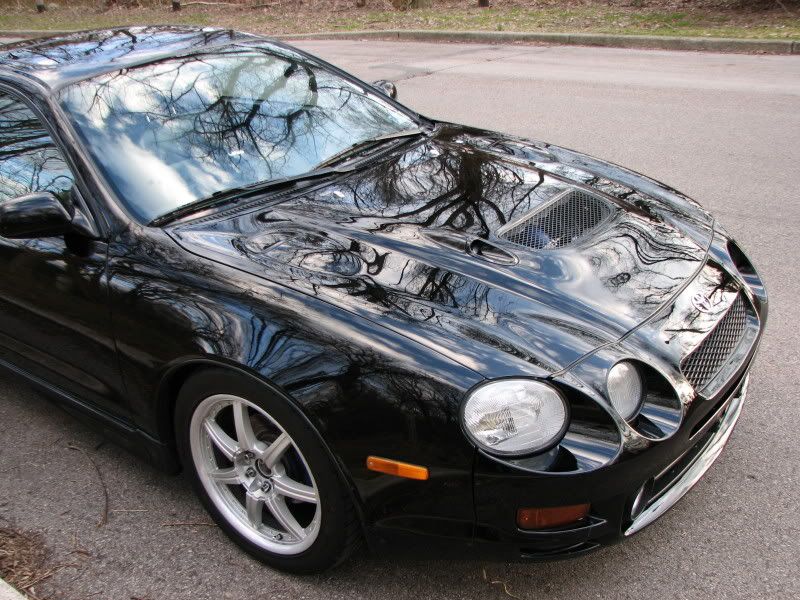
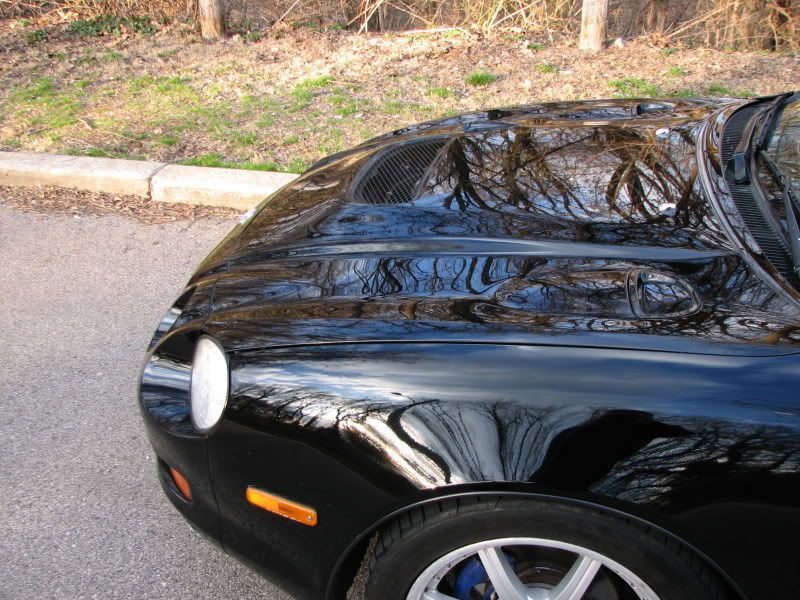
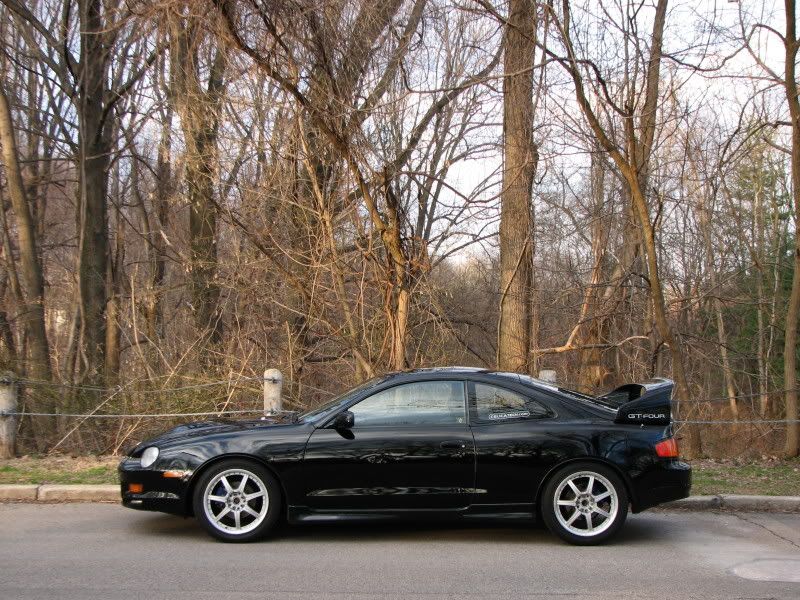
Here are some real world shots without the flash.
I have a question about my results.
I own a black car, and as we all know, black cars are known for their swirls.
Here is what I started out with..
Here is what i started out with after a basic wash.
I then applied the swirlx with a terry pad, working each section in at a time until I felt the product begin to dry up.
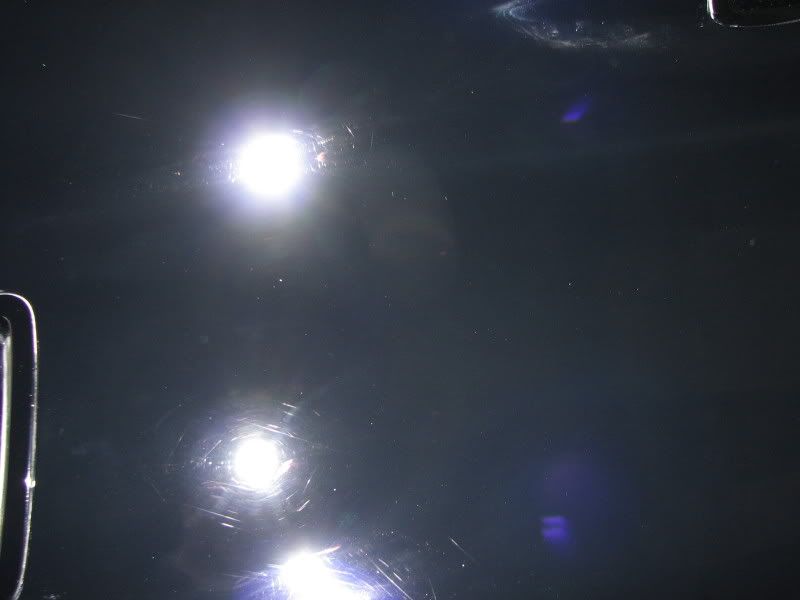
Then after initial wipe down, I took a picture and saw this...
Looks terrible right? I got a little worried at this point, but started thinking that perhaps all these swirls were not really new damage, but just left over product that didn't fully get removed when I wiped the car down.
So I decided to wax the hood with tech wax, to see if the wax would remove the rest of the product that was left over. I took another pic, and right away the problem seemed to have been fixed.
So my question is, am I right to assume that the extra swirls I was seeing was just left over product, or did the swirlX damage my clear coat in any way, and the wax is just concealing it?
In case you are wondering, the whole car came out great. Assuming that swirlX didn't add any new swirls, I'm actually really happy with the difference it made in my car.
Here are some real world shots without the flash.


Comment