

 Tweet
Tweet
Pop the kettle on, make a cuppa, sit back and relax  ... This is the writeup on a classic 1947 Rover P2, an exterior detail carried out by myself and Gordon, and Davy and Alex on day 2 as well to restore the paint finish following damage incurred at a classic car show.
The paintwork on this car, original from the restoration 26 years ago, had been chemically damaged by the use of an aerosol body spray the a woman near the car was spraying... the damage, as you can see, was heartbreaking. Had it been my car, I'd have been in tears.
Gordon and myself met John last month to assess the paint finish and a little trial revealed that claying removed the above surface contamination while machine polishing slowly (we'll get to this soon) using a variety of levels of abrasive was suitable for relevelling the paint surface to remove the majority of the damage while maintaining the paint finish as best as possible - happy with what was achieved, John booked the car in and ever since I have been excitedly awaiting the car's arrival!! 
....
Fast forward to last weekend, and it was time for the detail. I will admit, I get excited the night before details, given it is something I derive a lot of enjoyment from, its a bit like Christmas! Well, this car certainly was, and a bit like an eight year old, I didn't sleep a wink the night before the detail such was the excitement! :lol:... But with excitement, has to come extreme care and above all - respect. You must respect every car you work on, have the longevity of the finish in mind at all times, respect the owner's wishes and always do your best. But on a car like this you must have massive respect for the fact that the car is not "normal" - 26 year old paint, hand painted during a restoration is enough to make any detailer sit up and pay attention. When you see the thickness readings shortly, you will really see why! This car has been fastidiously cared for, very regularly polished which also poses a challenge for the detailer - regular polishing means regular paint removal so we had to be on our guard the whole time being hyper aware of regions of thin paint. It was always going to be the case that there would be some regions which we just could not correct as fully as we wanted to, or even touch at all with abrasives to ensure that thin regions were not made thinner still. Both the thickness gauge and lights were used to look for thin spots, or regions of concern to guide our correction methods to achieve the results with the minimum risk and the best interests of the car and the finish paramount in our minds.
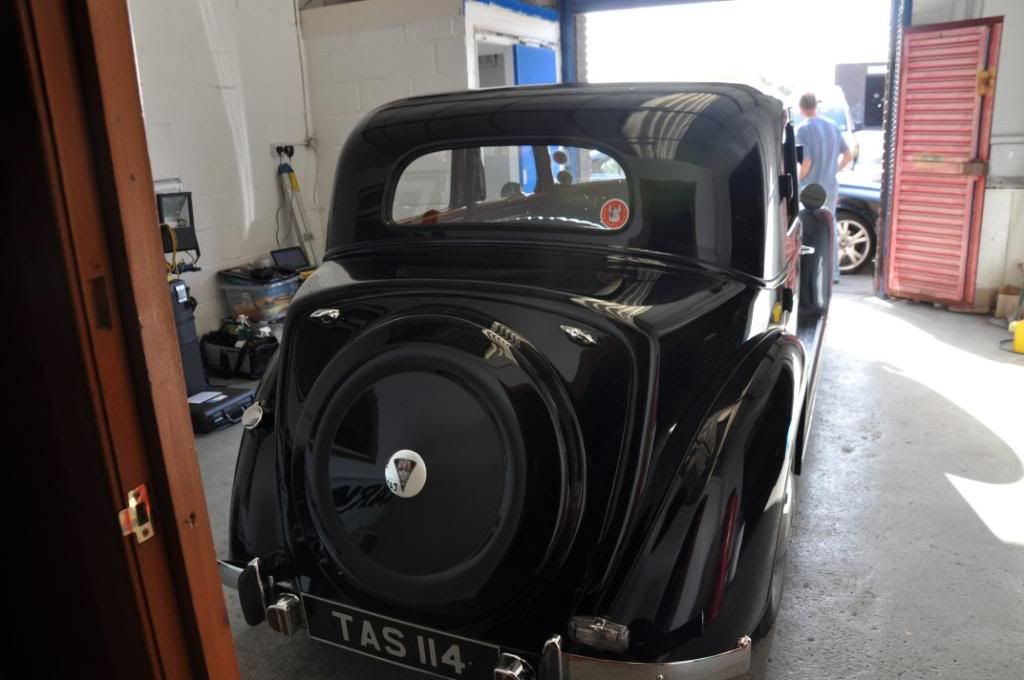
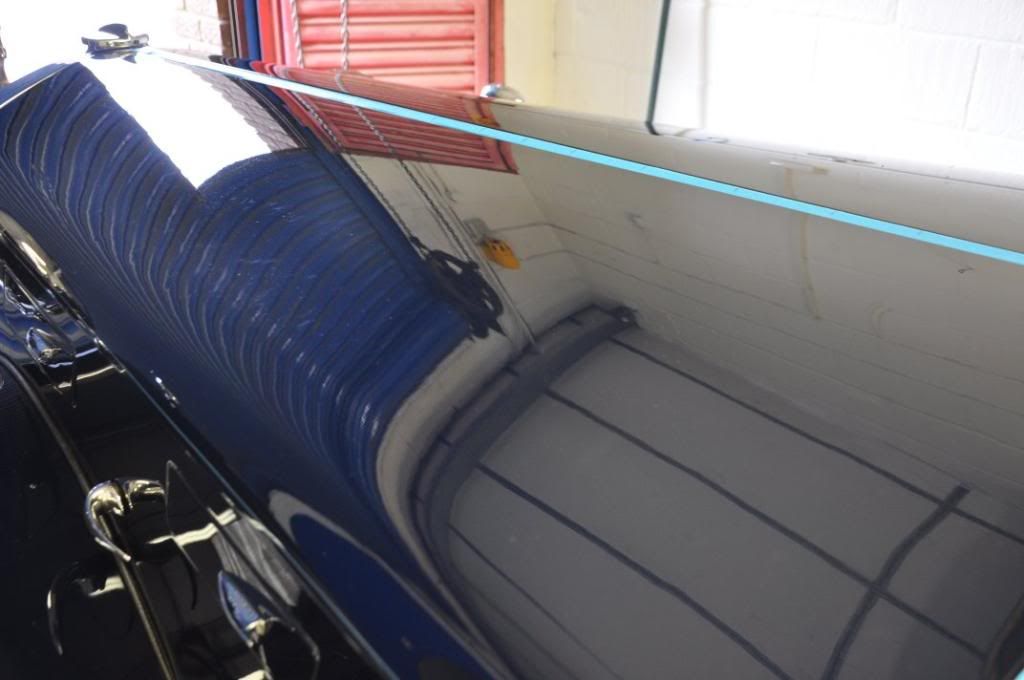
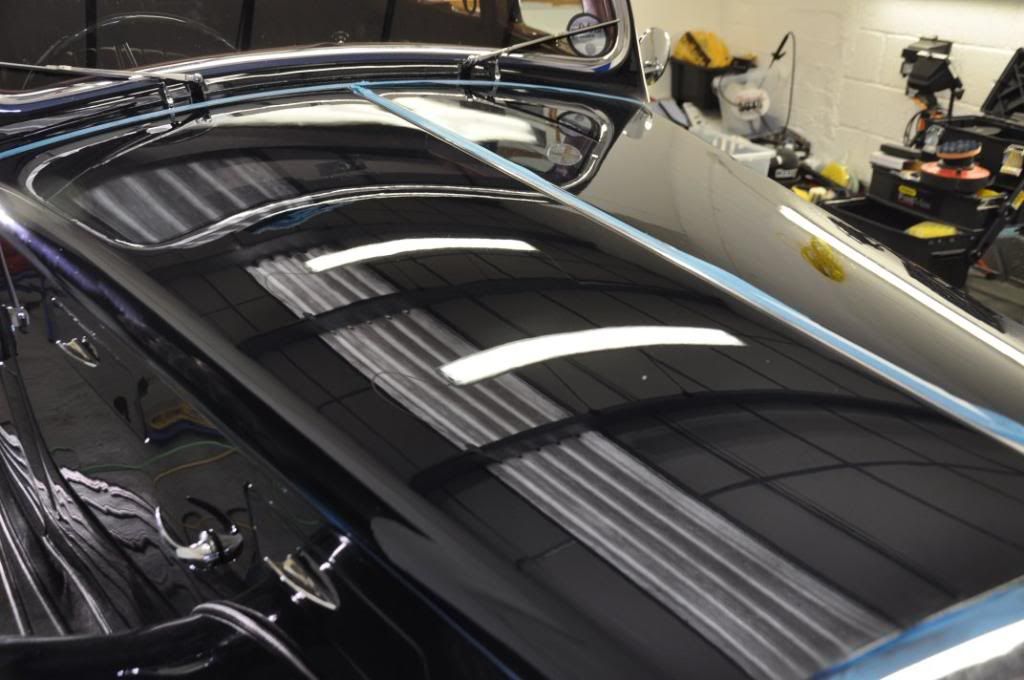
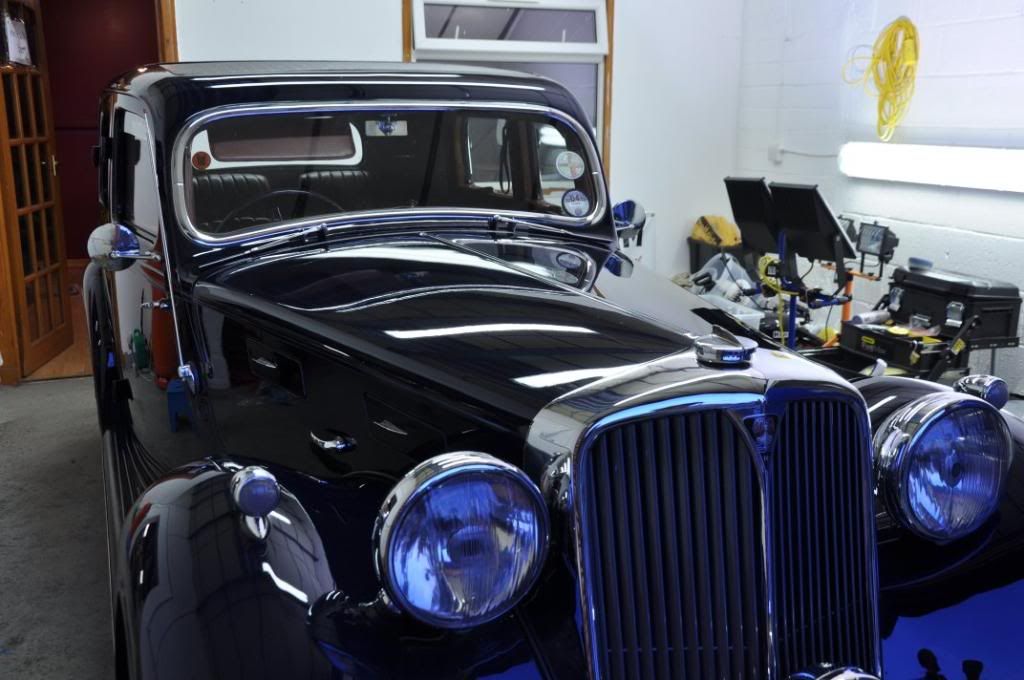
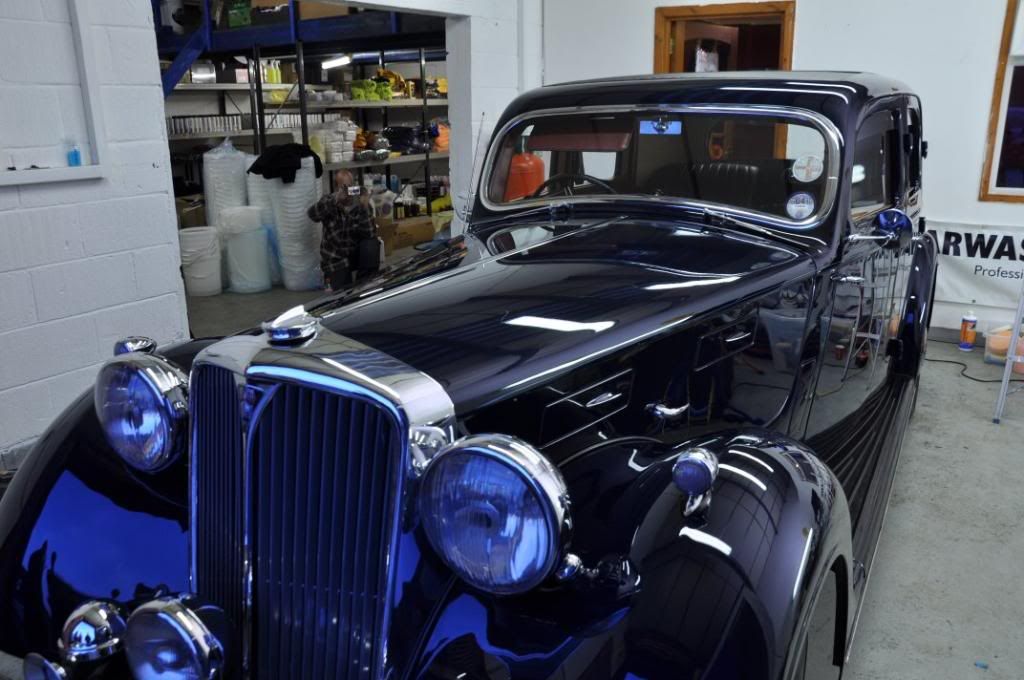
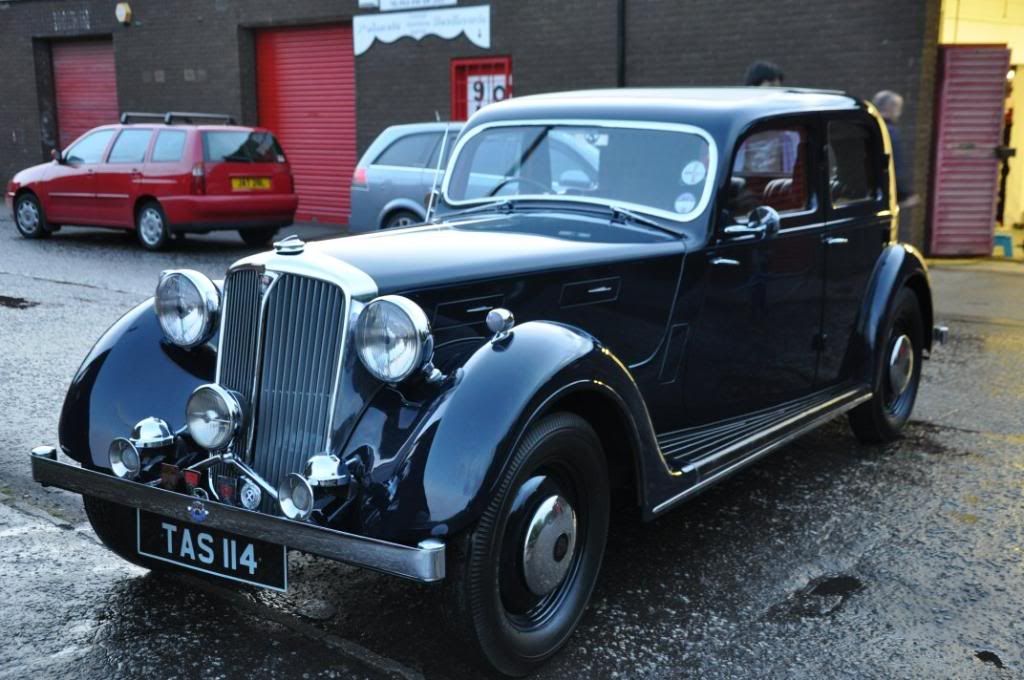
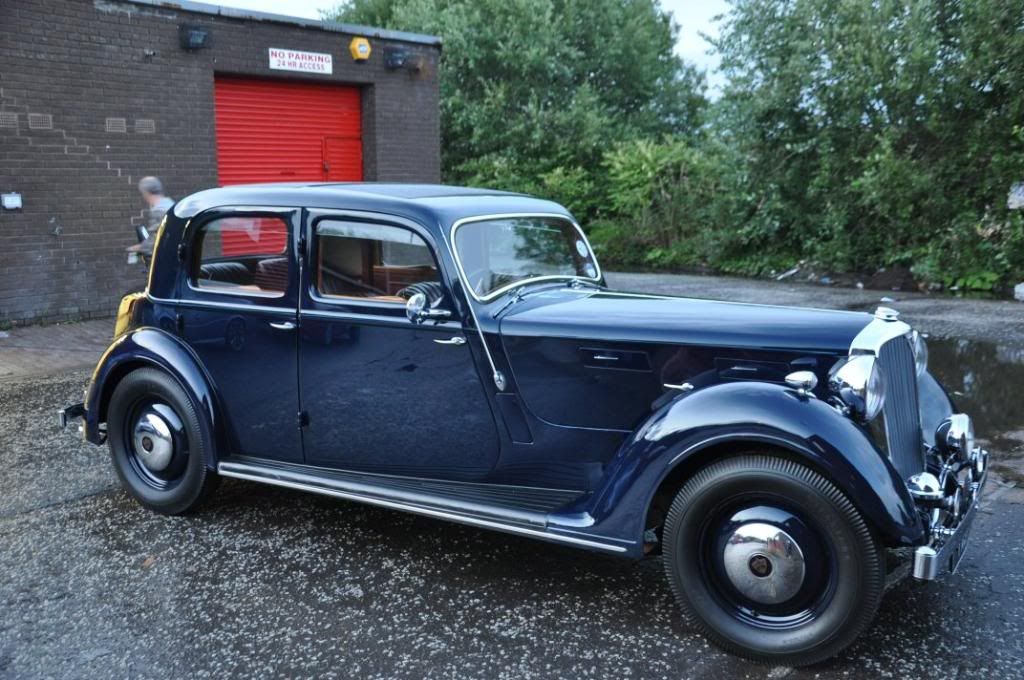
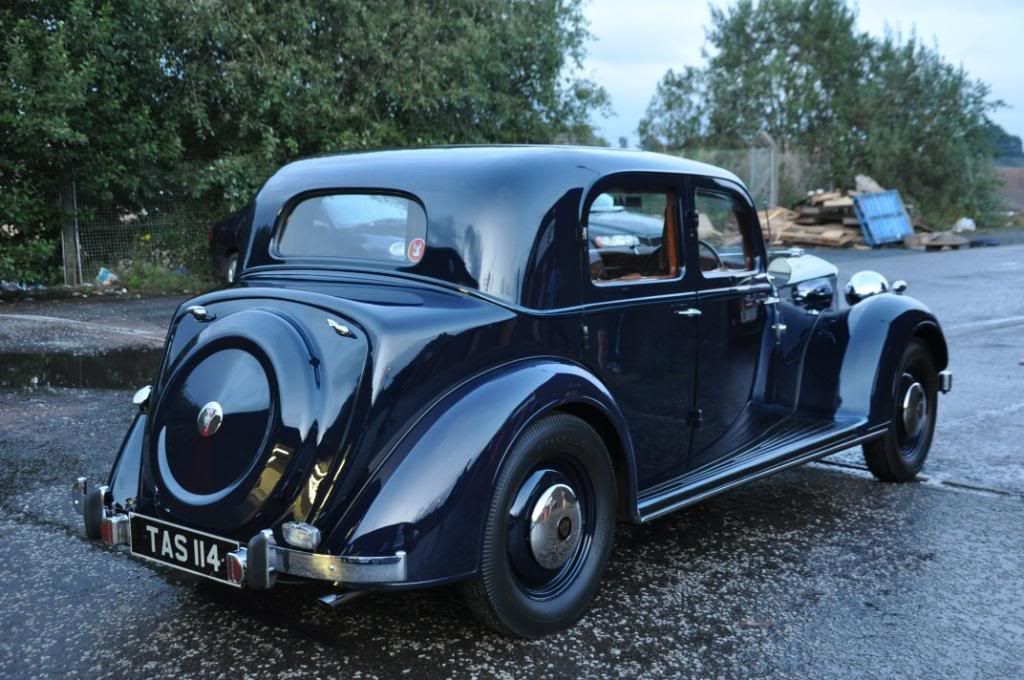
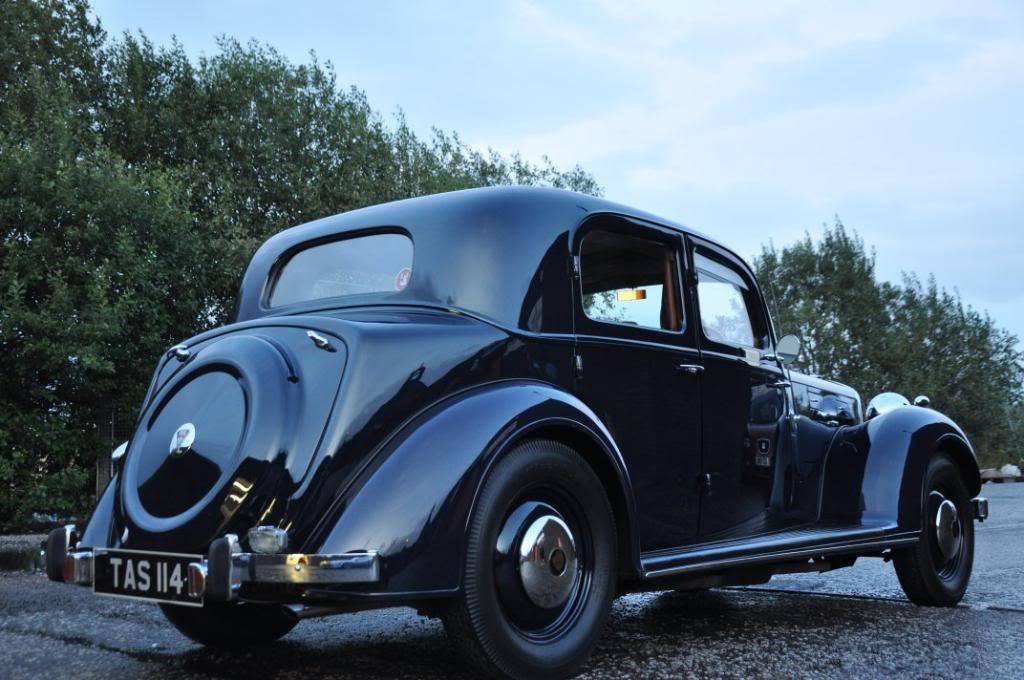
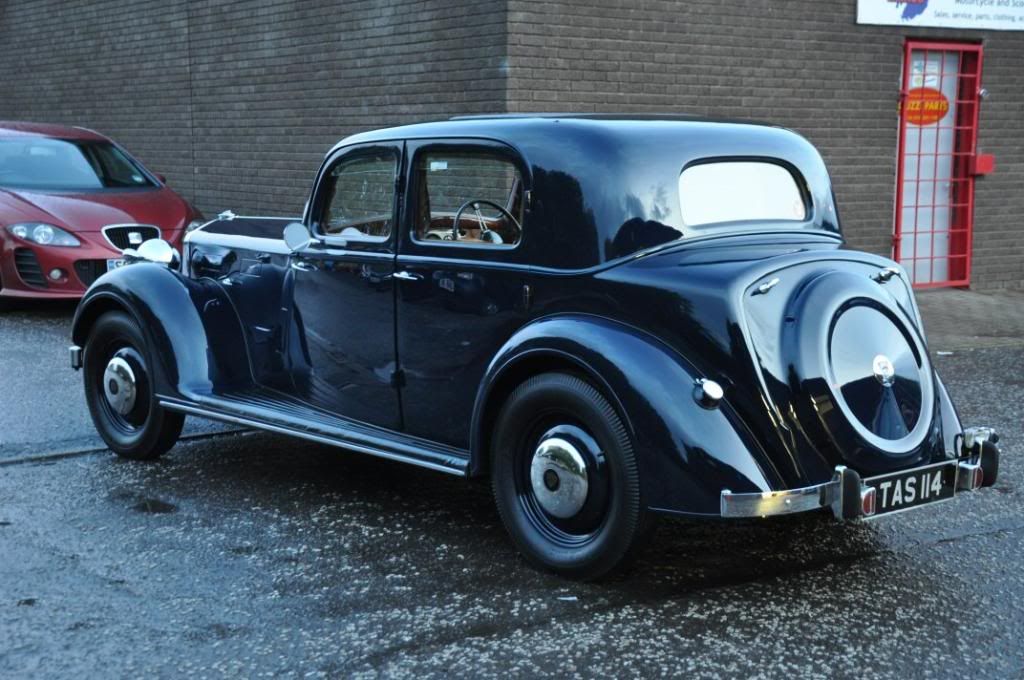
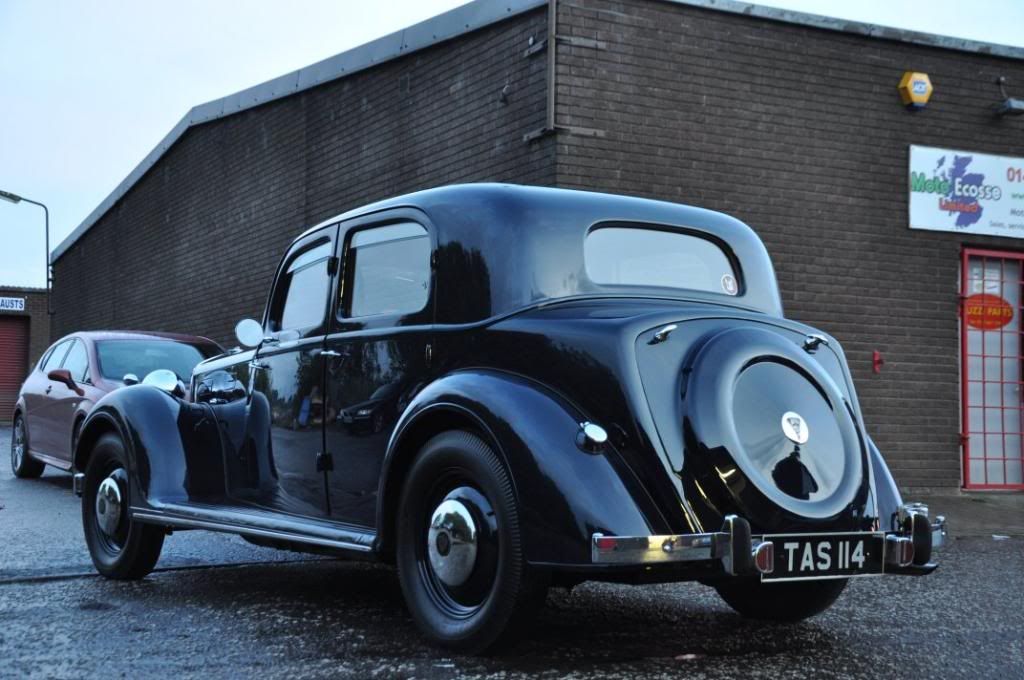
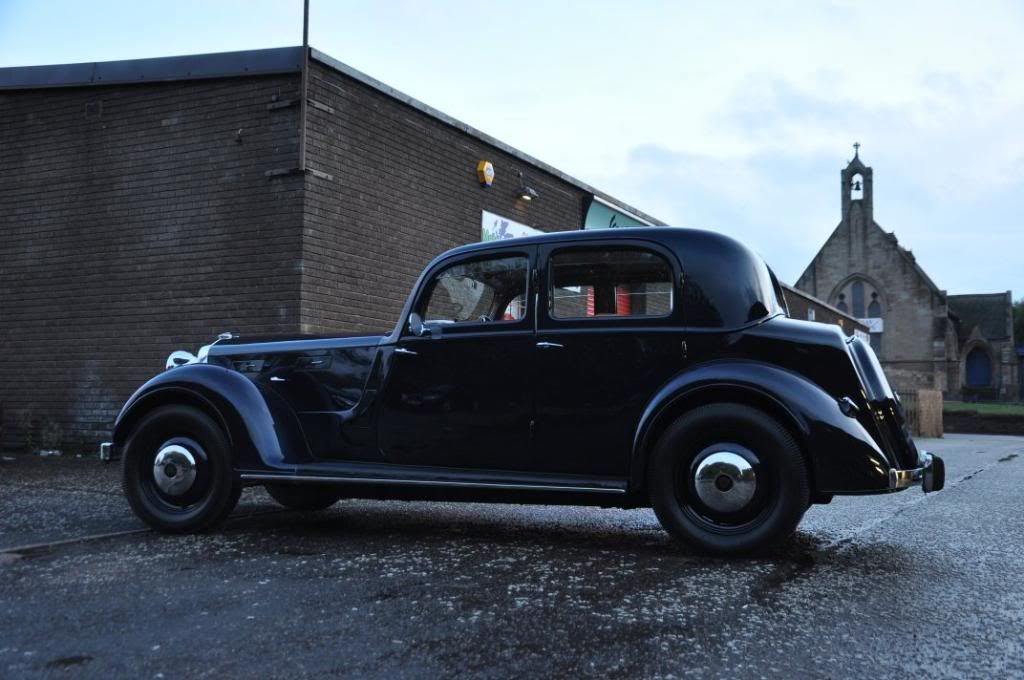
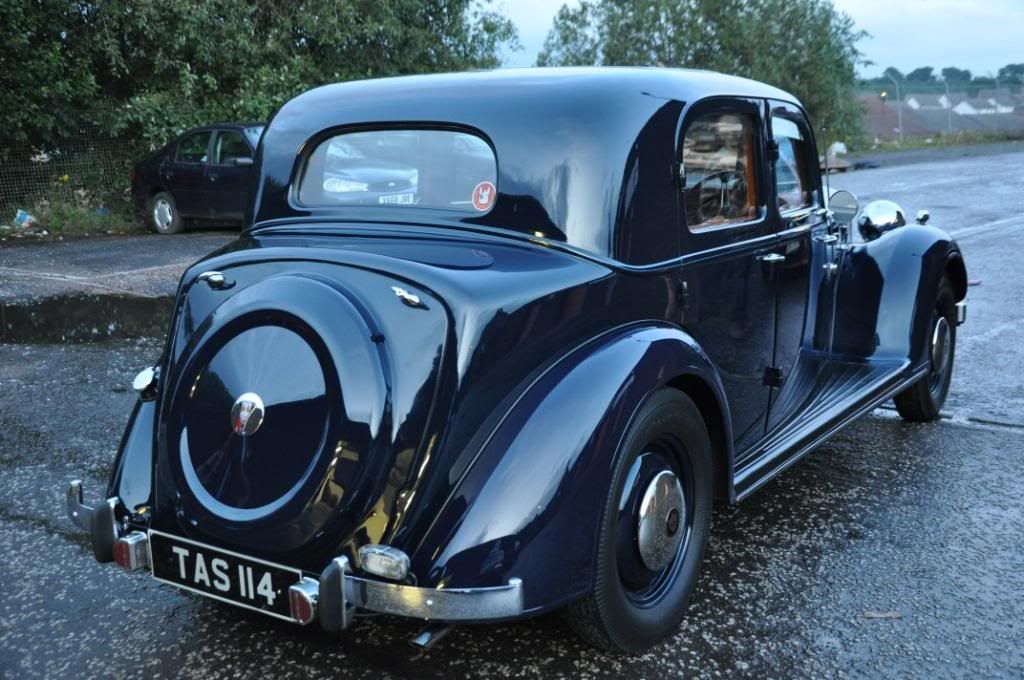
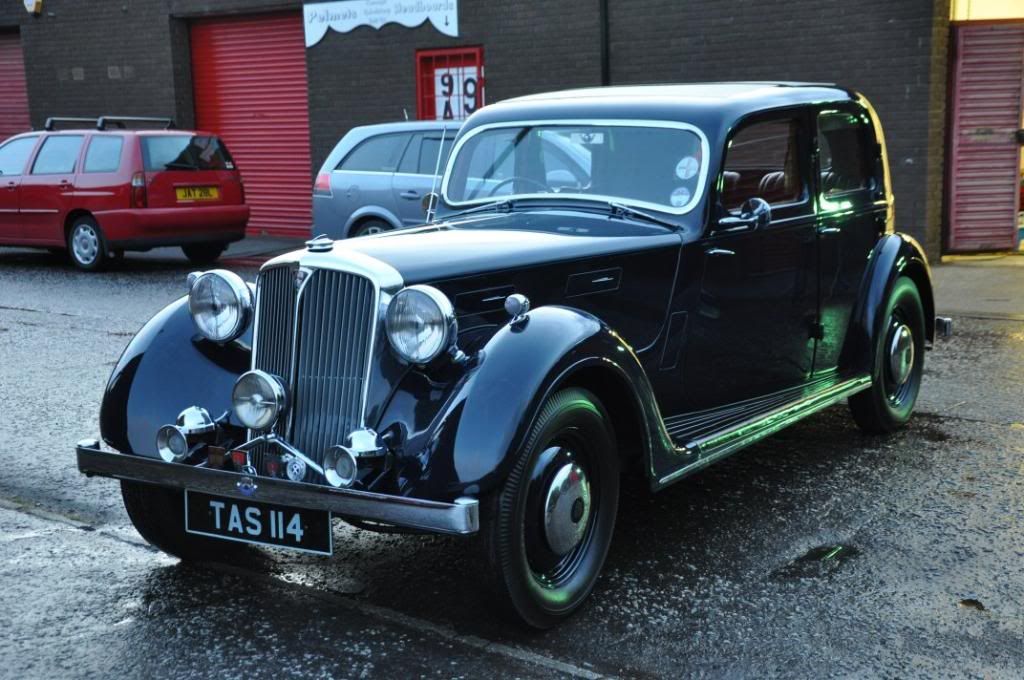
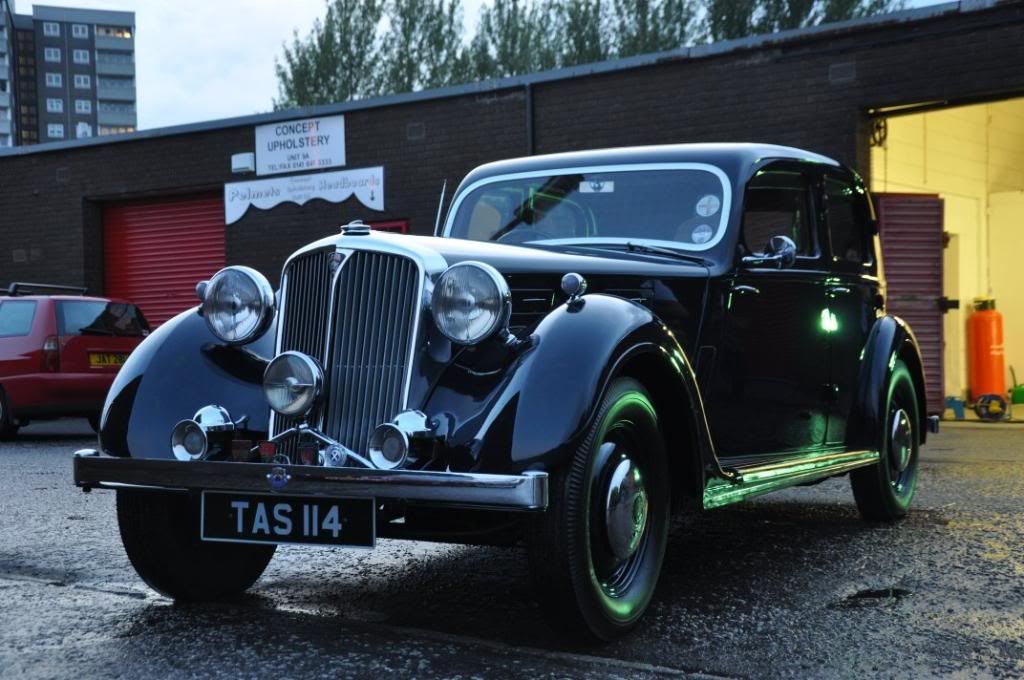
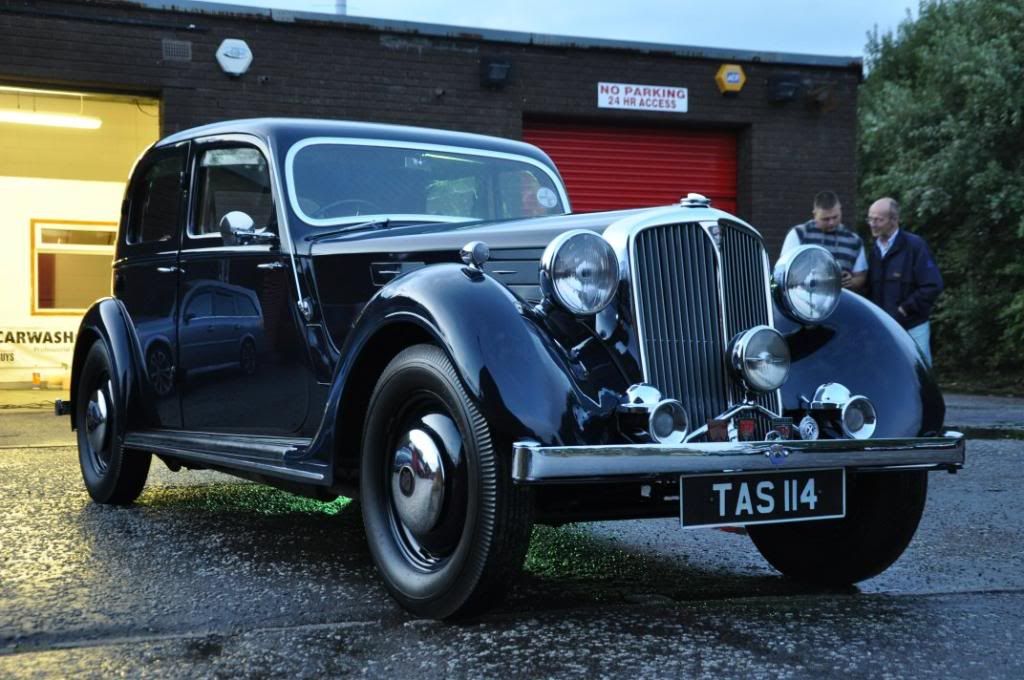
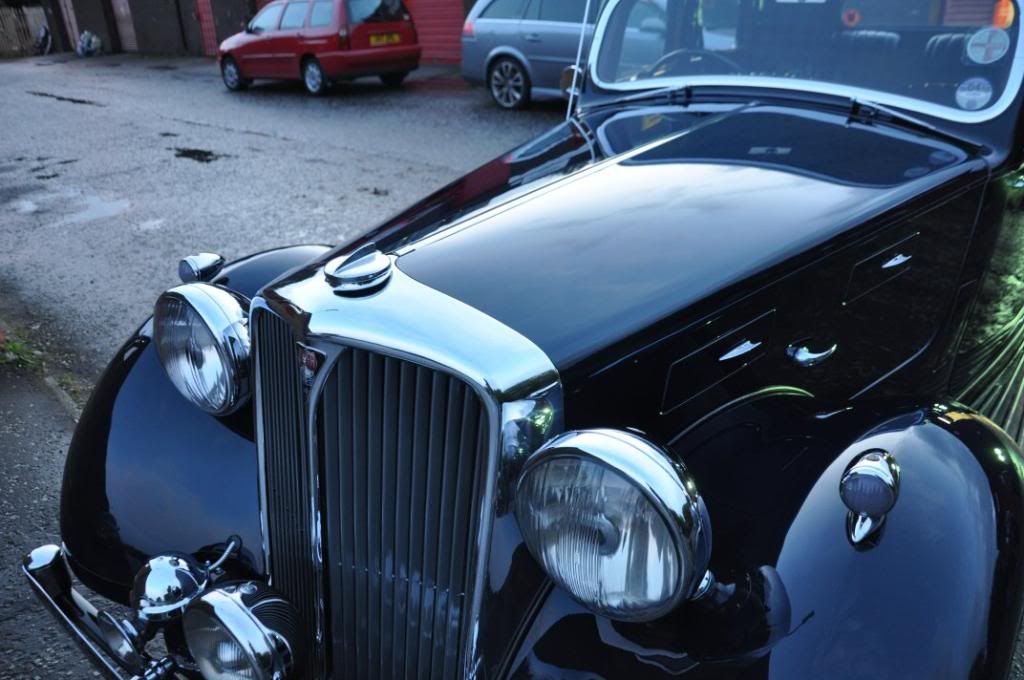
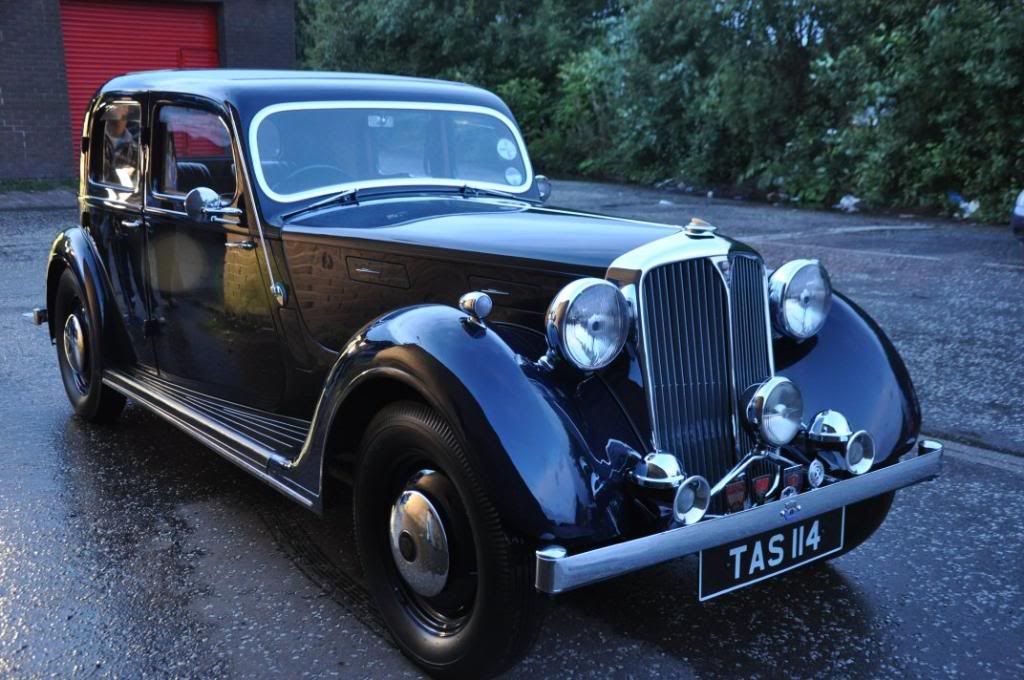
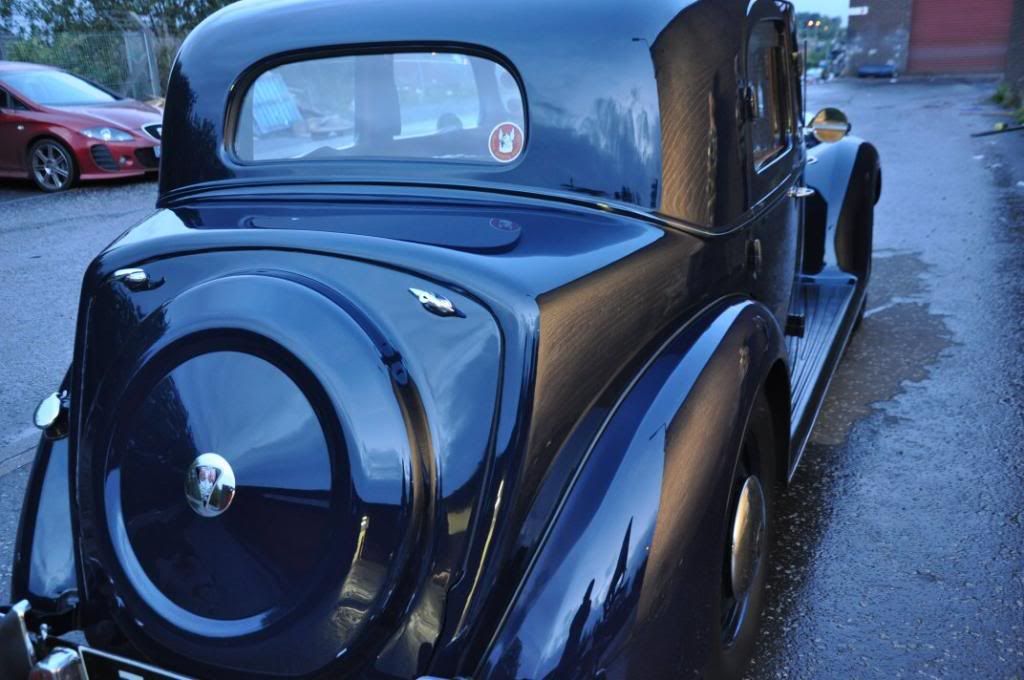
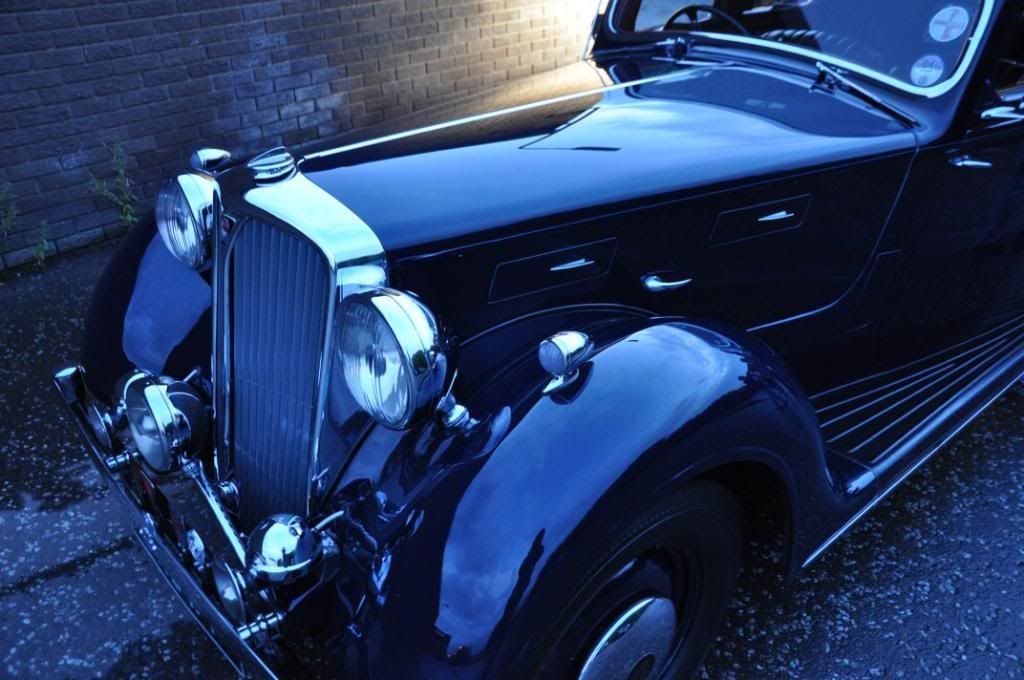
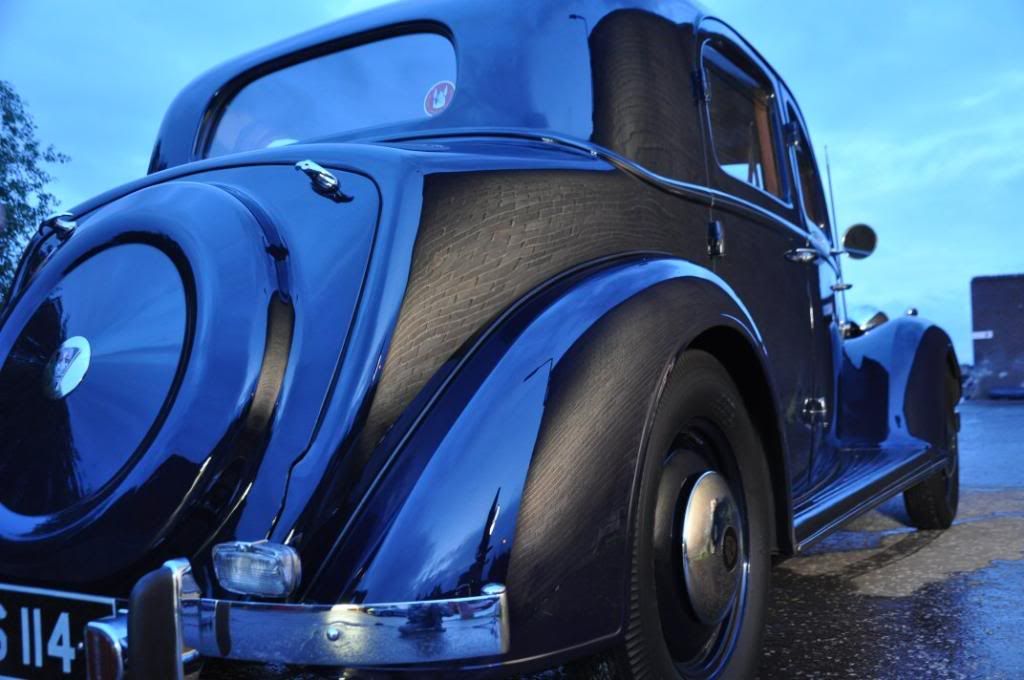
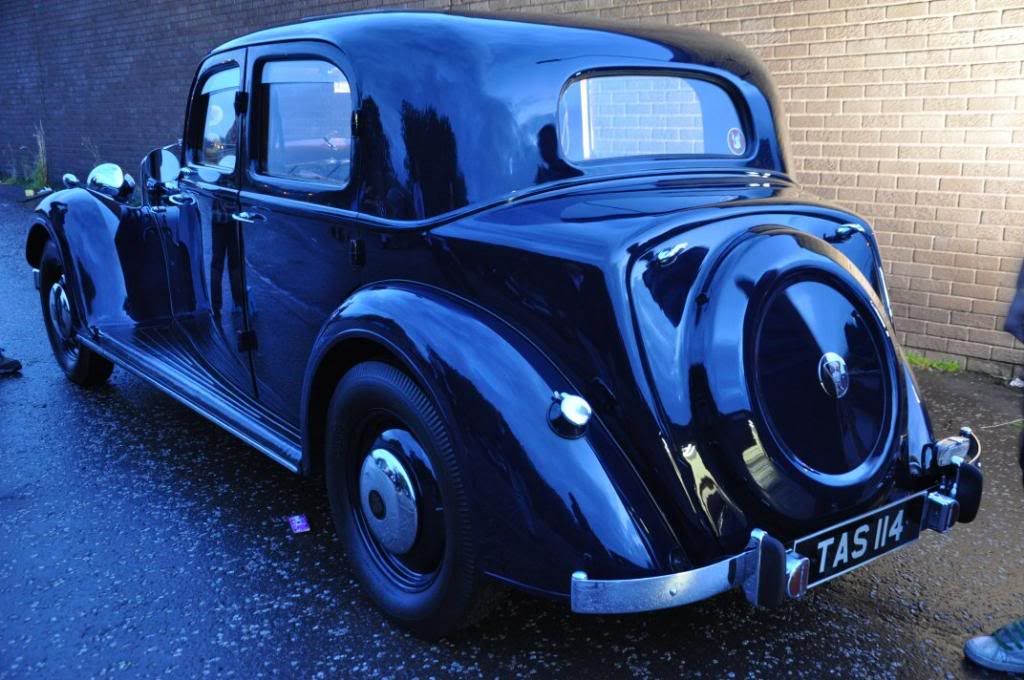
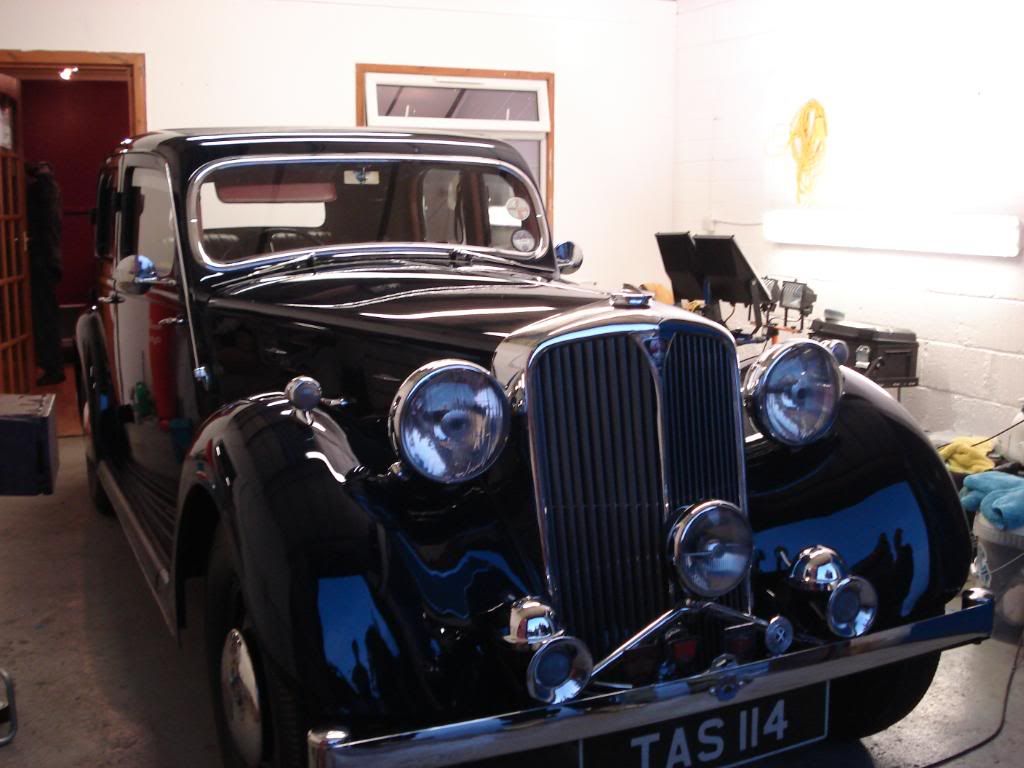
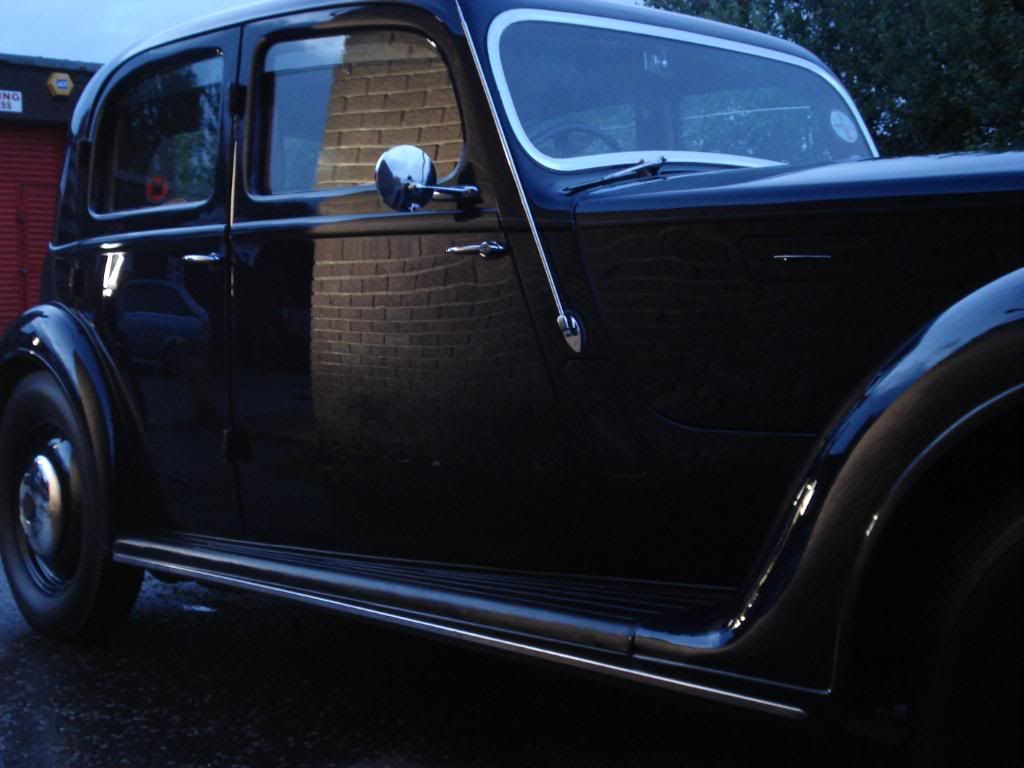
So here she is on arrival - Tilly
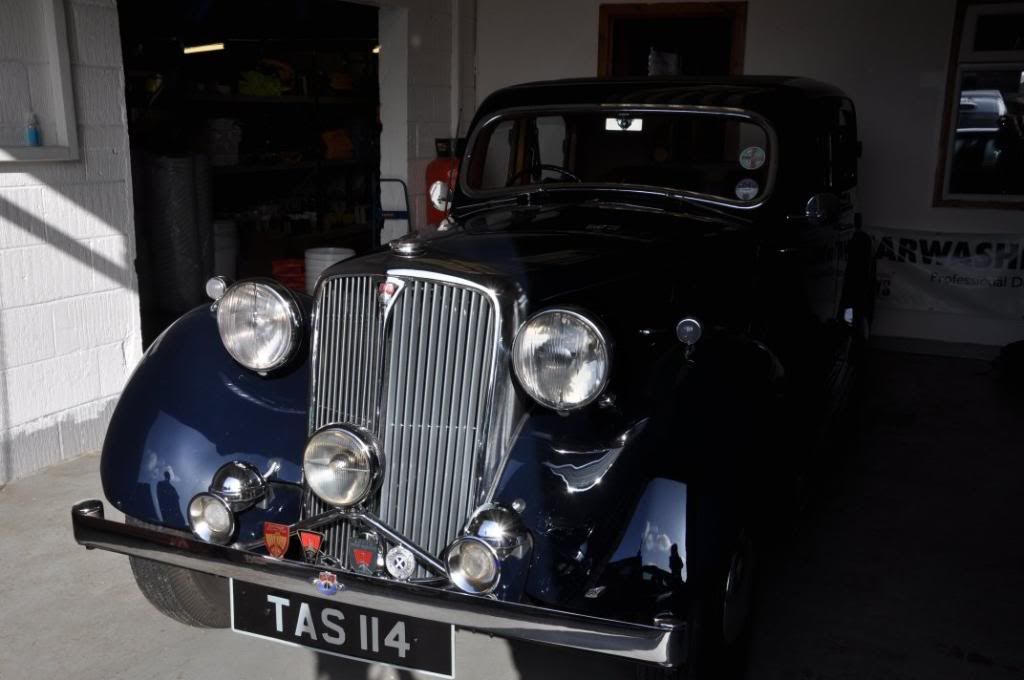
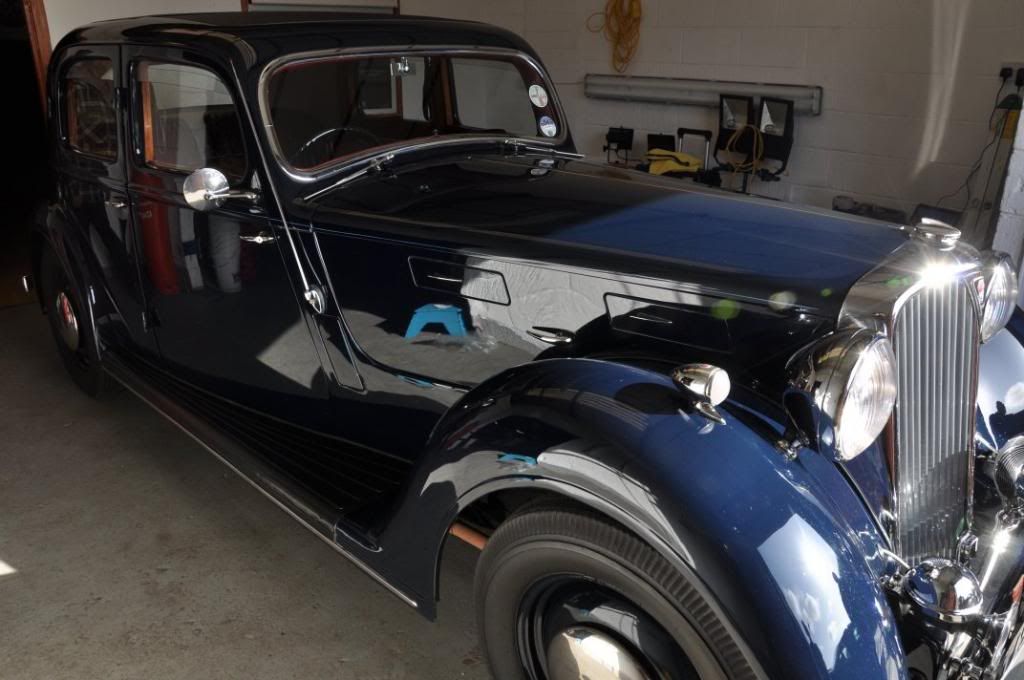
You can tell how well cared for she is, the gloss and finish on the car already excellent - you may even be wondering, if you hadn't seen the thread above, why she was being detailed!
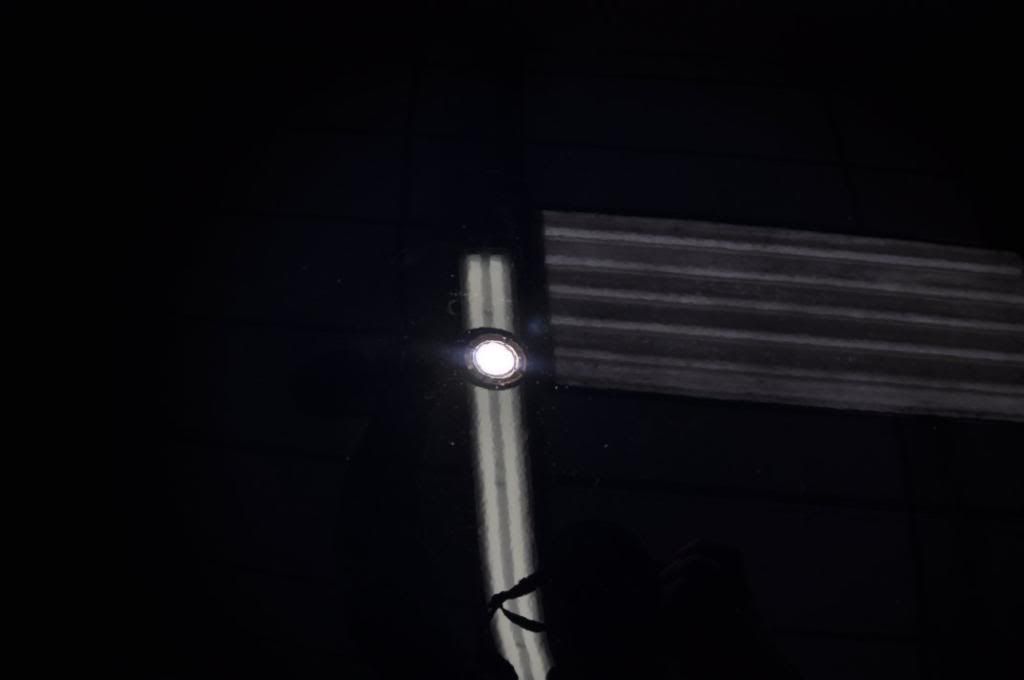
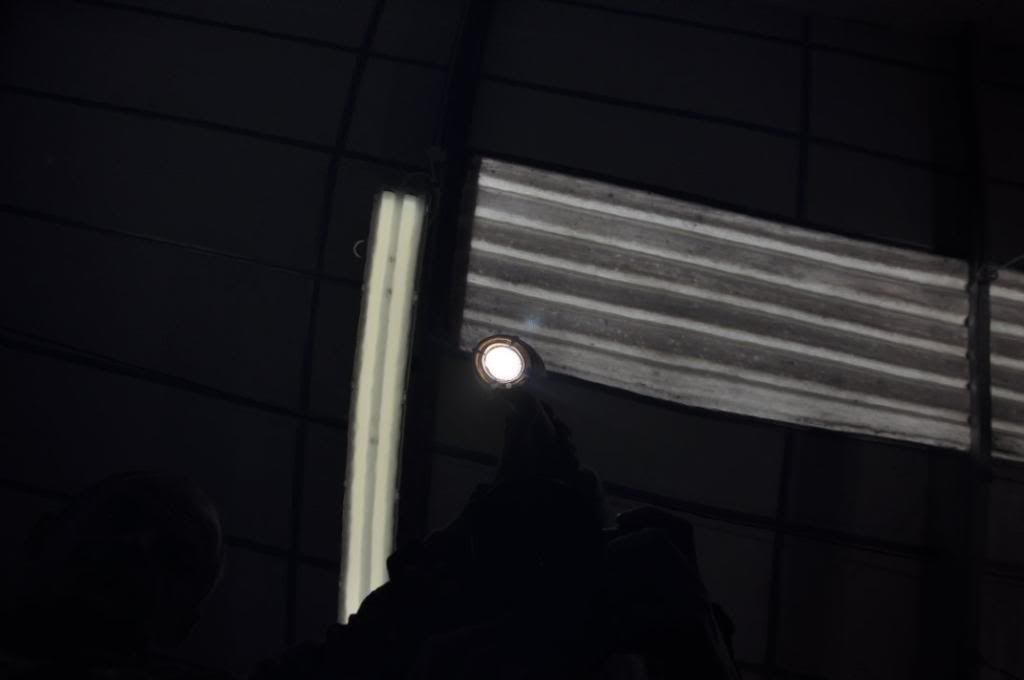
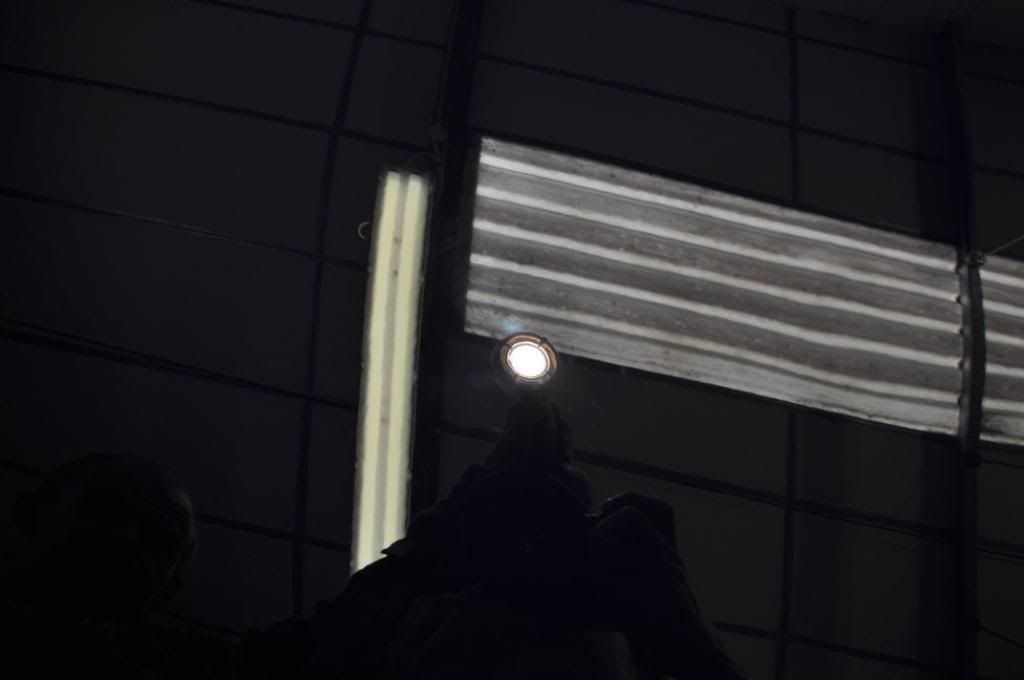
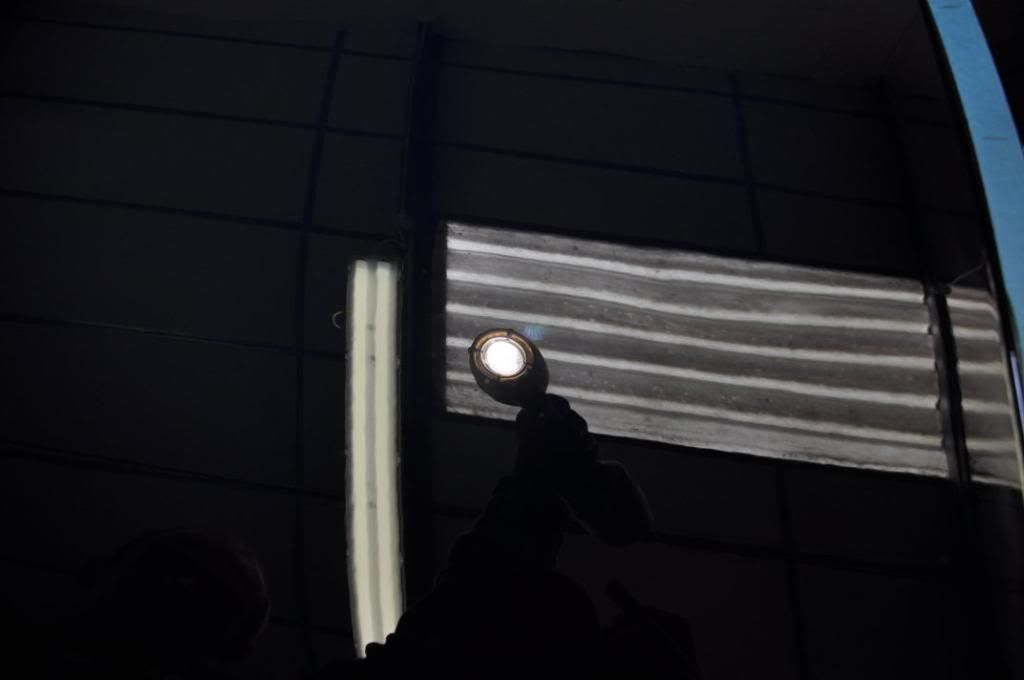
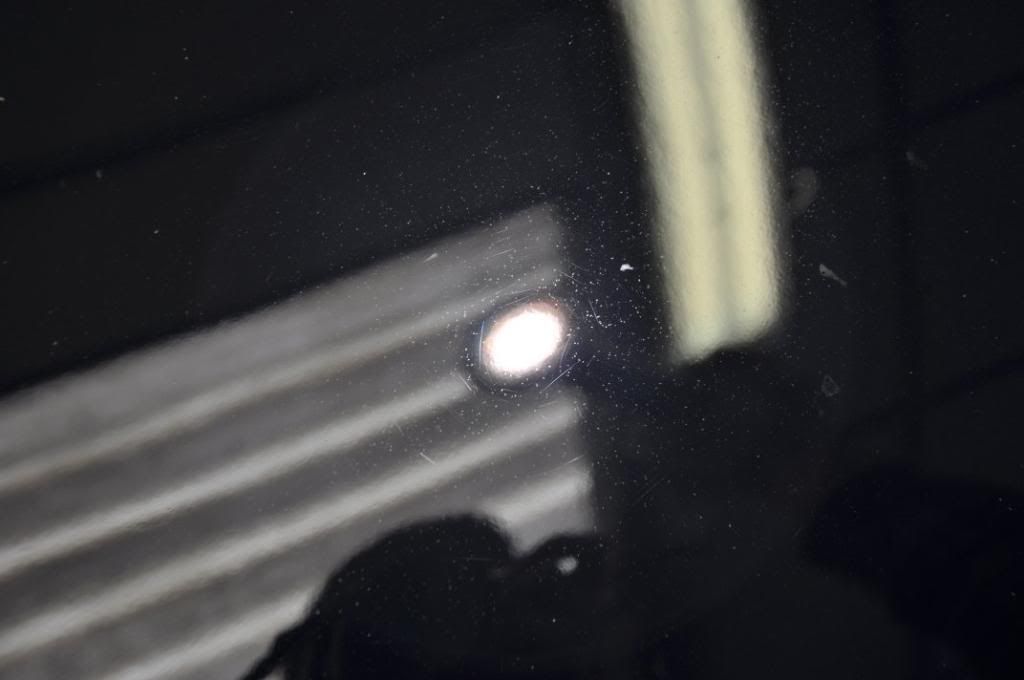
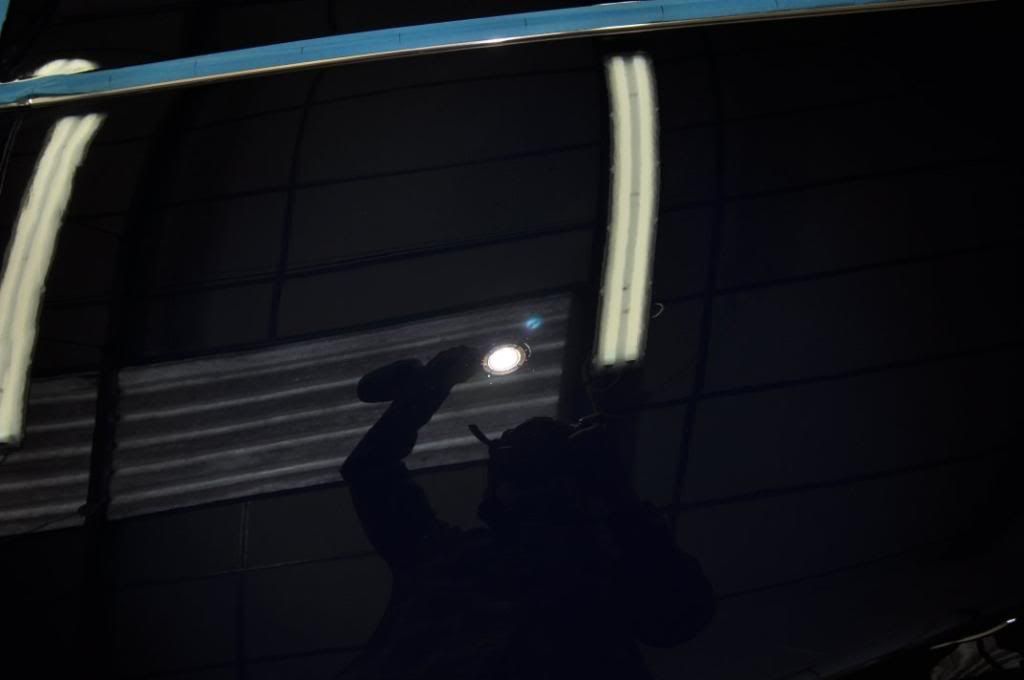
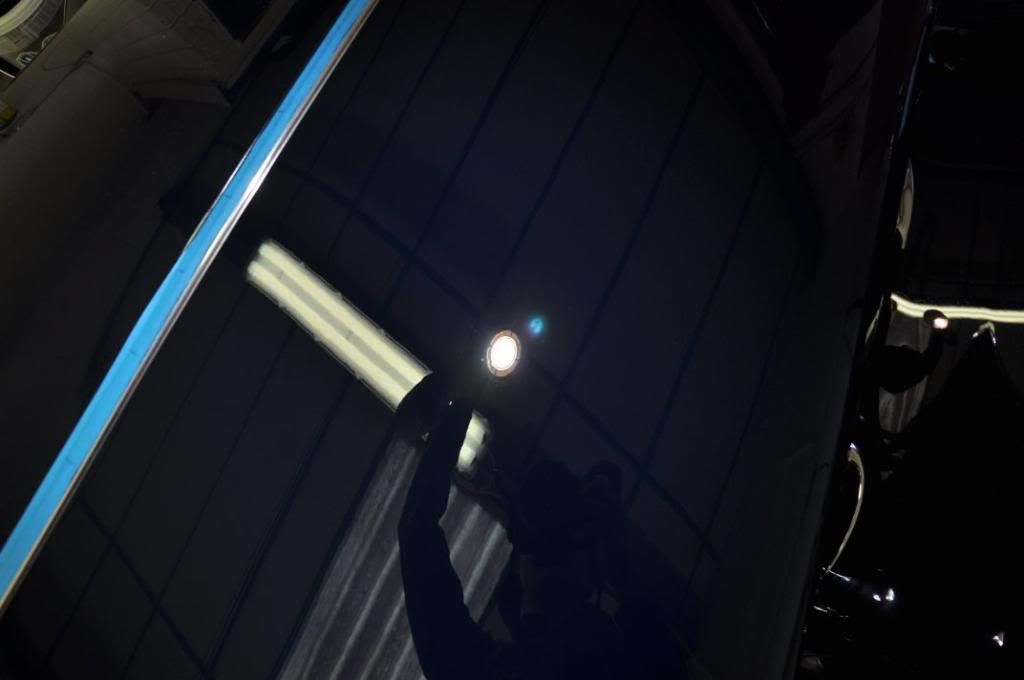
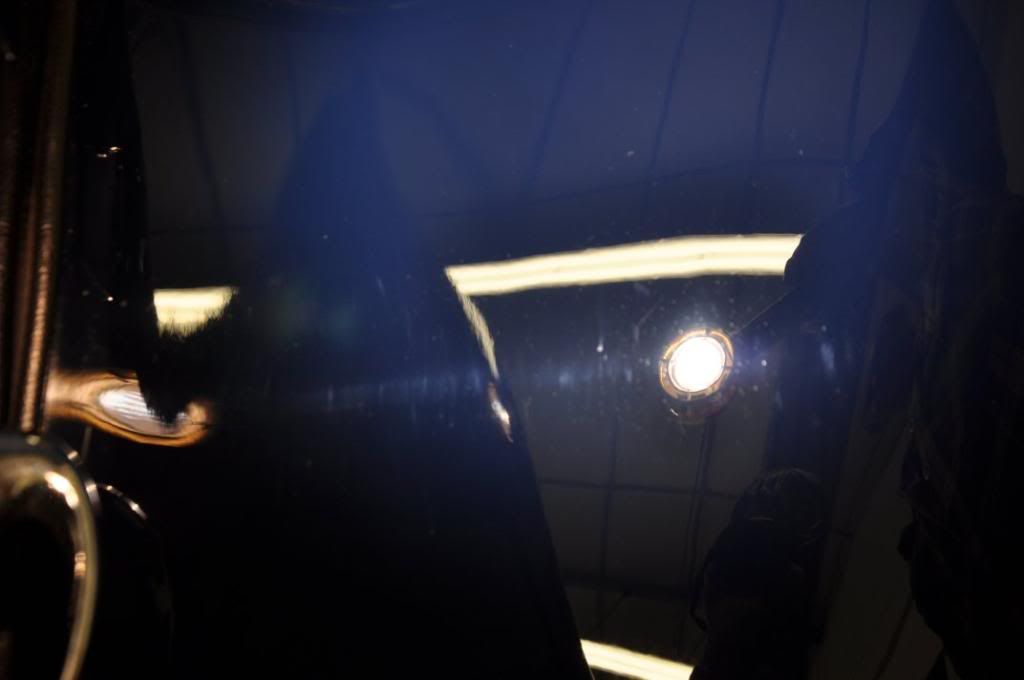
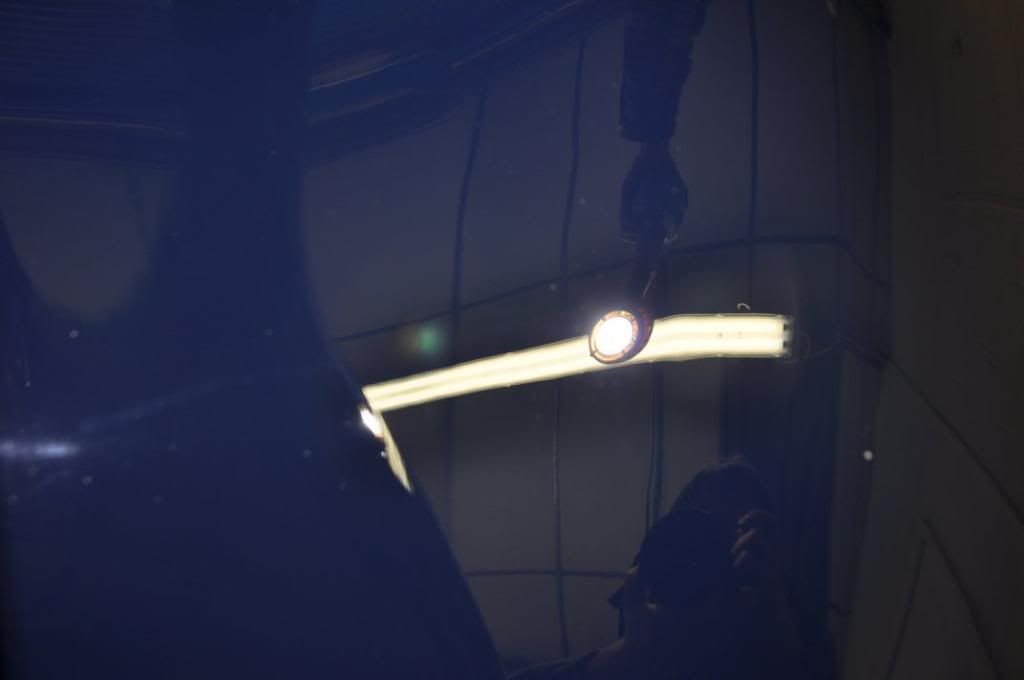
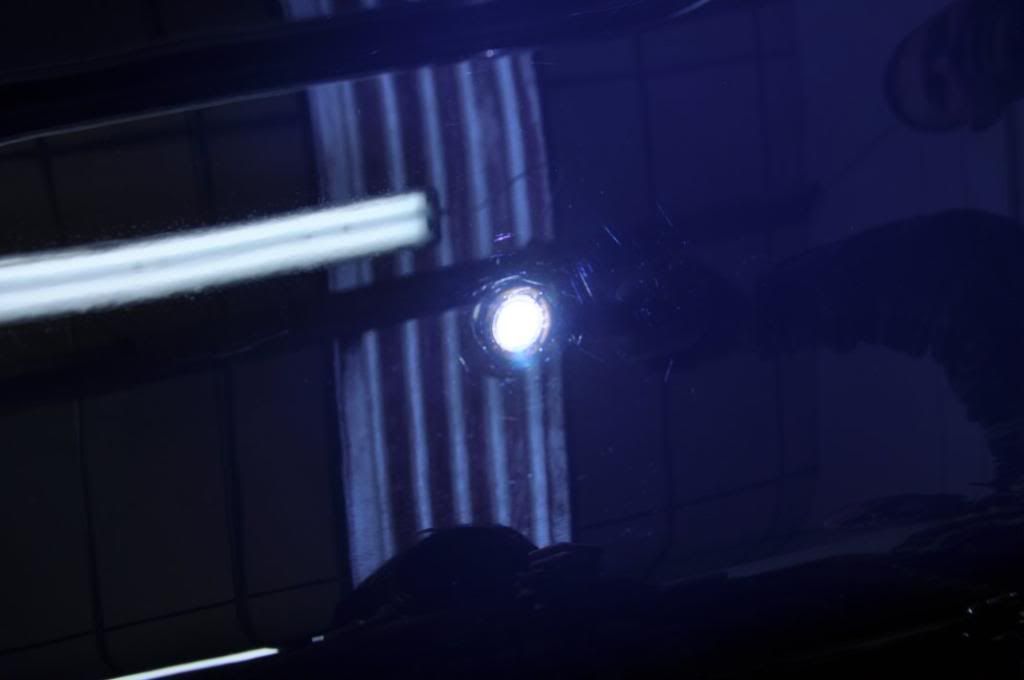
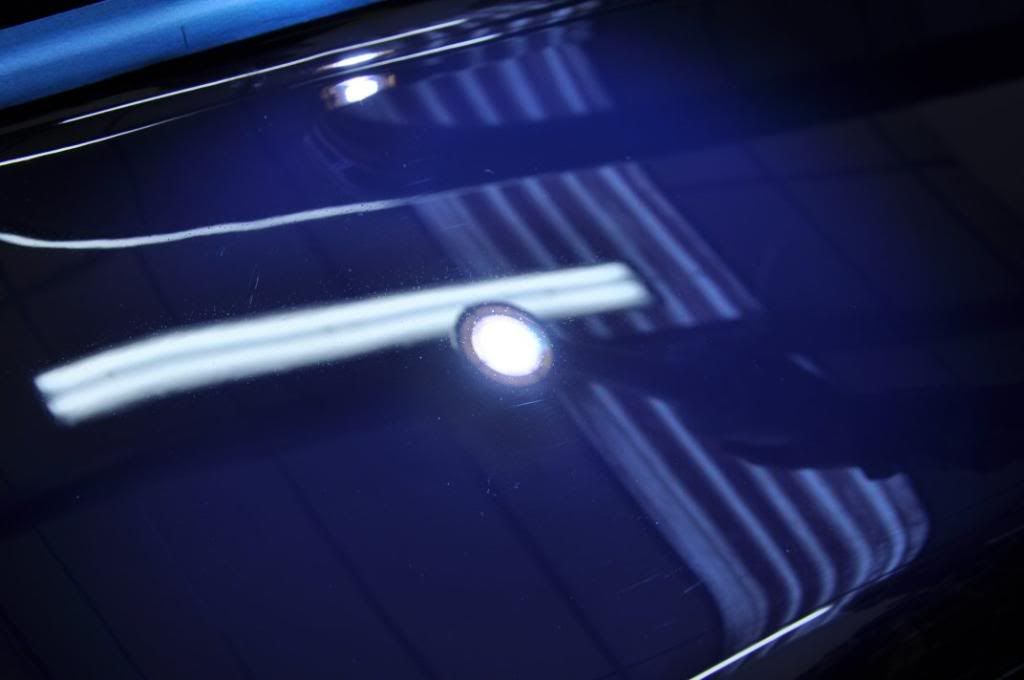
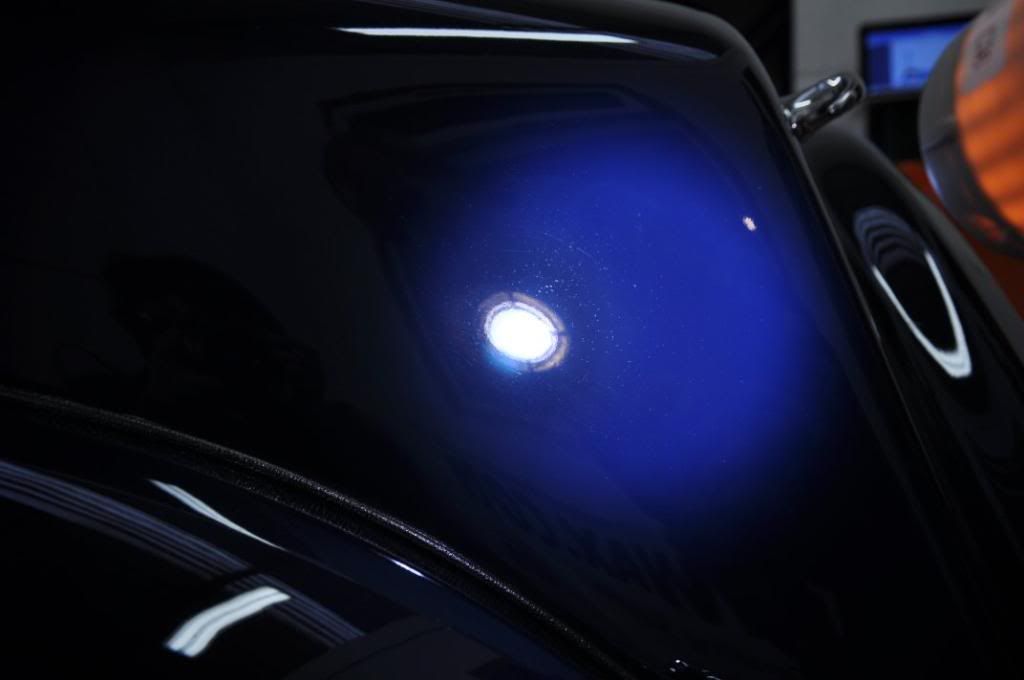
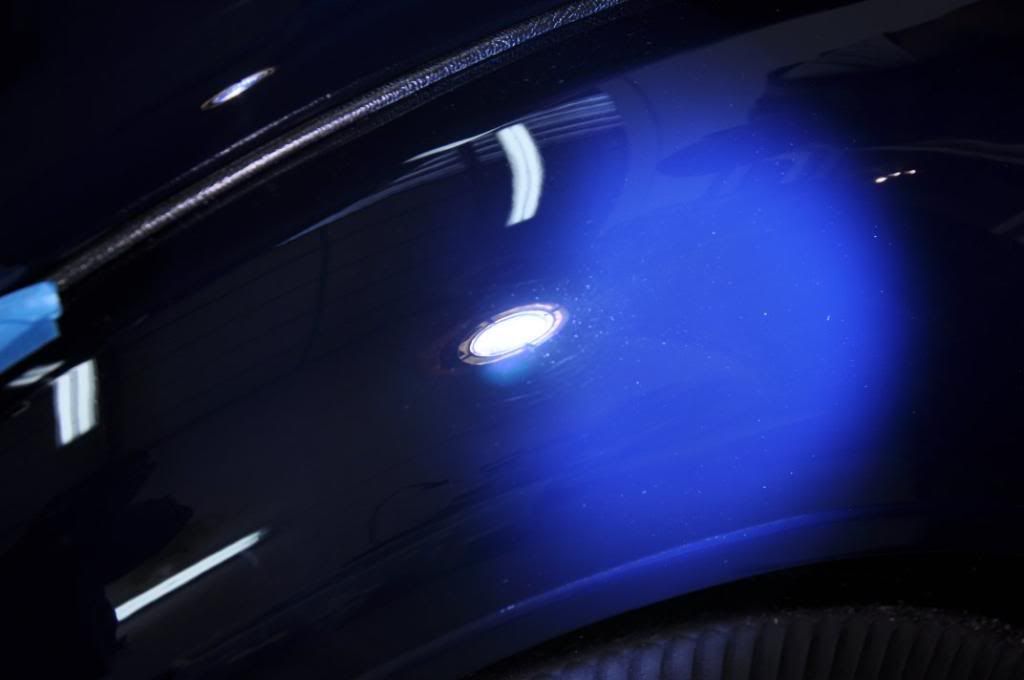
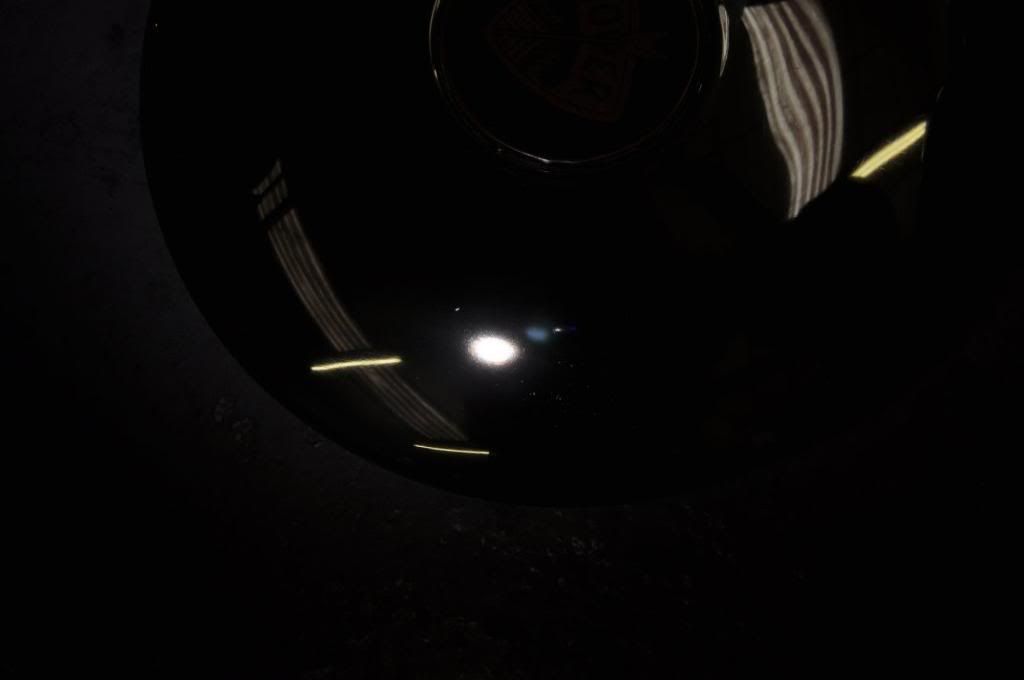
Under the Sun Gun, however, the paintwork was a different story - the damage from the aerosol you can see in the link above clear to see as little pin pricks in the paintwork...

Claying, using Sonus Ultrafine Green Clay and Meguiars Last Touch as a lube knocked the tops off of these marks and did yield a notable improvement. Alas, the marks were imprinted into the paintwork, as indents so top surface removal would not be sufficient. The paintwork had to be relevelled, at the cost of thickness, to fully shift the marks. Tilly required learning, panel by panel. Being hand painted, every panel was different, every panel has its own challenge - no one technique would be a catch all, so the lightest techniques were assessed and used throughout on each of the panels as we progressed round. It would have been all to easy to hit in with aggressive compound, wet sand, wool mop - but as I always say on any of my tuition days, anyone can remove paint, the skill is in removing the defects at the lowest cost to the paint thickness, and knowing when to exercise restraint and let the last marks go. Far better to have an indent or two, or a scratch or two than be sending a car away for a respray, especially a 26 year old paint job on a car as unique as this.
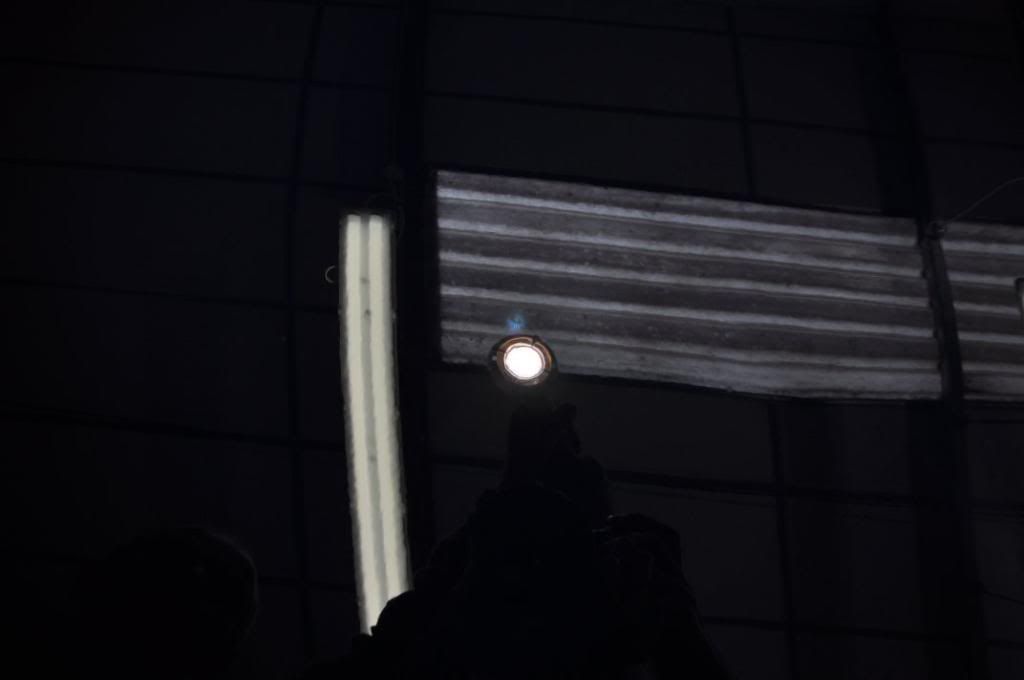
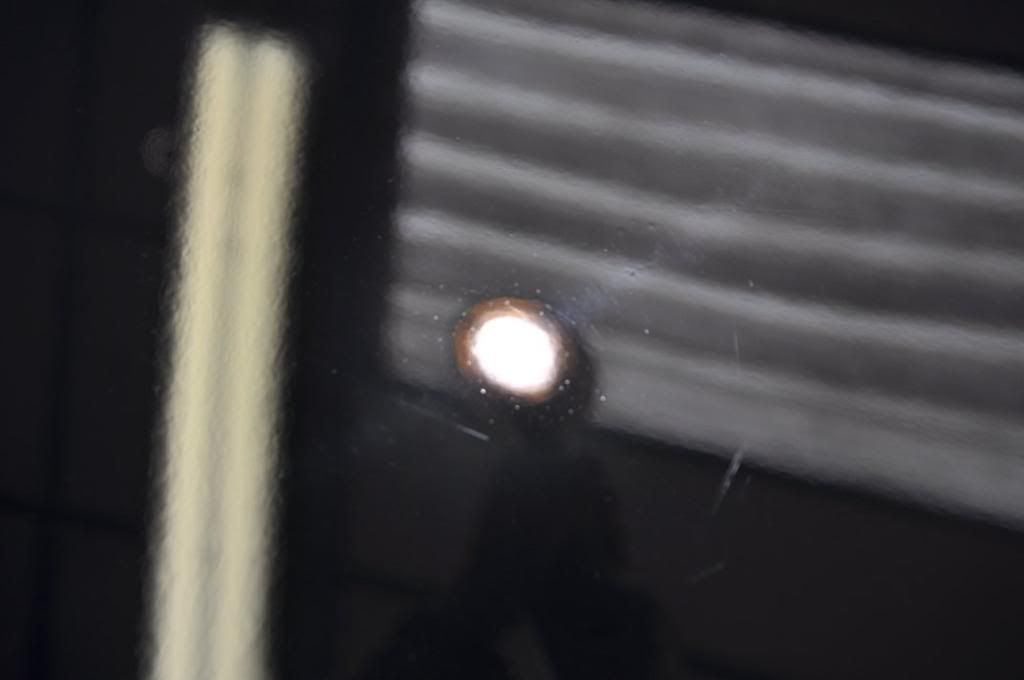
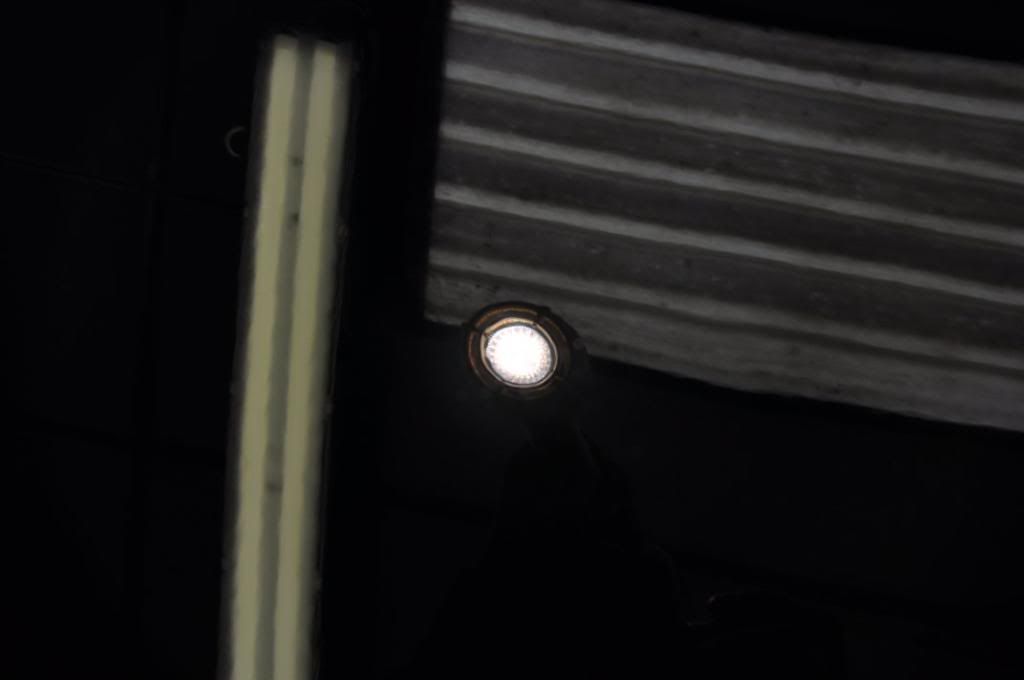
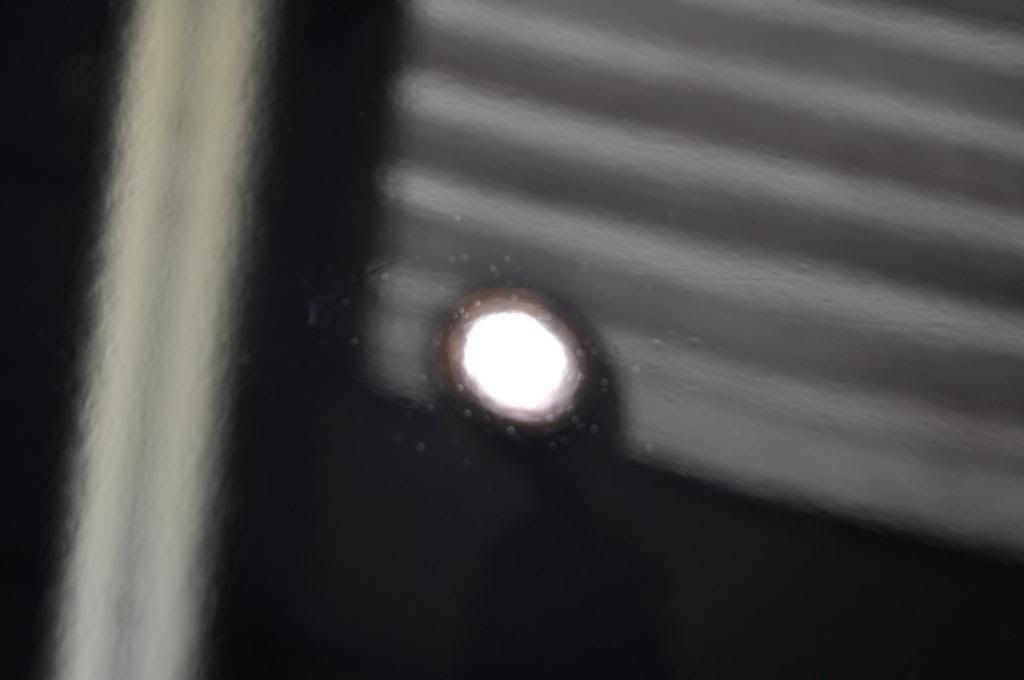
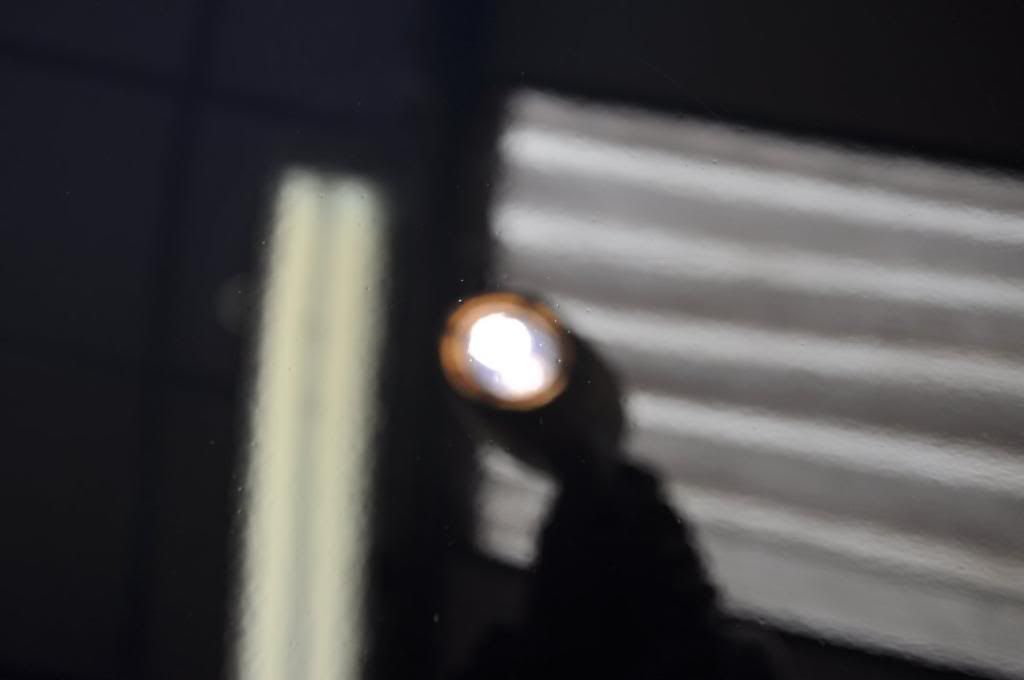
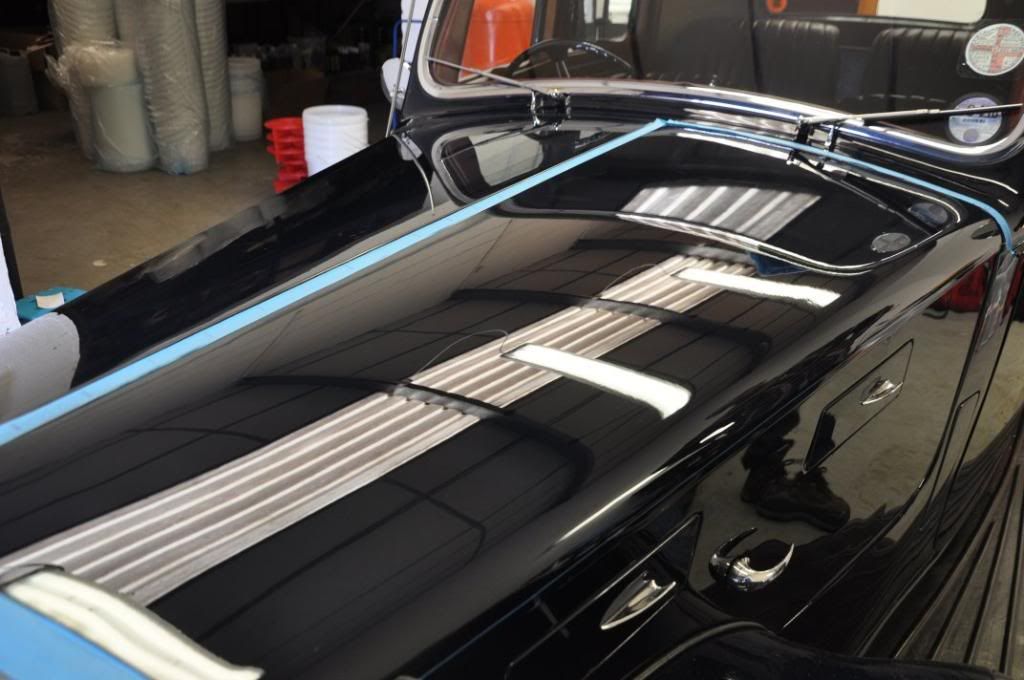
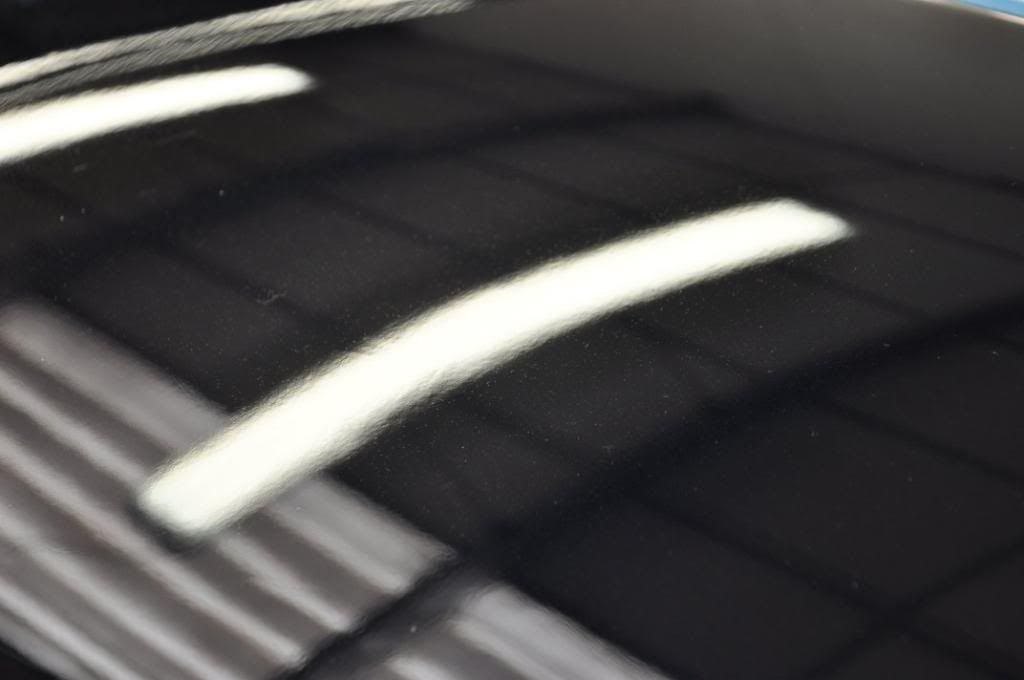
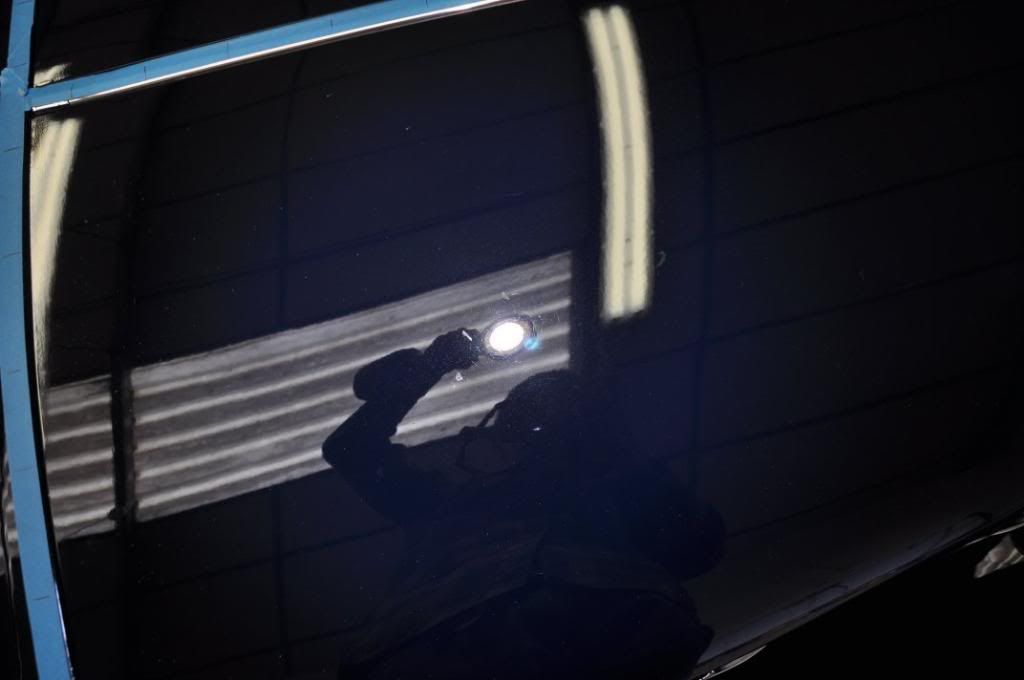
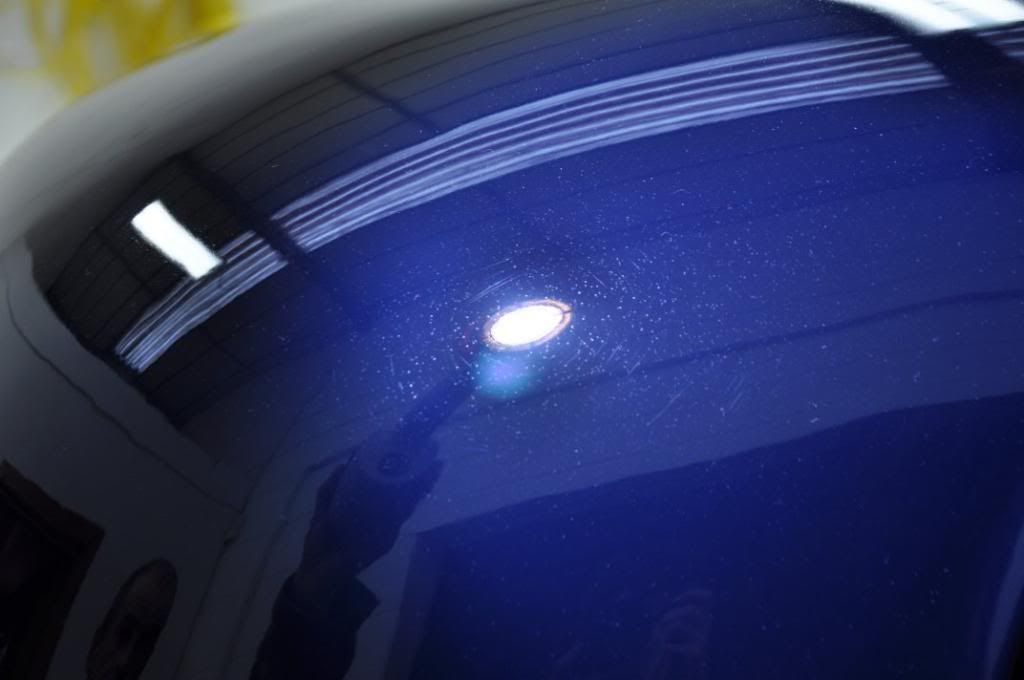
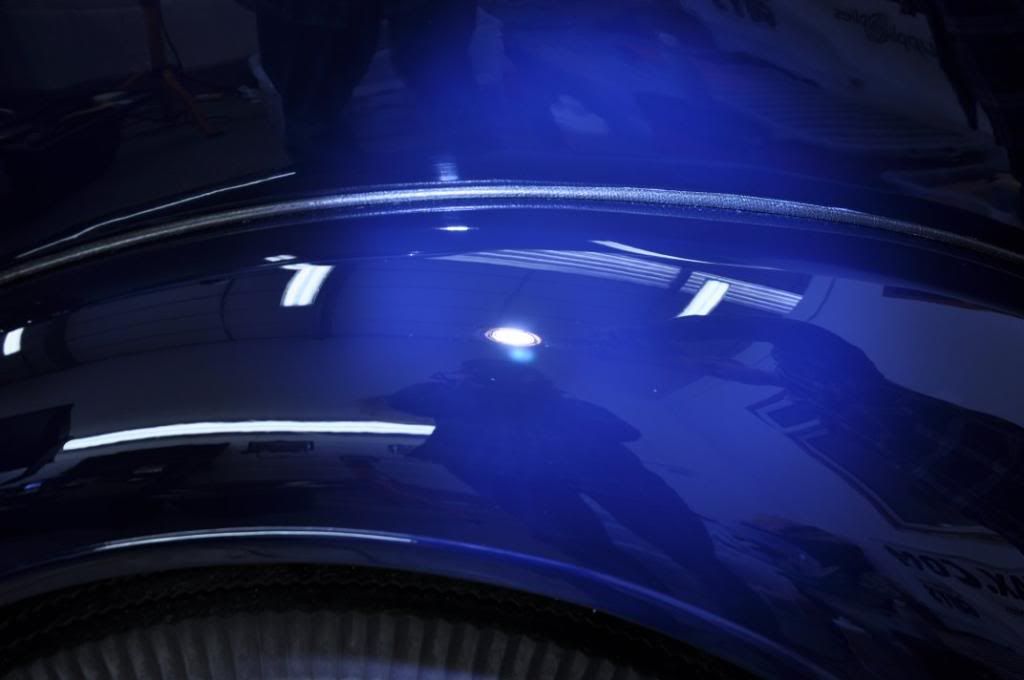
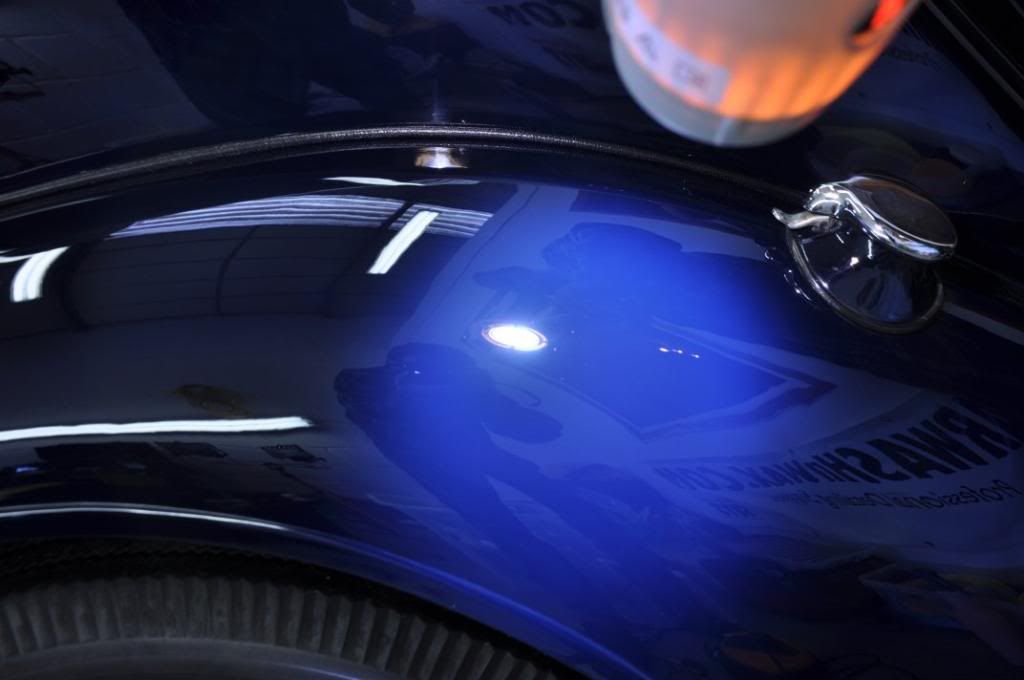
Ready for the machine polishing, it was first of all time to assess the paintwork in terms of original thickness, and then assess the hardness through stepping up through the abrasive scale to attain the level of correction required, again with maximum safety to the finish being paramount in our minds here. The first section chosen was the passenger side bonnet top, shown below the before pictures:
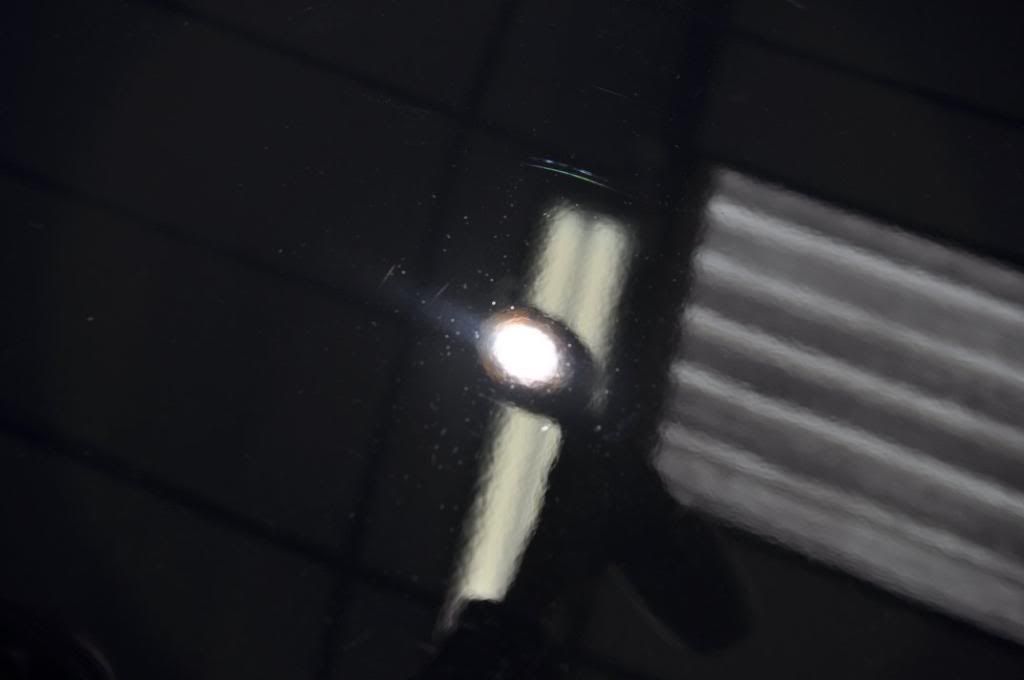

Note in the above, around the light sources, the little pin pricks in the paint surface - this is the damage caused by the aerosol.
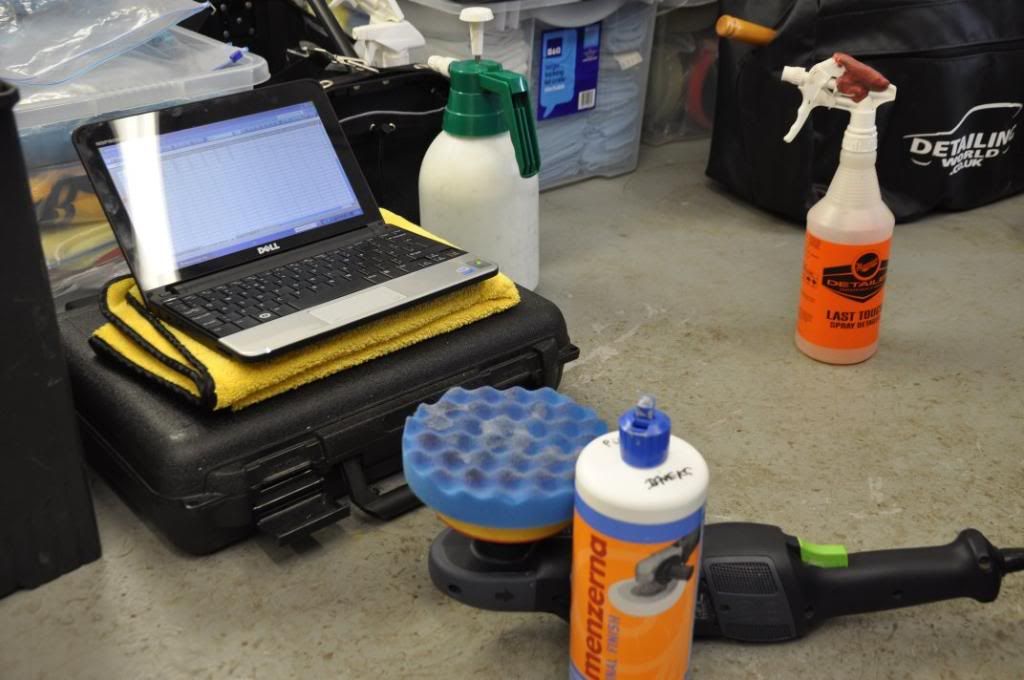
Before continuing, the paint thicknesses (total thickness) were measured across the panel, and recorded... now I dont have a fancy gauge that remembers the readings and plots graphs, but I do have a Gordon and a laptop... (sorry Gordy, couldn't resist :p)
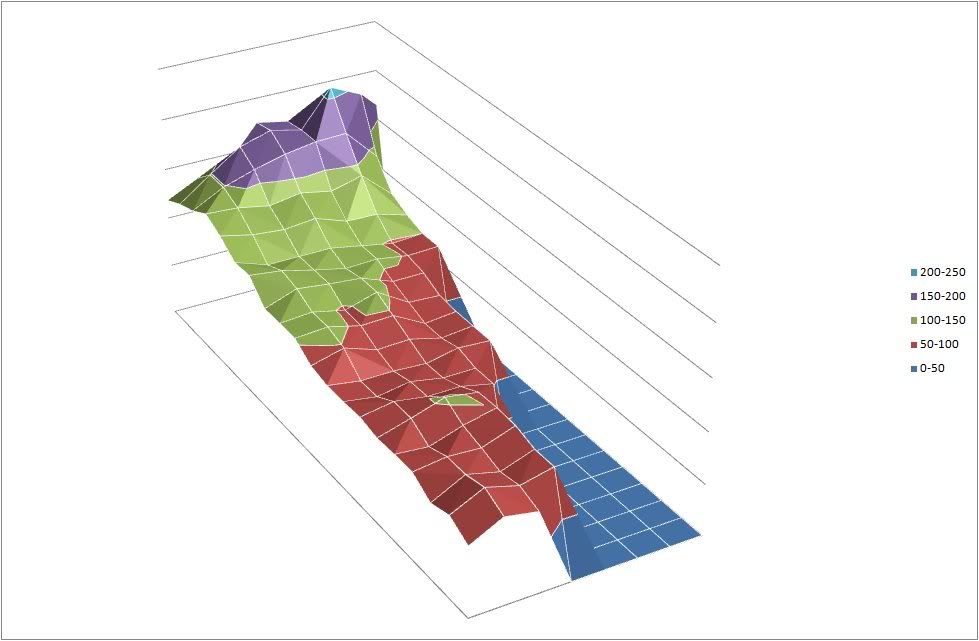
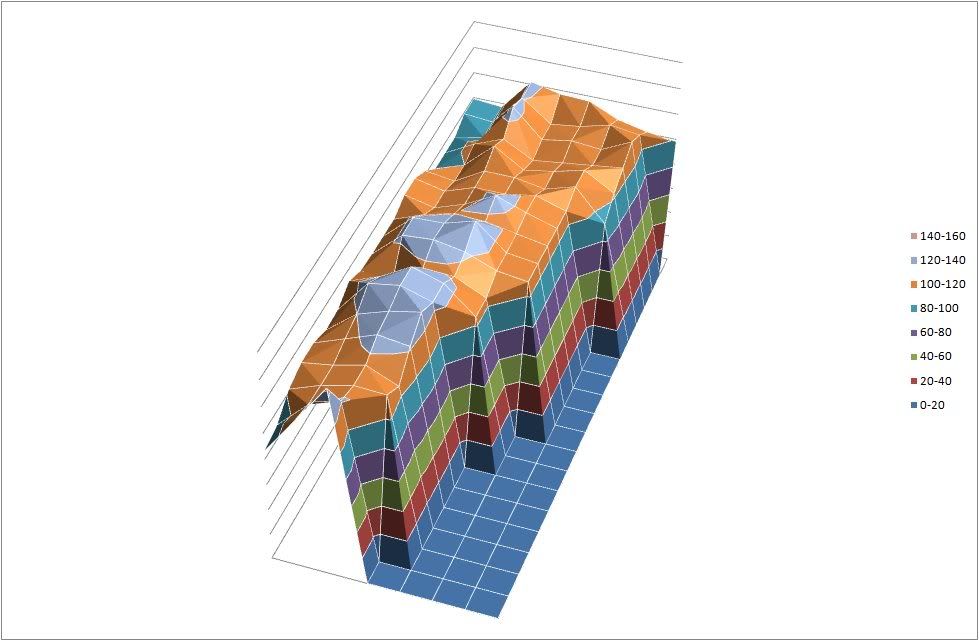
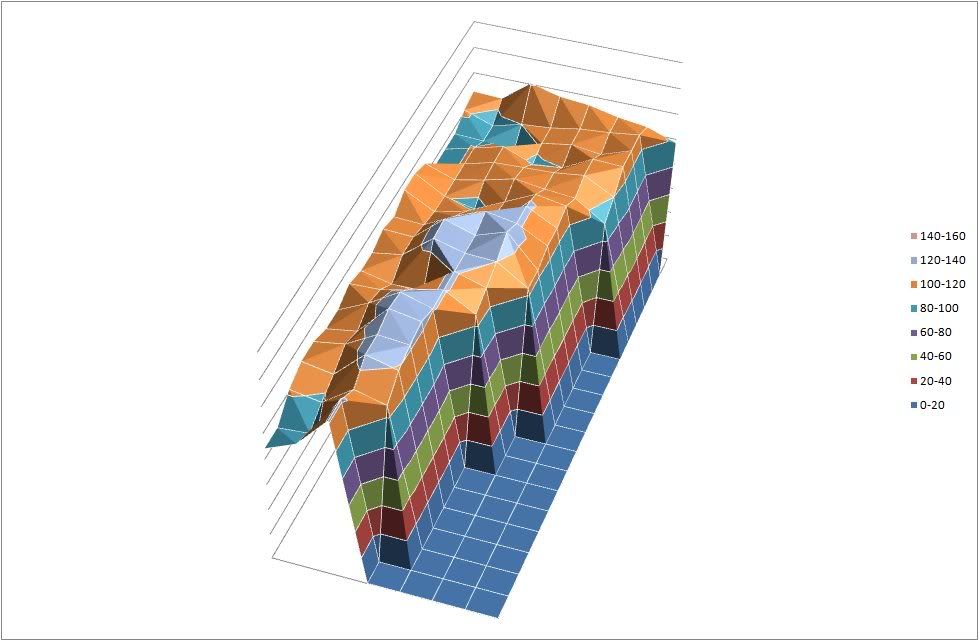
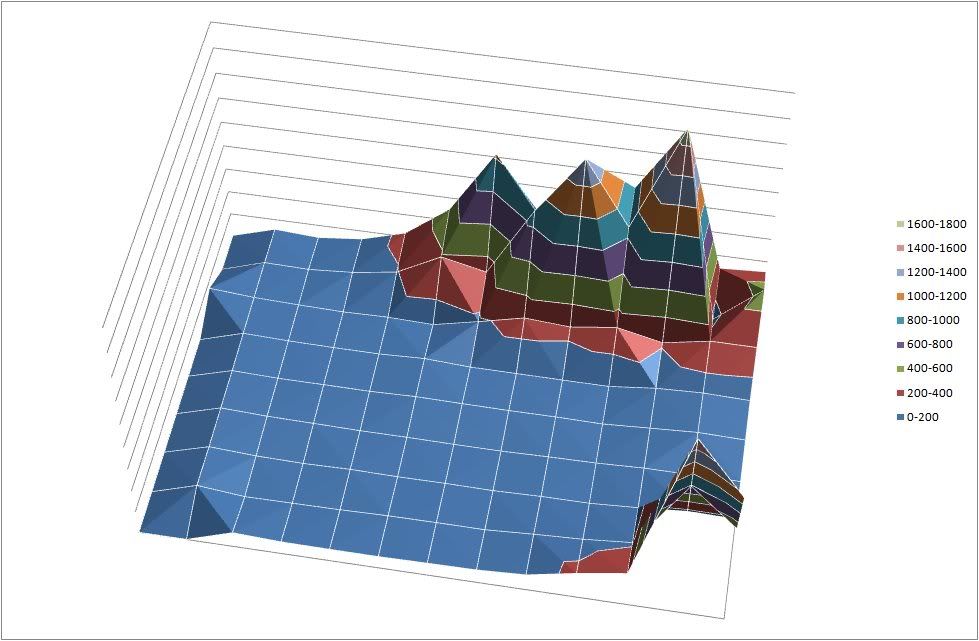
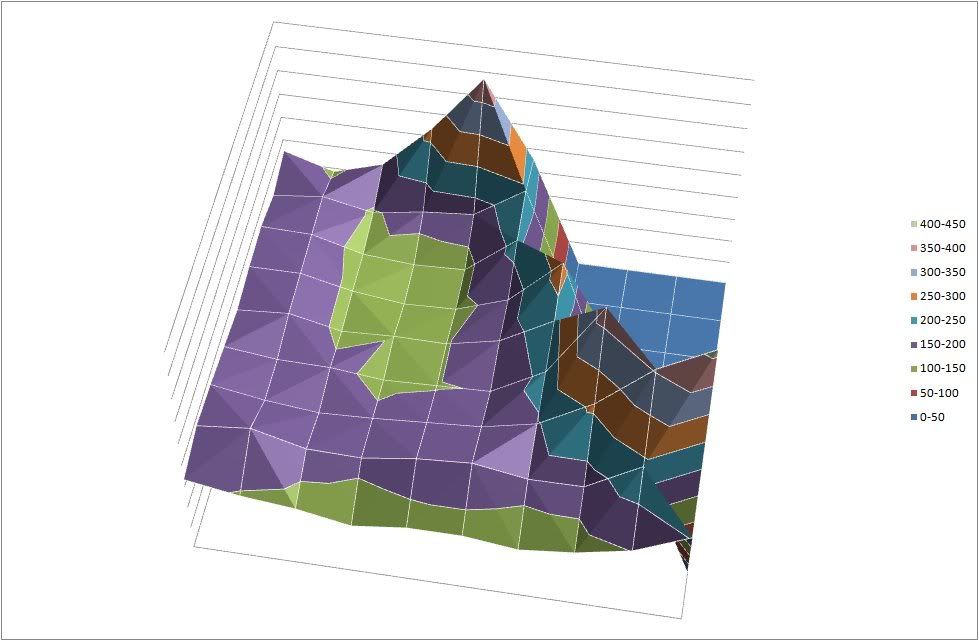
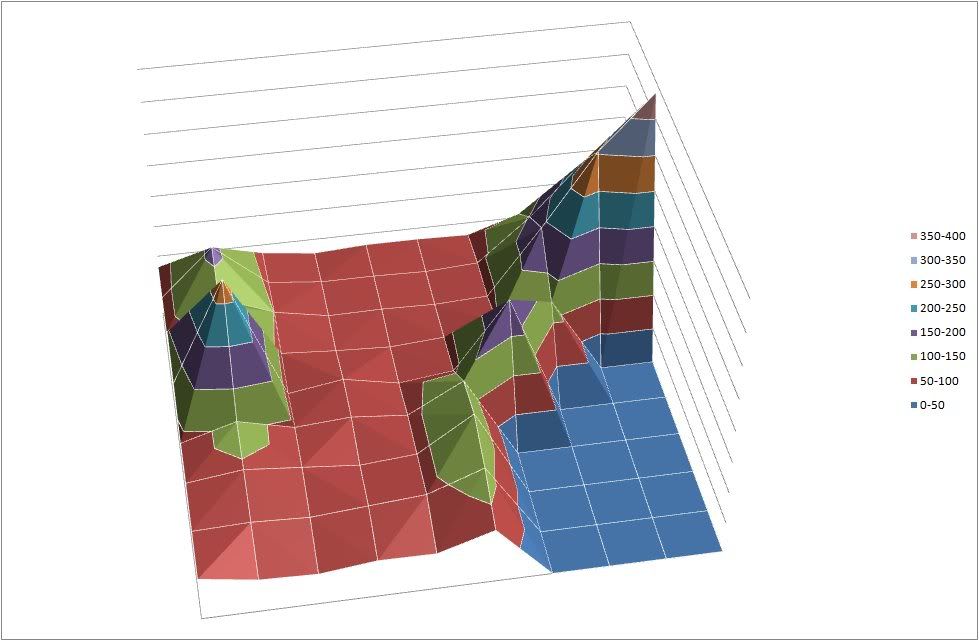
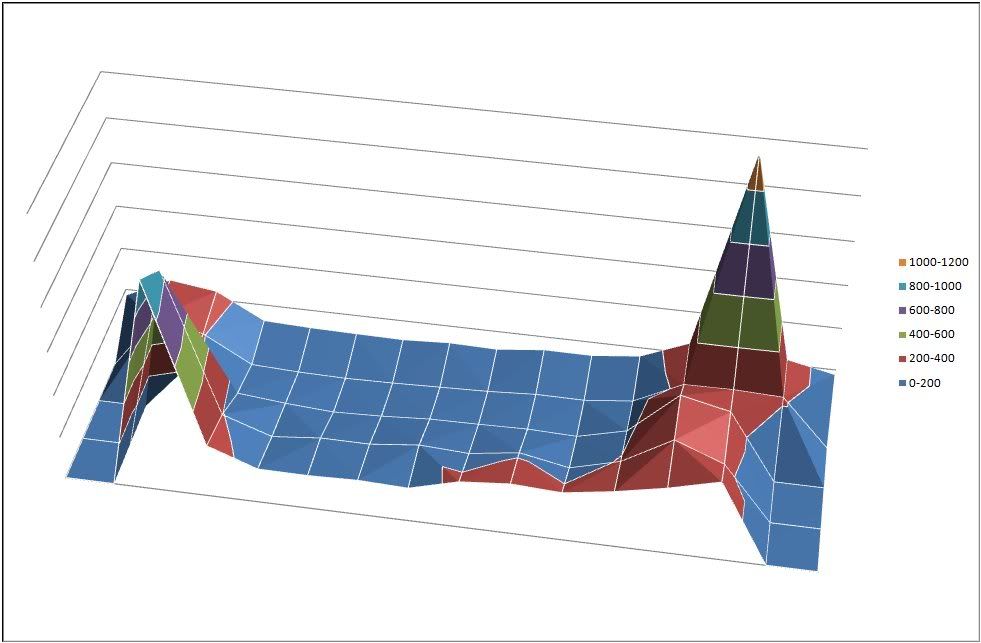
Readings were taken and then plotted using Excel to give a 3d map of the paint thickness on the panel:
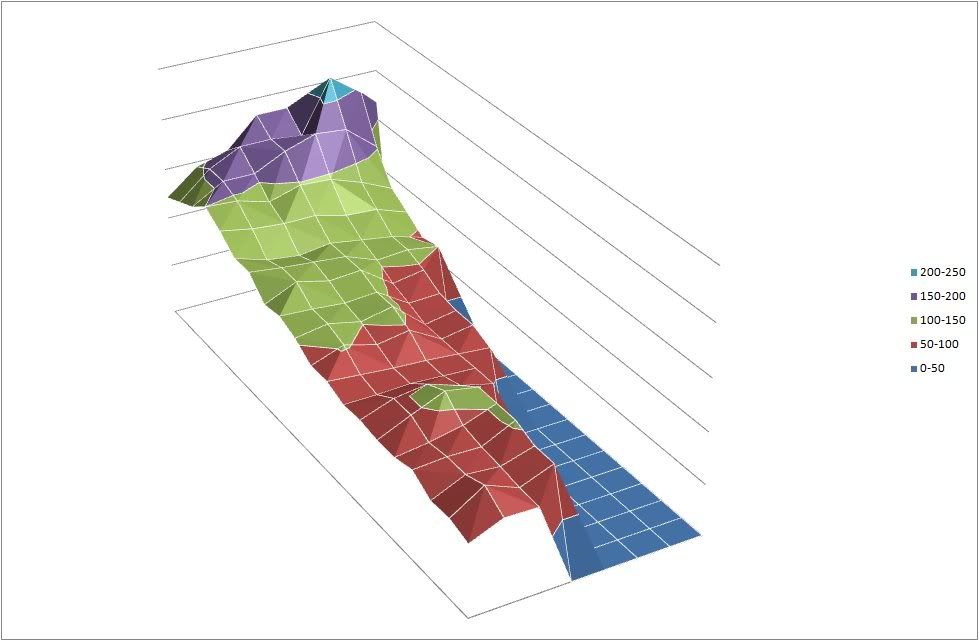
Numbers along the side shows what colours represent what thickness range - essentially, anything red above is below 100um. This map I kept on the screen at all times when working, so I could see when I was polishing near thinner regions, and also to allow me to spot inconsistencies in pictures so I could know where to polish and where it would be better to go easy...
Now it was time to assess the hardness of the paint and what would be required for correction. Spot average was taken on a region to be 133.6um of paint at the start.
We started using Menzerna PO106FA Final Finish on a 3M Blue Waffle pad, applied as follows:
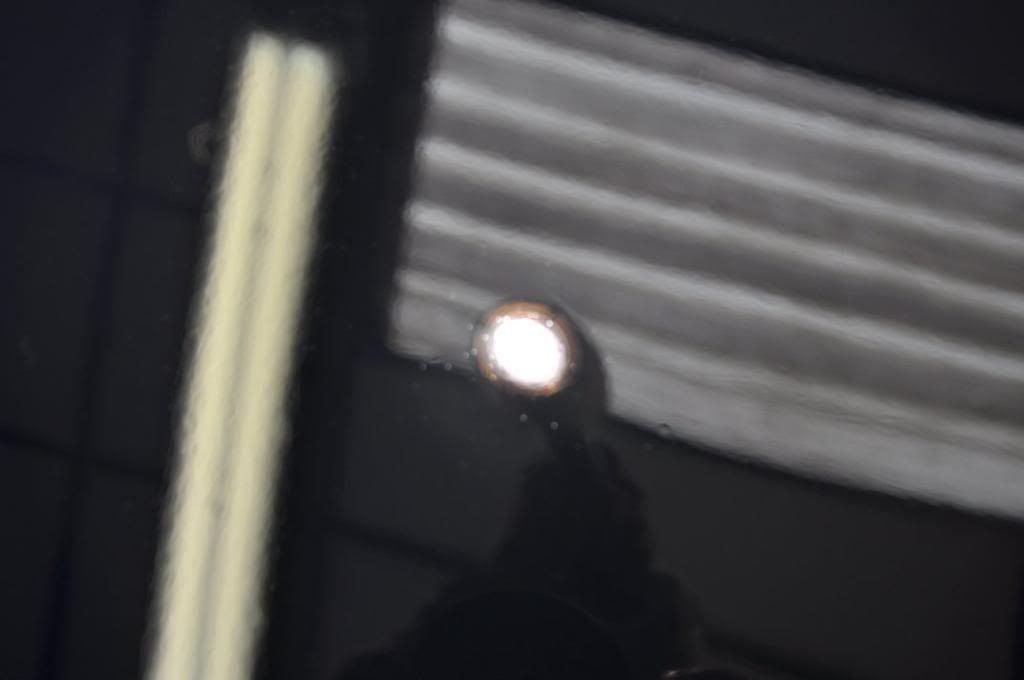
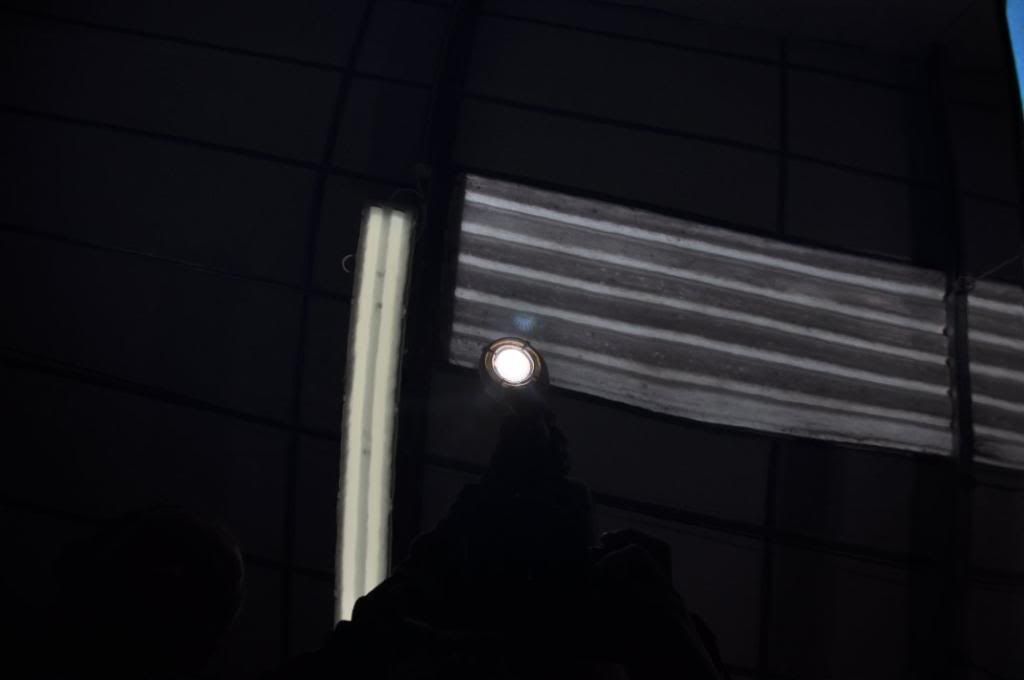
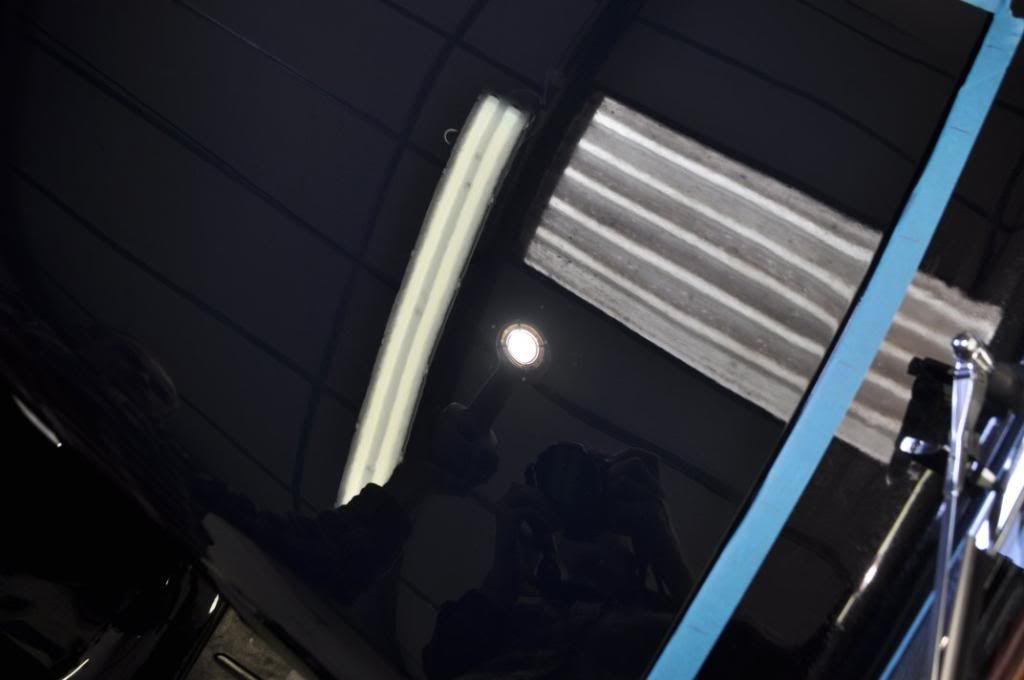
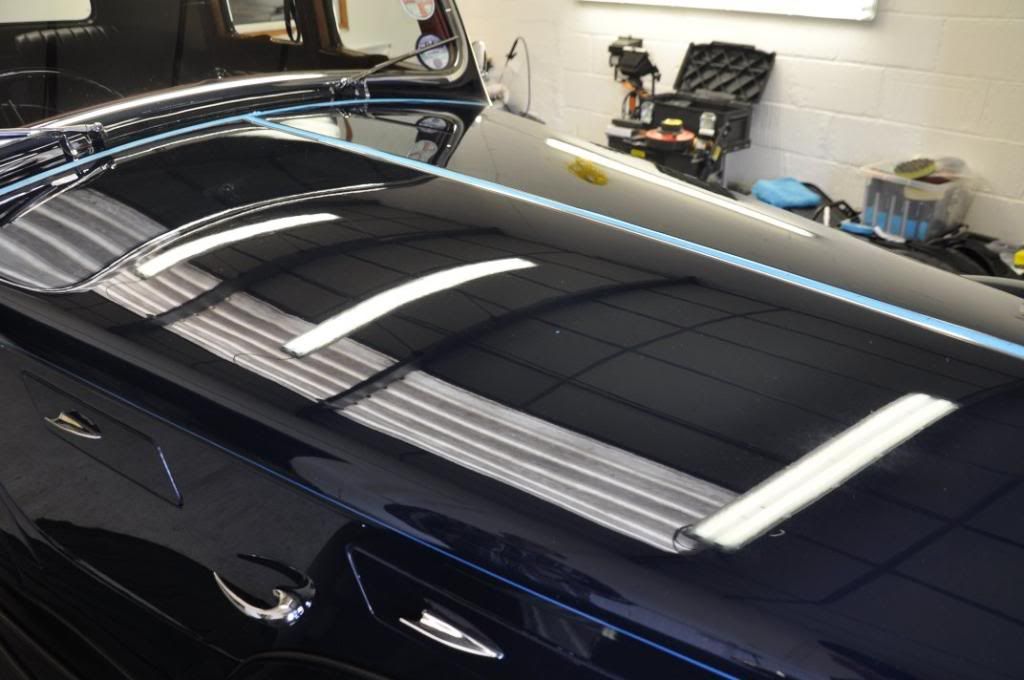
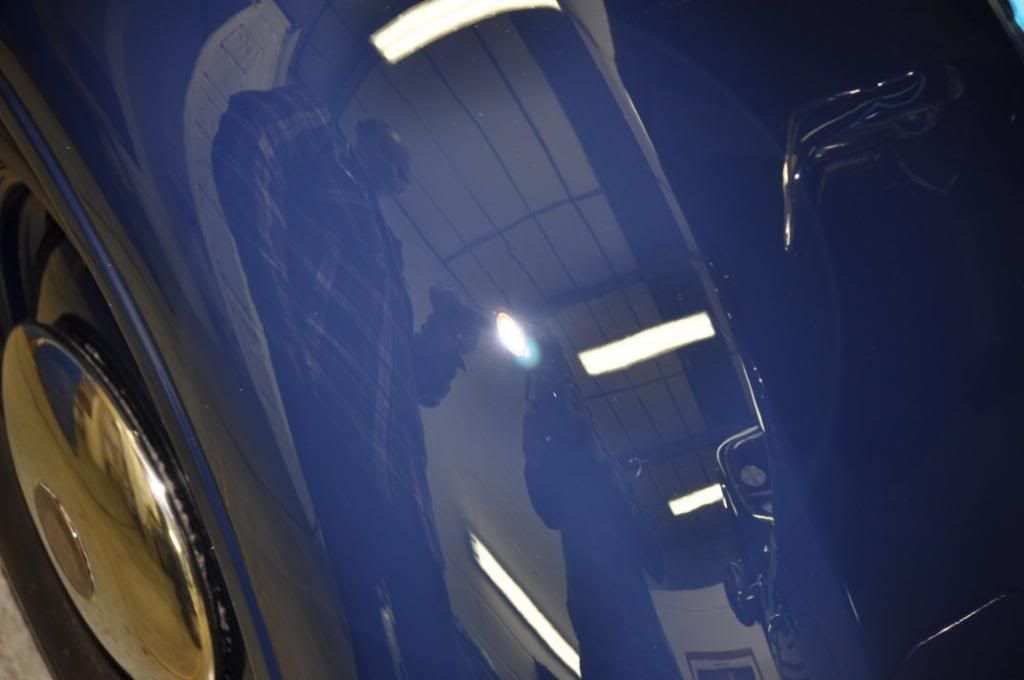
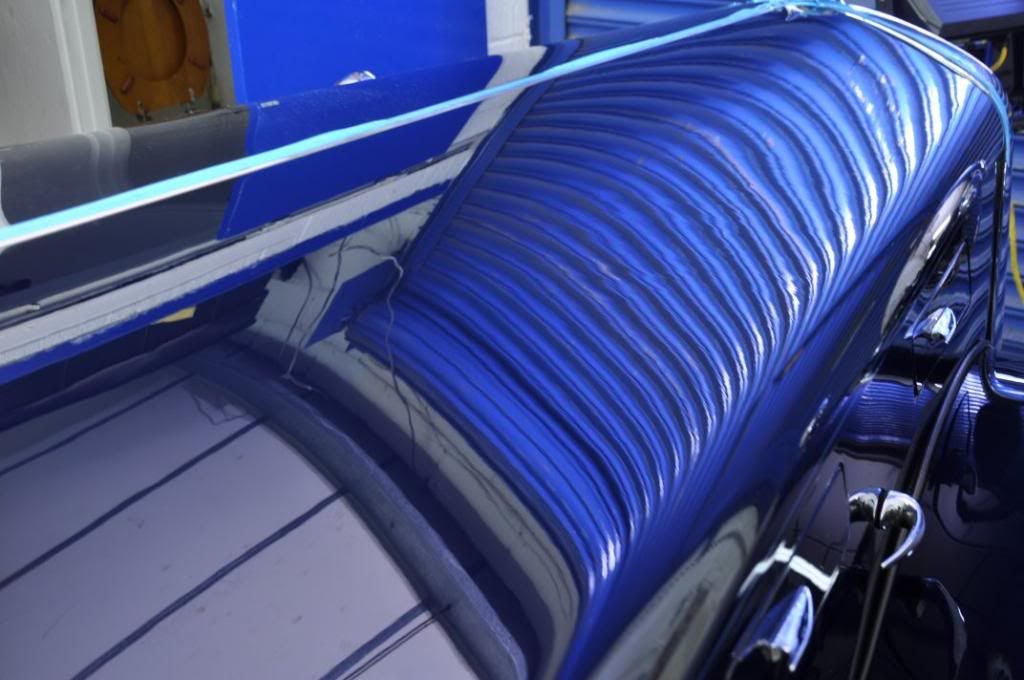
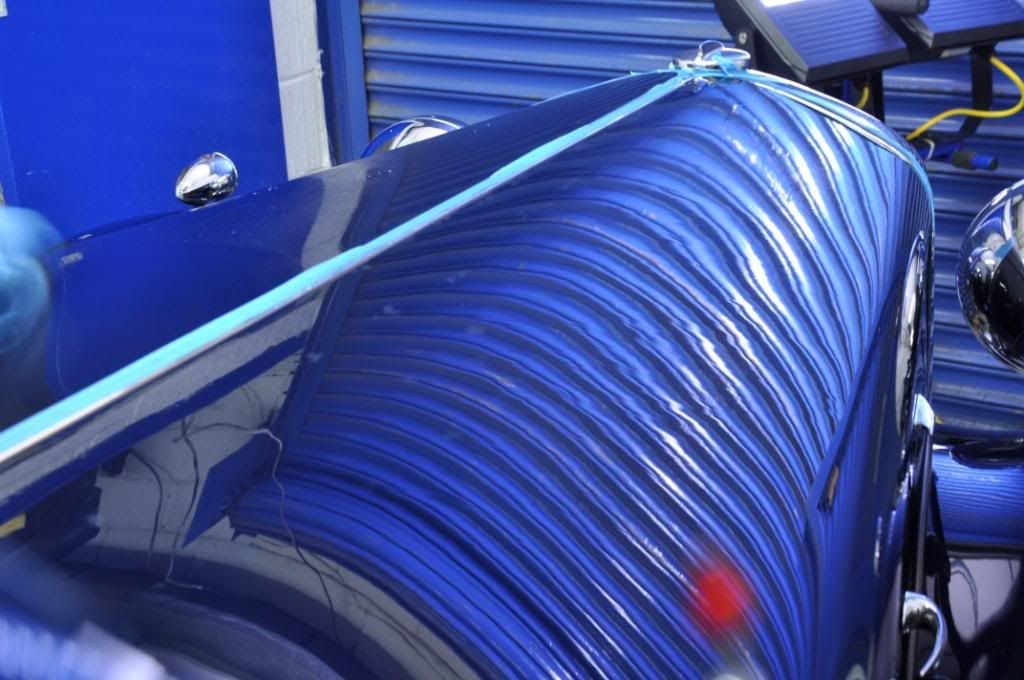
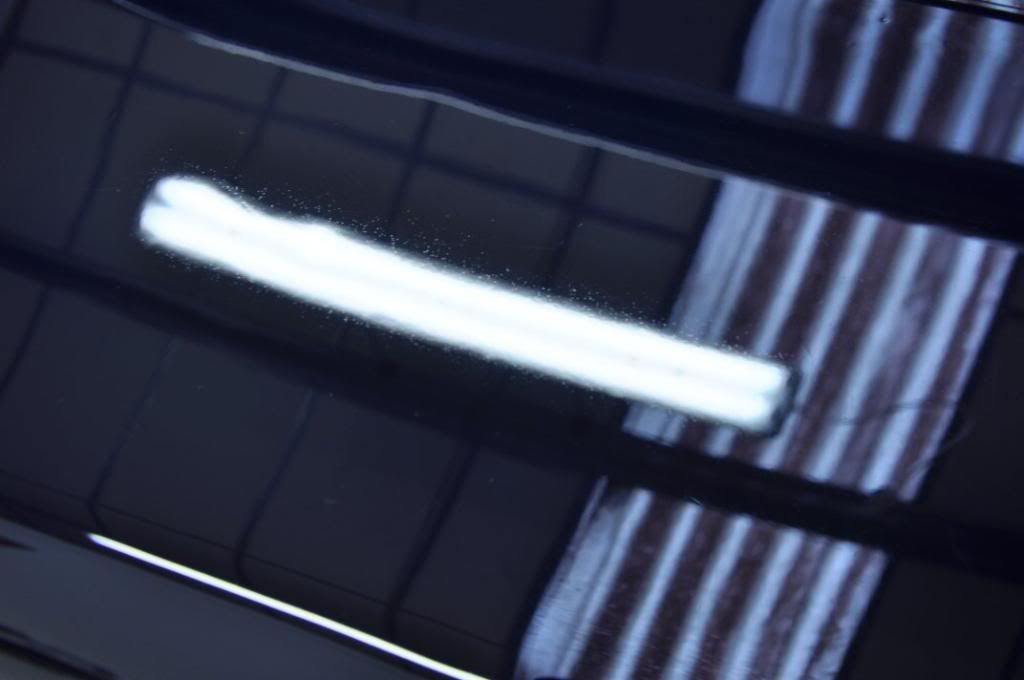
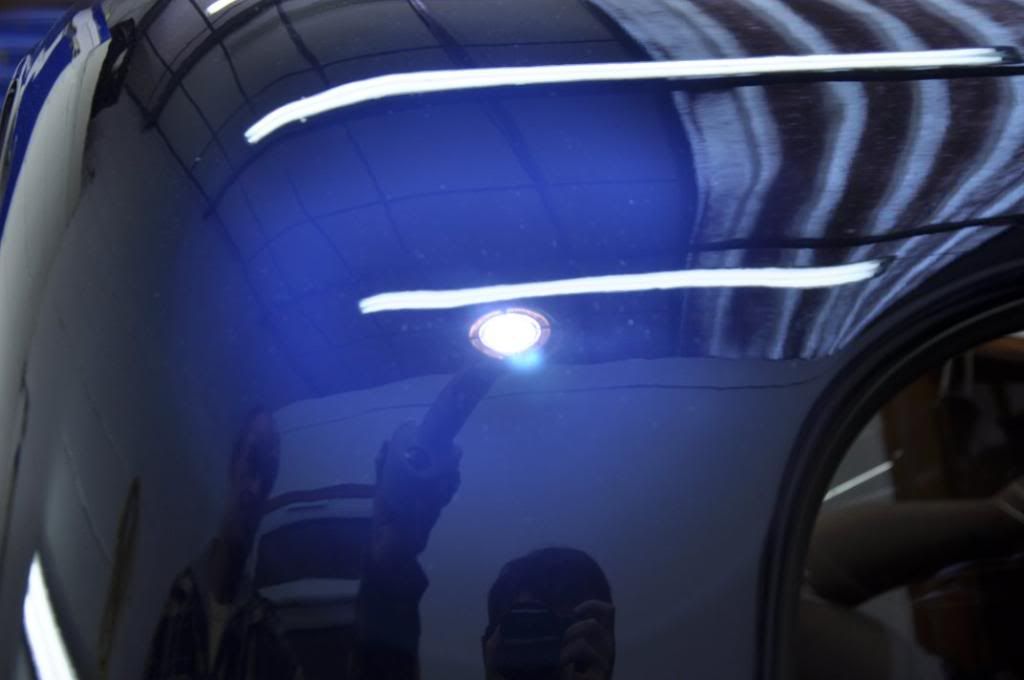
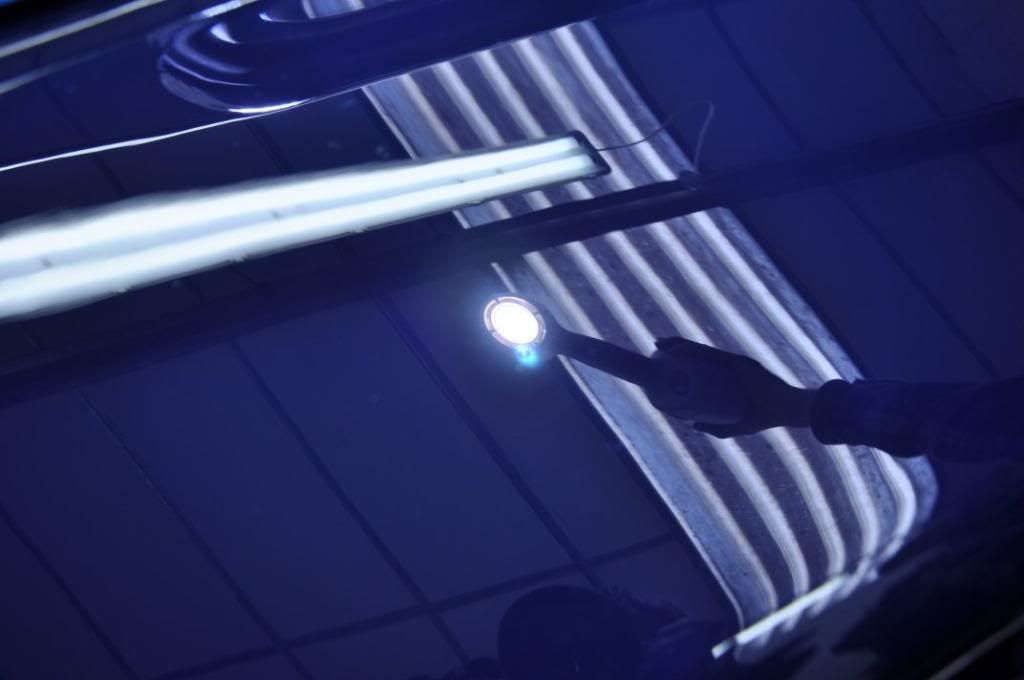
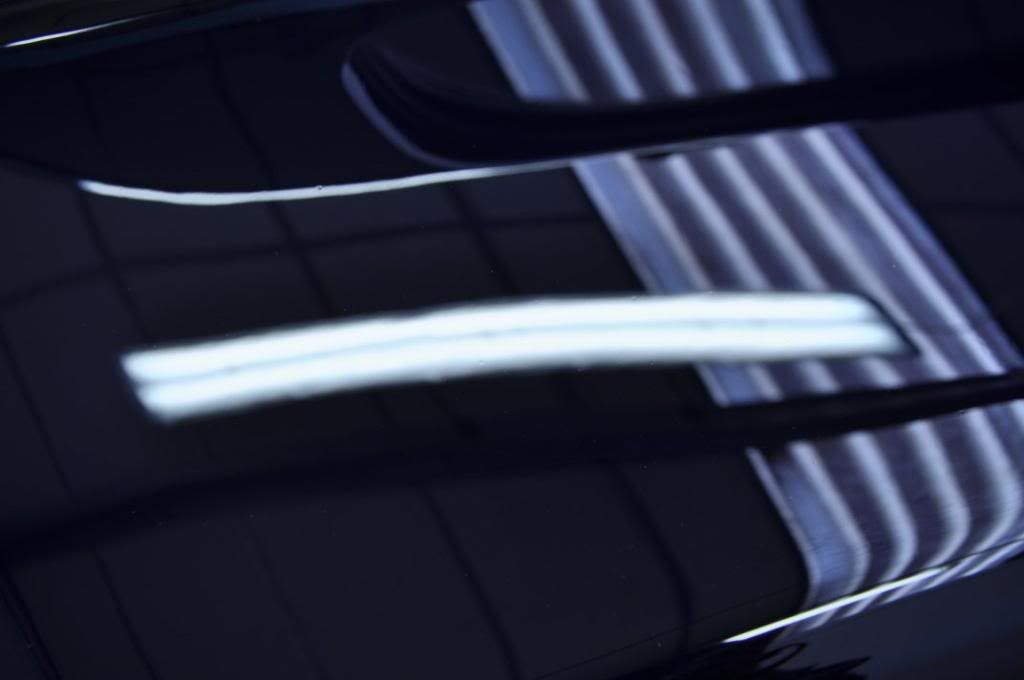
The results this achieved under traditional Sun Gun held from panel lighting look pretty good...
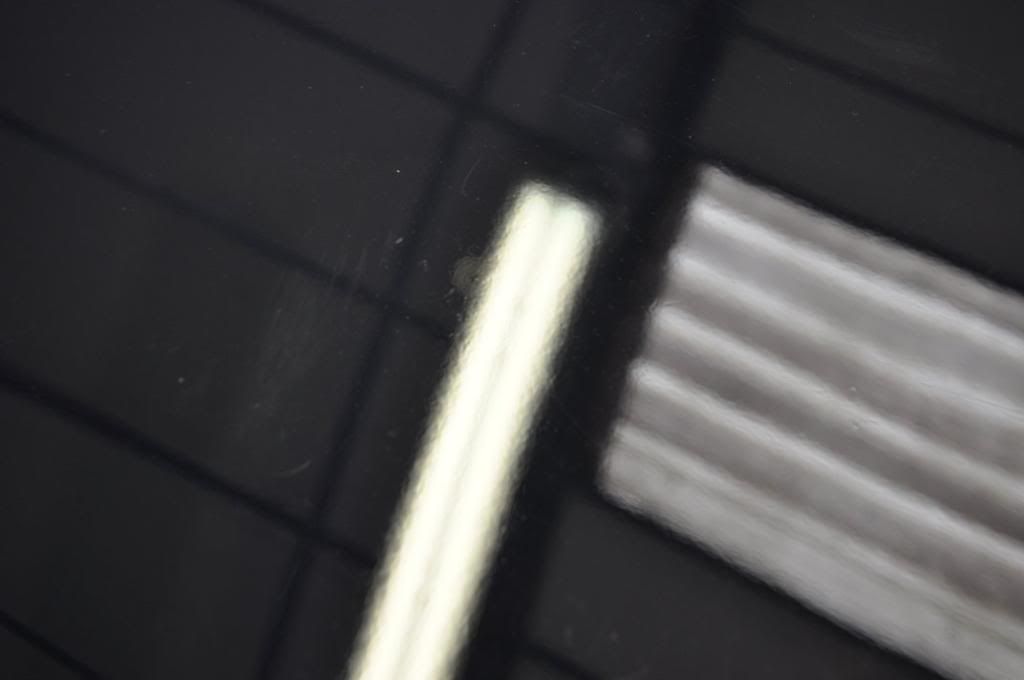
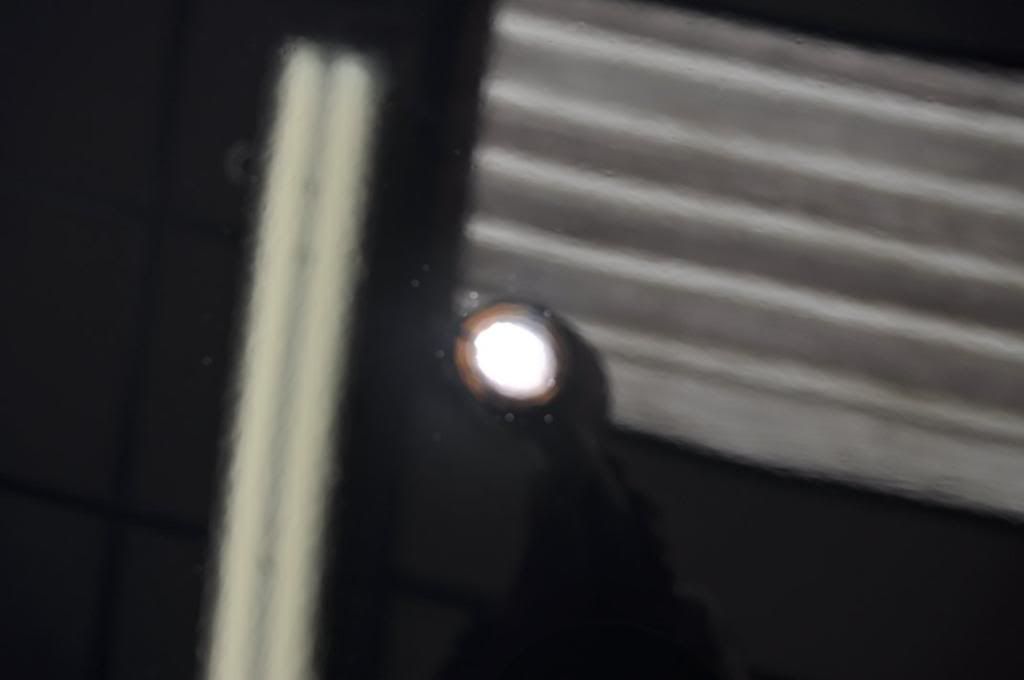
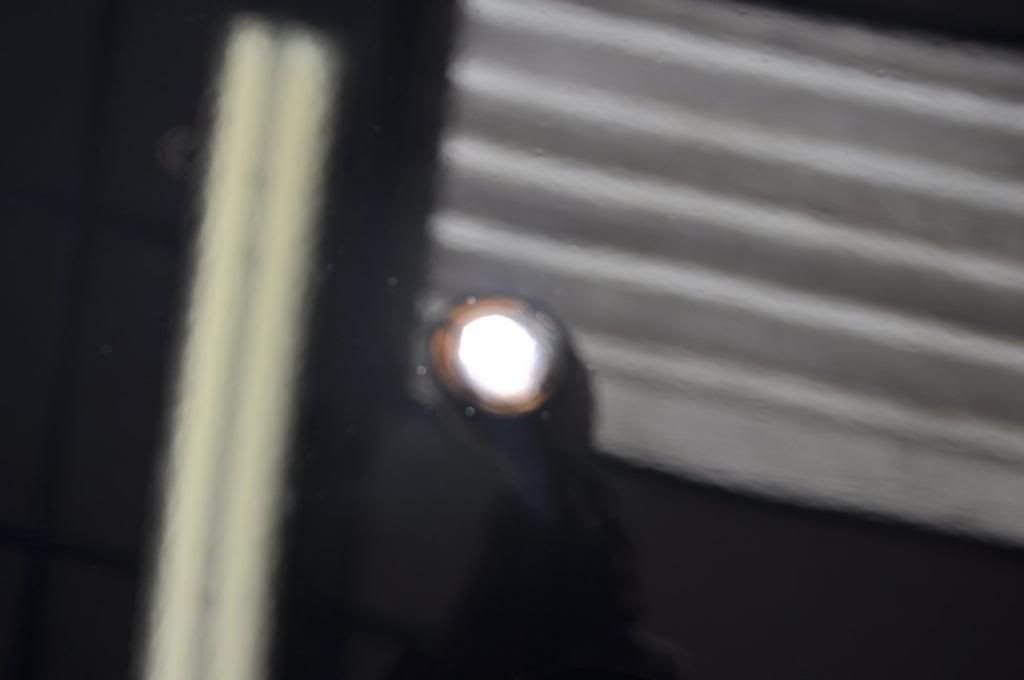
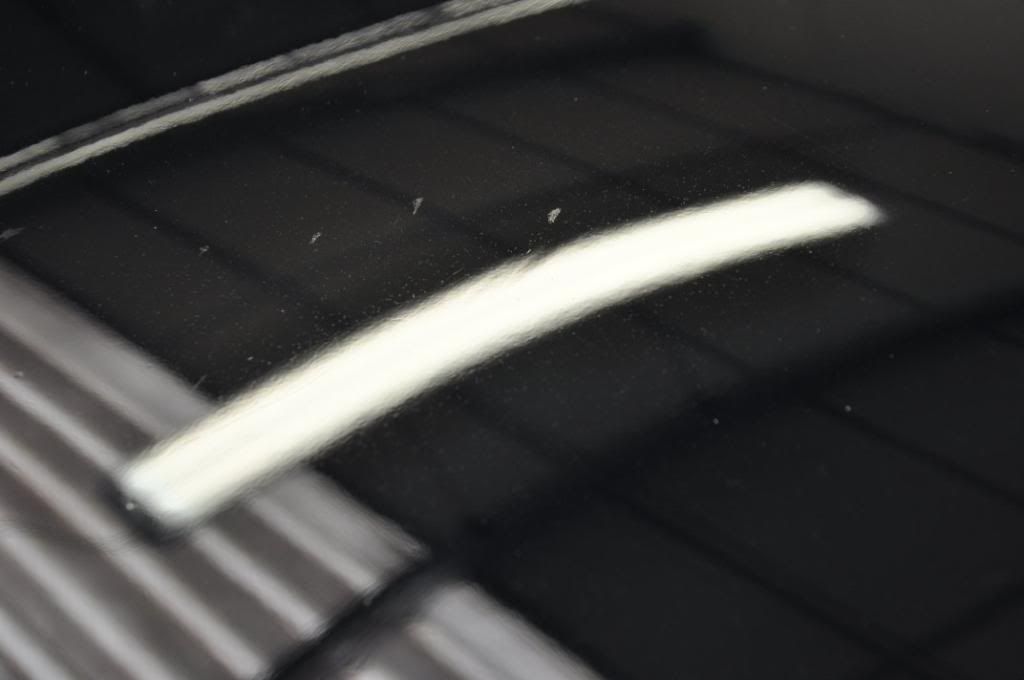
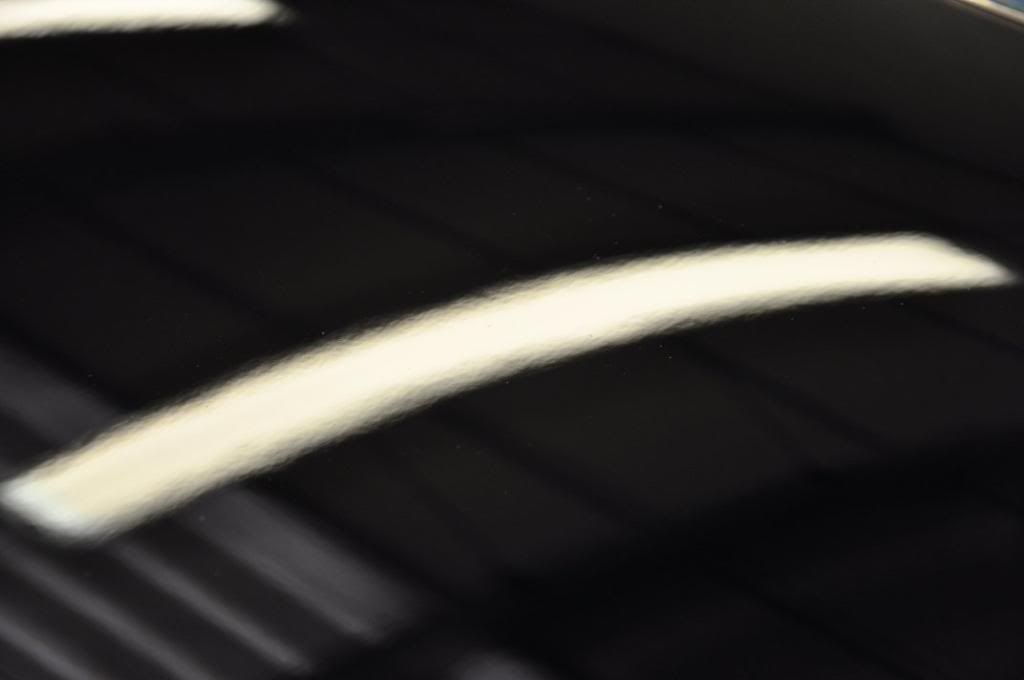
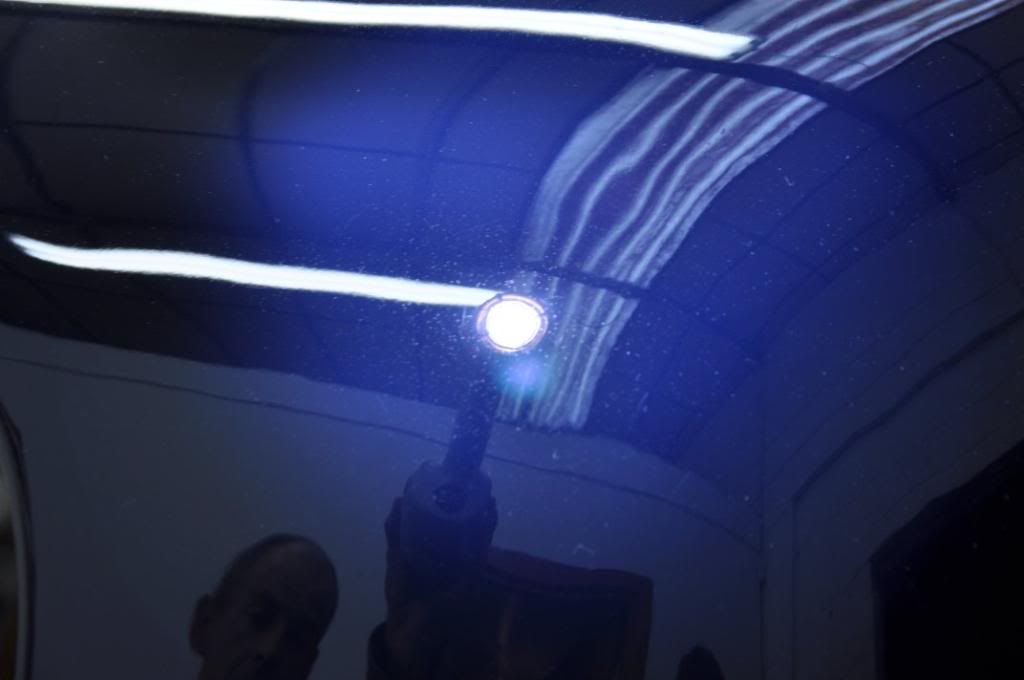
Zoom in, focus on the paint surface and you can still see most of the pitting though, indicating this combo was not strong enough...
Paint thickness on the test spot had now dropped to 130um, a significant drop for a finishing polish. Panel temperature during polishing here ran at a consistent 35.9degC, gently warm to the touch.
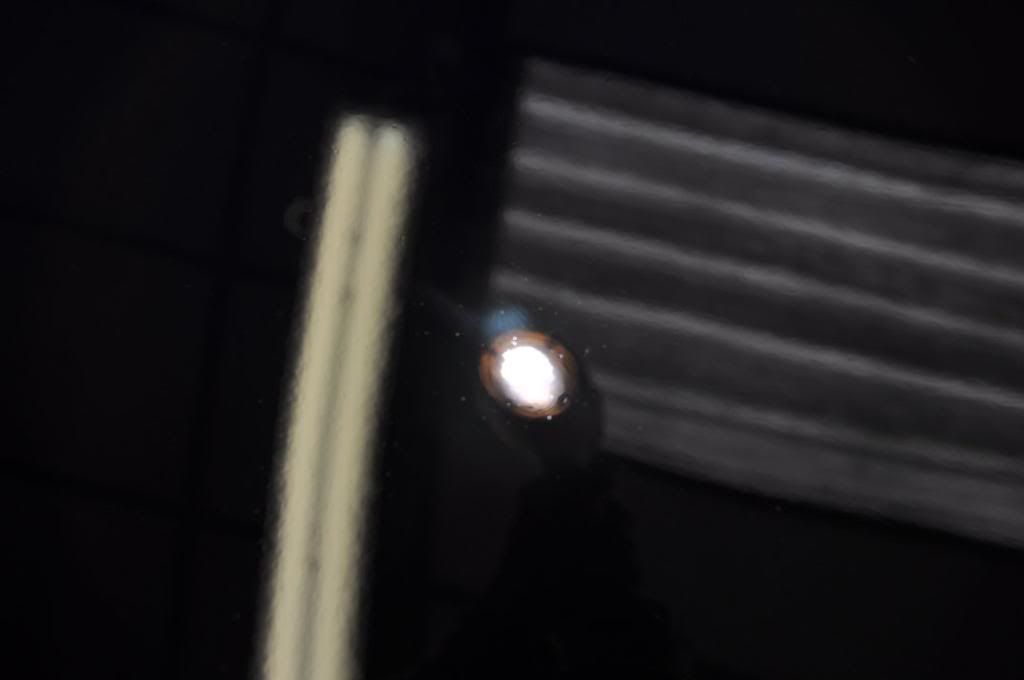
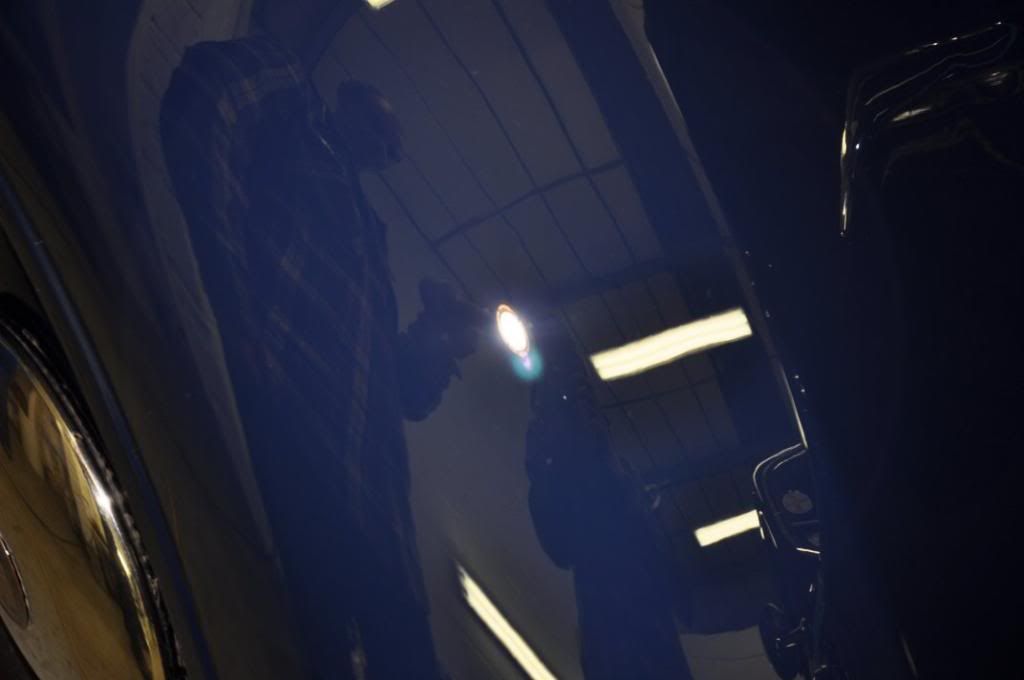
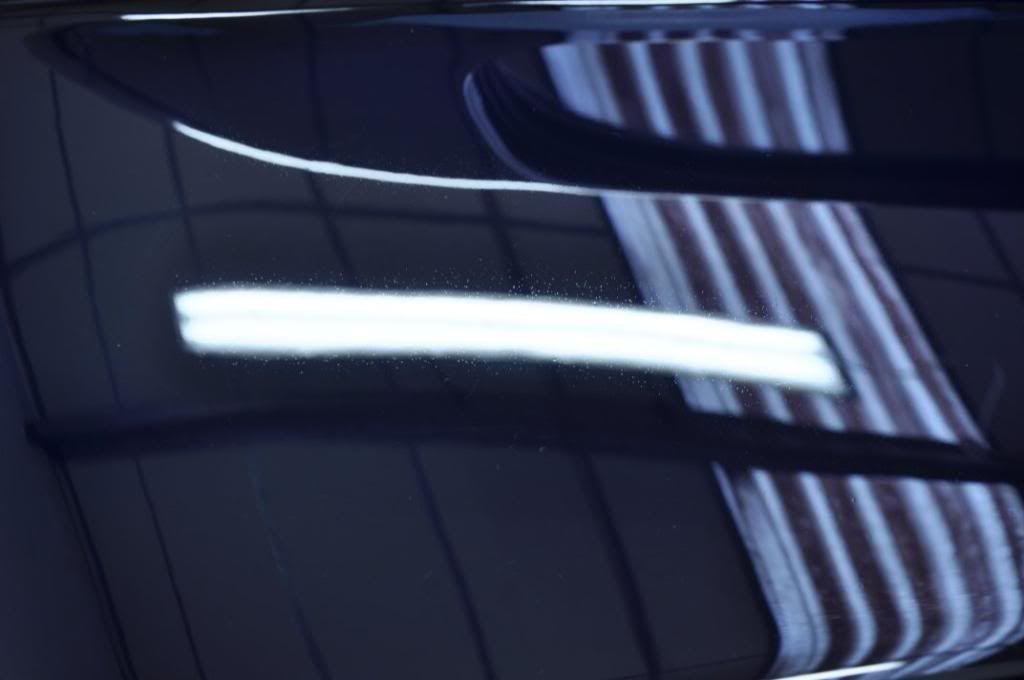
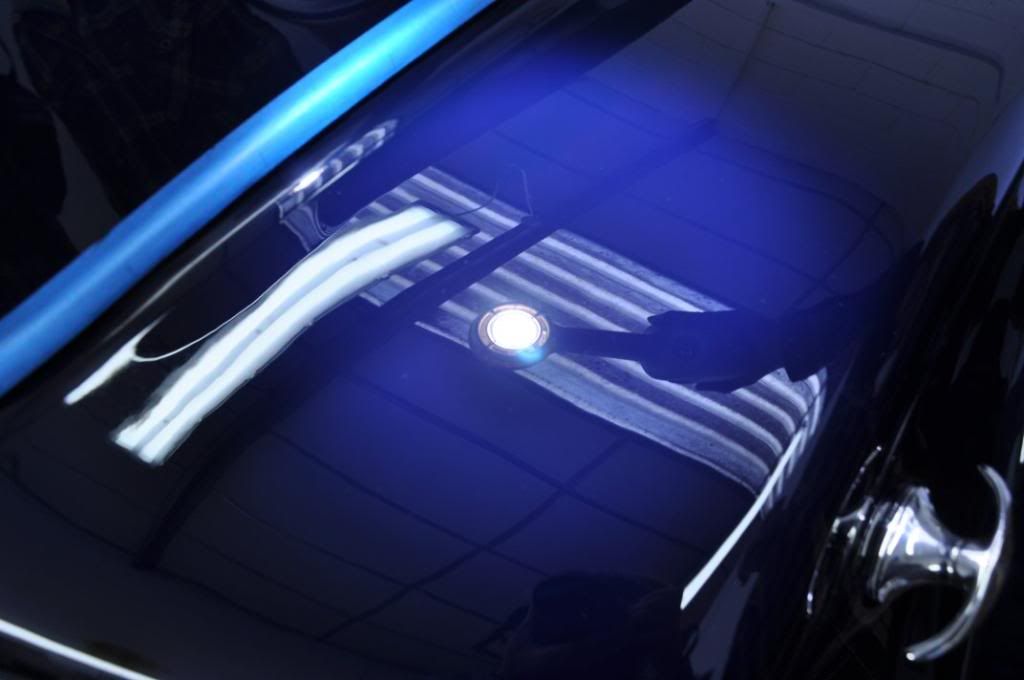
Based on the above findings, it was decided to step the abrasive level up a notch - Menzerna PO85RD3.02 Intensive Polish was applied, using a 3M Yellow Waffle polishing pad, and the same Zenith point technique as above. This resulted in the following results...
Note the improvement now in the level of pitting that is seen - this method had achieved better correction, but at what cost? Paint thickness had now dropped to 128.8um... a lower drop than for Final Finish which you might think is very strange, but going on recent experience I find this to be quite normal - initial layers of paint seem much softer, perhaps due to UV degredation, leading to a hardness gradient across the paint finish. Panel temperature this time was a consistent 58.6degC during the set, hot to the touch.
Given the results achieve with the first IP effort, a second set of Intensive Polish was then used, and this led to the following results...

Less of an improvement now, and as you can see from the thickness of 128.2um, the paint level drop is now very low - we are into harder paint. Panel temp for the second set was lower though, 48.8degC, but with the same methods which point to the harder paint running a bit cooler during machining which in turn may also be affecting the removal rates and overall correction.
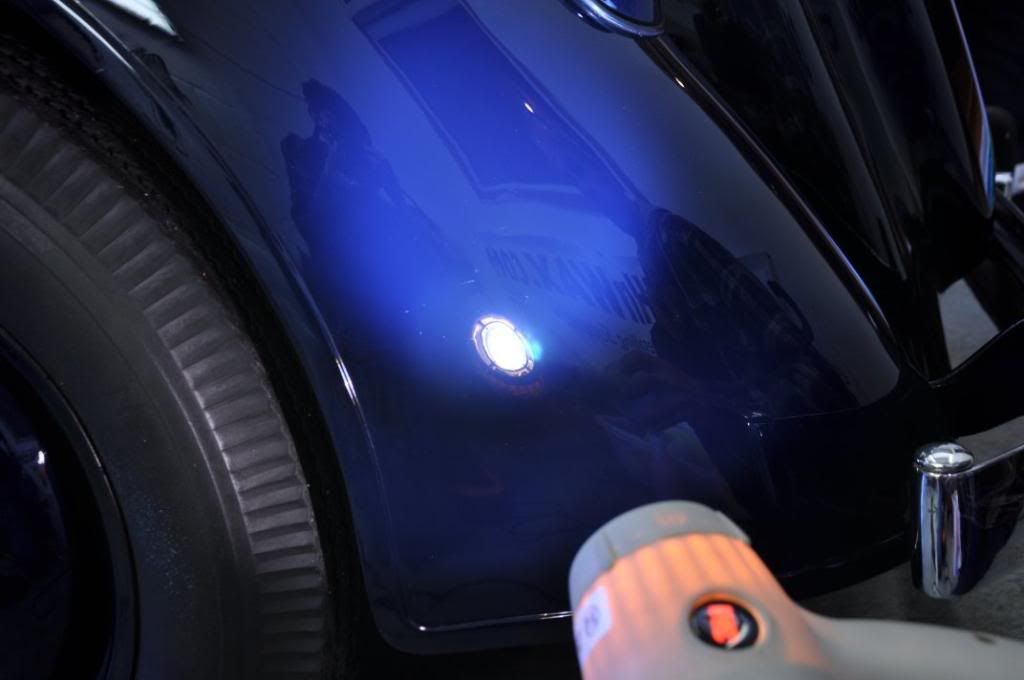
Now, time for careful assessment - two hits of IP get good correction, but still not great... and runs into harder paint, where it begins to struggle. We decided to trial Fast Cut Plus, upping the cut level as assess if there were safe benefits to be had. 3M Fast Cut Plus was applied using a 3M Orange Waffle Pad, drop of Ultrafina to lengthen work time, using a "Correction hit" technique as follows:
This achieved the following results...

Definitely getting somewhere now. Thickness drop to 125.6um show not a huge amount of paint removed, but still notable. Panel temp maximum of 60.3degC during the set.
Given we were on a thicker region of paint, we repeated with another hit of Fast Cut, as above, to achieve:
Paint thickness of 126.7um (up!!! gauge reading error - see later ), panel temp maximum of 62.5degC.
FC+ third time (you may be wondering why I didn't move to more aggressive, wool, wet sand - the reason is FC+ was giving an improvement every time but with controlled depth removal, in this case multiple small level removal hits were preferred to one heavy removal hit!)
Better still... Paint thickness of 125.3, max temp of 61.4degC.
Fourth FC+ hit, slightly different and more aggressive this time, using an adaptation of the above technique to attain a bit more from the abarsive - slower machine movements with firm head pressure at the working stage and we get the following results...
Paint thickness was now 122.3um, and a max temp of 74.1degC reflecting the increased aggression of this technique. Now we are seeing much more significant paint losses overall, it was decided that the above level of correction was good and achieved safely but to chase any remaining marks would be beginning to compromise the paintwork itself.
So we then proceeded with a two stage refinement, first with Intensive Polish applied using the Zenith Point technique above to achieve the following:

Depth reading of 122.6um, max temp of 54.1degC.
Final finish refinement carried out using Menzerna PO85RD Final Finish, 3M Blue Waffle pad and the Zenith point method, with extra burnishing passes at 900rpm to ensure the best possible clarity in the finish...
The final paint readings - 122.5um. Max set temp (consistent over the set) of 46.1degC.
As you can see, there are still the odd marks in the paint, but a massive improvement and achieved in a safe and controlled manner here. Softly softly (yes, FC+ is softly softly here) was the name of the game.
The graph below shows the removal rate, paint readings attained from average spot measurment shown below (vertical bars representing reading error from gauage, which is why when the removal is low, you can see the paint level seem to go up rather than down!):

This indicates the gradient of hardness across the paint also.
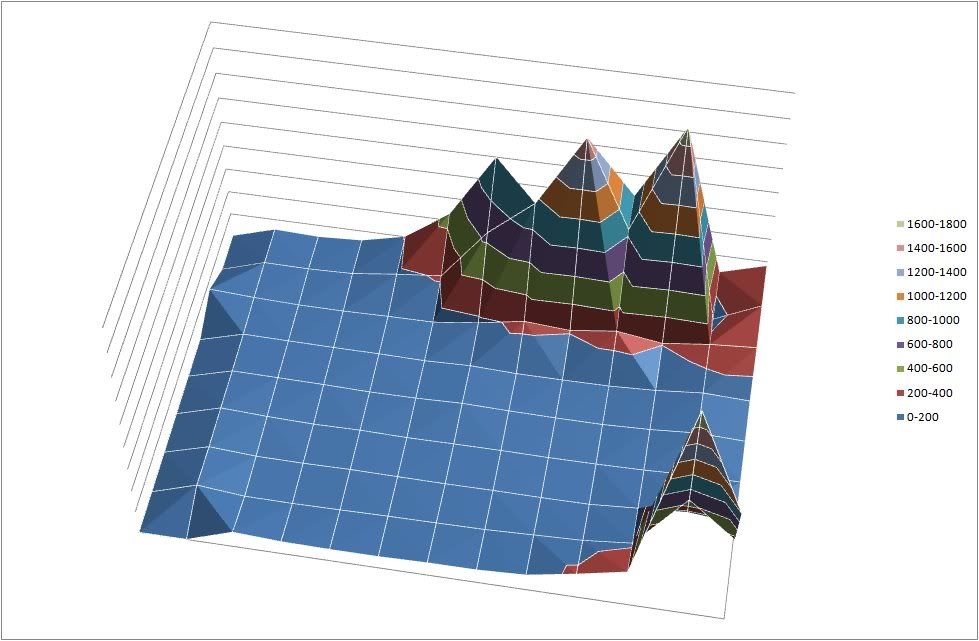
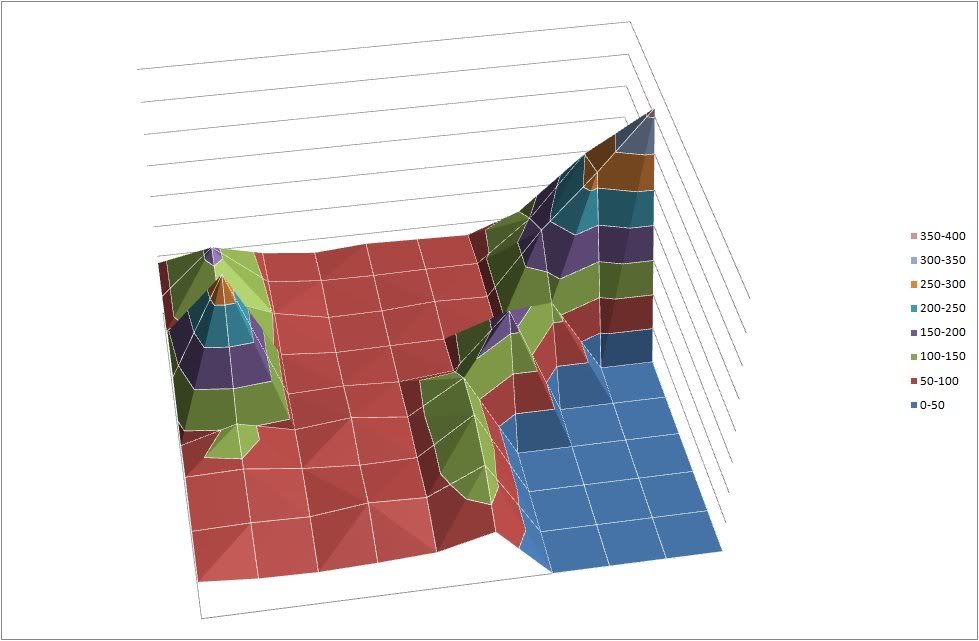
The 3d map below shows the paint thicknesses after the whole bonnet corrected, thin regions at the front receiving only one hit of FC+ owing to thicknesses...
You can see the red region has grown and spread, indicating an overall lowering of the paint thickness across the panel - seeing this happen in 3d like this really brings home exactly what your paint correction is actually doing!
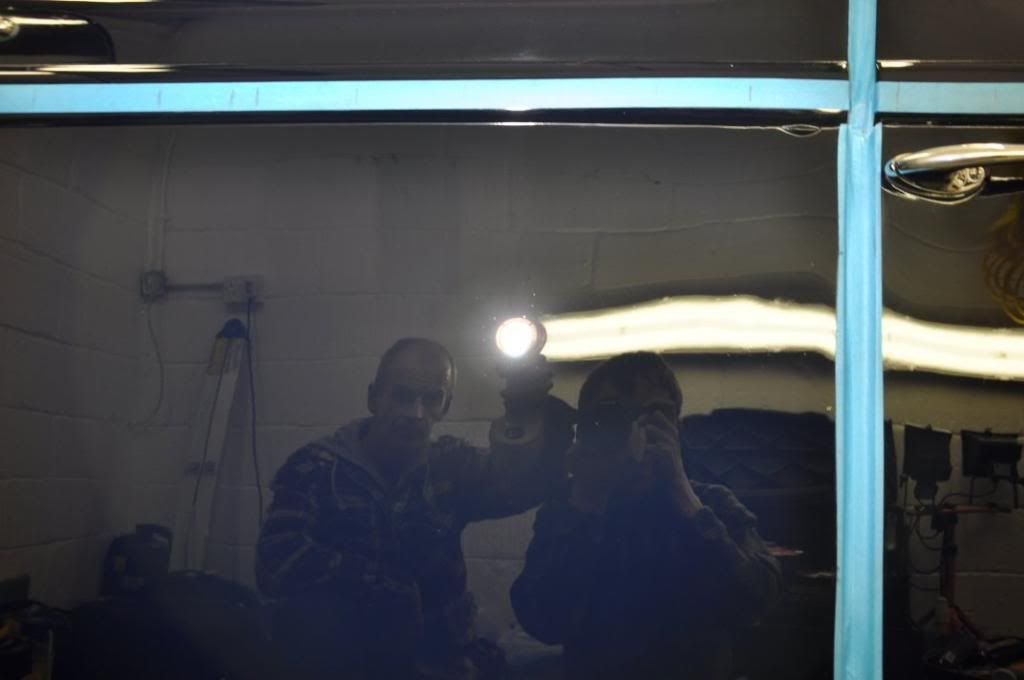
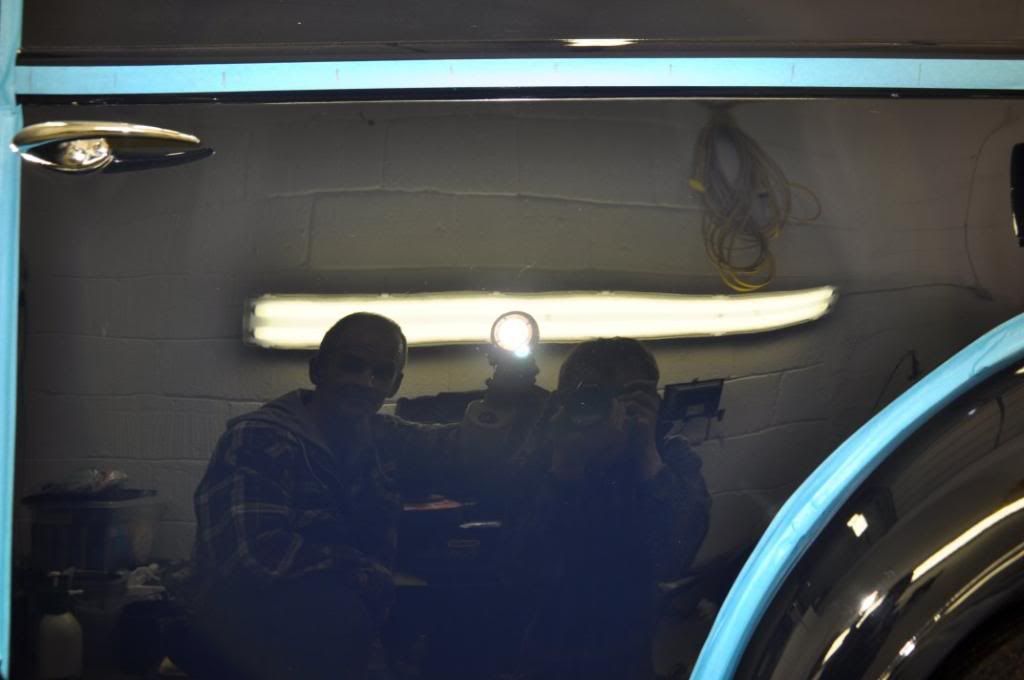
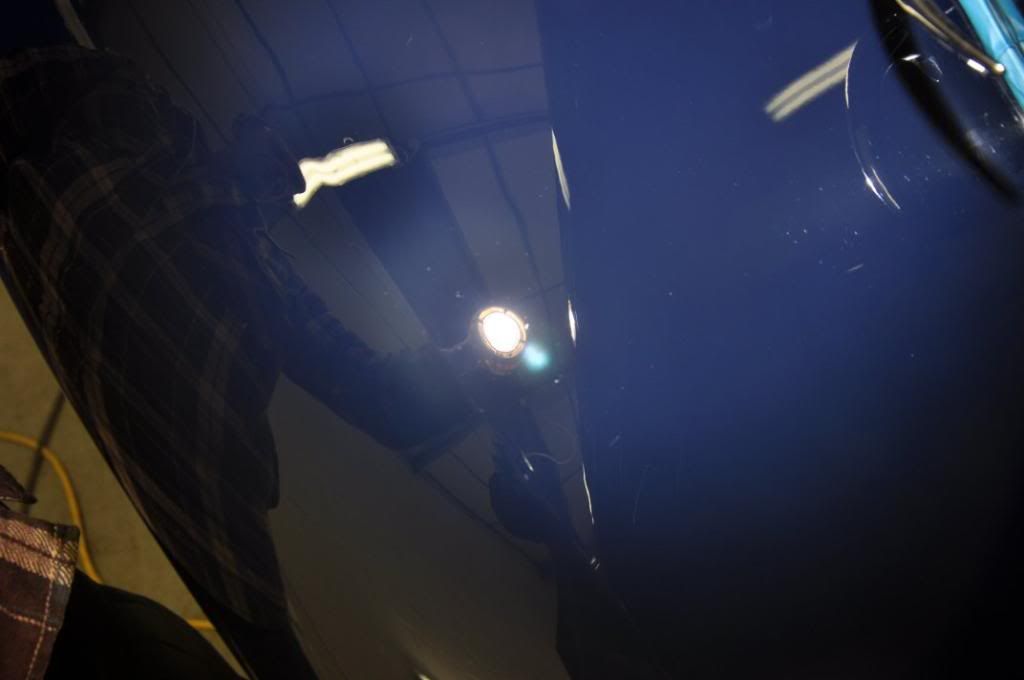
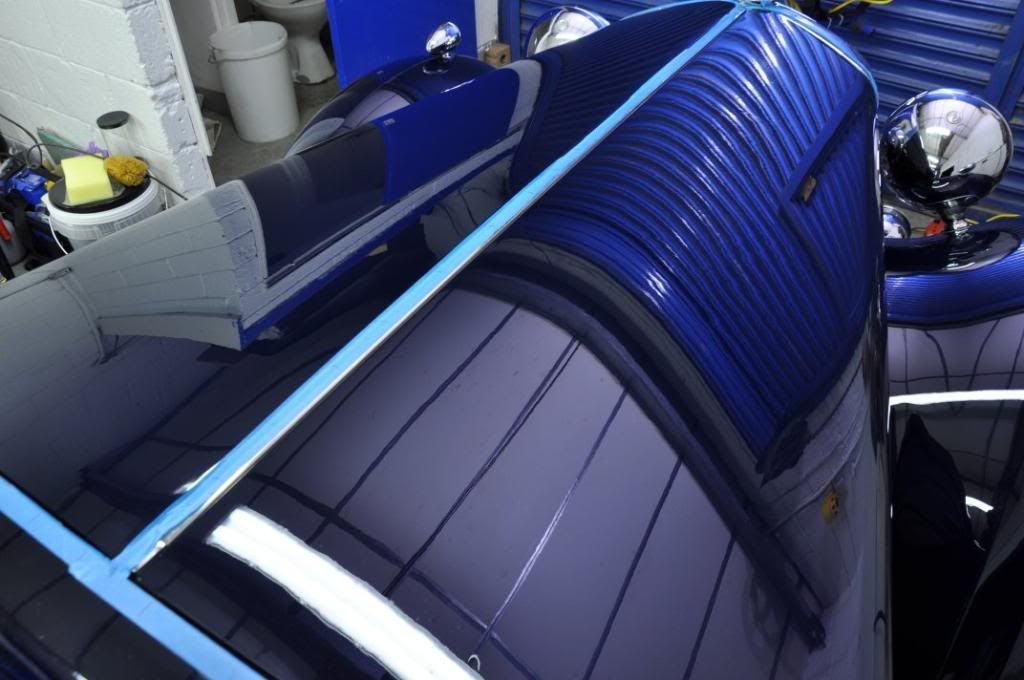
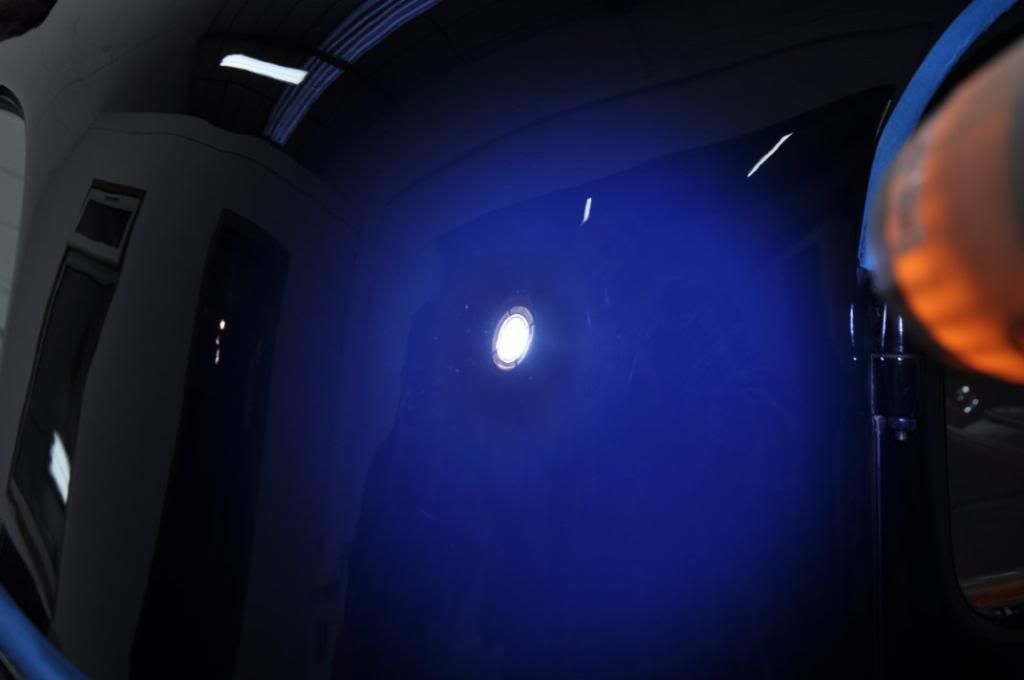
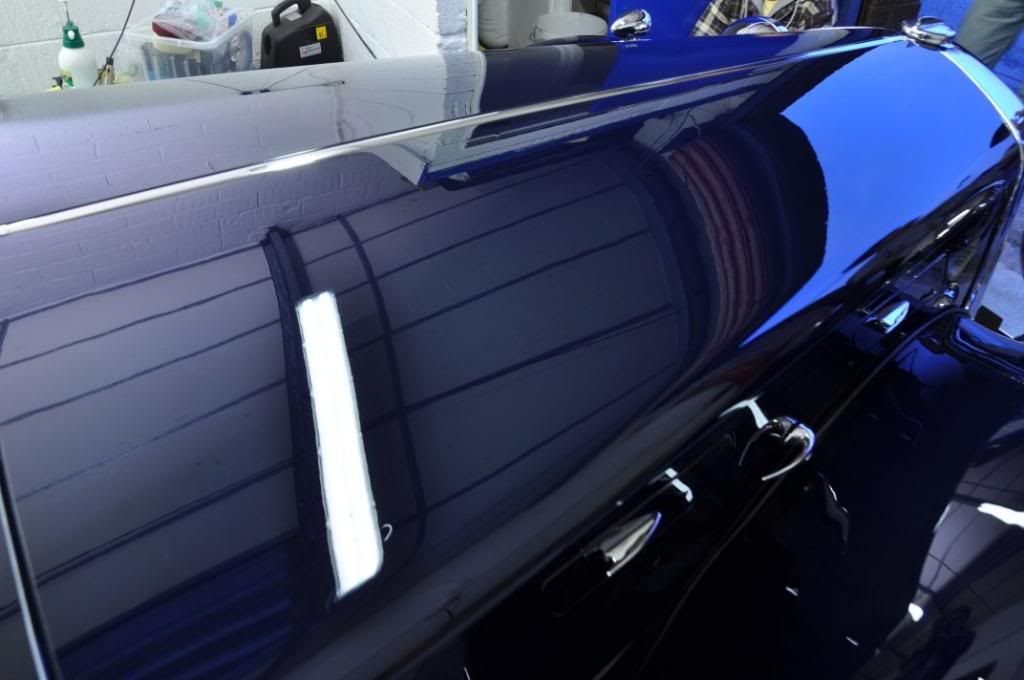
The end results on this section under the Sun Gun for assessment:

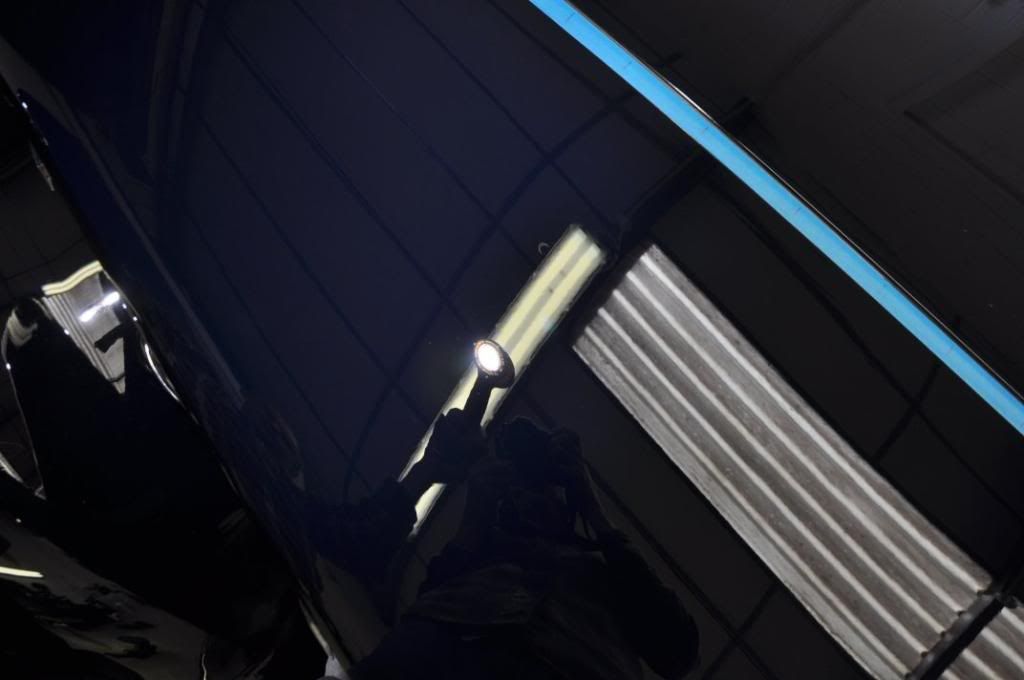
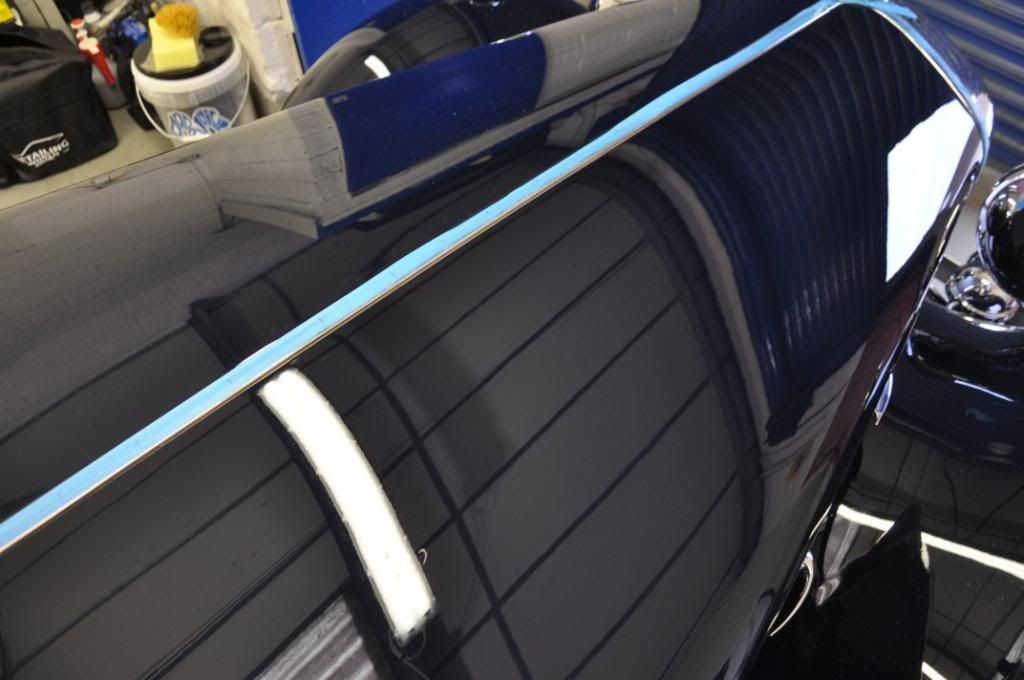
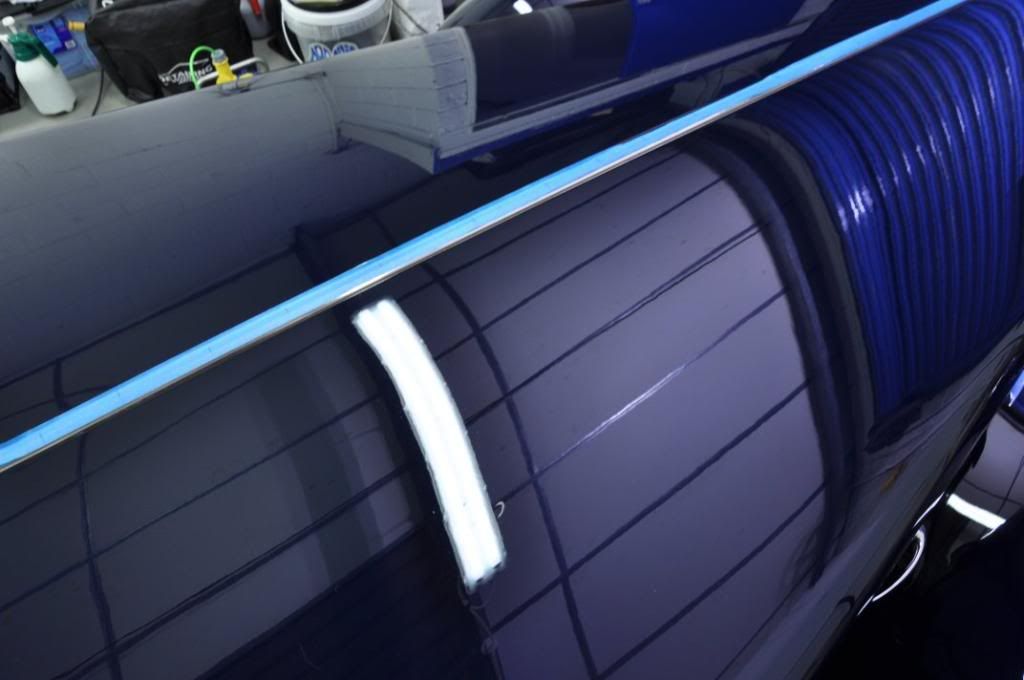
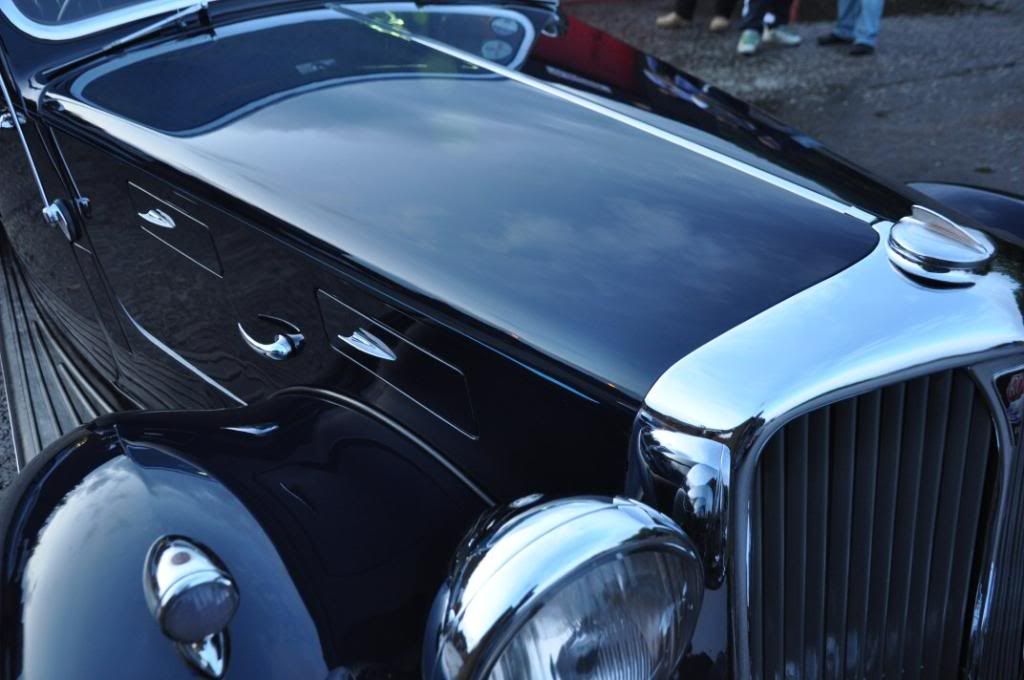
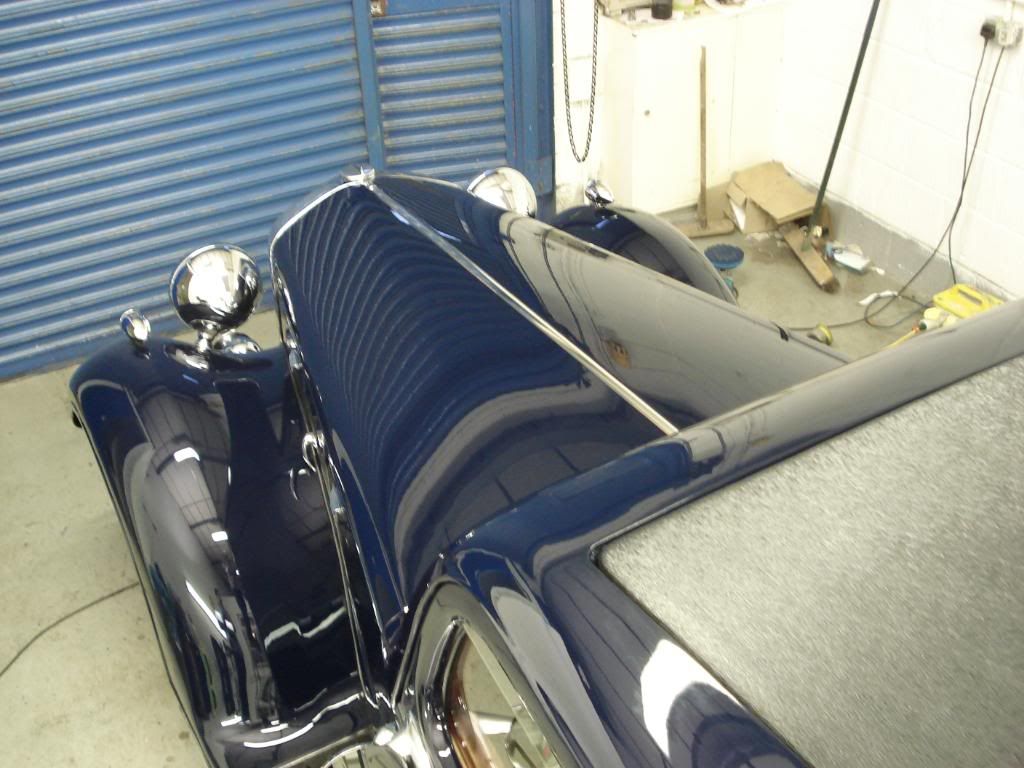
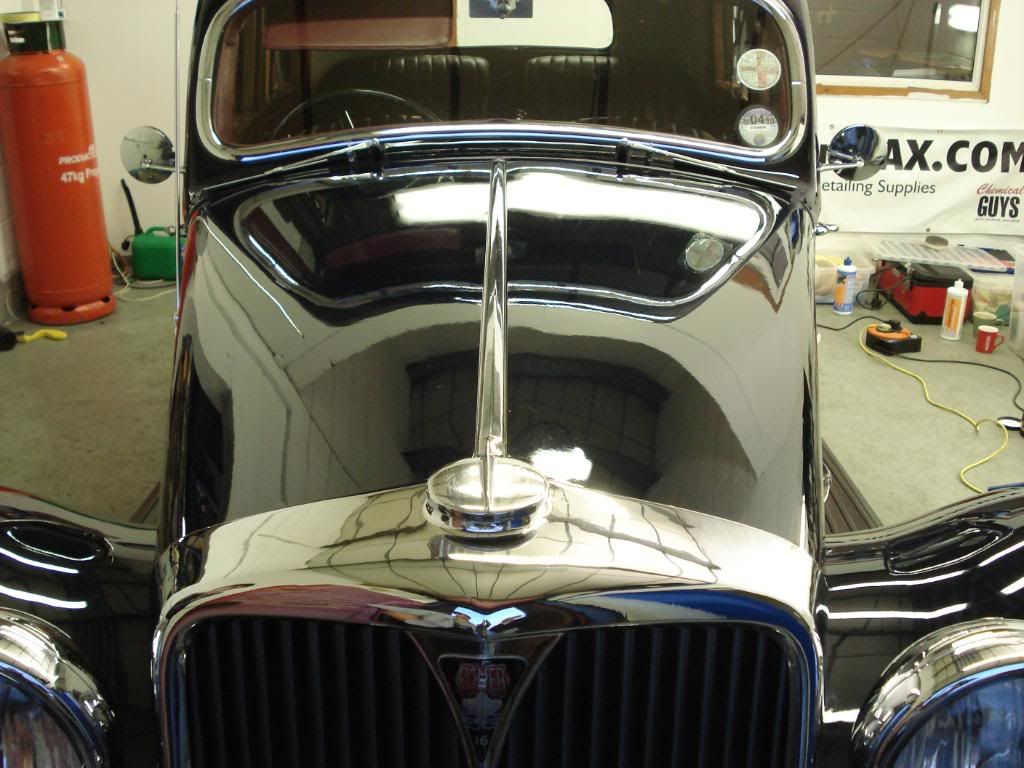
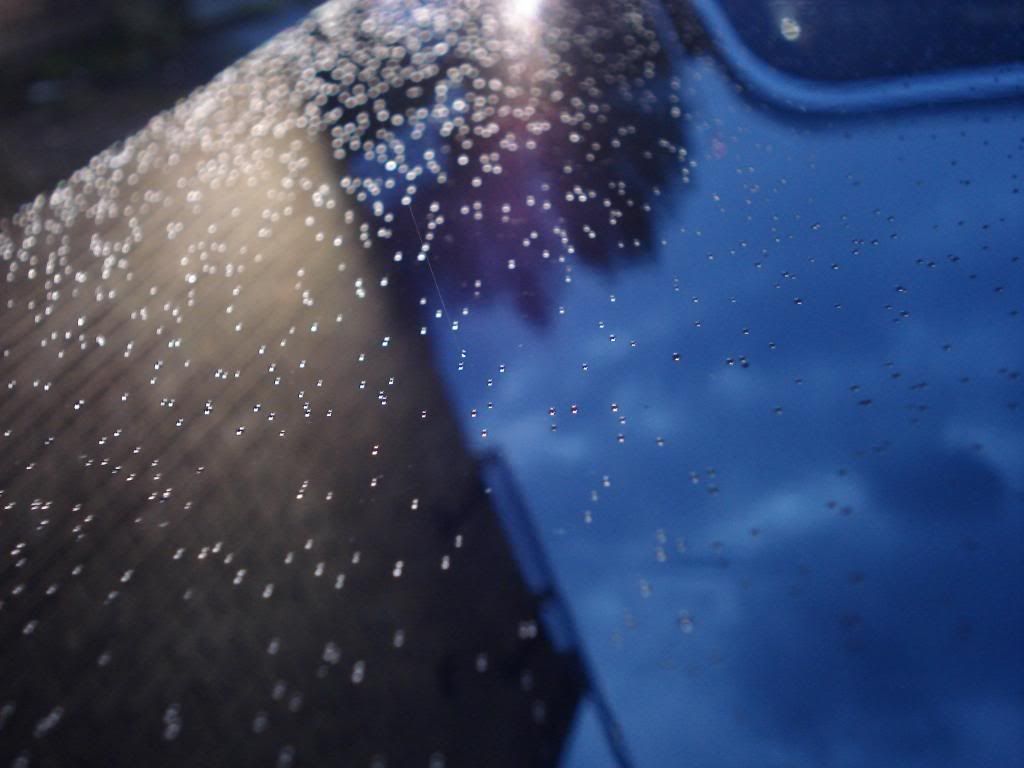
I was loving the depth this paint had in the garage...

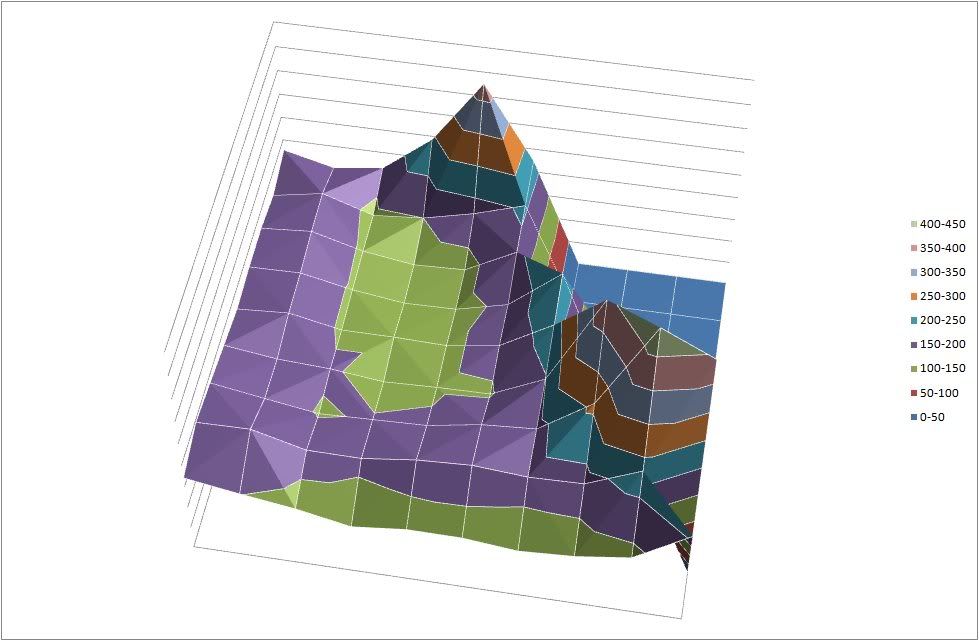
Right - next section!! Driver's side of the bonnet. 3d map of the paint before...
Already looking good in the befores...
But you can see the pin pricks under the garage and Sun Gun, a few light swirls as well...
Correction here was achieved using 3M Fast Cut Plus, one or two hits depending on requirements and paint depths, followed with Intensive Polish to first refine, and Final Finish to burnish. 3d map of thicknesses after the machine polishing, you can again see the overall drop in paint level...
The end results under the Sun Gun and strip lighting show a massive improvement again to the overall finish with big reductions in the pin pricks...

Gotta love this bonnet - why dont they make cars like this today??
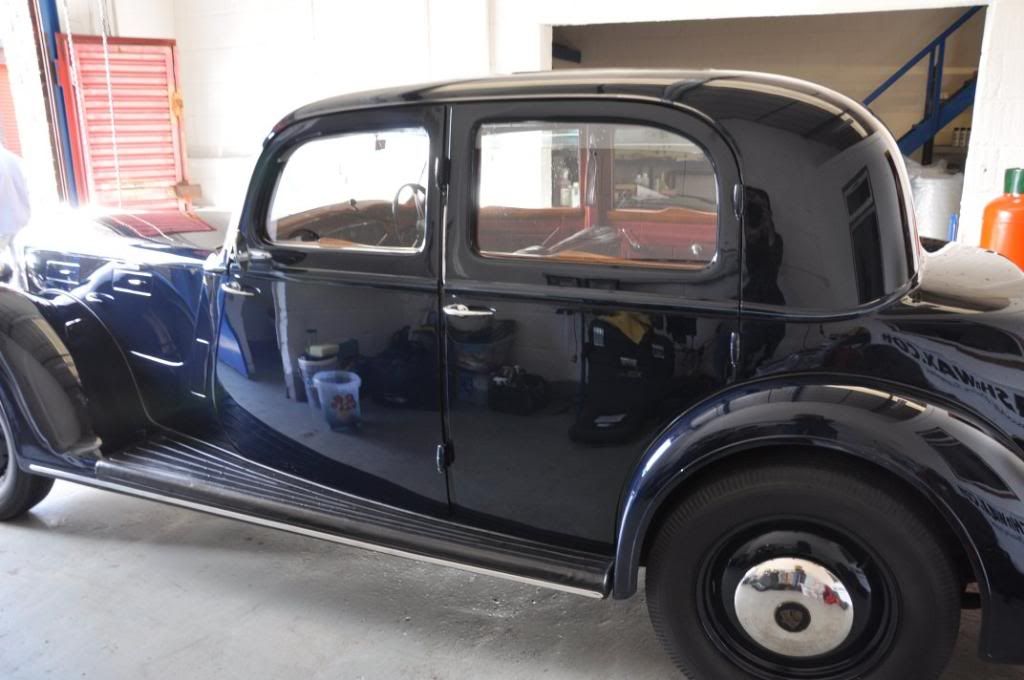
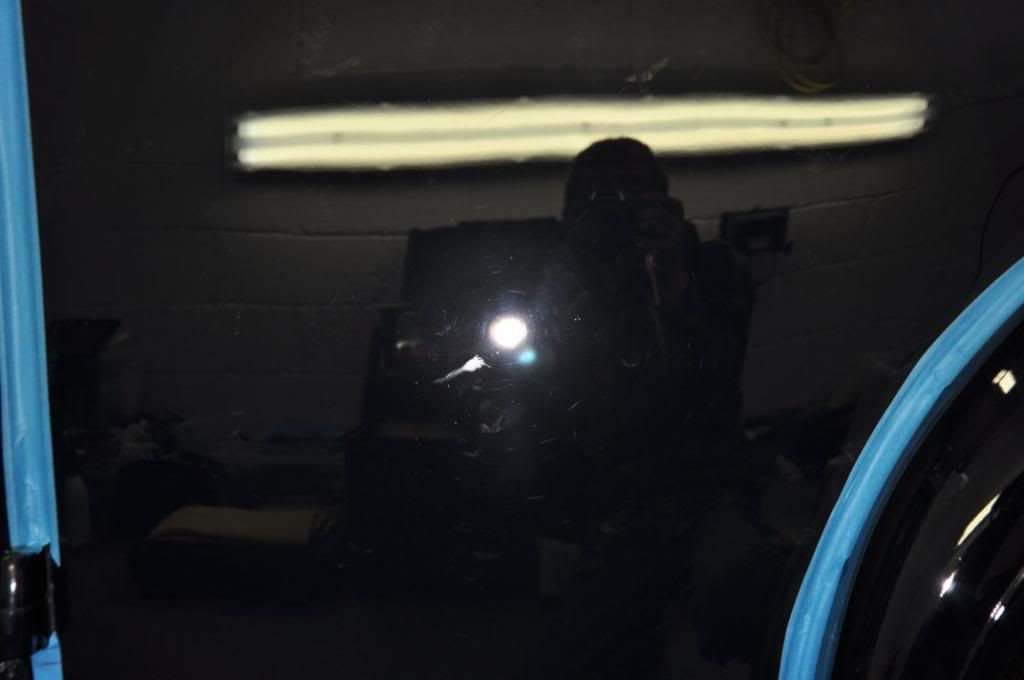
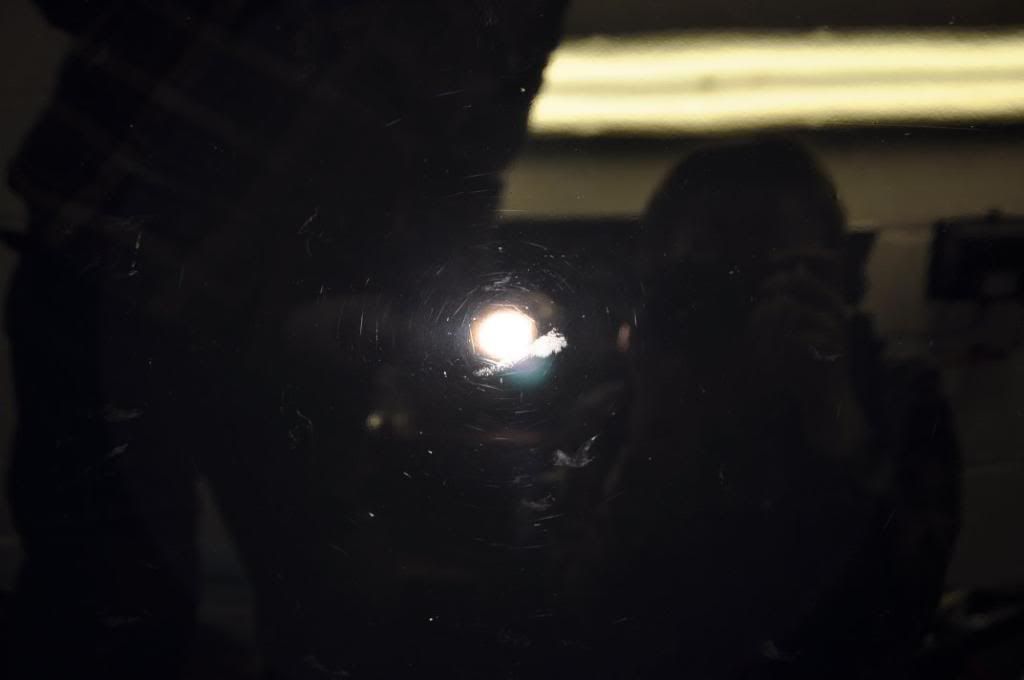
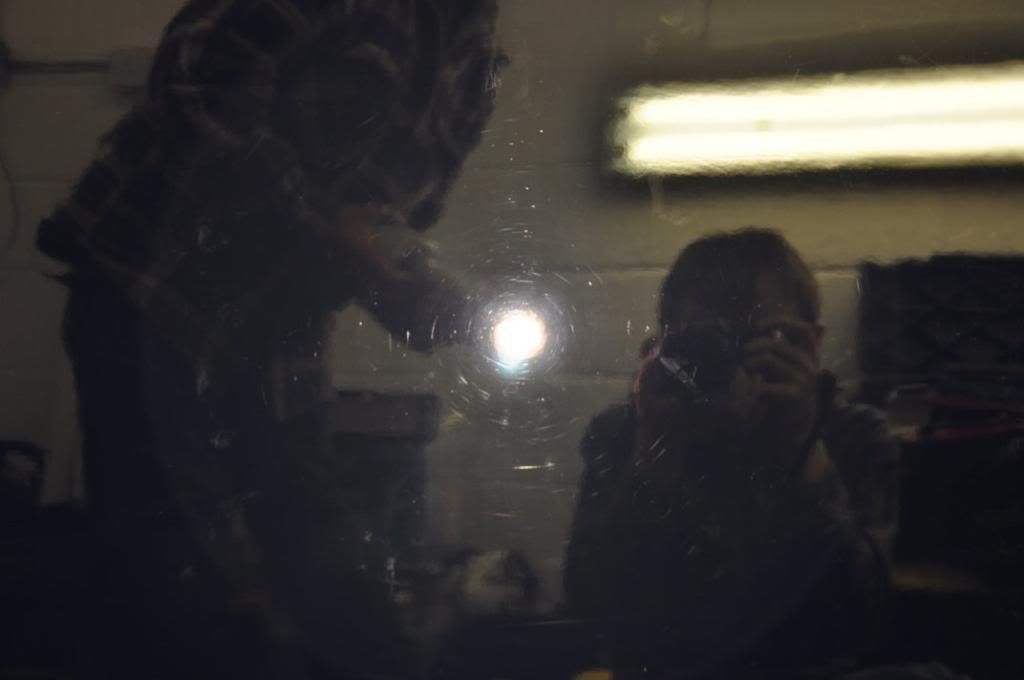
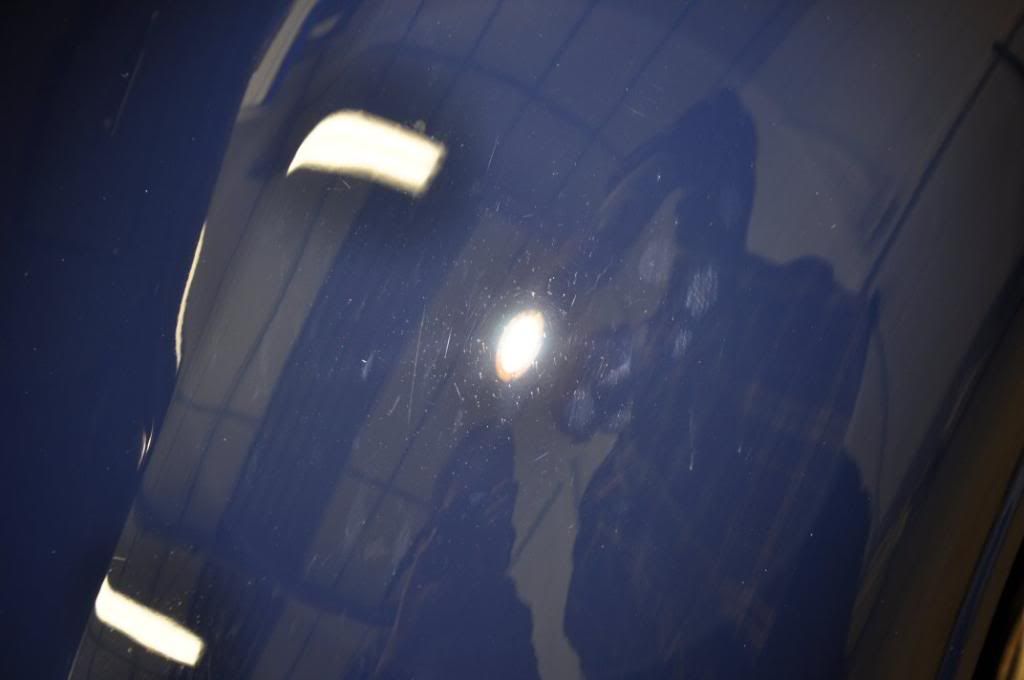
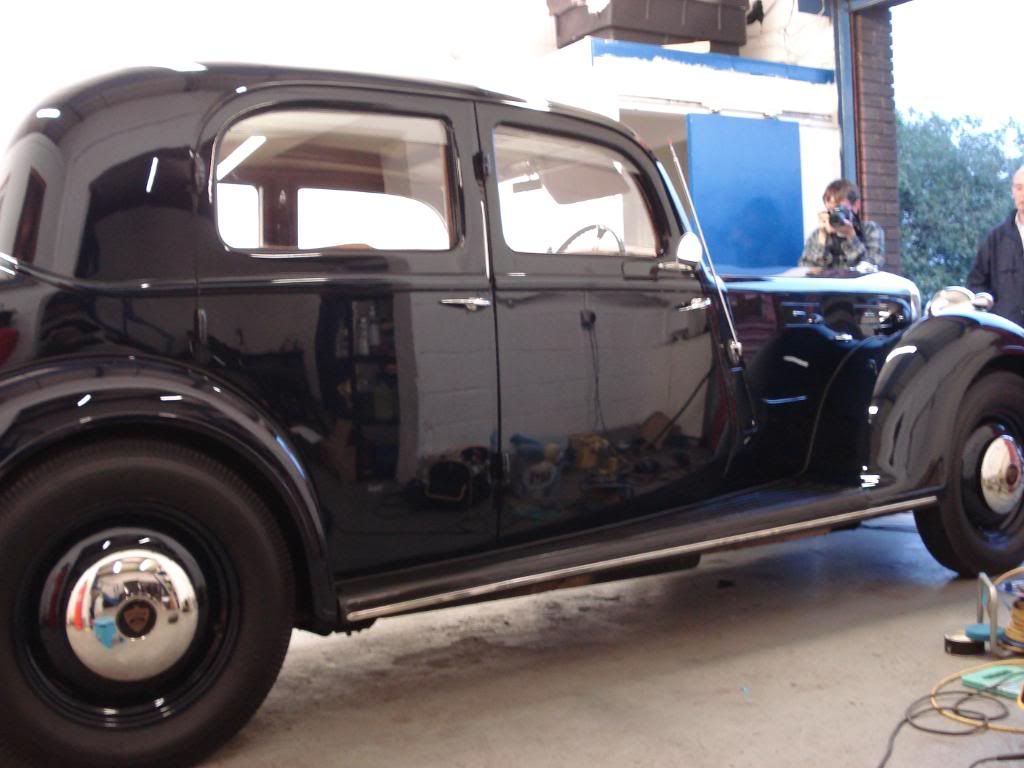
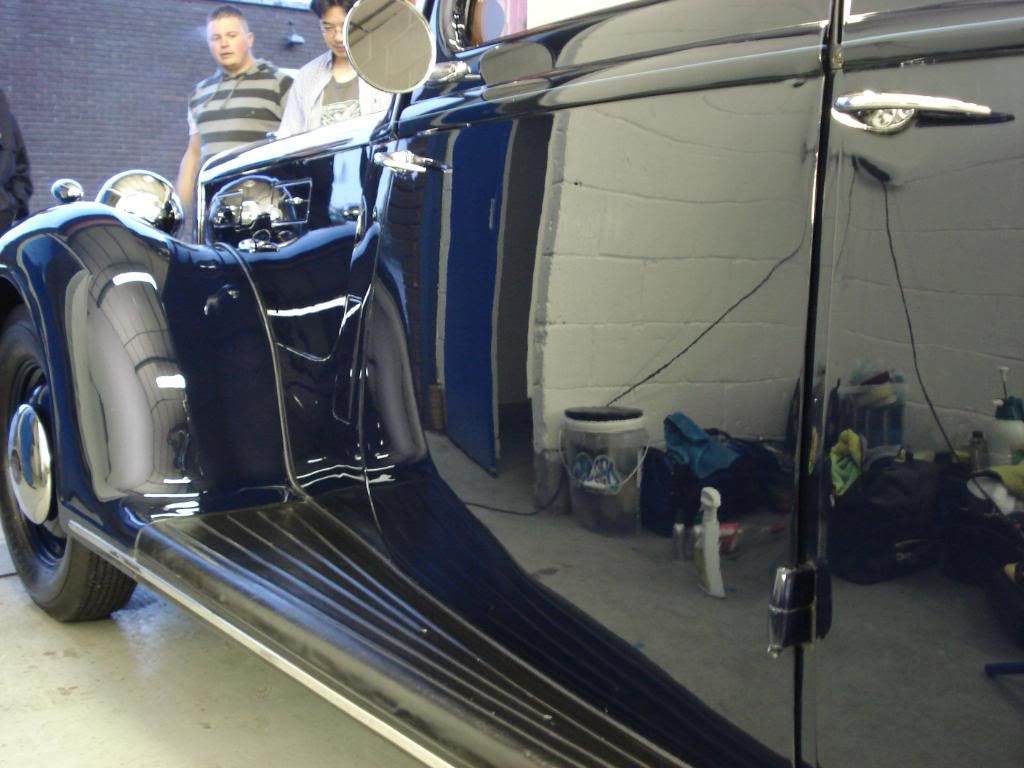
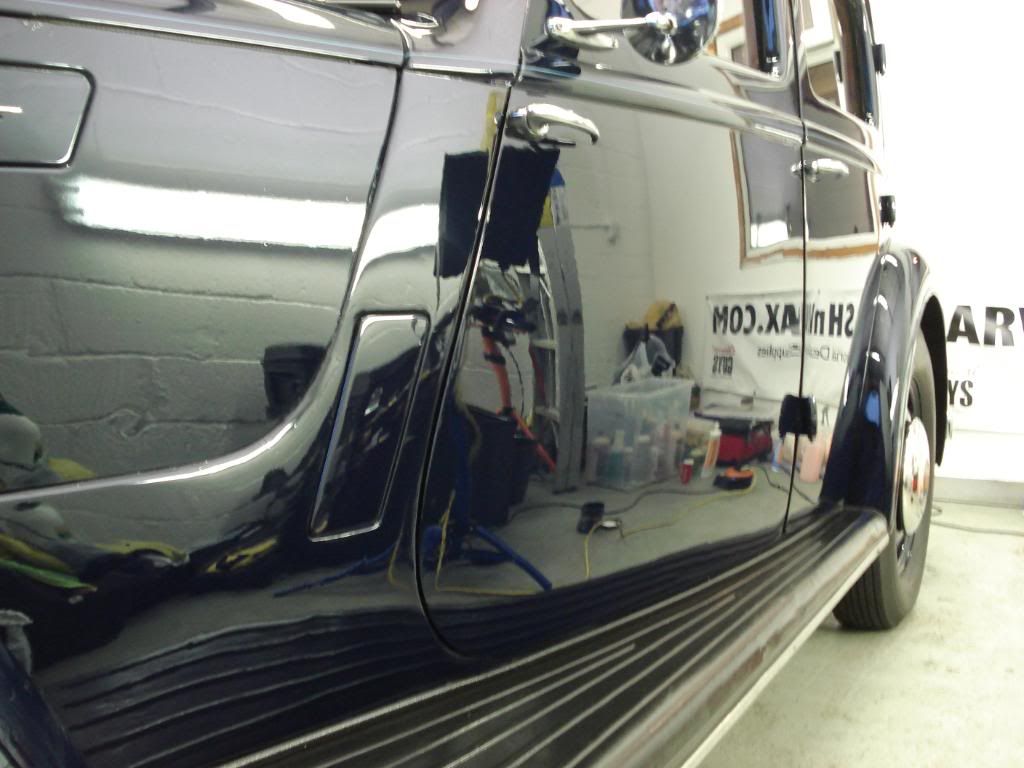
Onto the side of the car now, we can see the before pictures on the doors - less in the way of the pin pricks, as the vertical panels seemed largely unaffected... a few swirls and a bit of hazing though:
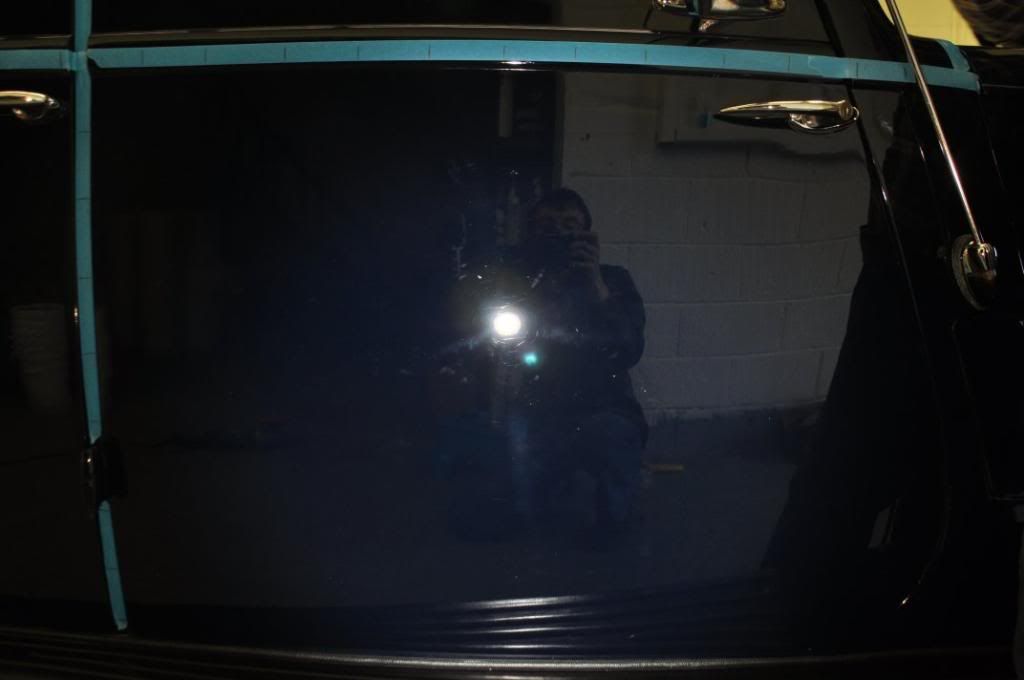

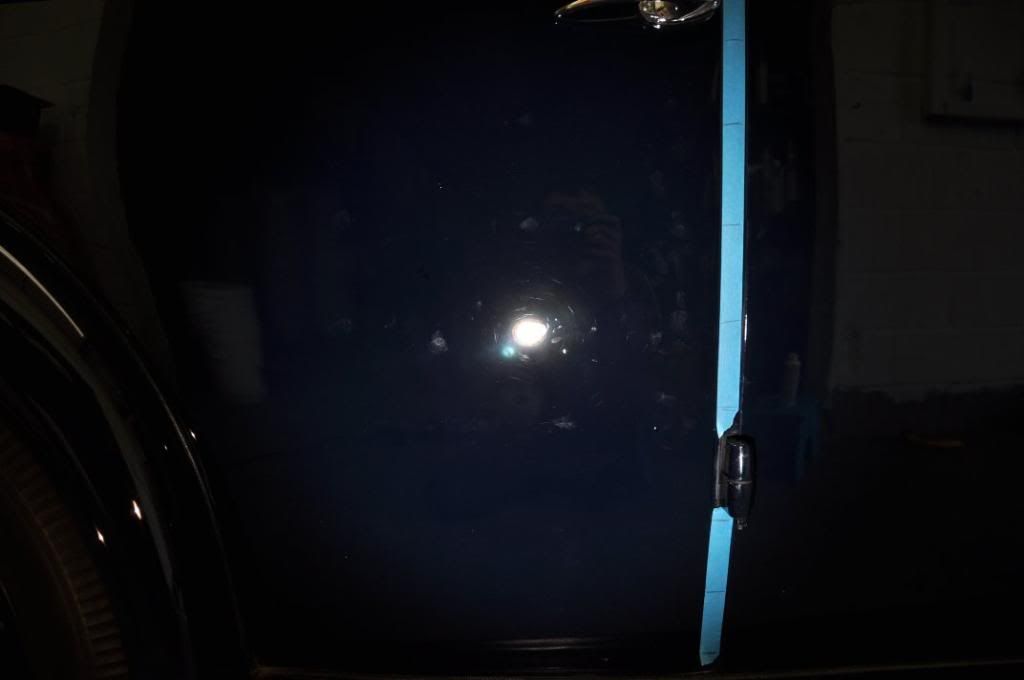
Maps of the front and back doors respectively before correction:
Note - thick regions and thin regions here, the middles of the doors showing much lower readings - care to be taken here.
Correction this time was Intensive Polish, using a regenerating technique to lengthen its lifetime as follows:
The finish was then refined using Menzerna Final Finish PO85RD, using the Zenith Point method above. The maps of the paint thicknesses after:
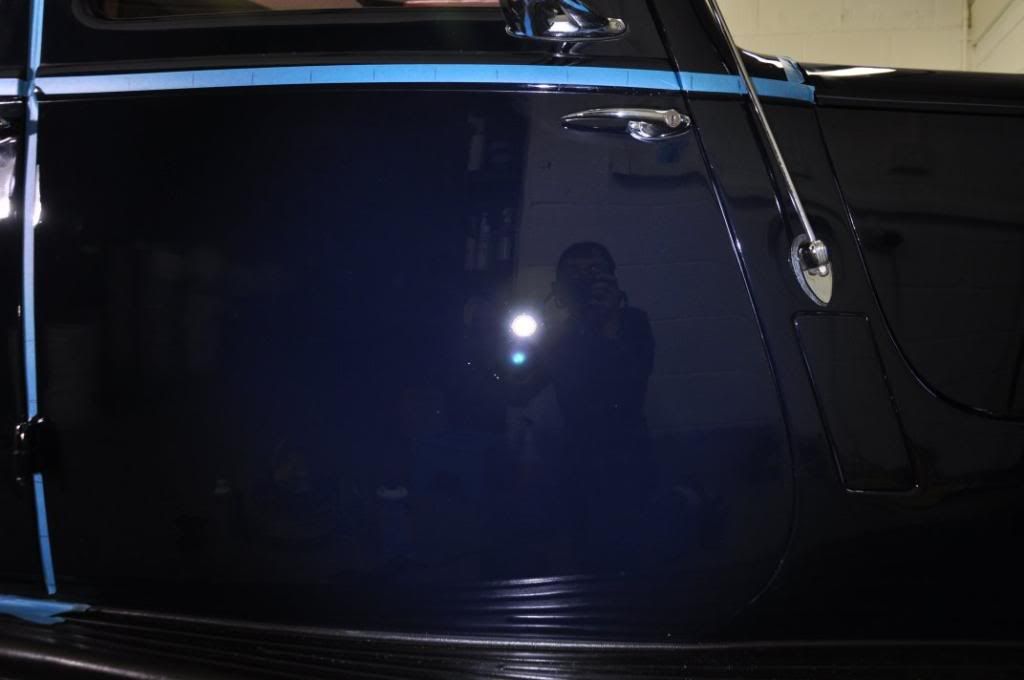
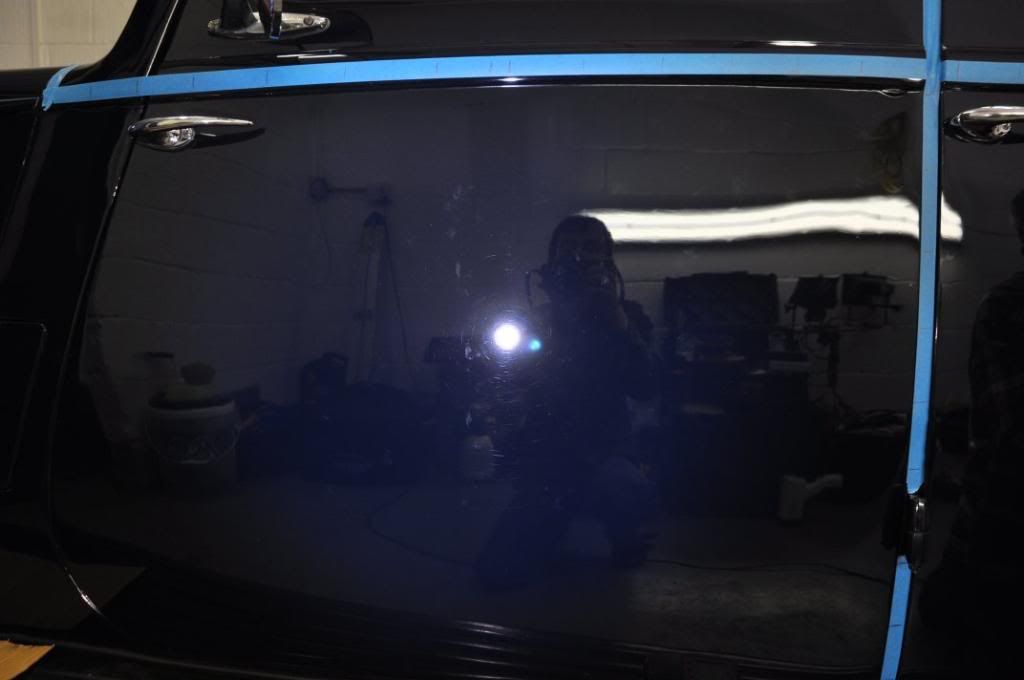
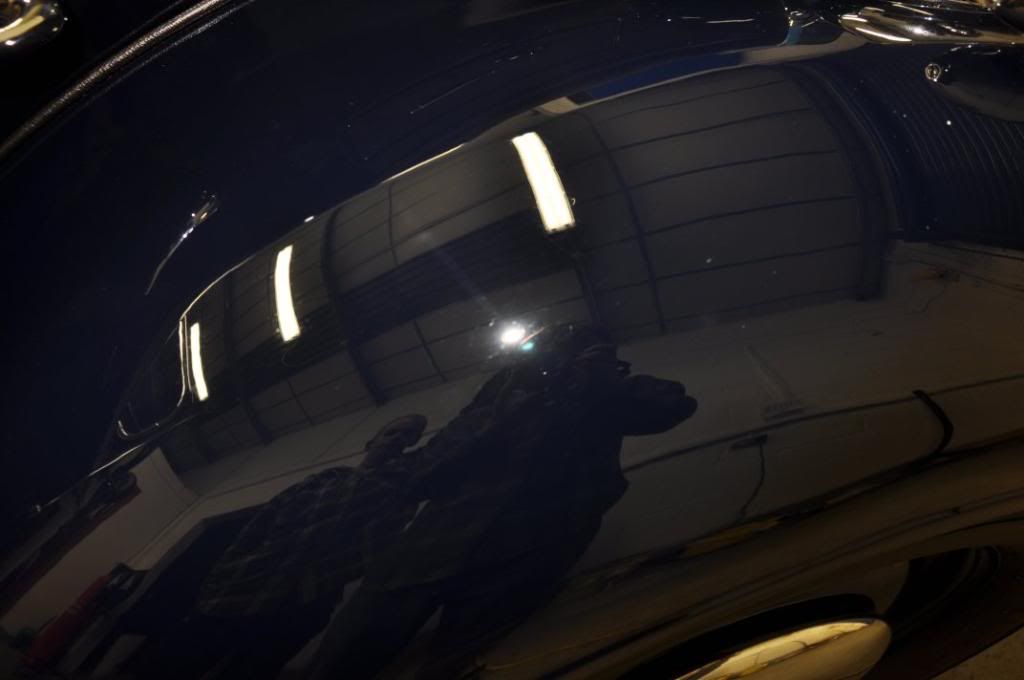
And the after results...
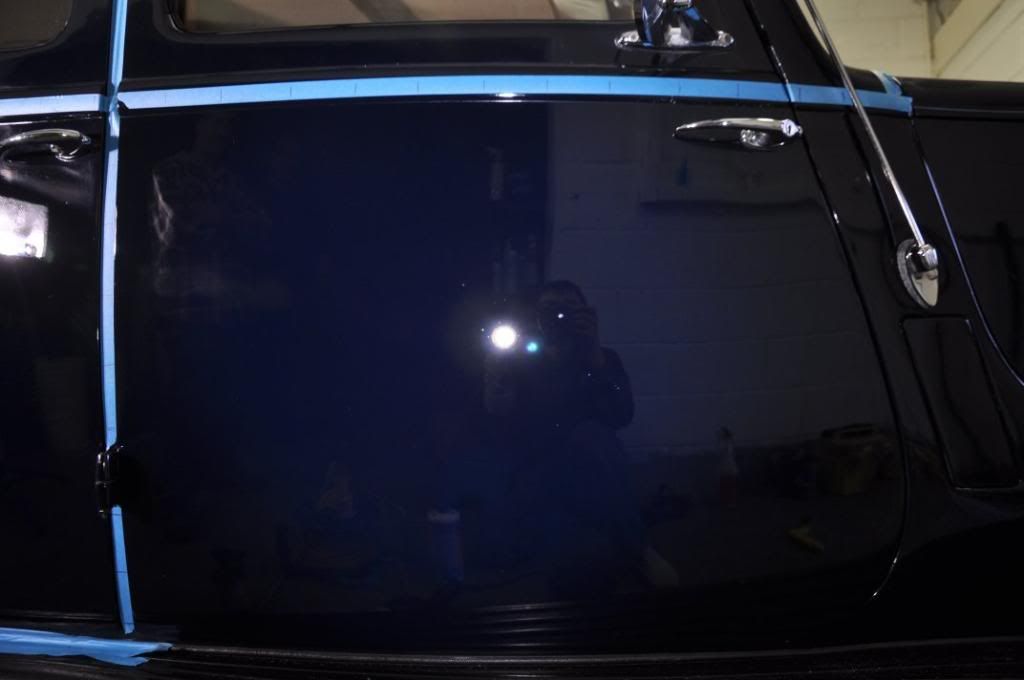
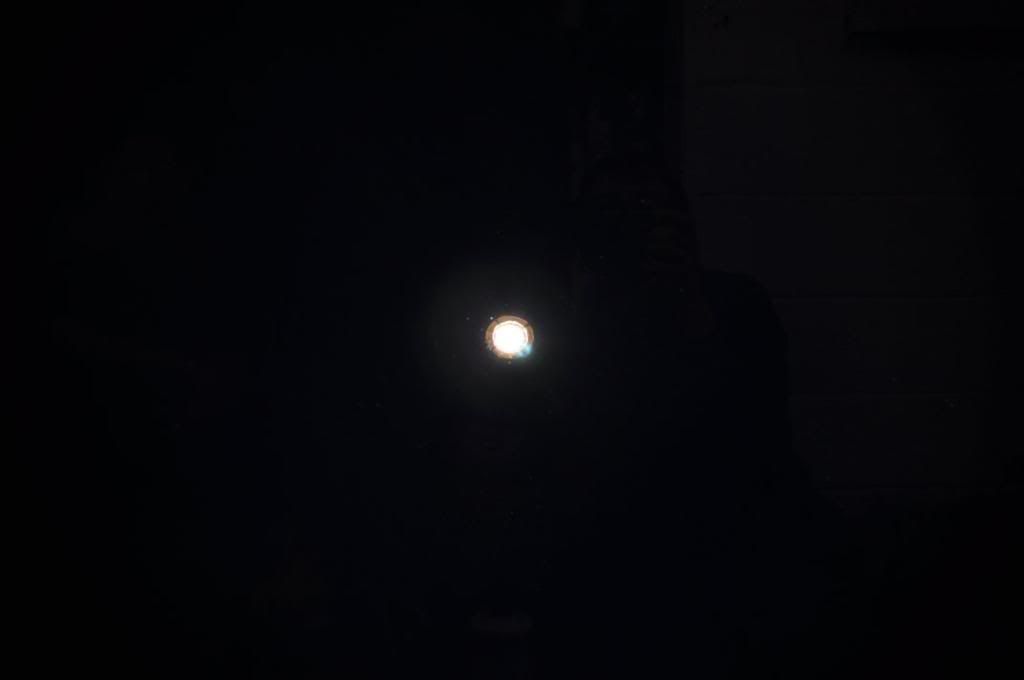
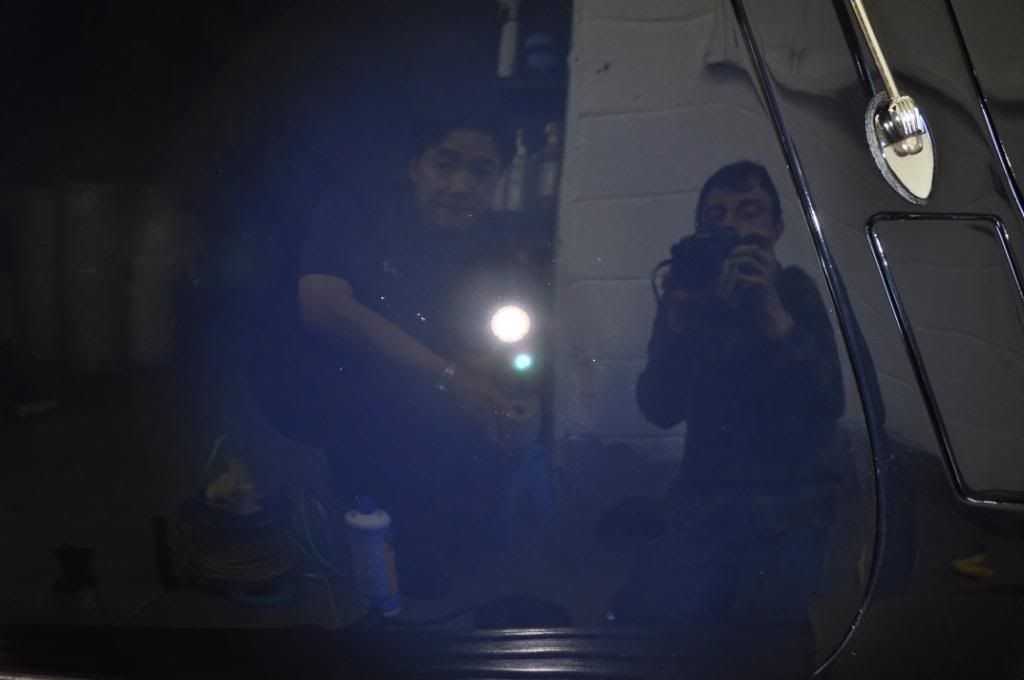
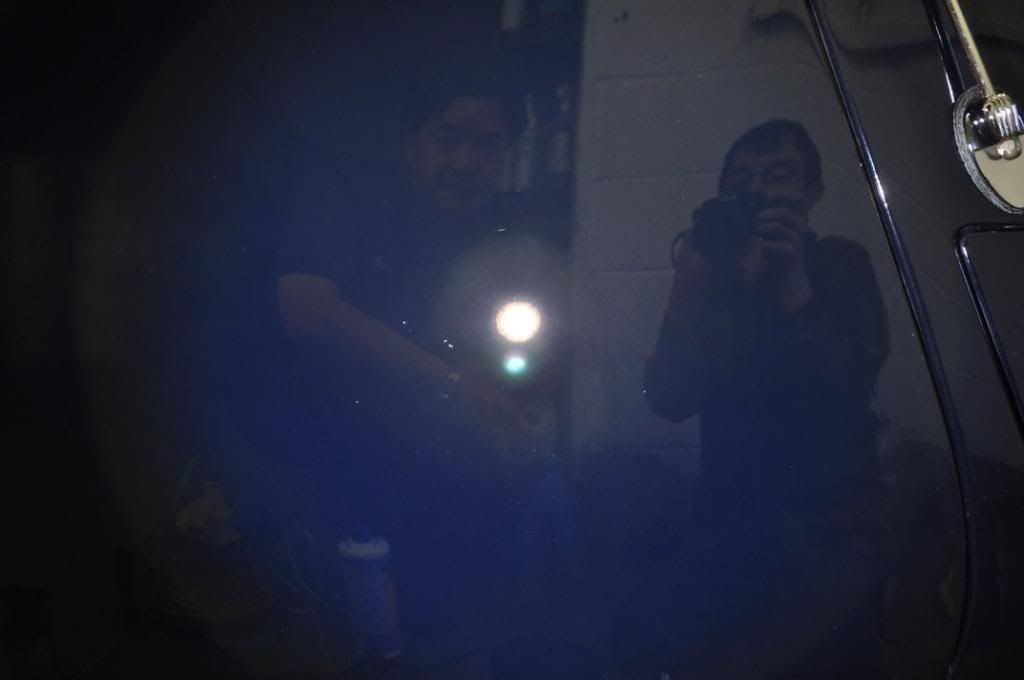
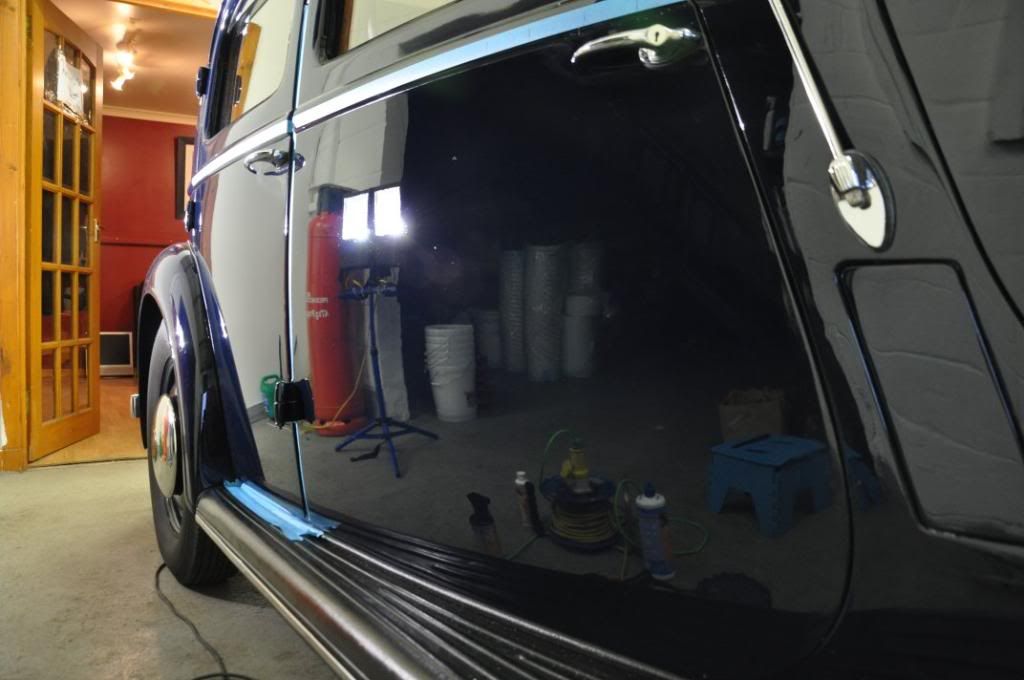
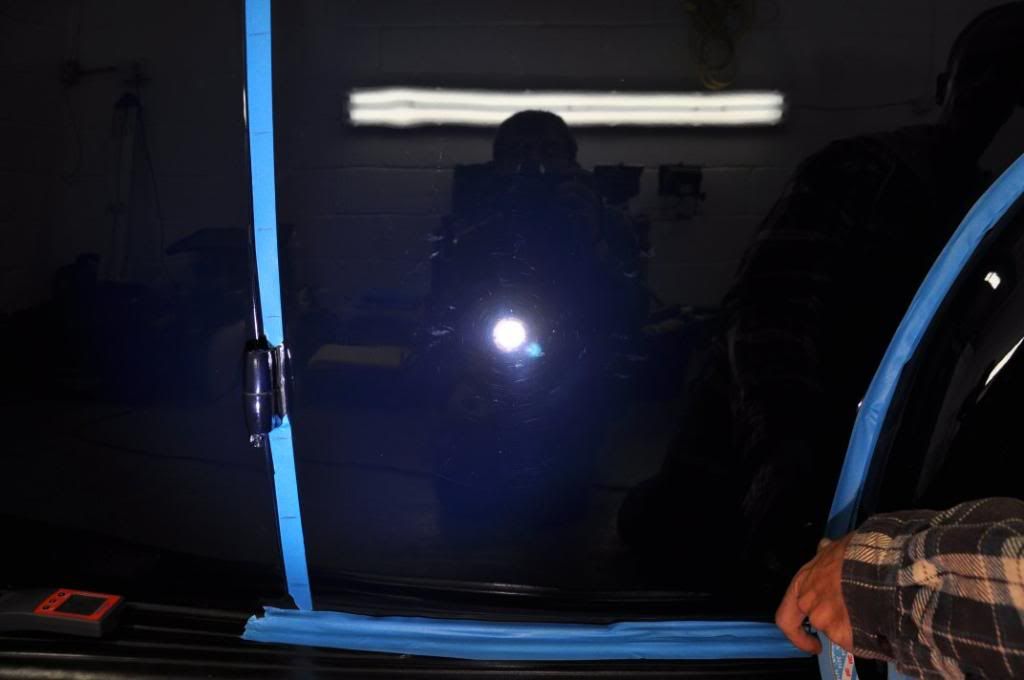
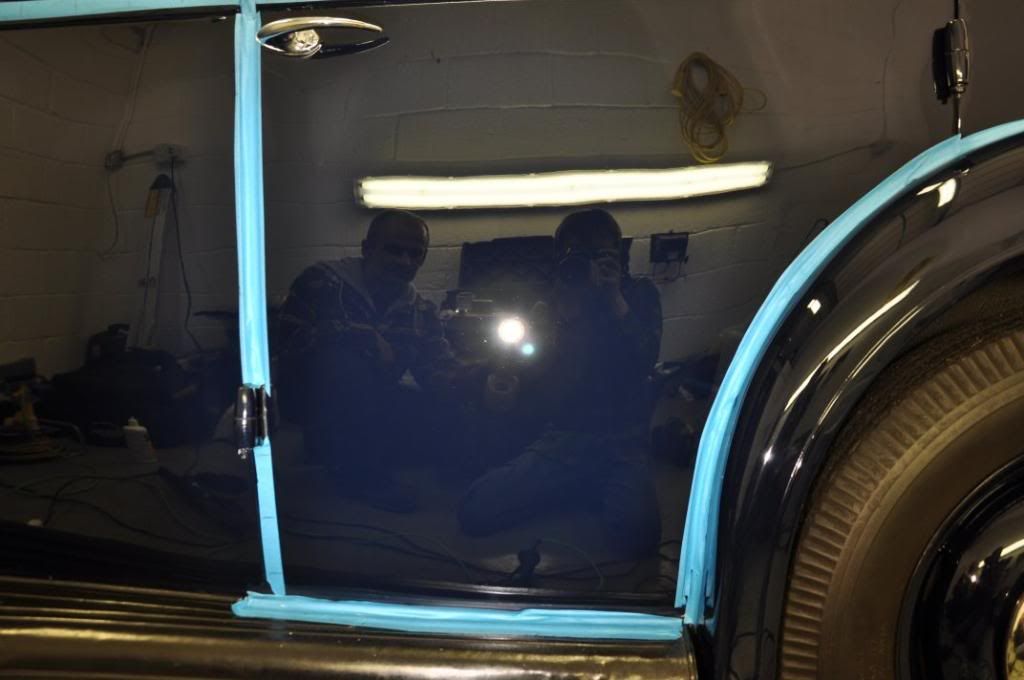
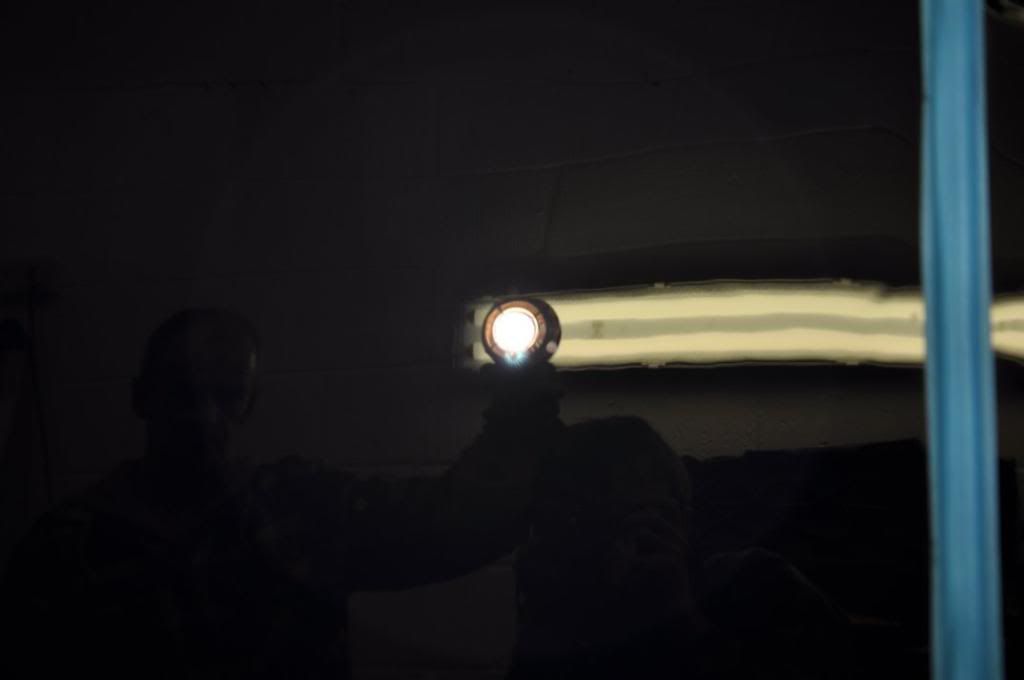
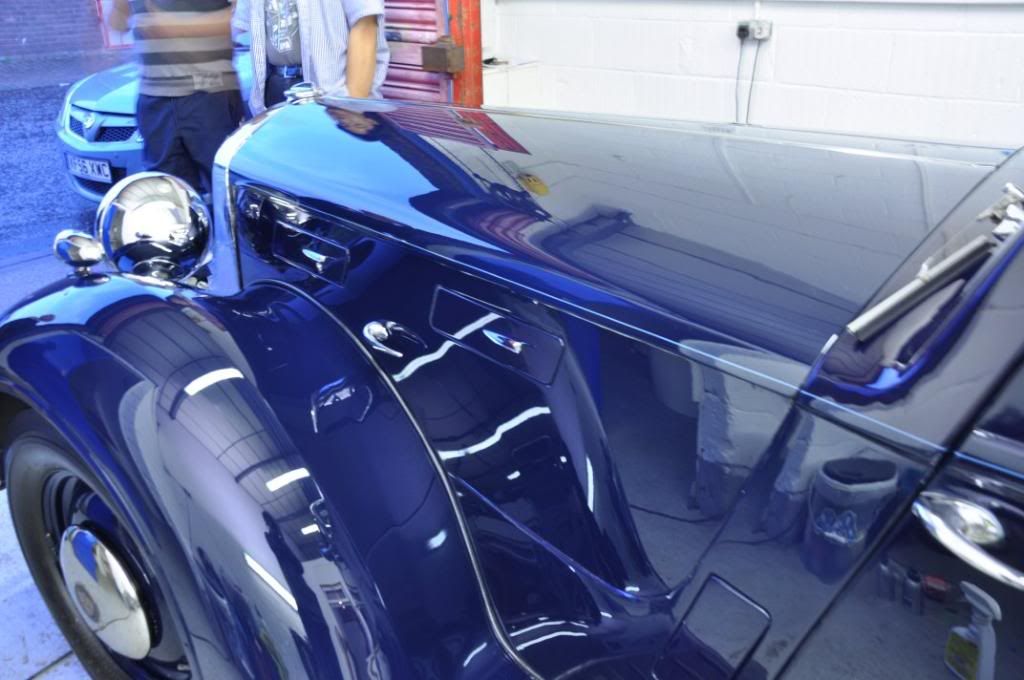
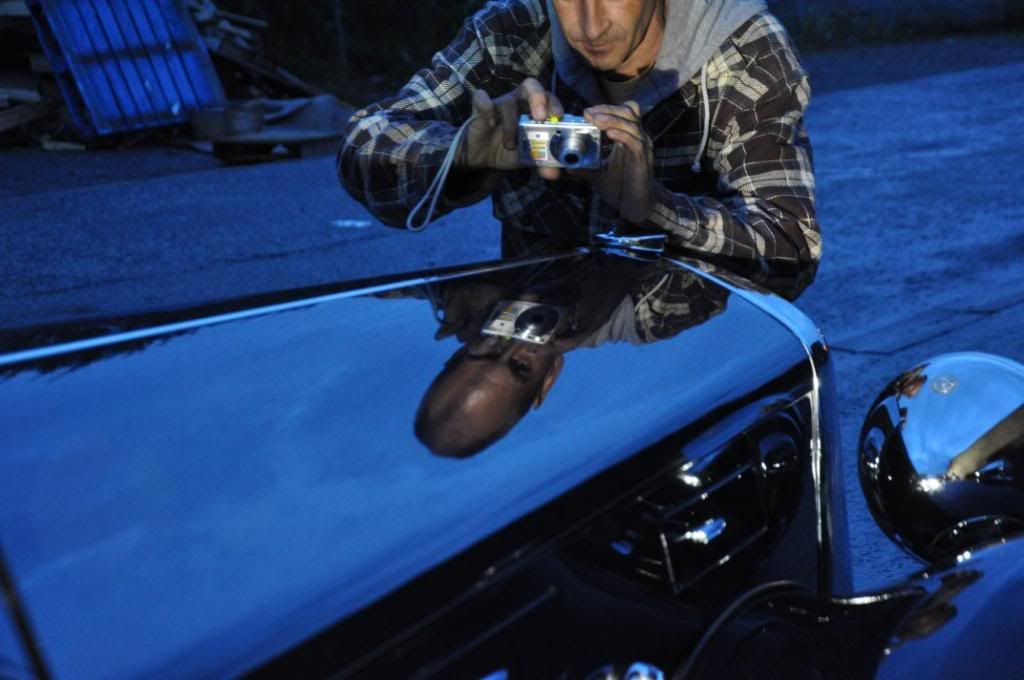
The passenger side, note the contorsionist efforts from me to get the pics in the reflections - thank you Gordon, for then taking over the holding of the light!!! :lol::lol:
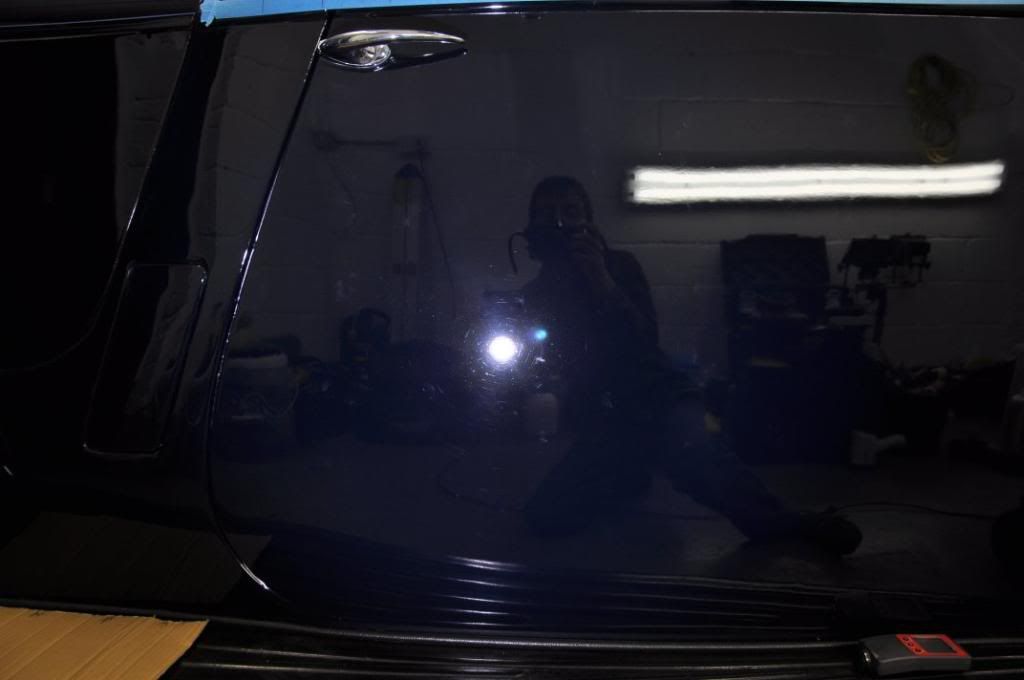
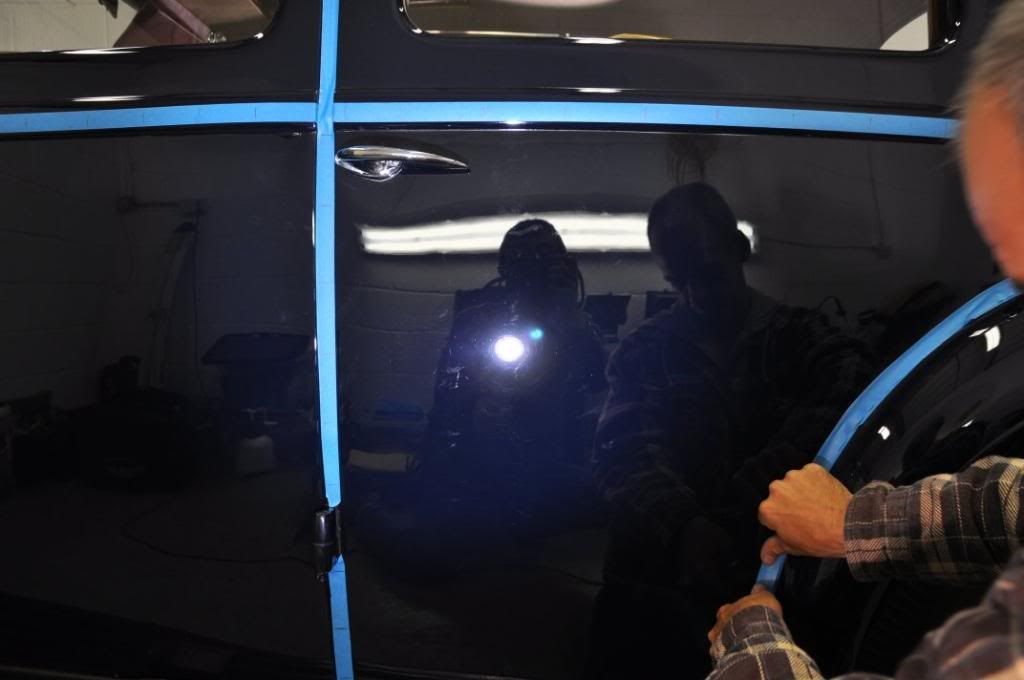


As an example, here's the paint maps of the back door on this side before, and after:
Again, you can see the overall lowering of the paint depth. Correction and refining here was the same as other doors, with a spot of Fast Cut used on a couple of stubborn scratches. The afters on this side...

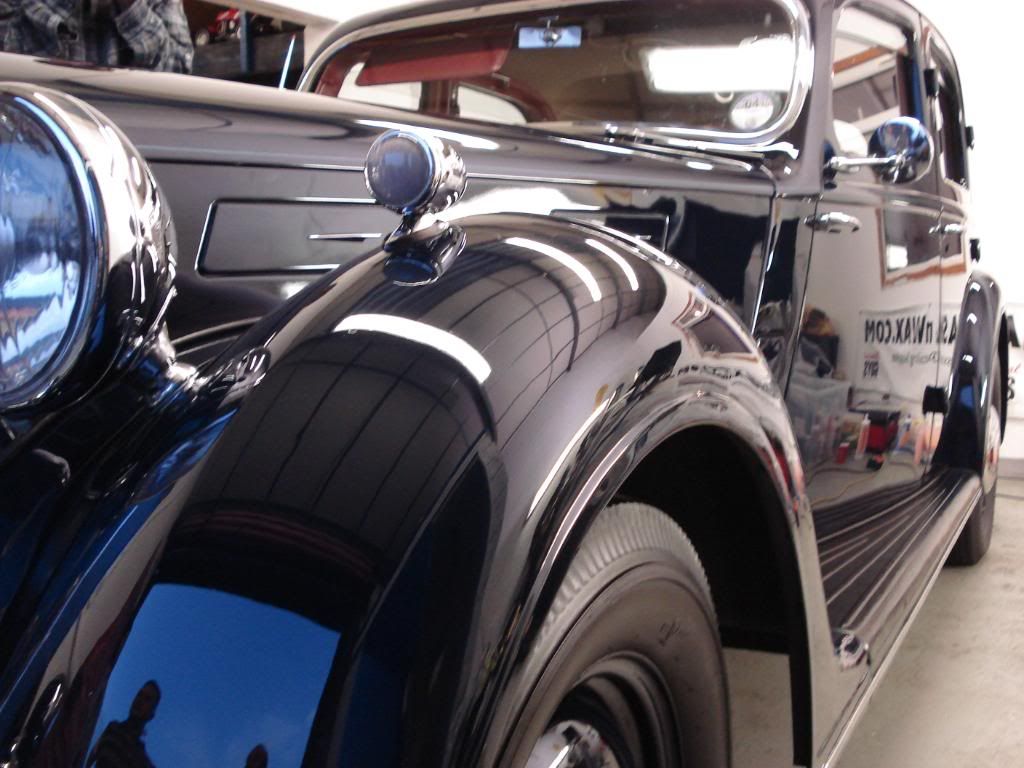
It was at this stage, around 930pm, Gordon and I decided food would be a good idea :lol: ... Huge thanks here to Liz, Gordon's other half, for making awsome chicken and rice soup! Mmmmm, filling and warm - brilliant! It was then back to the unit, arriving around midnight for a final little bit of machine polishing of the day... The front wings (lovely lovely curves!!) before:
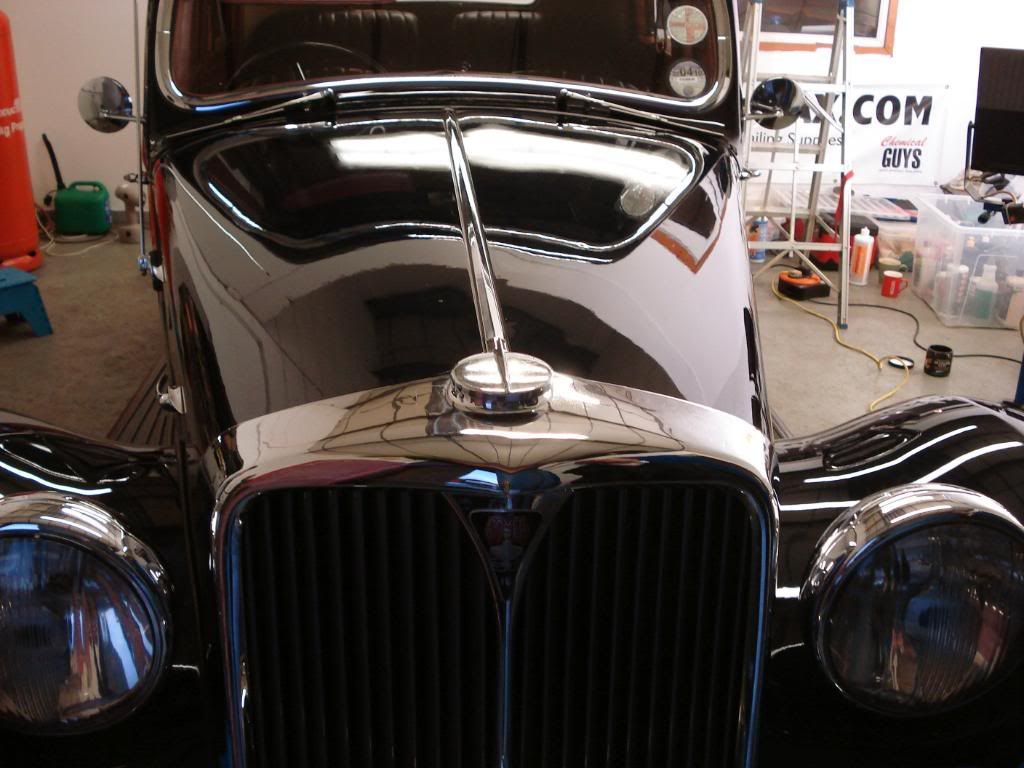
One region beyond repair was this...

The muddy river effect, as its known in America, is said to be caused by too thick paint during spraying, the top dries but the base does not, and you get separation cracks which cannot be repaired.
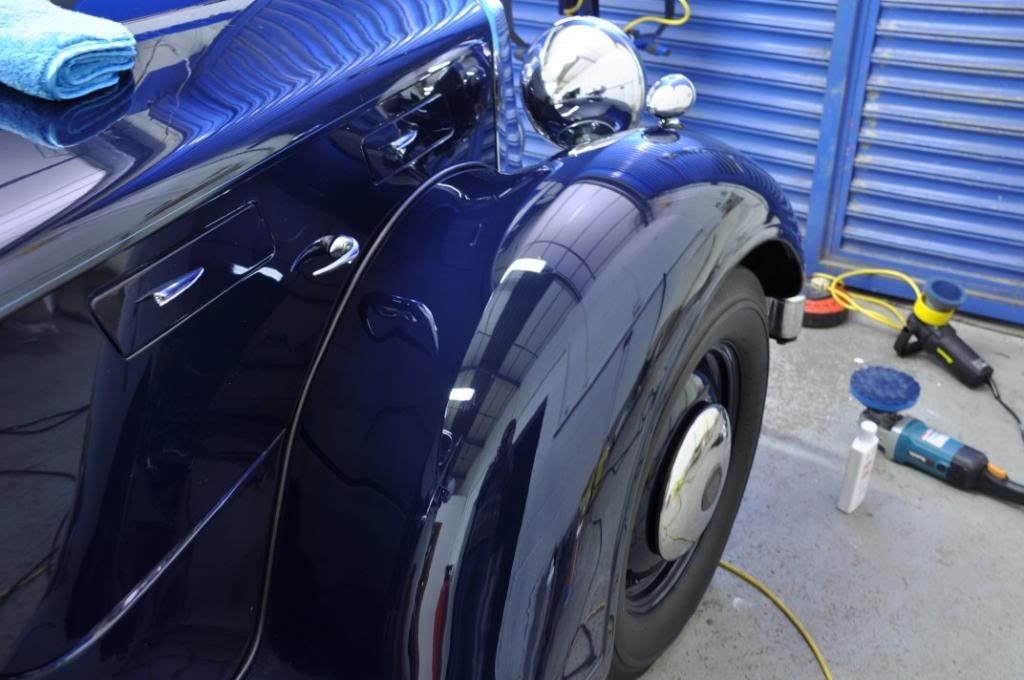
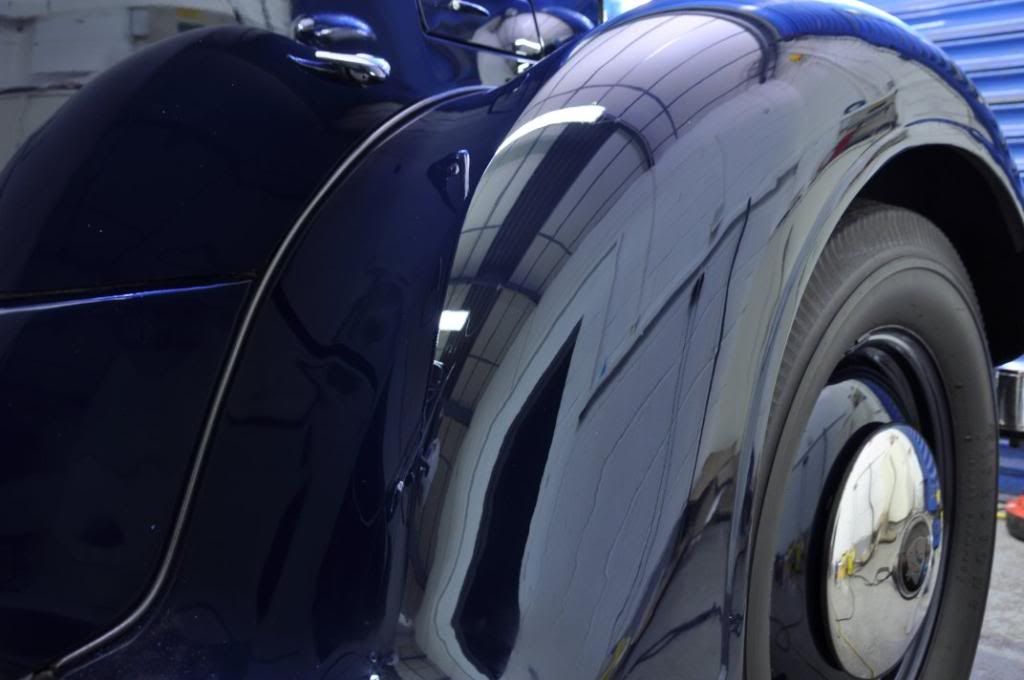
The rest of the wings could be though - using Intensive Polish with the regenerating methods, followed by Final Finish to refine, giving the following:


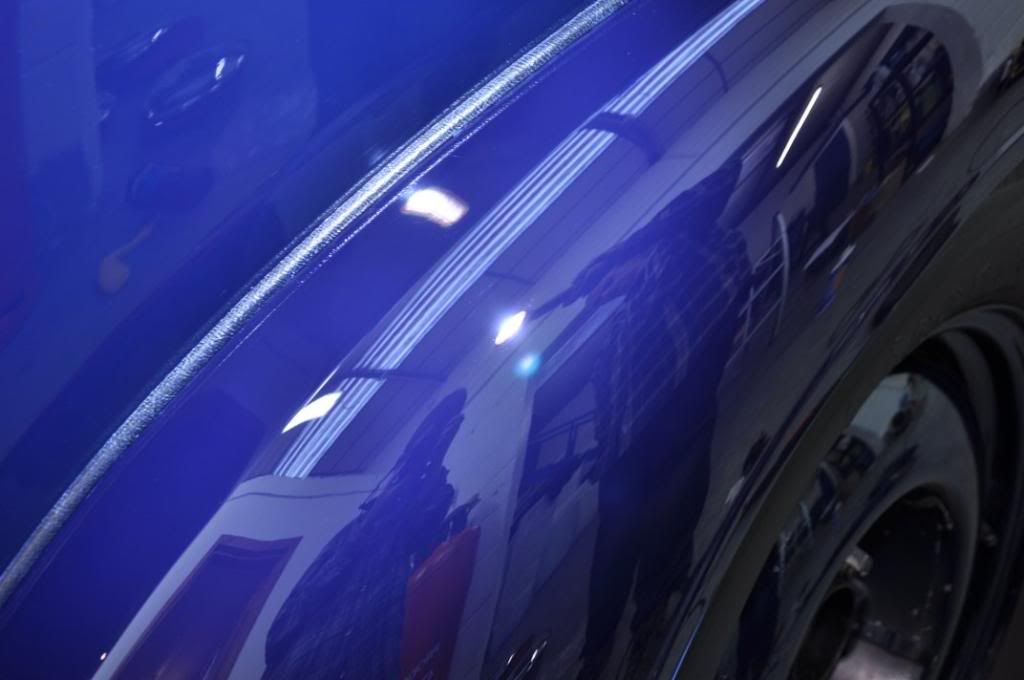
Mmmmmmm, the depth and shine on these curves was lovely to behold in the garage....

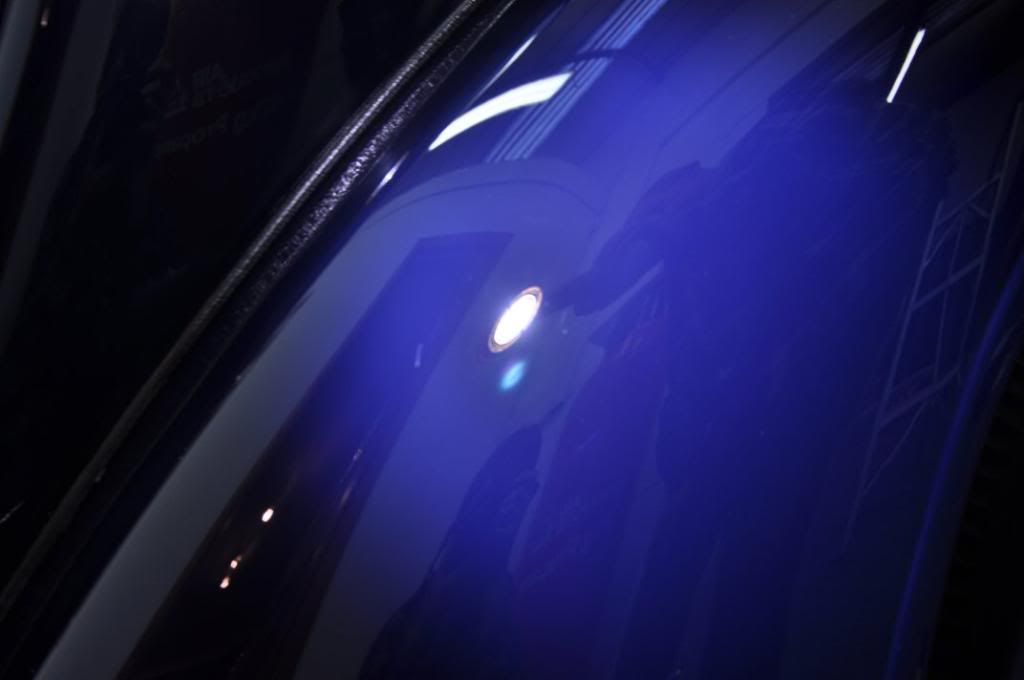
As was the bonnet...
At 2am - a fitting place to end day 1
-----
... This is the writeup on a classic 1947 Rover P2, an exterior detail carried out by myself and Gordon, and Davy and Alex on day 2 as well to restore the paint finish following damage incurred at a classic car show.The paintwork on this car, original from the restoration 26 years ago, had been chemically damaged by the use of an aerosol body spray the a woman near the car was spraying... the damage, as you can see, was heartbreaking. Had it been my car, I'd have been in tears.
Gordon and myself met John last month to assess the paint finish and a little trial revealed that claying removed the above surface contamination while machine polishing slowly (we'll get to this soon
) using a variety of levels of abrasive was suitable for relevelling the paint surface to remove the majority of the damage while maintaining the paint finish as best as possible - happy with what was achieved, John booked the car in and ever since I have been excitedly awaiting the car's arrival!! ....
Fast forward to last weekend, and it was time for the detail. I will admit, I get excited the night before details, given it is something I derive a lot of enjoyment from, its a bit like Christmas! Well, this car certainly was, and a bit like an eight year old, I didn't sleep a wink the night before the detail such was the excitement! :lol:... But with excitement, has to come extreme care and above all - respect. You must respect every car you work on, have the longevity of the finish in mind at all times, respect the owner's wishes and always do your best. But on a car like this you must have massive respect for the fact that the car is not "normal" - 26 year old paint, hand painted during a restoration is enough to make any detailer sit up and pay attention. When you see the thickness readings shortly, you will really see why! This car has been fastidiously cared for, very regularly polished which also poses a challenge for the detailer - regular polishing means regular paint removal so we had to be on our guard the whole time being hyper aware of regions of thin paint. It was always going to be the case that there would be some regions which we just could not correct as fully as we wanted to, or even touch at all with abrasives to ensure that thin regions were not made thinner still. Both the thickness gauge and lights were used to look for thin spots, or regions of concern to guide our correction methods to achieve the results with the minimum risk and the best interests of the car and the finish paramount in our minds.
So here she is on arrival - Tilly
You can tell how well cared for she is, the gloss and finish on the car already excellent - you may even be wondering, if you hadn't seen the thread above, why she was being detailed!
Under the Sun Gun, however, the paintwork was a different story - the damage from the aerosol you can see in the link above clear to see as little pin pricks in the paintwork...
Claying, using Sonus Ultrafine Green Clay and Meguiars Last Touch as a lube knocked the tops off of these marks and did yield a notable improvement. Alas, the marks were imprinted into the paintwork, as indents so top surface removal would not be sufficient. The paintwork had to be relevelled, at the cost of thickness, to fully shift the marks. Tilly required learning, panel by panel. Being hand painted, every panel was different, every panel has its own challenge - no one technique would be a catch all, so the lightest techniques were assessed and used throughout on each of the panels as we progressed round. It would have been all to easy to hit in with aggressive compound, wet sand, wool mop - but as I always say on any of my tuition days, anyone can remove paint, the skill is in removing the defects at the lowest cost to the paint thickness, and knowing when to exercise restraint and let the last marks go. Far better to have an indent or two, or a scratch or two than be sending a car away for a respray, especially a 26 year old paint job on a car as unique as this.
Ready for the machine polishing, it was first of all time to assess the paintwork in terms of original thickness, and then assess the hardness through stepping up through the abrasive scale to attain the level of correction required, again with maximum safety to the finish being paramount in our minds here. The first section chosen was the passenger side bonnet top, shown below the before pictures:
Note in the above, around the light sources, the little pin pricks in the paint surface - this is the damage caused by the aerosol.
Before continuing, the paint thicknesses (total thickness) were measured across the panel, and recorded... now I dont have a fancy gauge that remembers the readings and plots graphs, but I do have a Gordon and a laptop... (sorry Gordy, couldn't resist :p)
Readings were taken and then plotted using Excel to give a 3d map of the paint thickness on the panel:
Numbers along the side shows what colours represent what thickness range - essentially, anything red above is below 100um. This map I kept on the screen at all times when working, so I could see when I was polishing near thinner regions, and also to allow me to spot inconsistencies in pictures so I could know where to polish and where it would be better to go easy...
Now it was time to assess the hardness of the paint and what would be required for correction. Spot average was taken on a region to be 133.6um of paint at the start.
We started using Menzerna PO106FA Final Finish on a 3M Blue Waffle pad, applied as follows:
- Spread at 600rpm
- Begin working at 1200rpm until polish residue evenly spread
- Work at 1500 - 1800rpm, monitoring the panel temperatures with steady machine movements and light to medium pressure until residue goes clear
- Reduce speed to 1200rpm to refine, lighter machine pressure
- Burnish at 900rpm, couple of slow passes, light pressure
The results this achieved under traditional Sun Gun held from panel lighting look pretty good...
Zoom in, focus on the paint surface and you can still see most of the pitting though, indicating this combo was not strong enough...
Paint thickness on the test spot had now dropped to 130um, a significant drop for a finishing polish. Panel temperature during polishing here ran at a consistent 35.9degC, gently warm to the touch.
Based on the above findings, it was decided to step the abrasive level up a notch - Menzerna PO85RD3.02 Intensive Polish was applied, using a 3M Yellow Waffle polishing pad, and the same Zenith point technique as above. This resulted in the following results...
Note the improvement now in the level of pitting that is seen - this method had achieved better correction, but at what cost? Paint thickness had now dropped to 128.8um... a lower drop than for Final Finish which you might think is very strange, but going on recent experience I find this to be quite normal - initial layers of paint seem much softer, perhaps due to UV degredation, leading to a hardness gradient across the paint finish. Panel temperature this time was a consistent 58.6degC during the set, hot to the touch.
Given the results achieve with the first IP effort, a second set of Intensive Polish was then used, and this led to the following results...
Less of an improvement now, and as you can see from the thickness of 128.2um, the paint level drop is now very low - we are into harder paint. Panel temp for the second set was lower though, 48.8degC, but with the same methods which point to the harder paint running a bit cooler during machining which in turn may also be affecting the removal rates and overall correction.
Now, time for careful assessment - two hits of IP get good correction, but still not great... and runs into harder paint, where it begins to struggle. We decided to trial Fast Cut Plus, upping the cut level as assess if there were safe benefits to be had. 3M Fast Cut Plus was applied using a 3M Orange Waffle Pad, drop of Ultrafina to lengthen work time, using a "Correction hit" technique as follows:
- Spread at 600rpm
- Begin working at 1200rpm to evenly spread the residue
- Work at 1800 - 2000rpm with moderate pressure over the head, alternating between slow and fast passes to regulate the panel temperatures (faster passes saw a drop in temp)
This achieved the following results...
Definitely getting somewhere now. Thickness drop to 125.6um show not a huge amount of paint removed, but still notable. Panel temp maximum of 60.3degC during the set.
Given we were on a thicker region of paint, we repeated with another hit of Fast Cut, as above, to achieve:
Paint thickness of 126.7um (up!!! gauge reading error - see later
), panel temp maximum of 62.5degC. FC+ third time (you may be wondering why I didn't move to more aggressive, wool, wet sand - the reason is FC+ was giving an improvement every time but with controlled depth removal, in this case multiple small level removal hits were preferred to one heavy removal hit!)
Better still... Paint thickness of 125.3, max temp of 61.4degC.
Fourth FC+ hit, slightly different and more aggressive this time, using an adaptation of the above technique to attain a bit more from the abarsive - slower machine movements with firm head pressure at the working stage and we get the following results...
Paint thickness was now 122.3um, and a max temp of 74.1degC reflecting the increased aggression of this technique. Now we are seeing much more significant paint losses overall, it was decided that the above level of correction was good and achieved safely but to chase any remaining marks would be beginning to compromise the paintwork itself.
So we then proceeded with a two stage refinement, first with Intensive Polish applied using the Zenith Point technique above to achieve the following:
Depth reading of 122.6um, max temp of 54.1degC.
Final finish refinement carried out using Menzerna PO85RD Final Finish, 3M Blue Waffle pad and the Zenith point method, with extra burnishing passes at 900rpm to ensure the best possible clarity in the finish...
The final paint readings - 122.5um. Max set temp (consistent over the set) of 46.1degC.
As you can see, there are still the odd marks in the paint, but a massive improvement and achieved in a safe and controlled manner here. Softly softly (yes, FC+ is softly softly here
) was the name of the game.The graph below shows the removal rate, paint readings attained from average spot measurment shown below (vertical bars representing reading error from gauage, which is why when the removal is low, you can see the paint level seem to go up rather than down!):
This indicates the gradient of hardness across the paint also.
The 3d map below shows the paint thicknesses after the whole bonnet corrected, thin regions at the front receiving only one hit of FC+ owing to thicknesses...
You can see the red region has grown and spread, indicating an overall lowering of the paint thickness across the panel - seeing this happen in 3d like this really brings home exactly what your paint correction is actually doing!
The end results on this section under the Sun Gun for assessment:
I was loving the depth this paint had in the garage...
Right - next section!! Driver's side of the bonnet. 3d map of the paint before...
Already looking good in the befores...
But you can see the pin pricks under the garage and Sun Gun, a few light swirls as well...
Correction here was achieved using 3M Fast Cut Plus, one or two hits depending on requirements and paint depths, followed with Intensive Polish to first refine, and Final Finish to burnish. 3d map of thicknesses after the machine polishing, you can again see the overall drop in paint level...
The end results under the Sun Gun and strip lighting show a massive improvement again to the overall finish with big reductions in the pin pricks...
Gotta love this bonnet - why dont they make cars like this today??
Onto the side of the car now, we can see the before pictures on the doors - less in the way of the pin pricks, as the vertical panels seemed largely unaffected... a few swirls and a bit of hazing though:
Maps of the front and back doors respectively before correction:
Note - thick regions and thin regions here, the middles of the doors showing much lower readings - care to be taken here.
Correction this time was Intensive Polish, using a regenerating technique to lengthen its lifetime as follows:
- Spread at 600rpm
- Begin working at 1200rpm until residue spread evenly
- Work at 1800rpm with medium pressure and slow to medium machine movement speeds
- When residue clear reduce speed to 900rpm, pressure to light for a couple of passes to bring residue back
- Repeat at 1800rpm for a few more passes, medium to firm pressure until residue clear
- Reduce speed to 1200rpm, refine the finish with light pressure
The finish was then refined using Menzerna Final Finish PO85RD, using the Zenith Point method above. The maps of the paint thicknesses after:
And the after results...
The passenger side, note the contorsionist efforts from me to get the pics in the reflections - thank you Gordon, for then taking over the holding of the light!!! :lol::lol:
As an example, here's the paint maps of the back door on this side before, and after:
Again, you can see the overall lowering of the paint depth. Correction and refining here was the same as other doors, with a spot of Fast Cut used on a couple of stubborn scratches. The afters on this side...
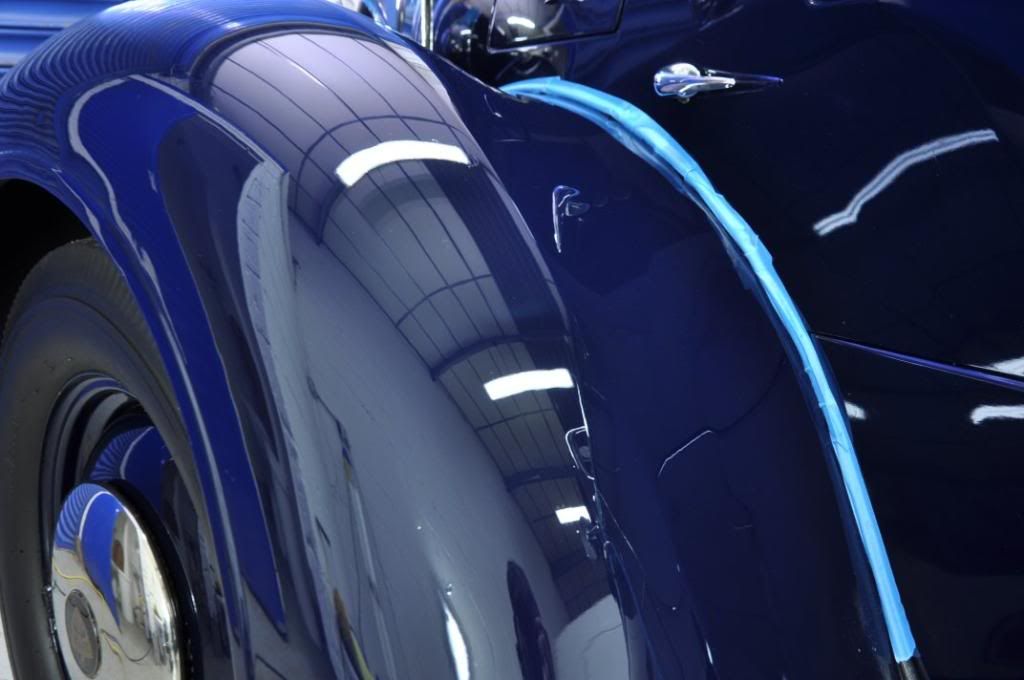
It was at this stage, around 930pm, Gordon and I decided food would be a good idea :lol: ... Huge thanks here to Liz, Gordon's other half, for making awsome chicken and rice soup! Mmmmm, filling and warm - brilliant! It was then back to the unit, arriving around midnight for a final little bit of machine polishing of the day... The front wings (lovely lovely curves!!) before:
One region beyond repair was this...
The muddy river effect, as its known in America, is said to be caused by too thick paint during spraying, the top dries but the base does not, and you get separation cracks which cannot be repaired.
The rest of the wings could be though - using Intensive Polish with the regenerating methods, followed by Final Finish to refine, giving the following:
Mmmmmmm, the depth and shine on these curves was lovely to behold in the garage....
As was the bonnet...
At 2am - a fitting place to end day 1
-----


Comment