

 Tweet
Tweet
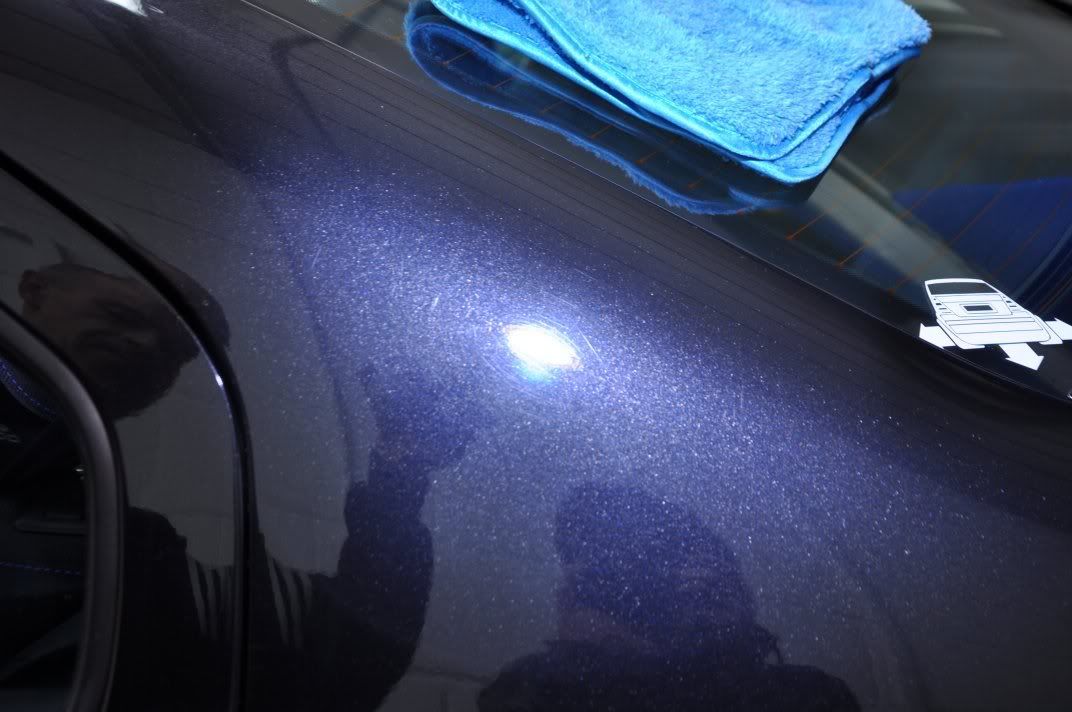
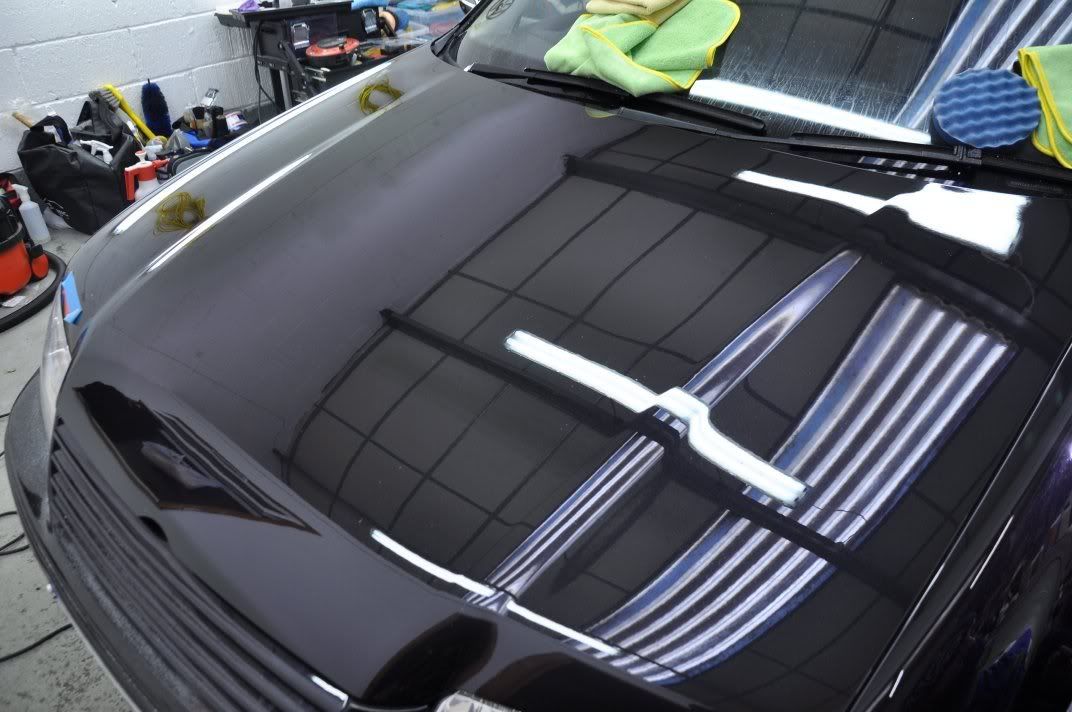
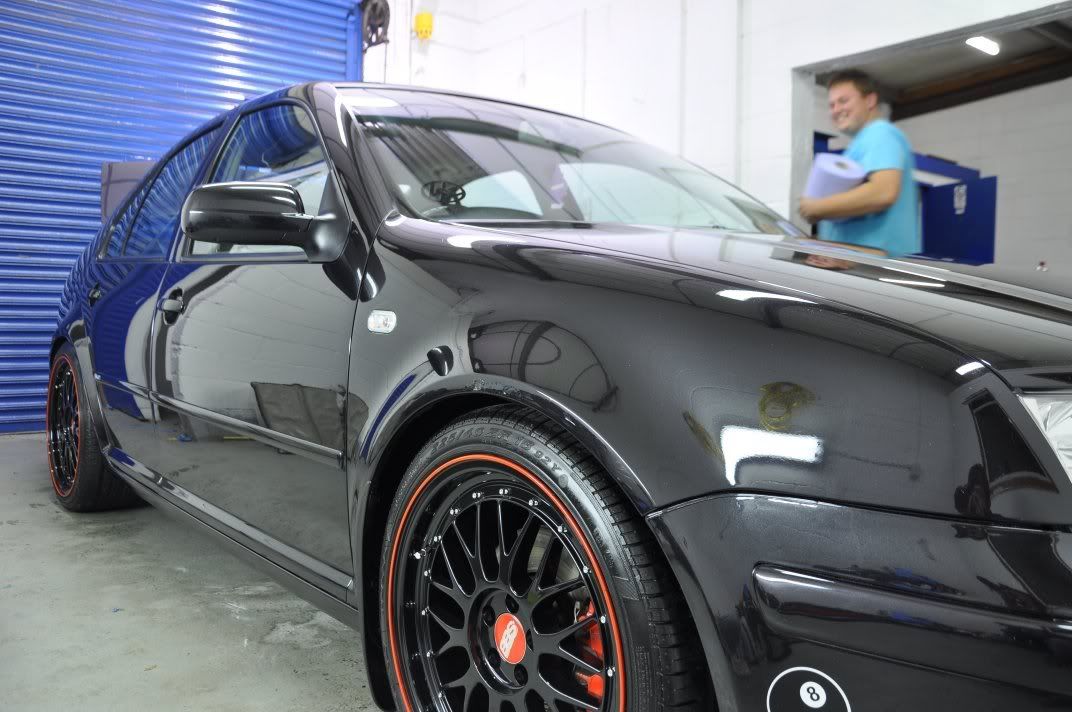
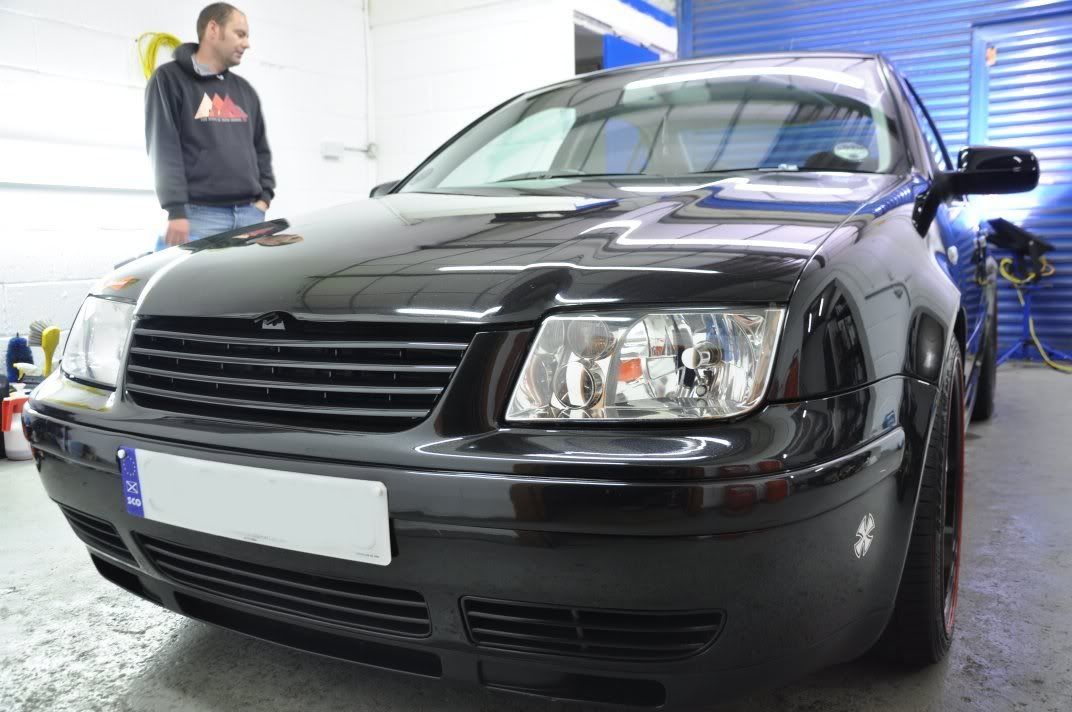
Another recent detail from our detailing team, Gordon, Davy and myself - a metallic black VW Bora. This was a tuition detail so the owner played a big part in the detailing, learning the processes as we worked through the car, good for a bit of satisfaction at the end of the detail :thumb:
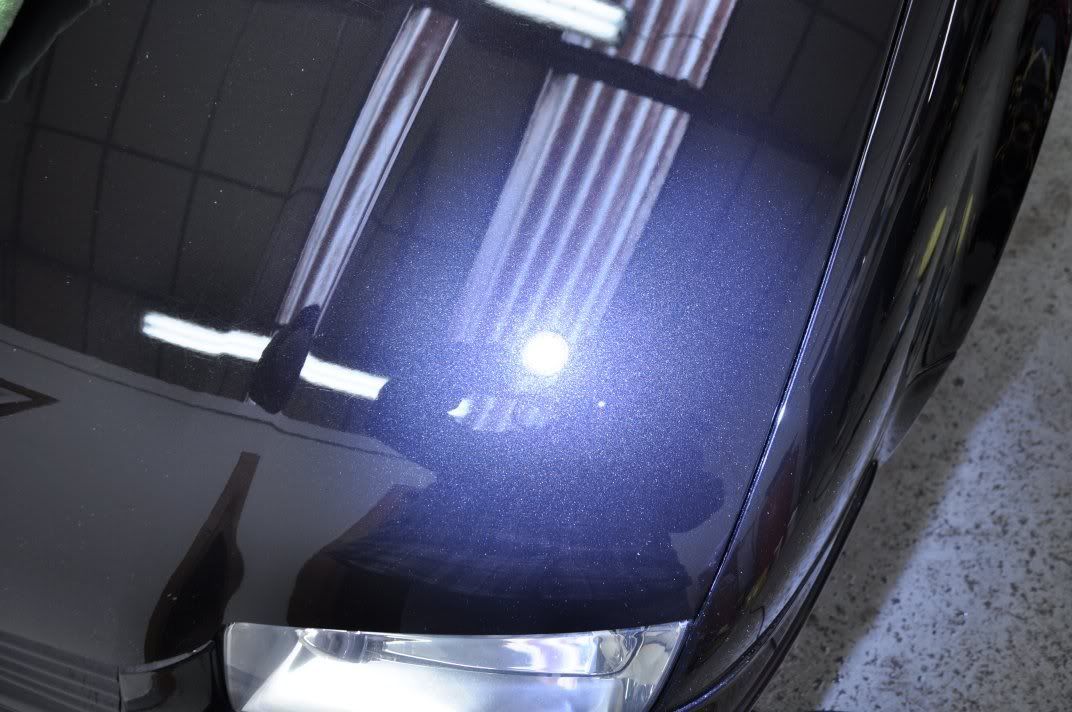
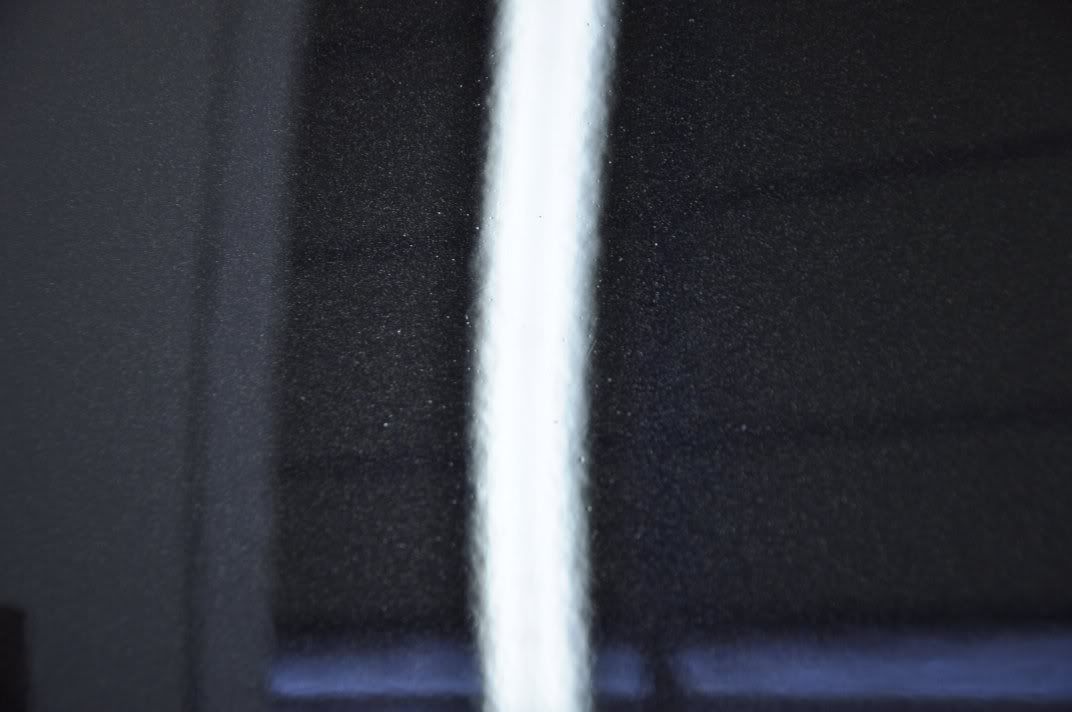
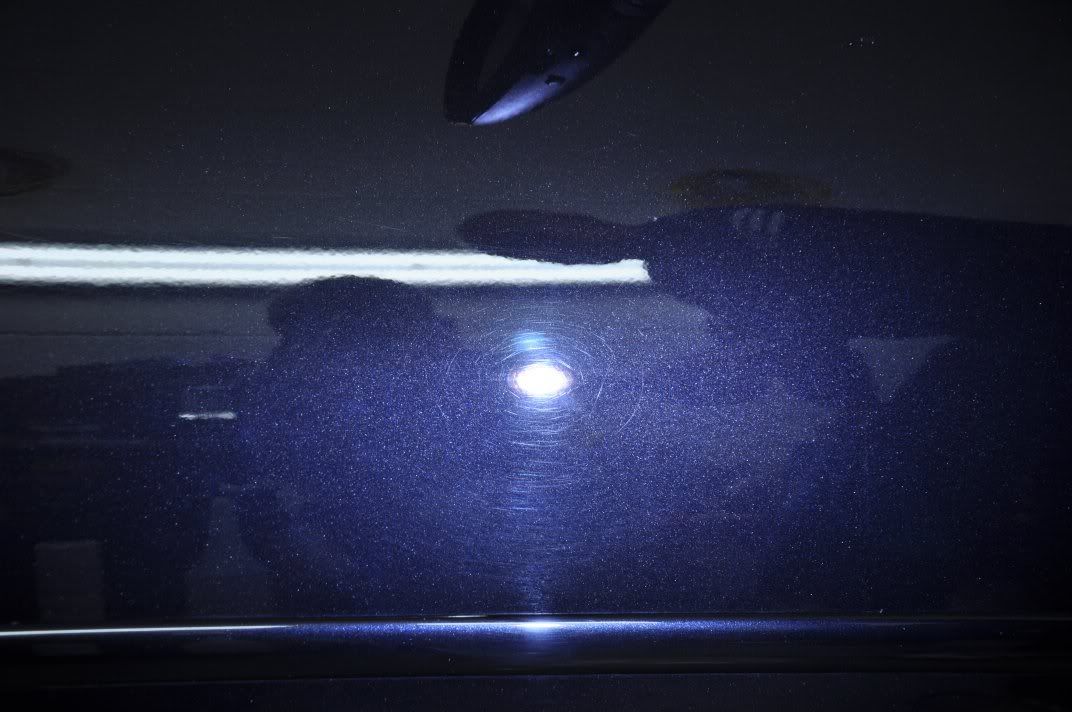
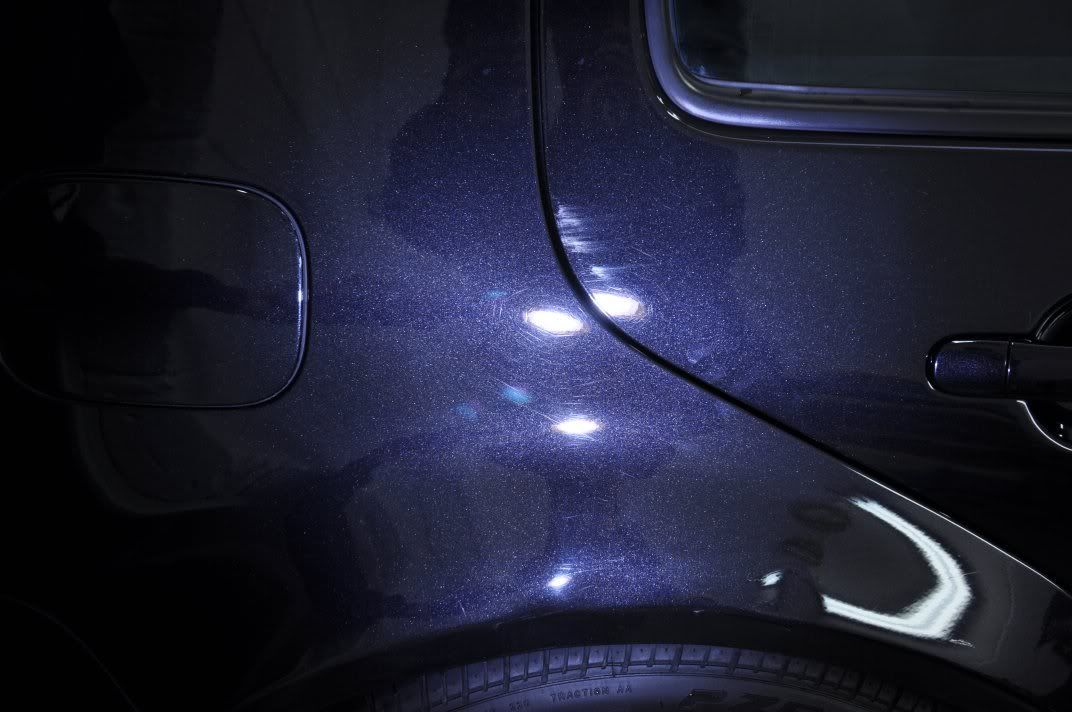
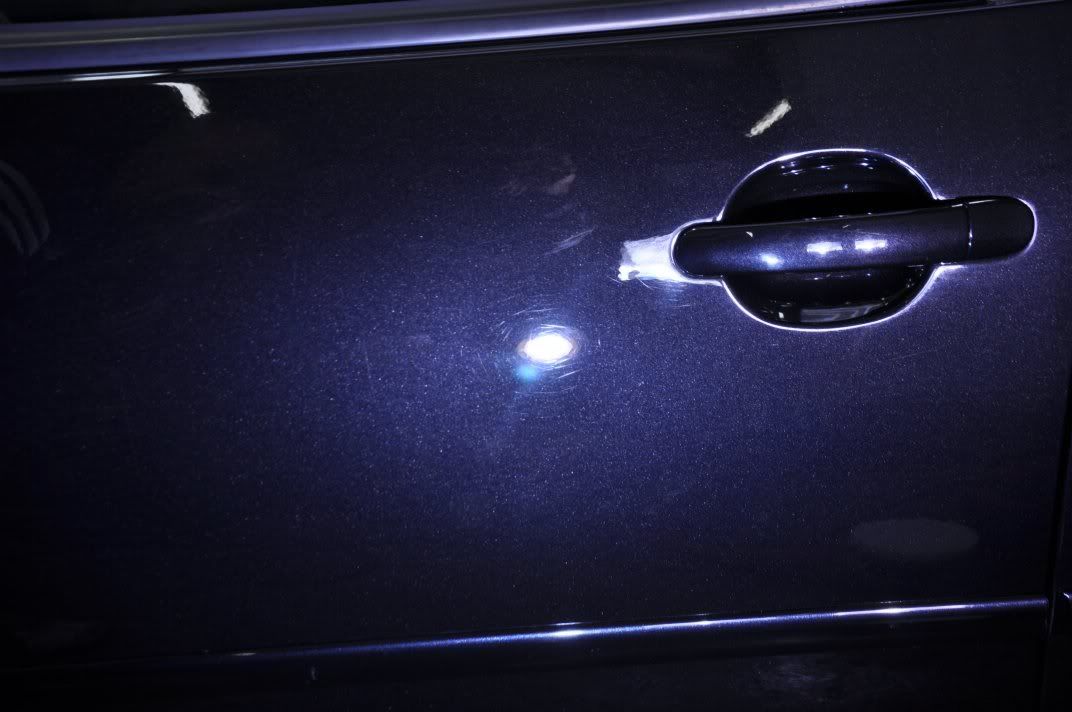
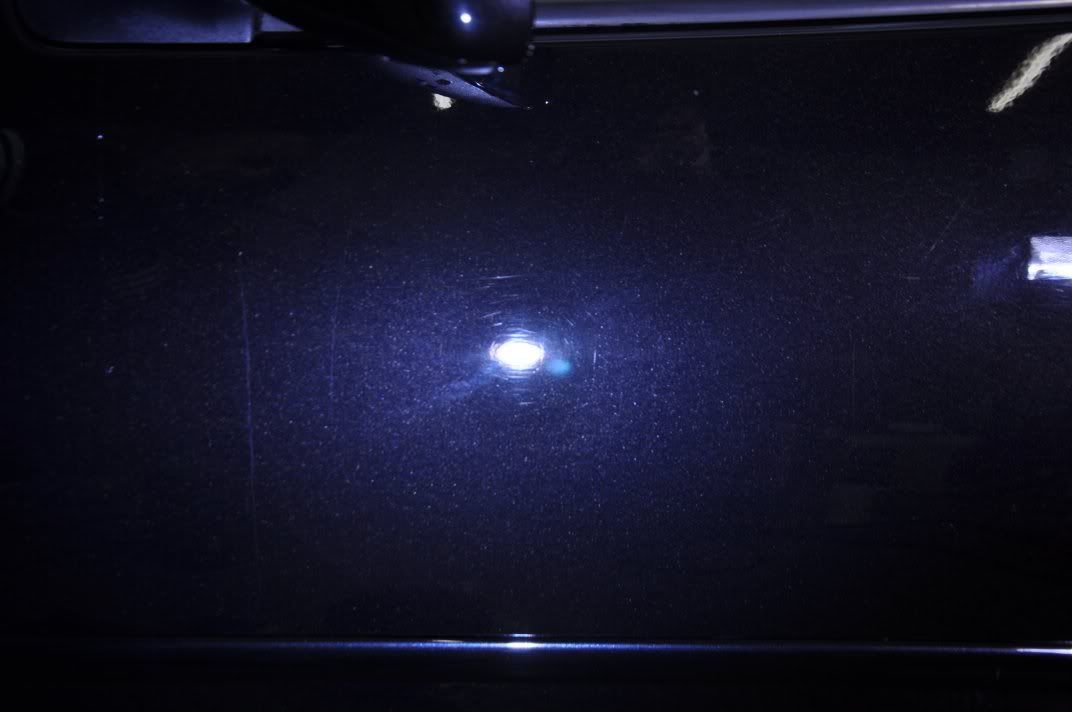
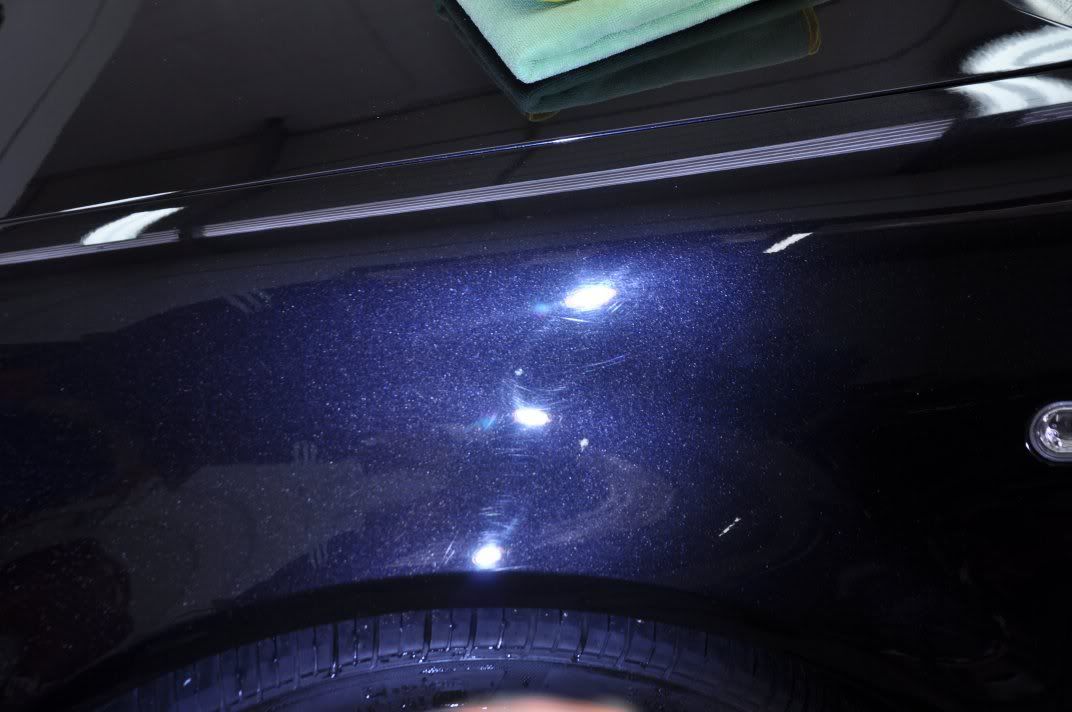
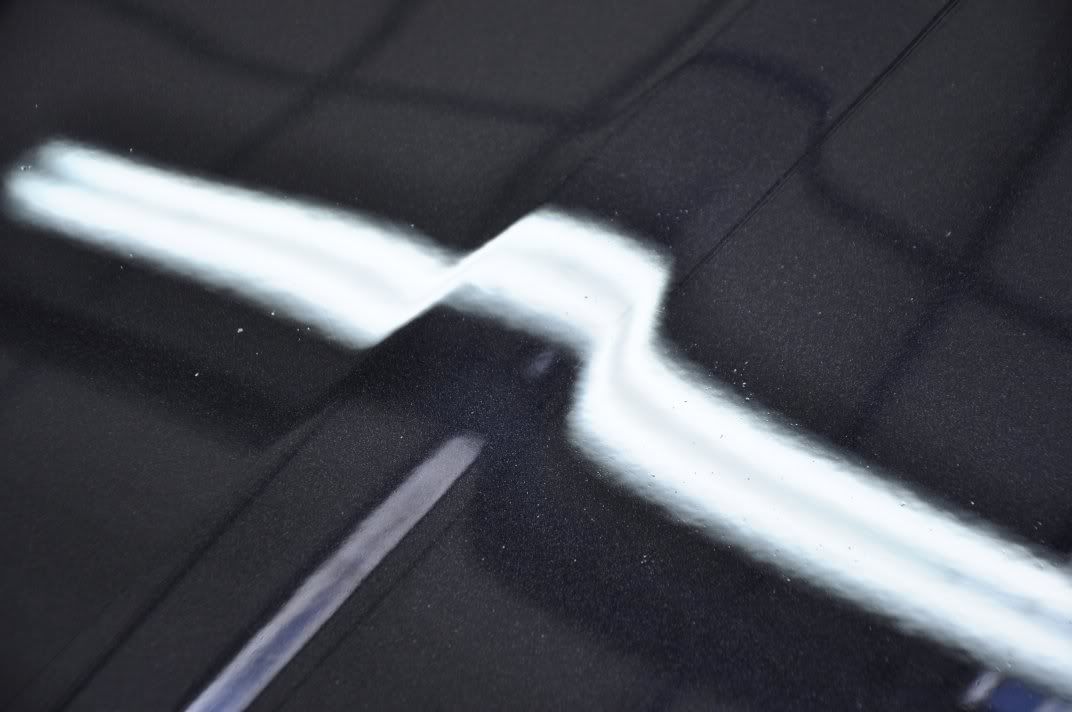
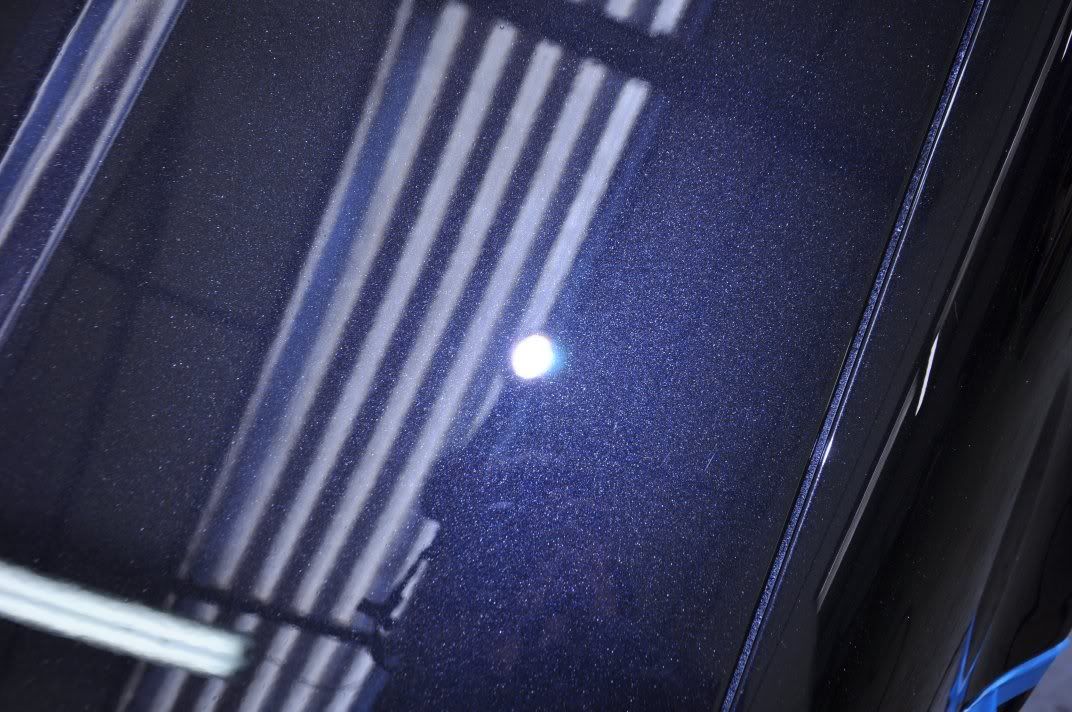
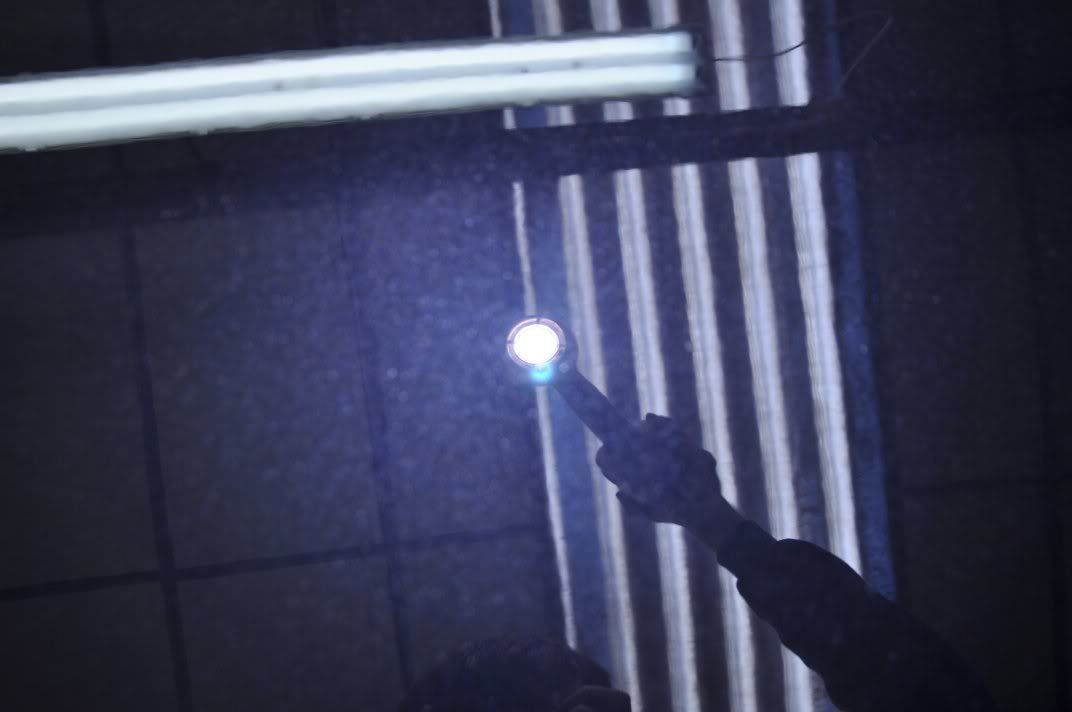
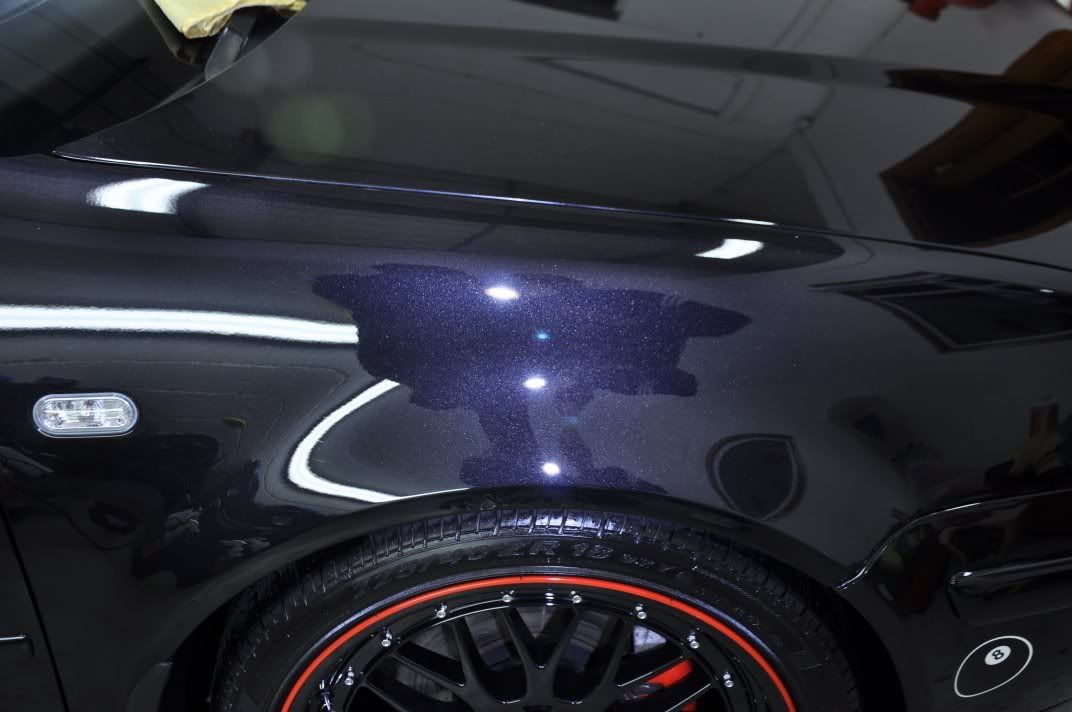
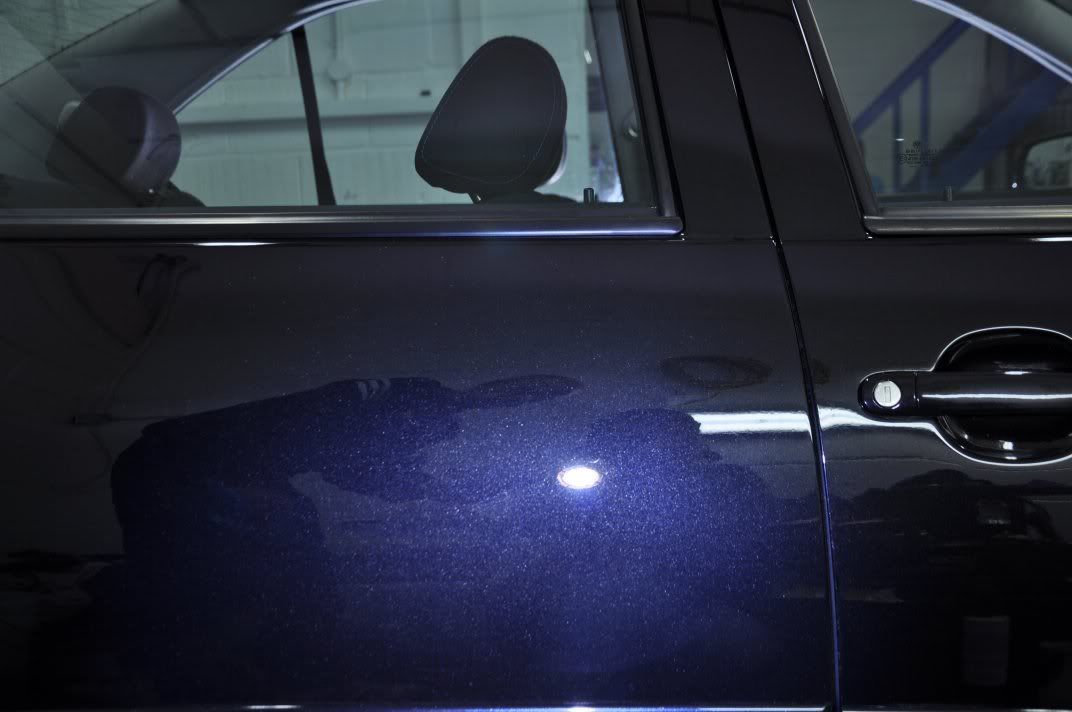
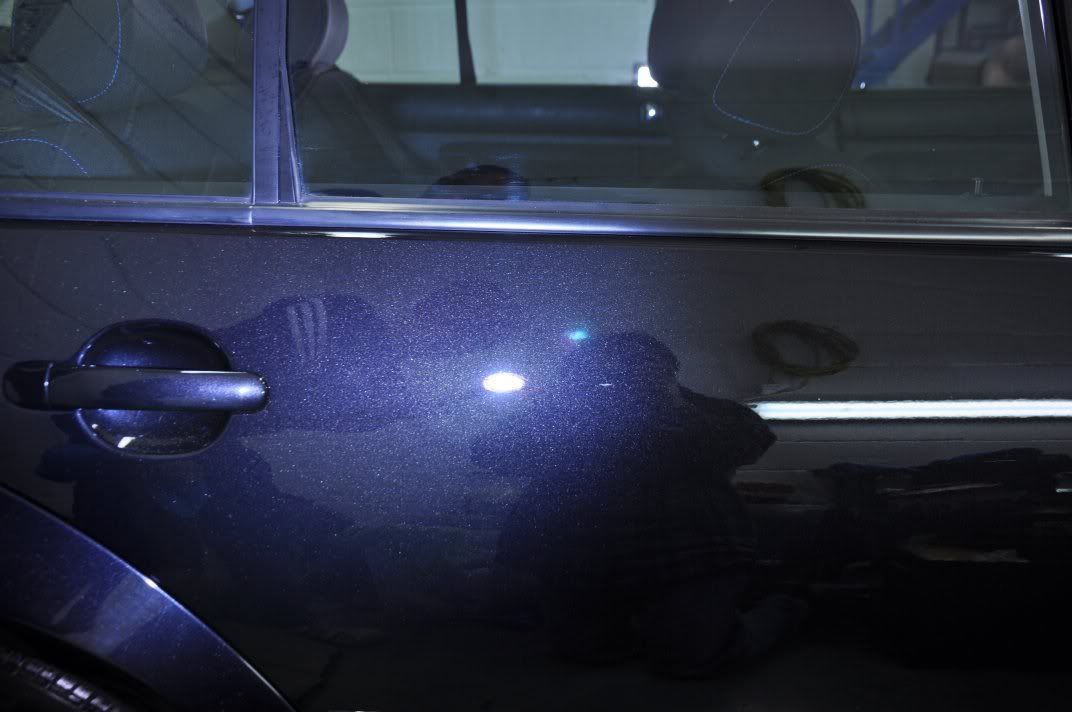
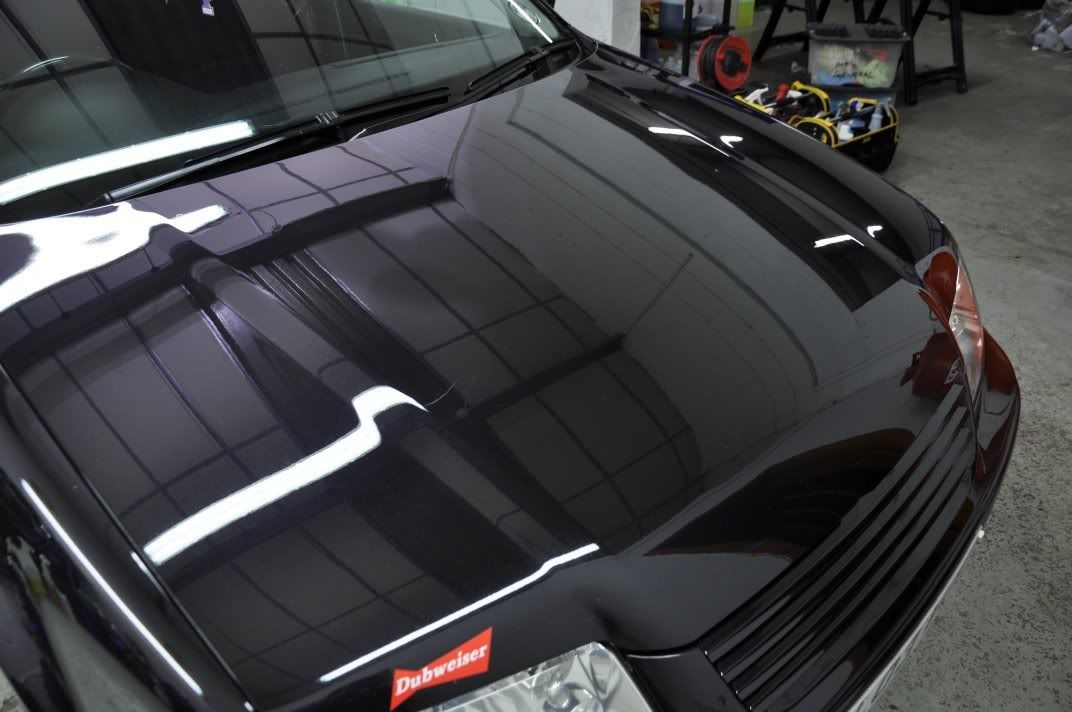
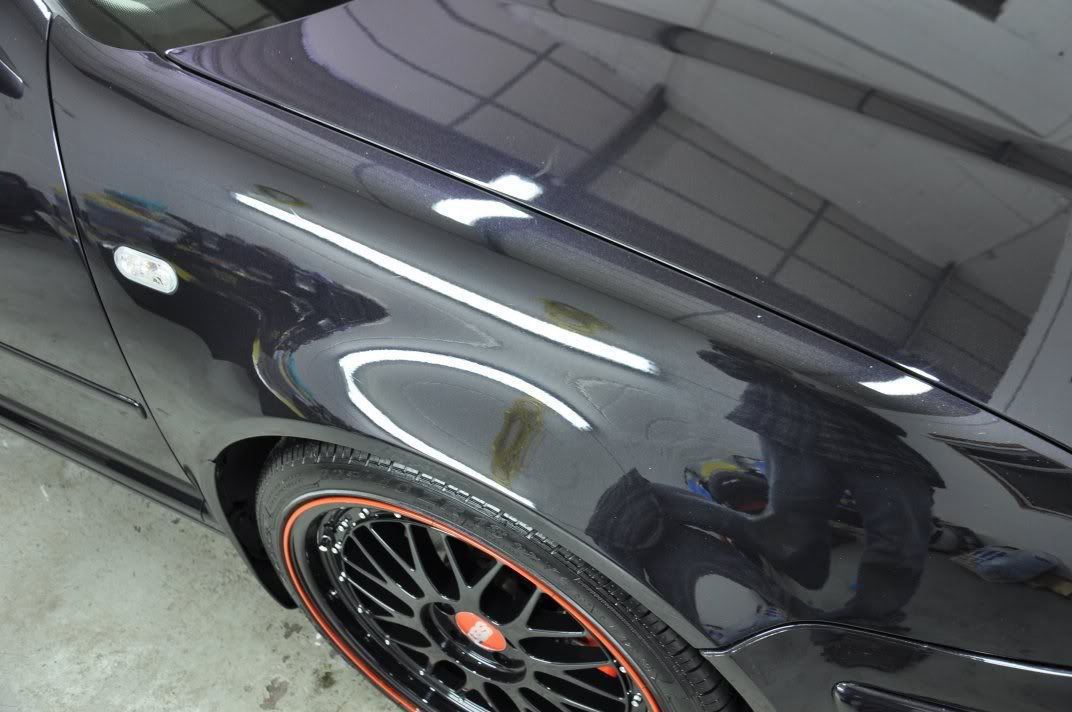
This car was a bit strange... after the washing stage, if you looked at the paint under the Sun Gun, you would not think the paint was in particularly bad condition:
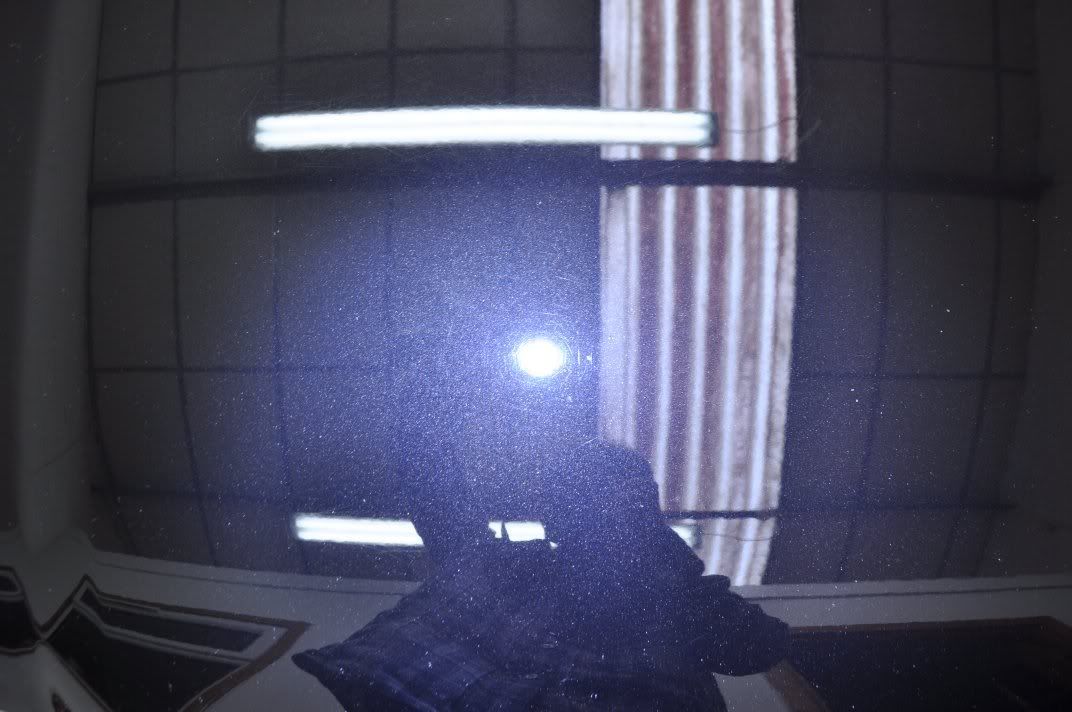
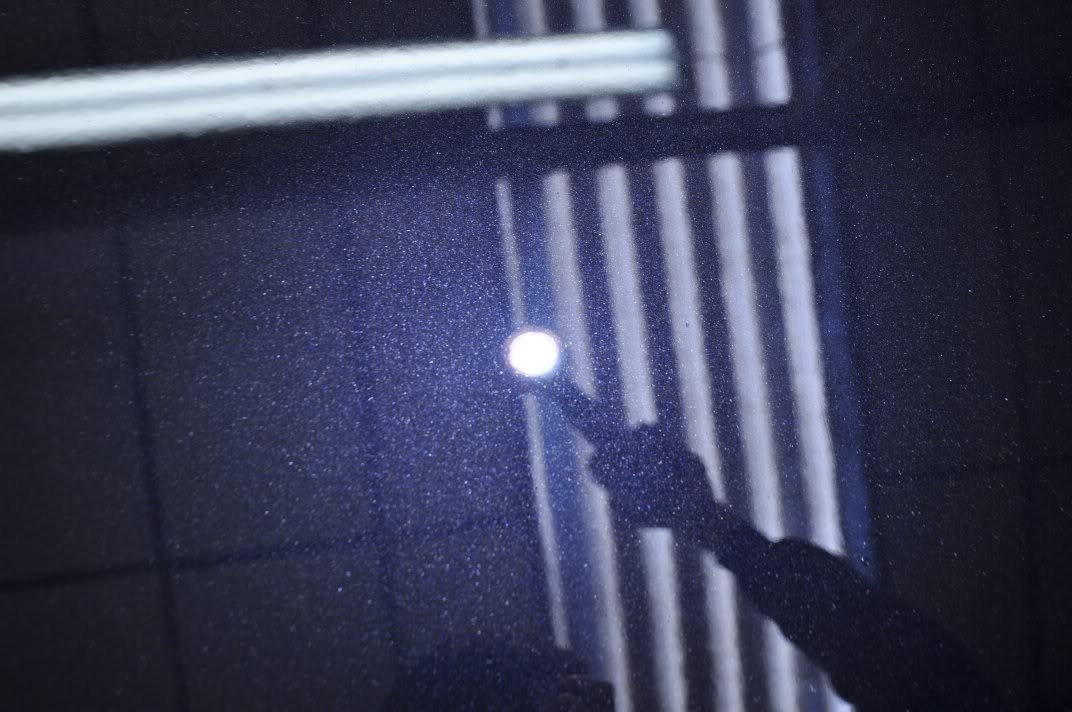
Don't be fooled though! This paintwork was full of random deep scratches (RDS) in the paintwork, essentially very deep swirls which are masked under bright lighting but show up under more subtle strip lighting...
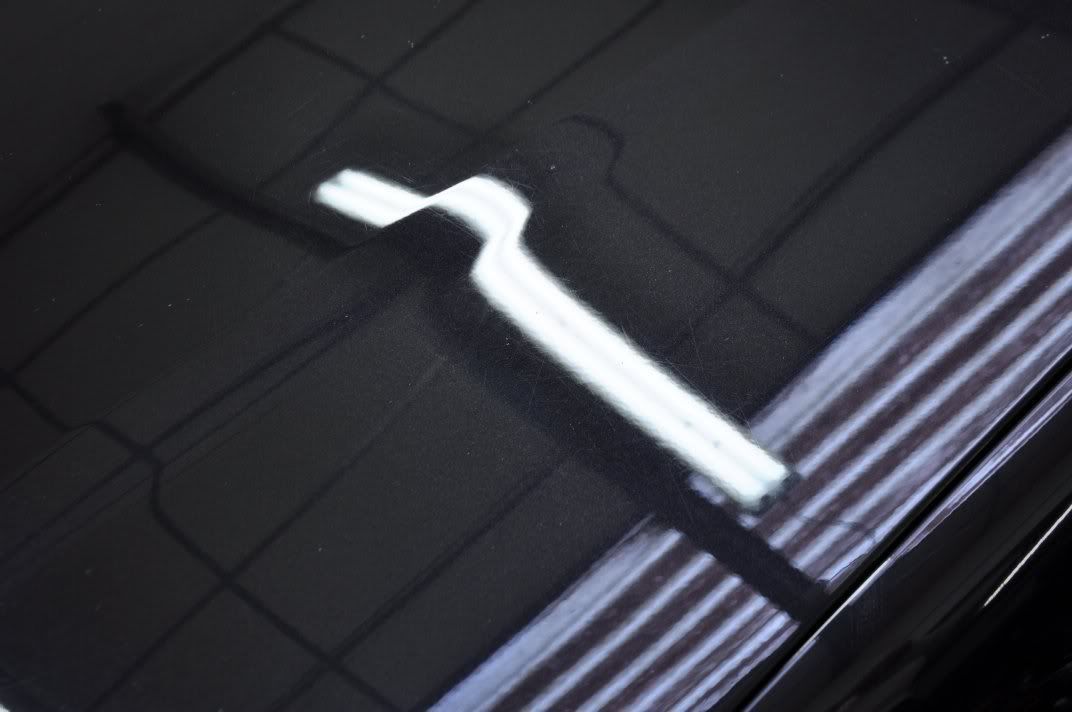

This car was going to need some serious correction to get rid of these marks!
Paintwork Assessment
An important part of any paintwork correction detail is to assess the paintwork. This goes beyond simply seeing what marks are there and how much paint there is at the start - it requires careful assessment of how much paint is removed by different polishing combinations and the level of correction being achieved. This is best done by starting with a light abrasive polishing combination and then working up through the abrasive scale checking removal rates and correction levels as you go...
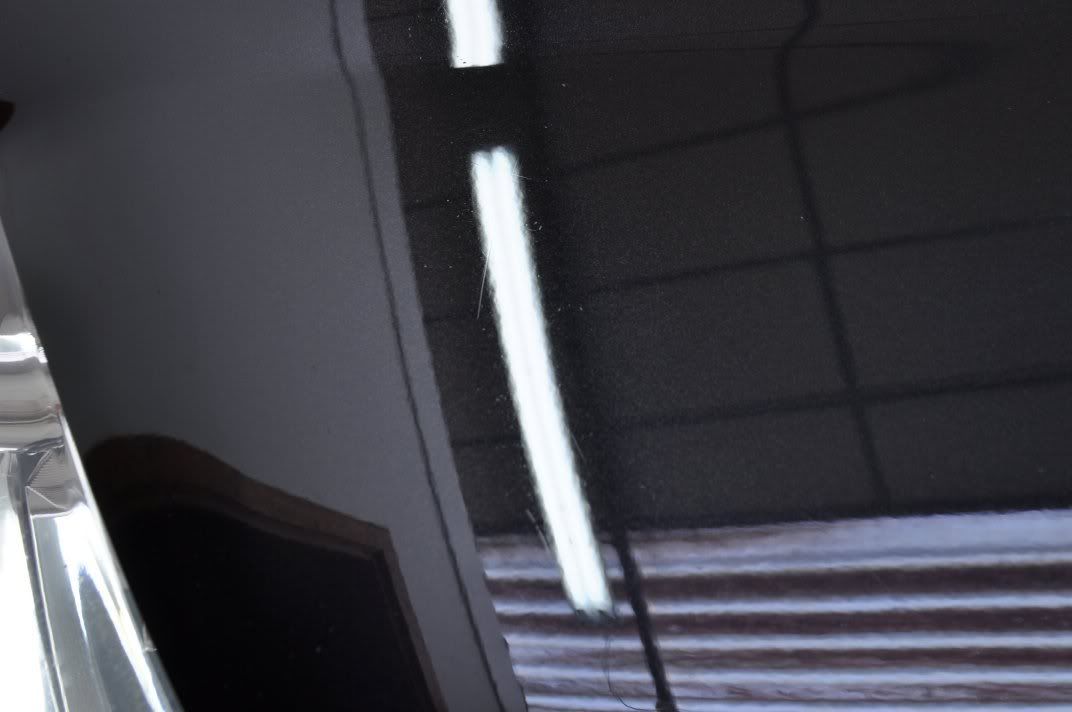
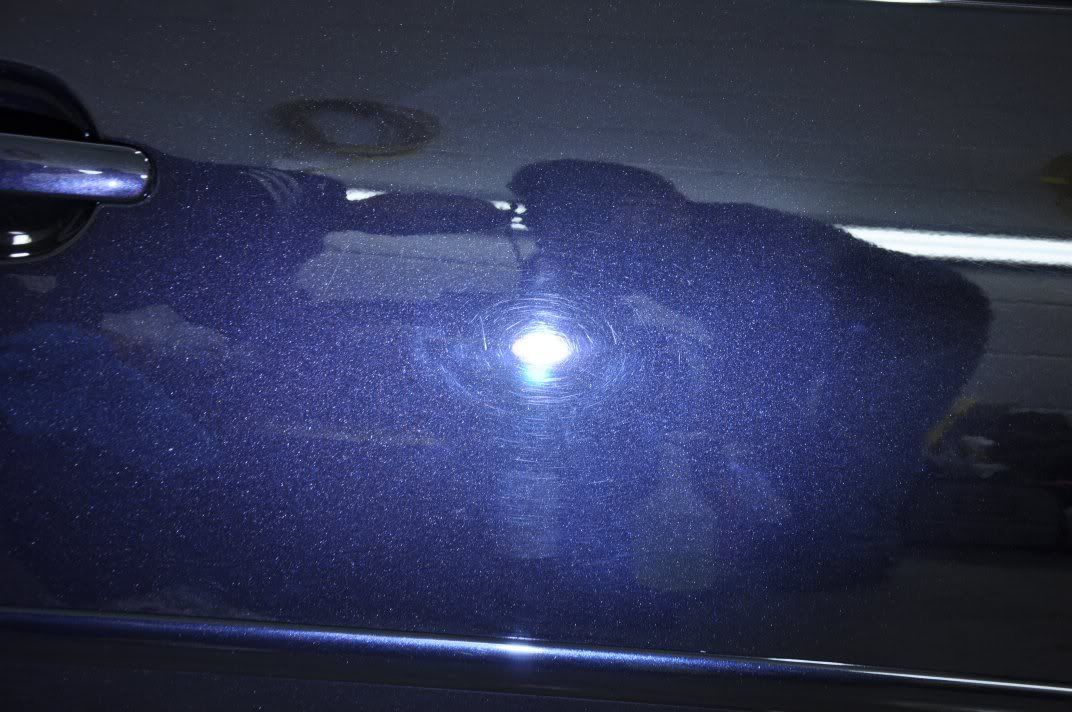
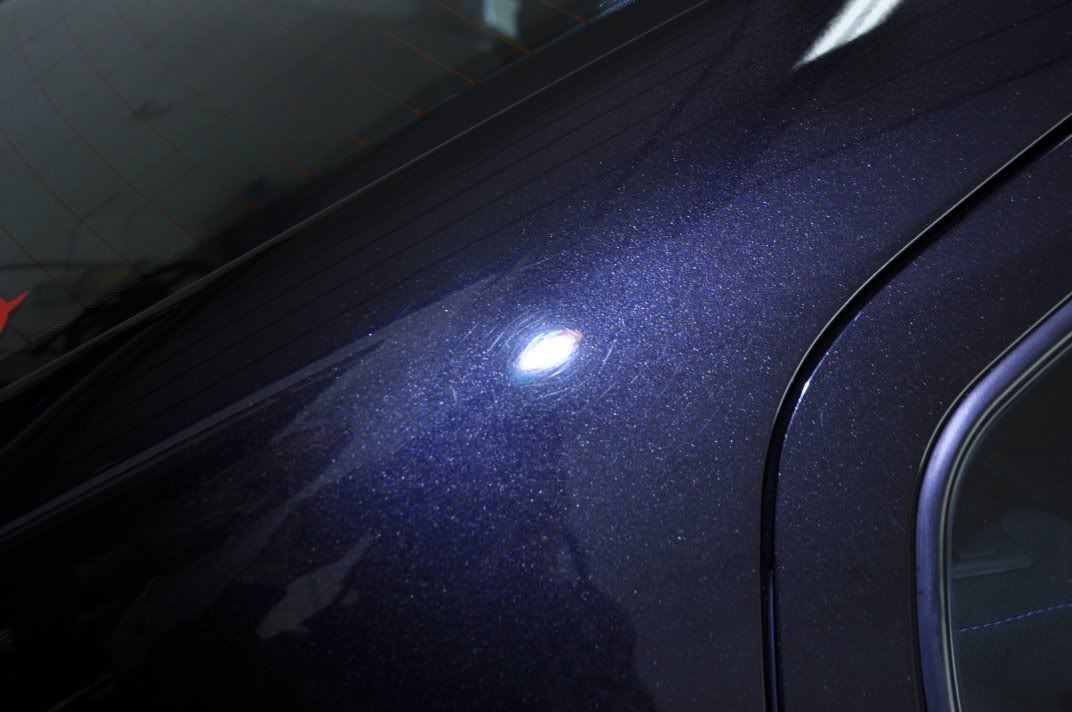
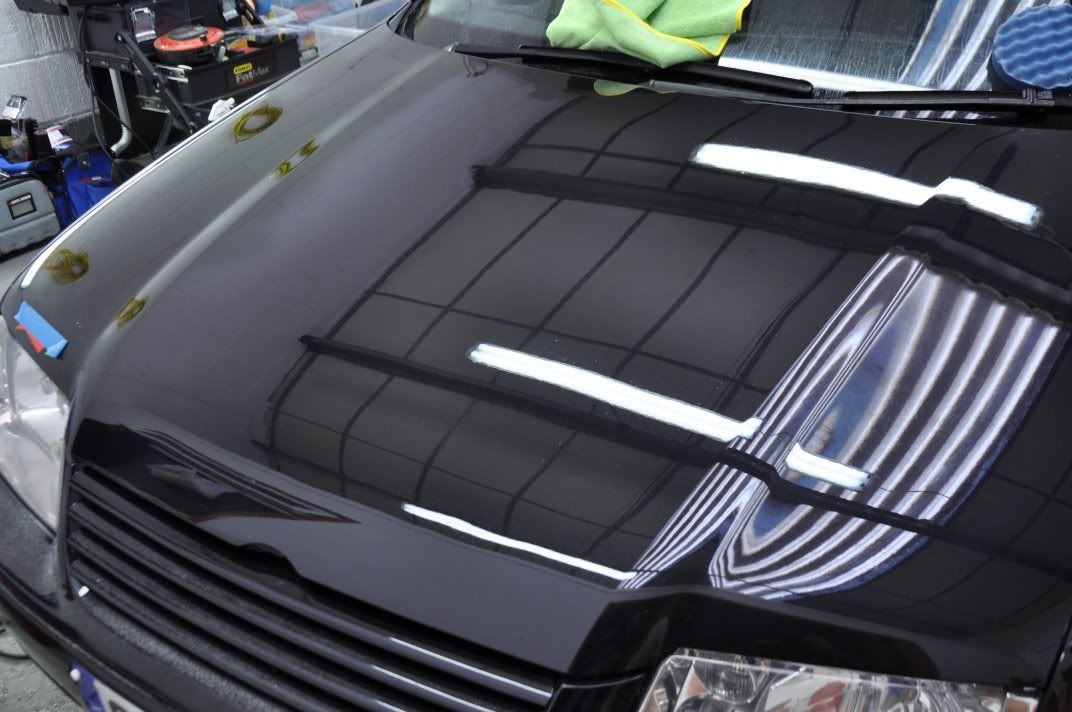
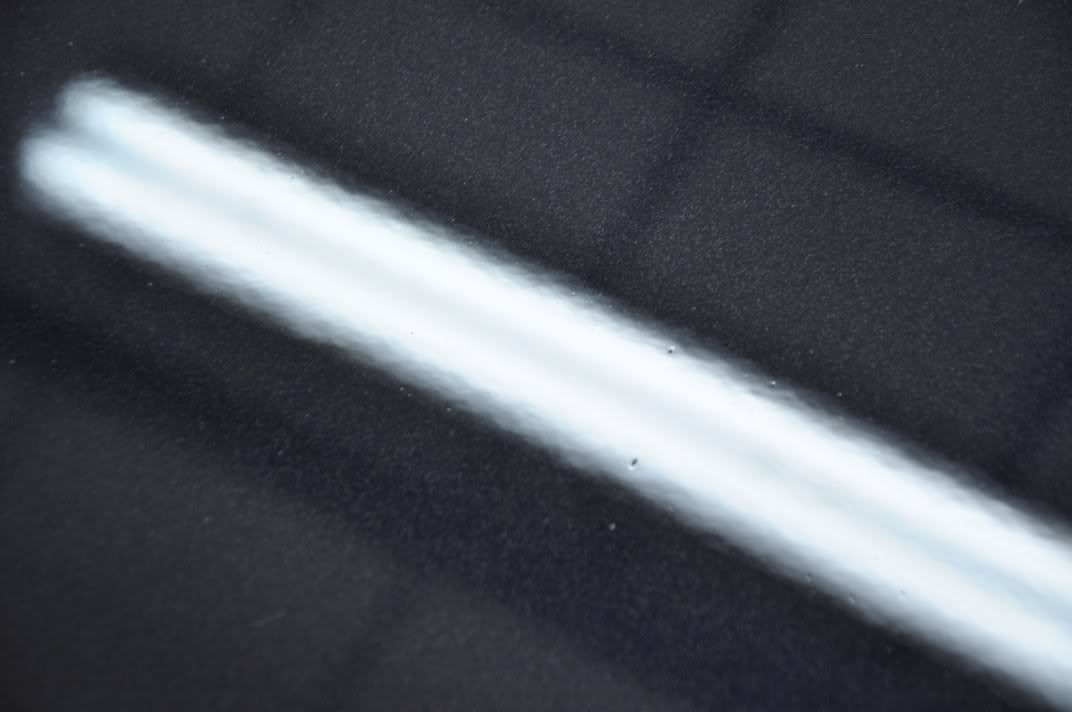
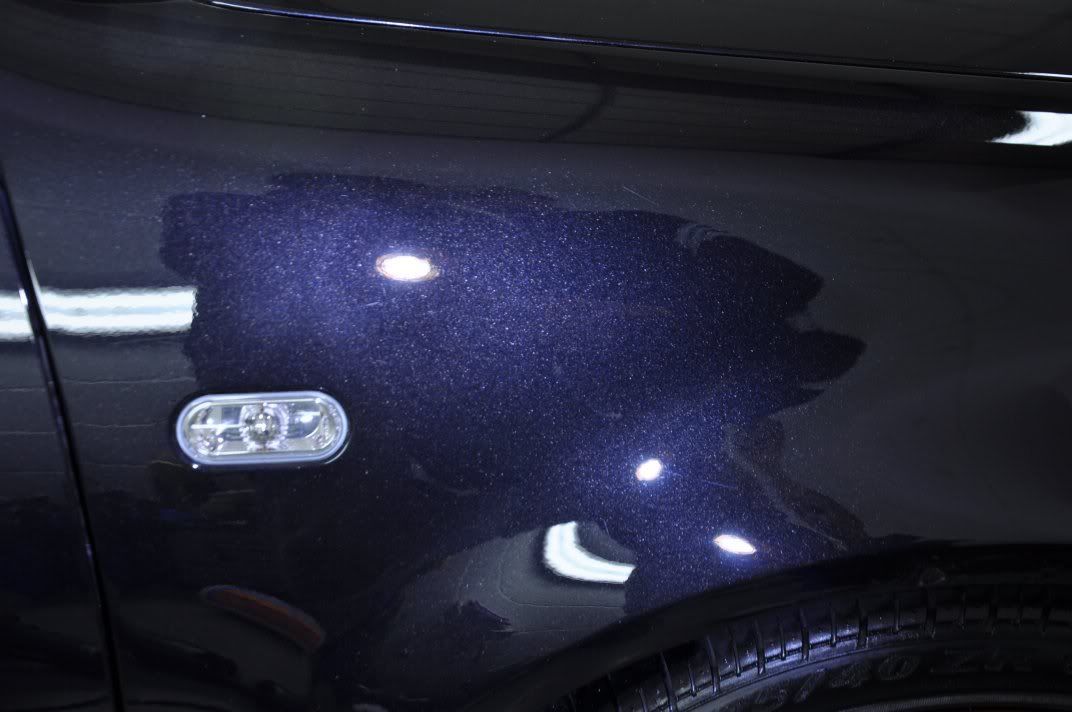
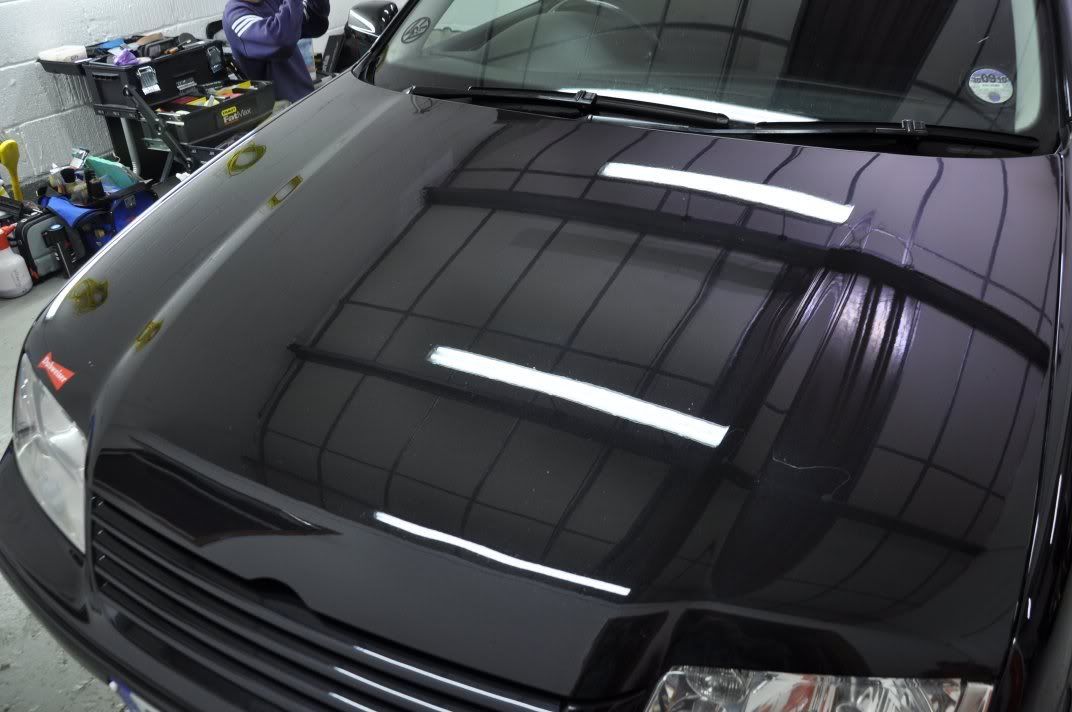
On this car, a test section on the bonnet was carried out first. The initial polishing combination trialled with Menzerna PO106FA Final Finish on a 3M Yellow polishing pad. Now VW tends to make people think hard paint, so you'd be forgiven for thinking this combo would be about as much use as a chocolate fire guard. But under the Sun Gun, it looks as if it has achieved pretty much full correction!
Of course, it hasn't, as the strip light shows the RDS which are still present...
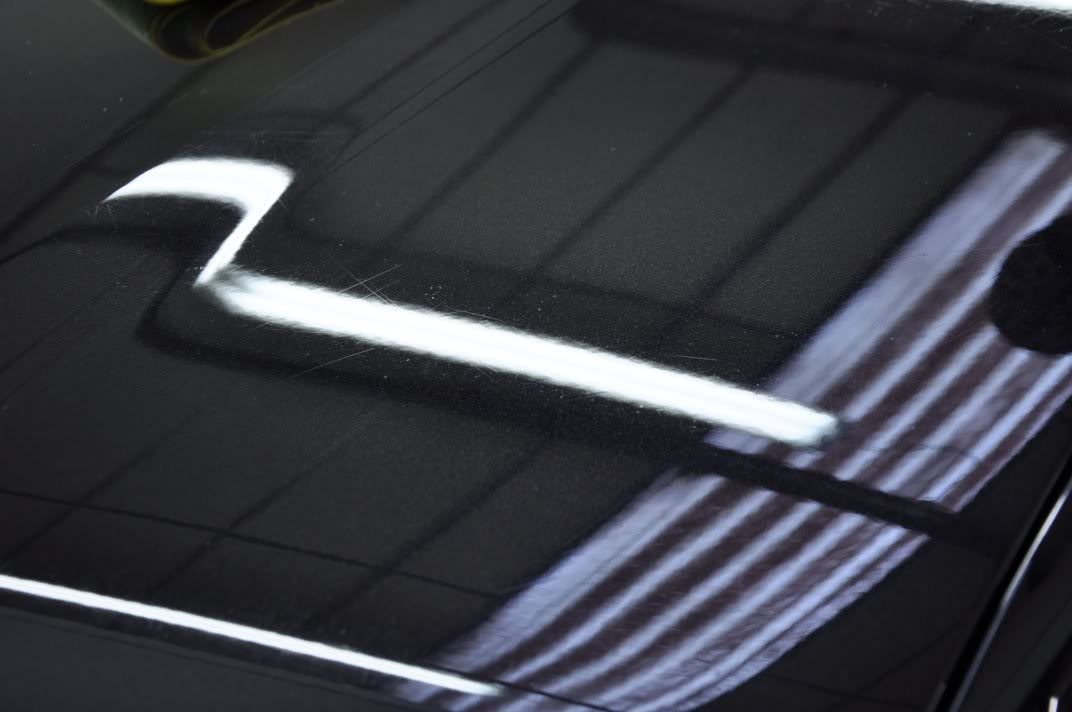
However the level of correction was impressive given this was a "light polishing" combo, which just goes to show the capabilities of this polish and that sometimes, less is definitely more.
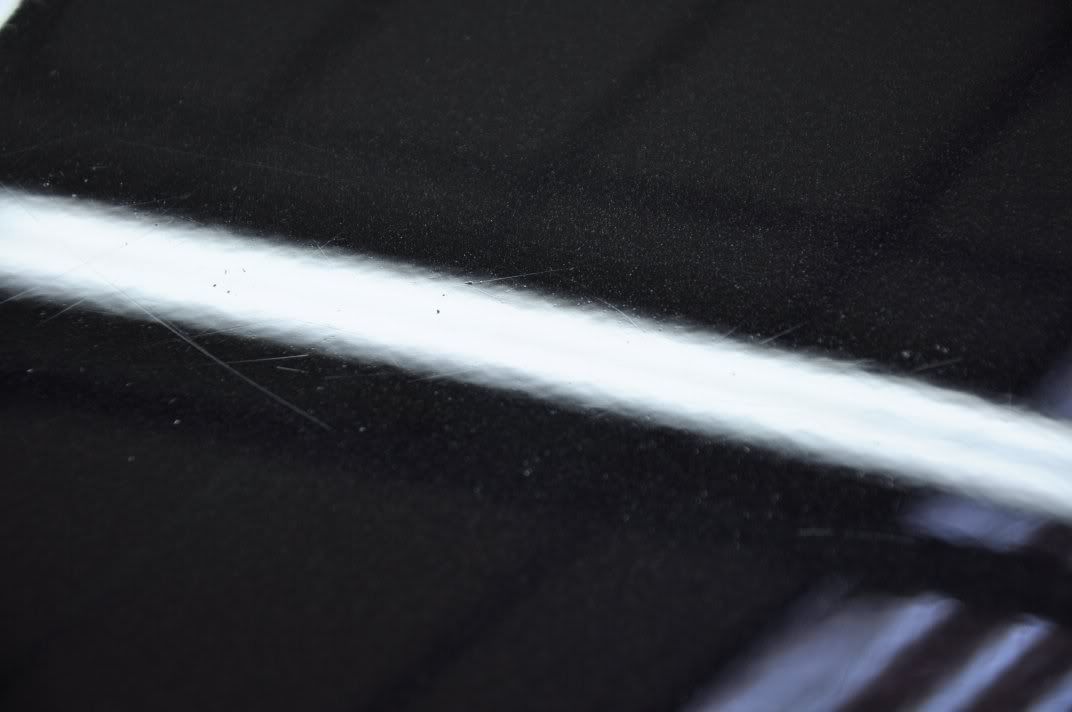
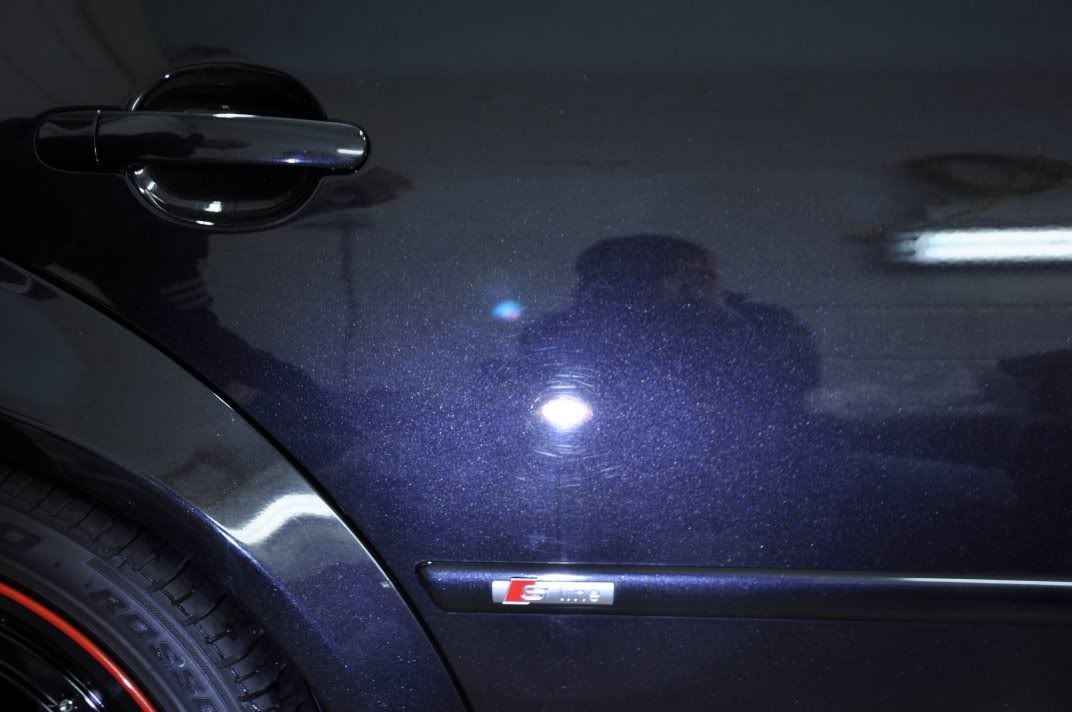
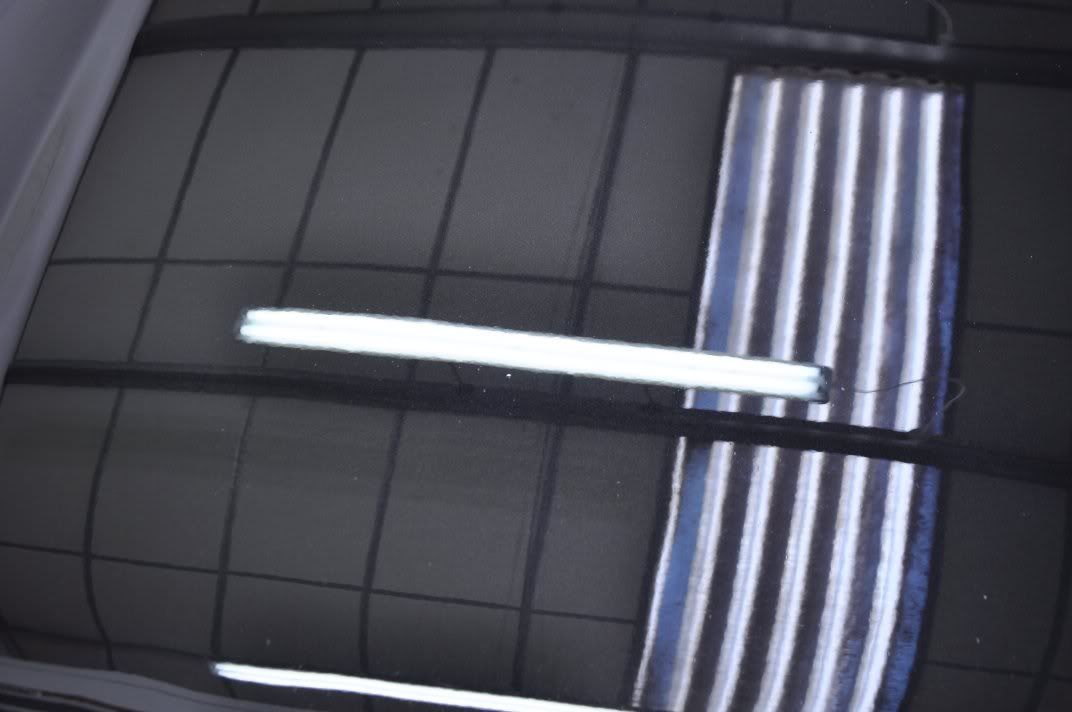
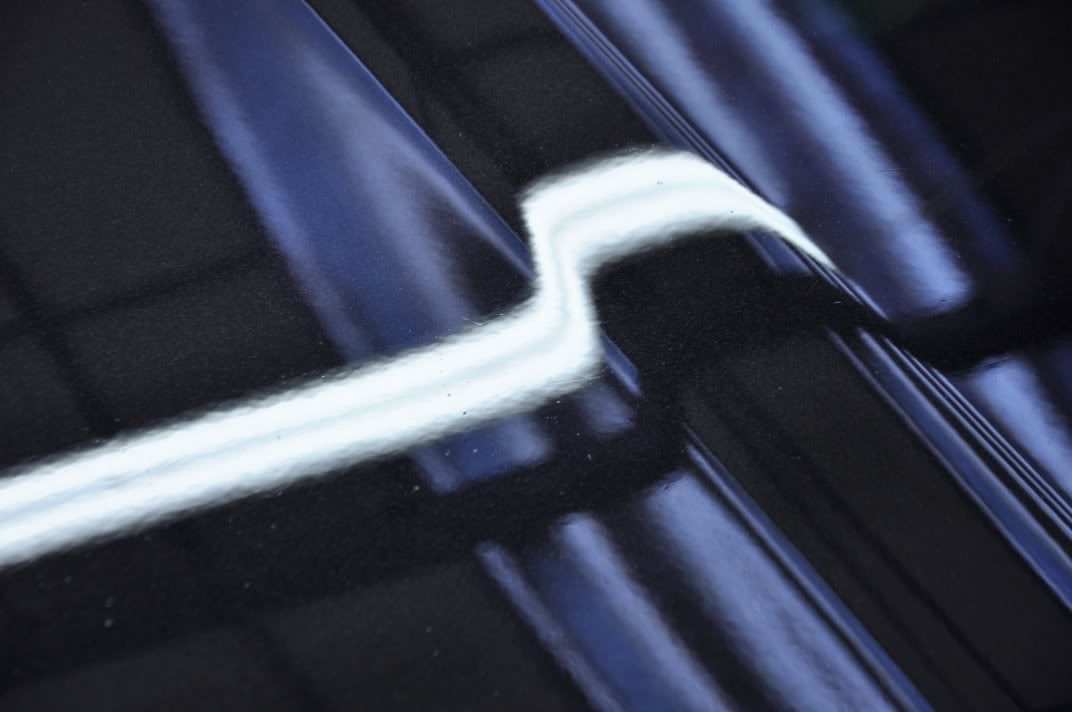
But to get rid of these marks properly, we were going to need more - so keep the same 3M yellow polishing pad but this time move to Menzerna PO85RD3.02 Intensive Polish. We got:
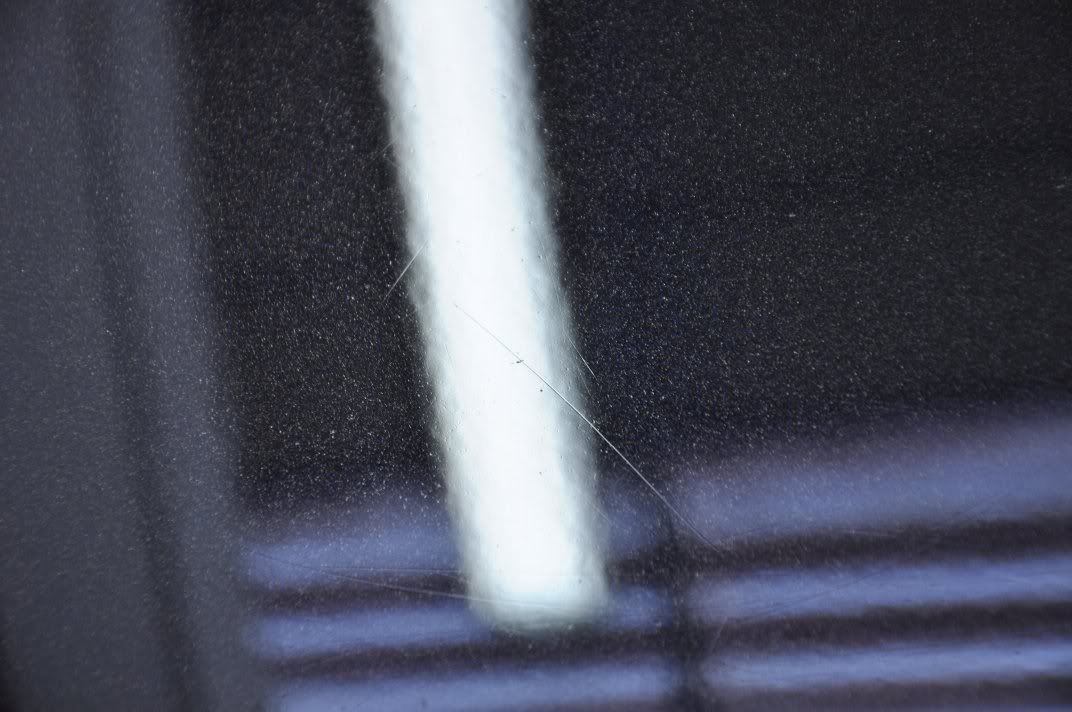
Much better but still not quite perfect.. assessing the paint thickness and seeing 85RD3.02 was removing only 4 - 5um with a regenerative technique, we decided to step up to Fast Cut Plus applied using a Chemical Guys Hexlogic Yellow Compounding pad, Ultrafina SE used in conjunction for additional lube. Meguiars #205 was used as the finishing polish, as is traditional for me .
.
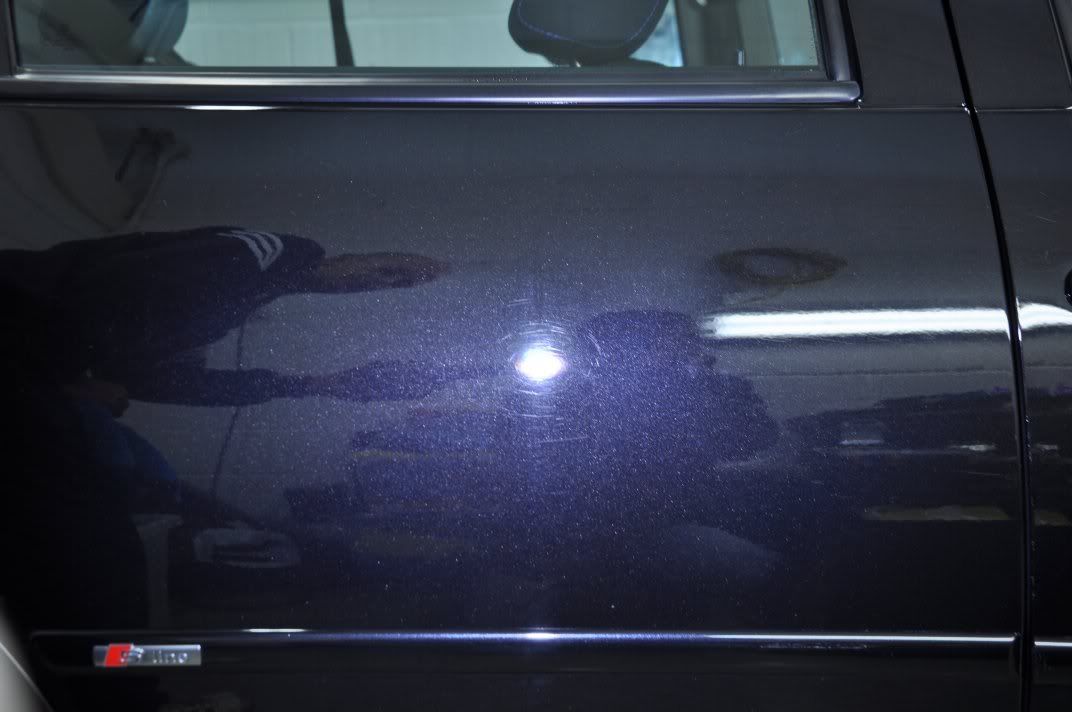
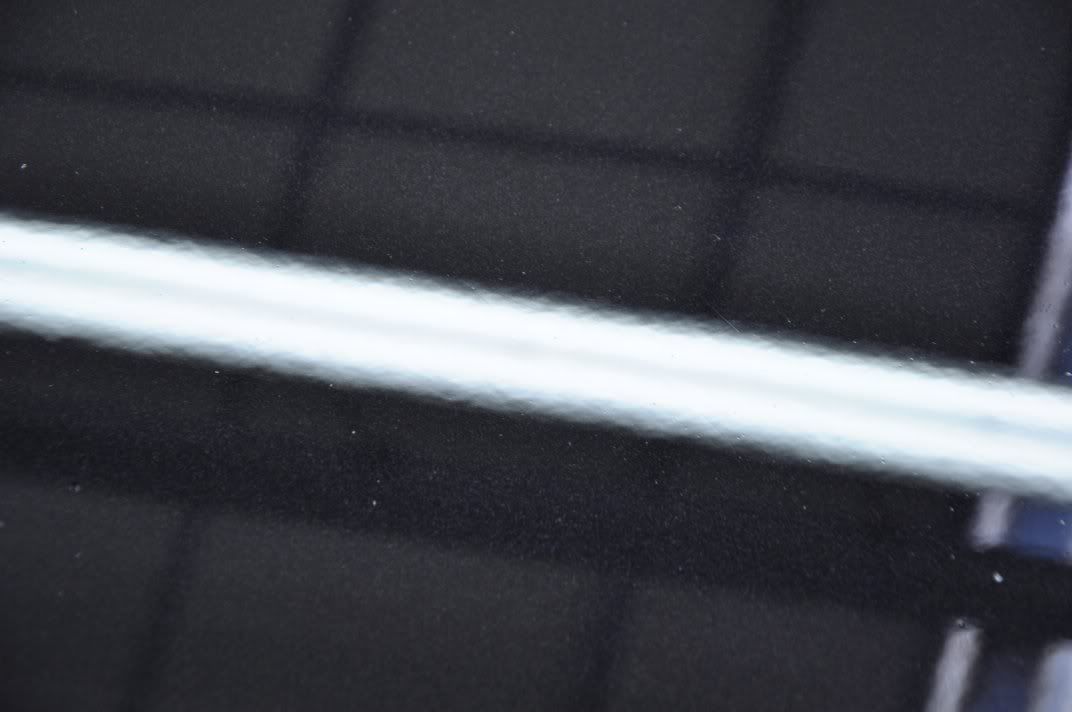
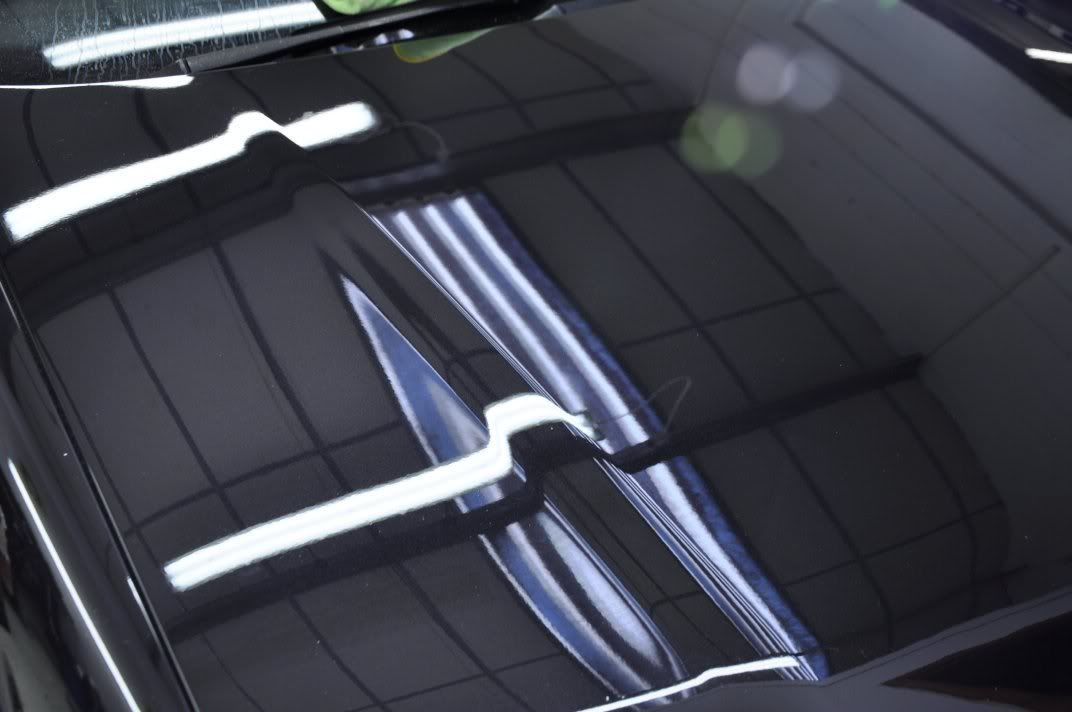
50/50 showing the effects of the RDS removal:
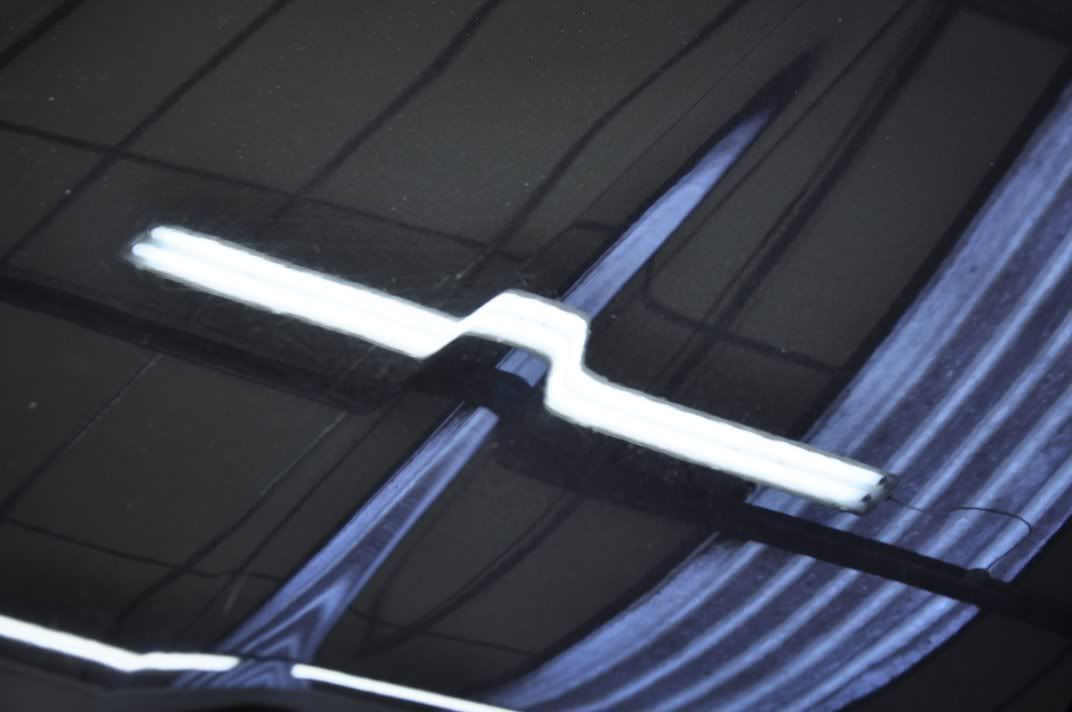
RDS removed:
and the finish refined...
With the paintwork assessed, we decided upon the following combinations and application techniques:
3M Fast Cut Plus + Ultrafina SE - Fast Correction Technique - For Heavy Mark Removal
For correction of regions with heavy RDS.
Menzerna PO85RD3.02 Intensive Polish - Regenerative Technique - General Correction
For correctioon of regions with general swirls and lighter RDS, Reg. Technique allowed for more correction which minimised the need for Fast Cut and more paint removal on some panels.
Meguiars #205 Ultra Finishing Polish - Double Zenith Technique - Finishing
Refining an finishing stage
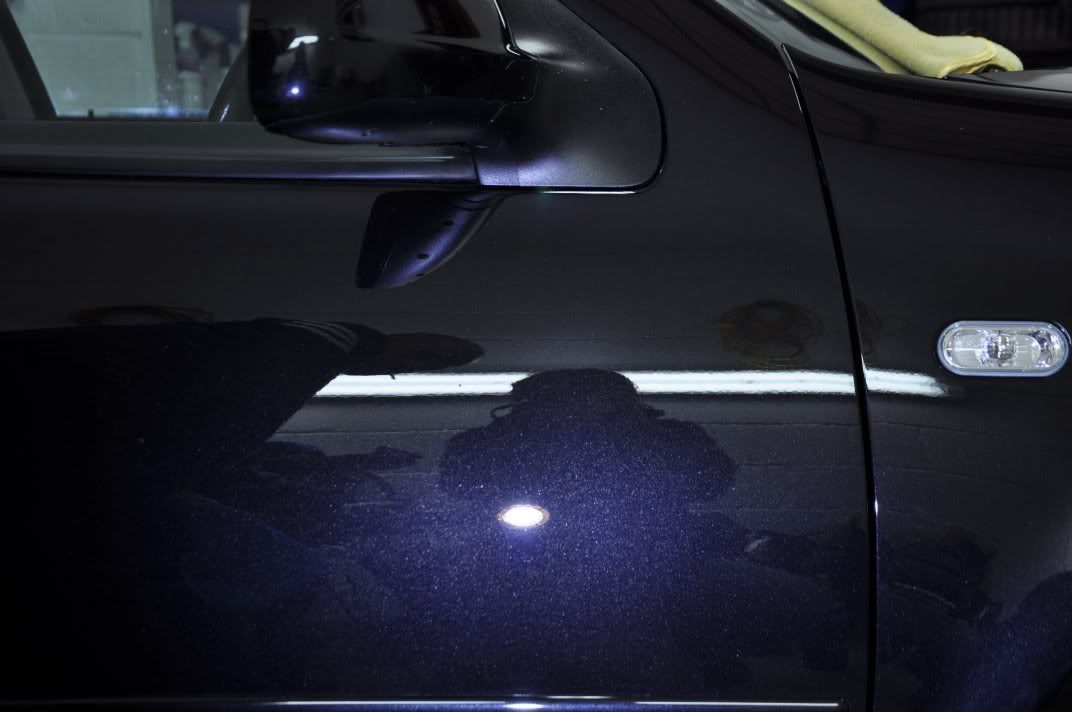
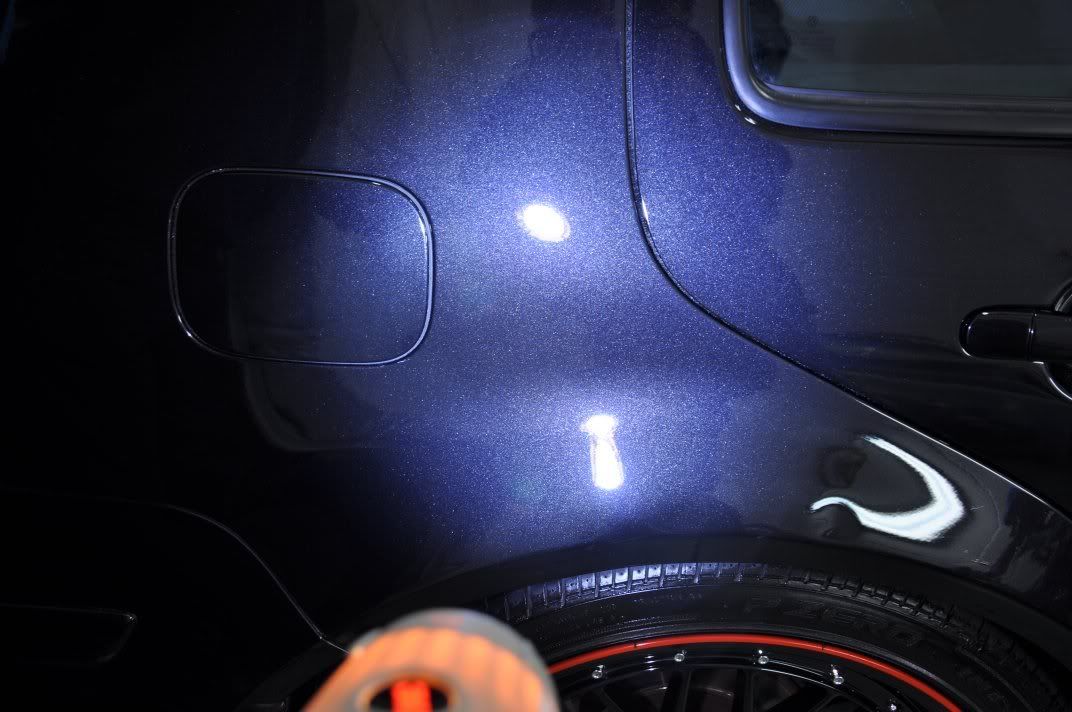
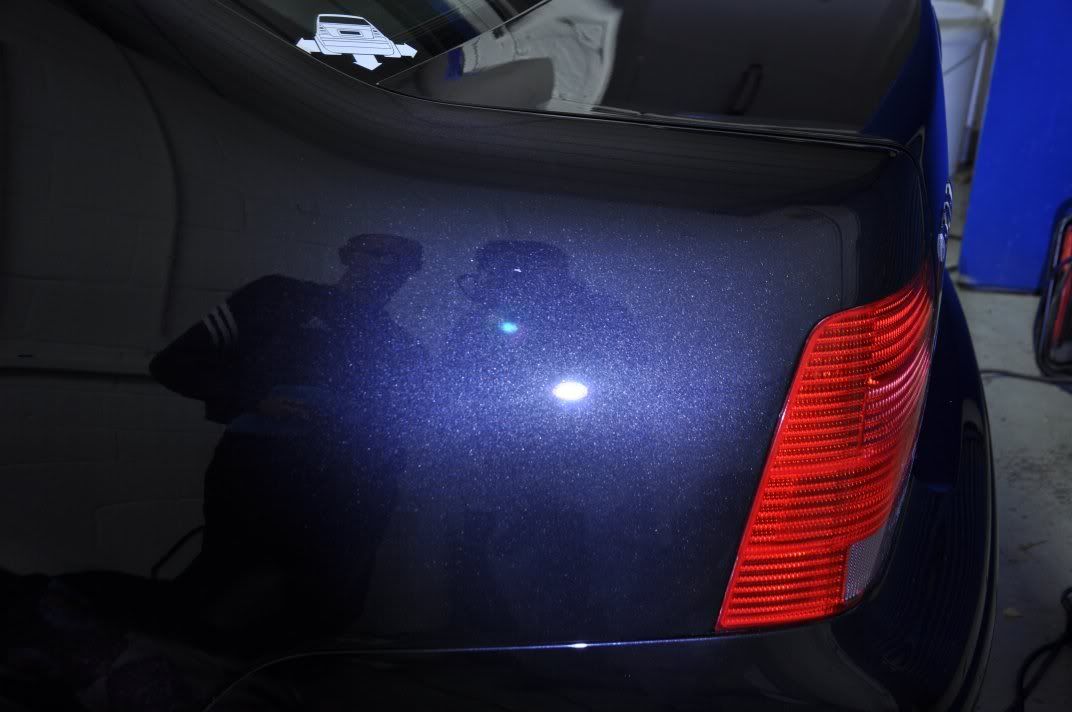
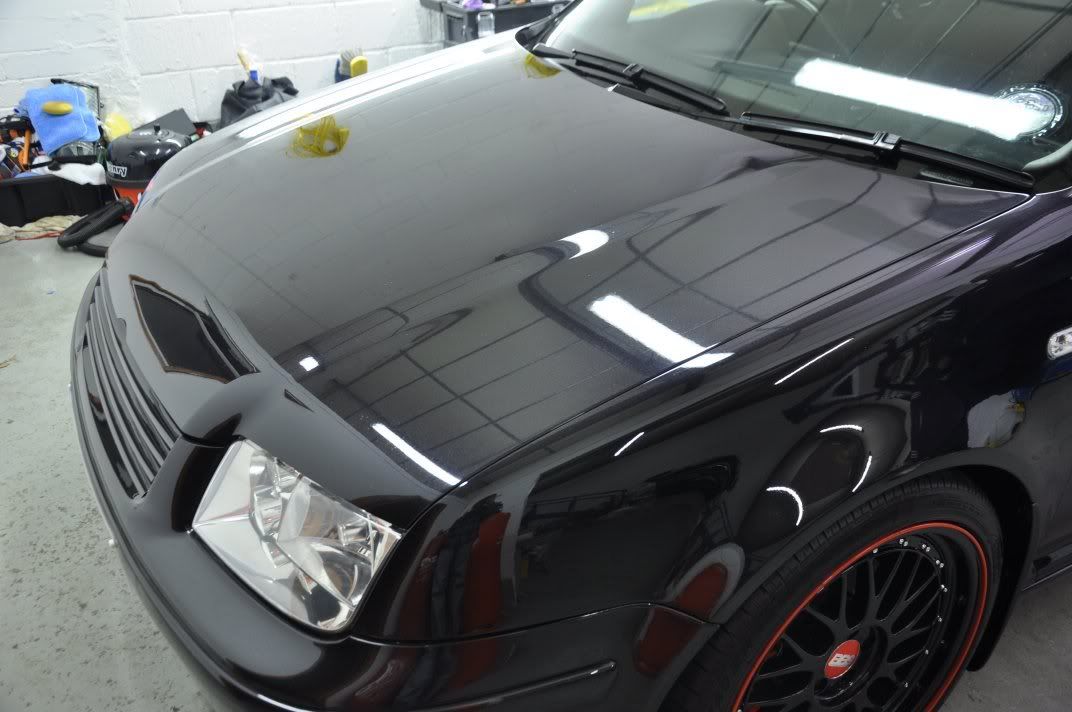
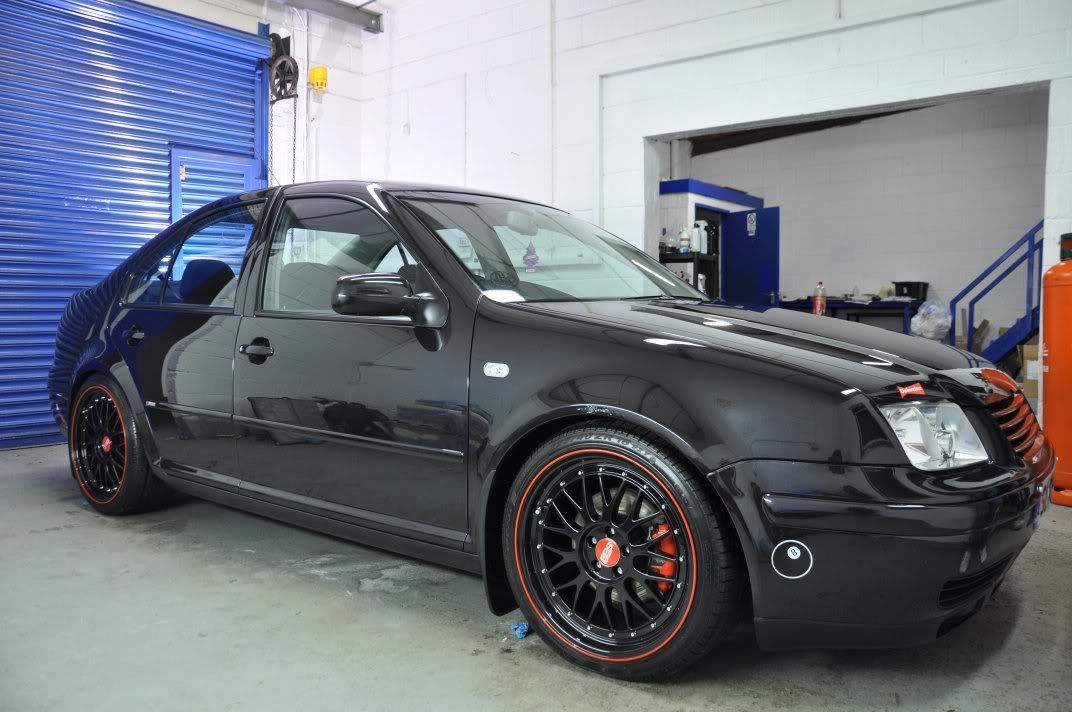
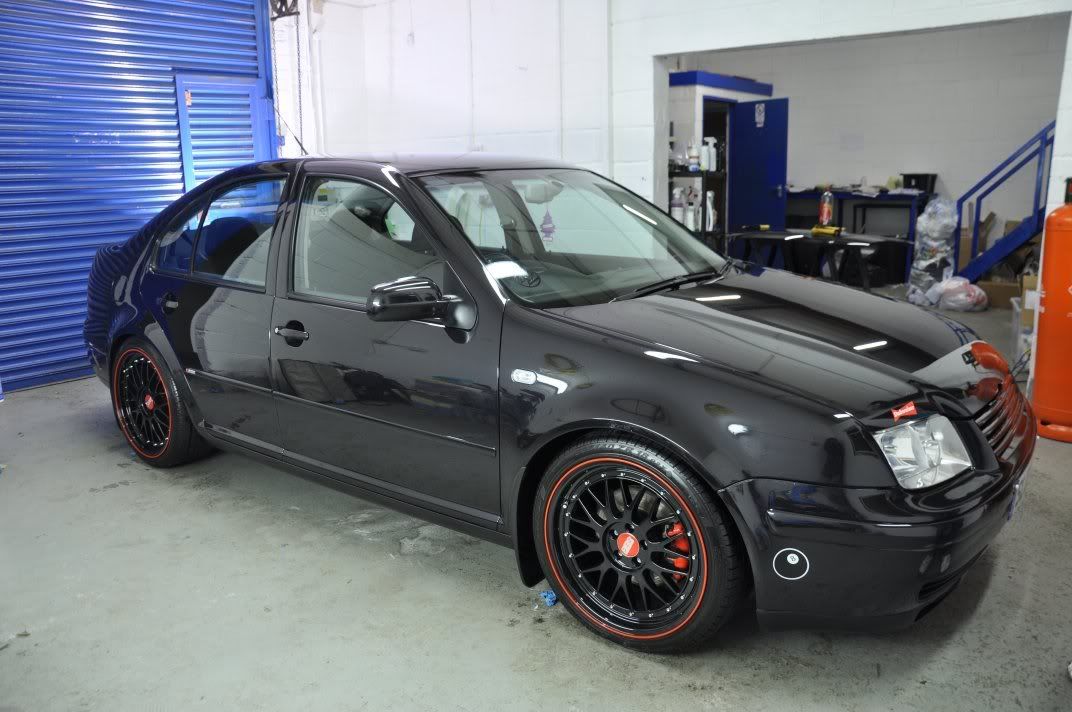
Before pictures from around the car...


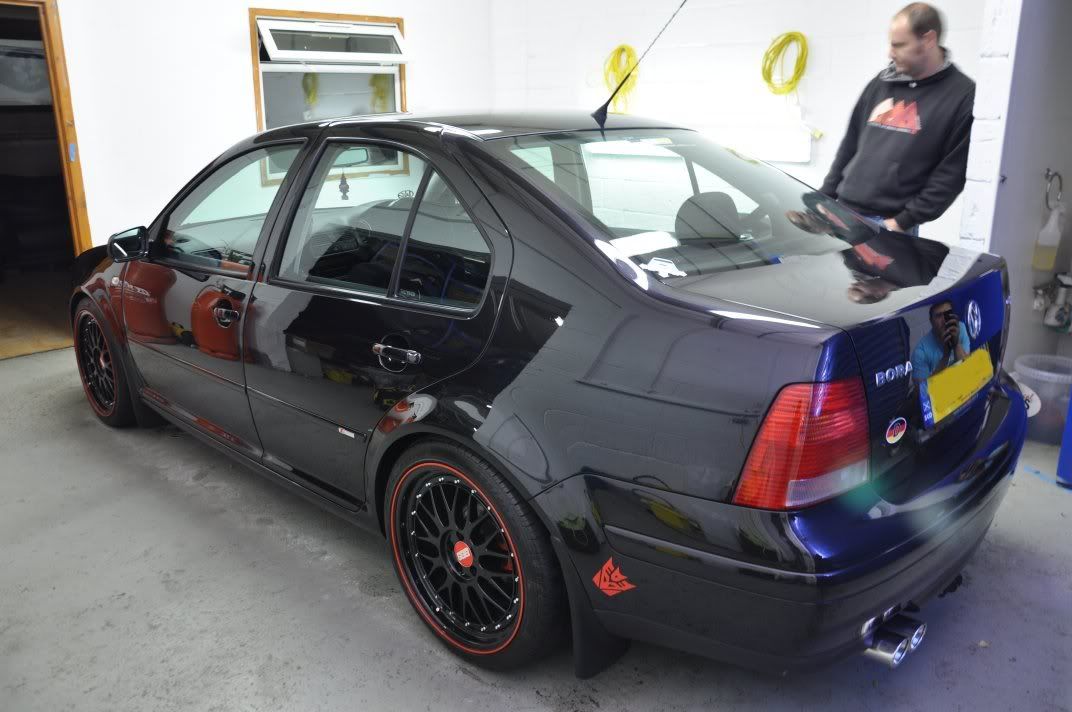
After shots...
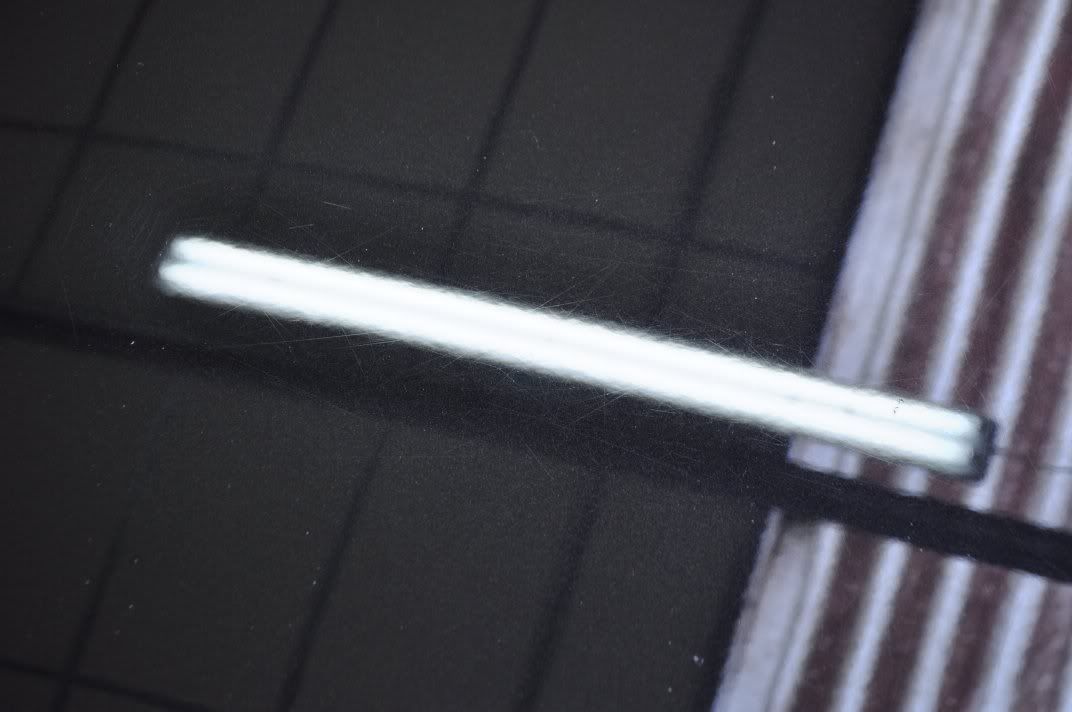
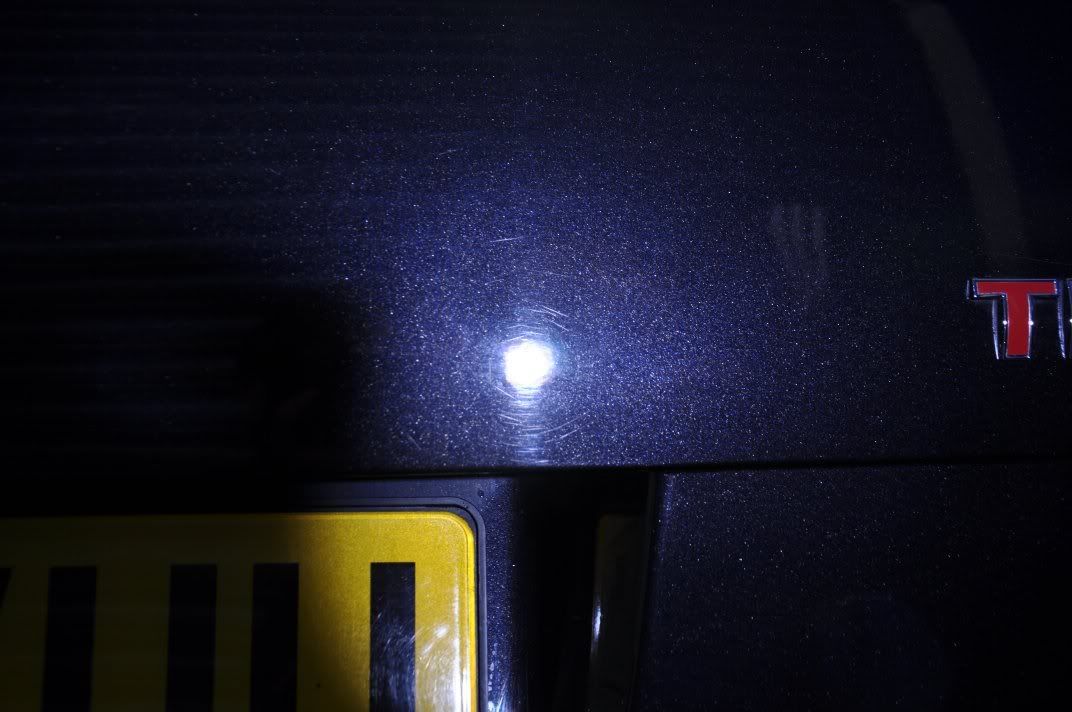
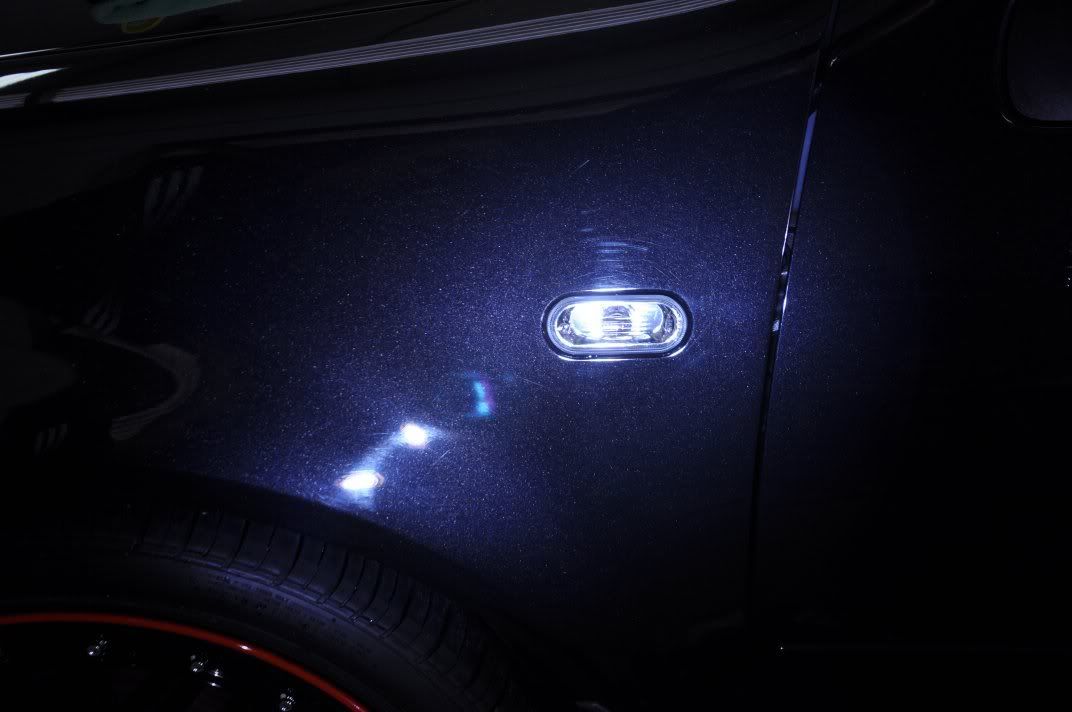
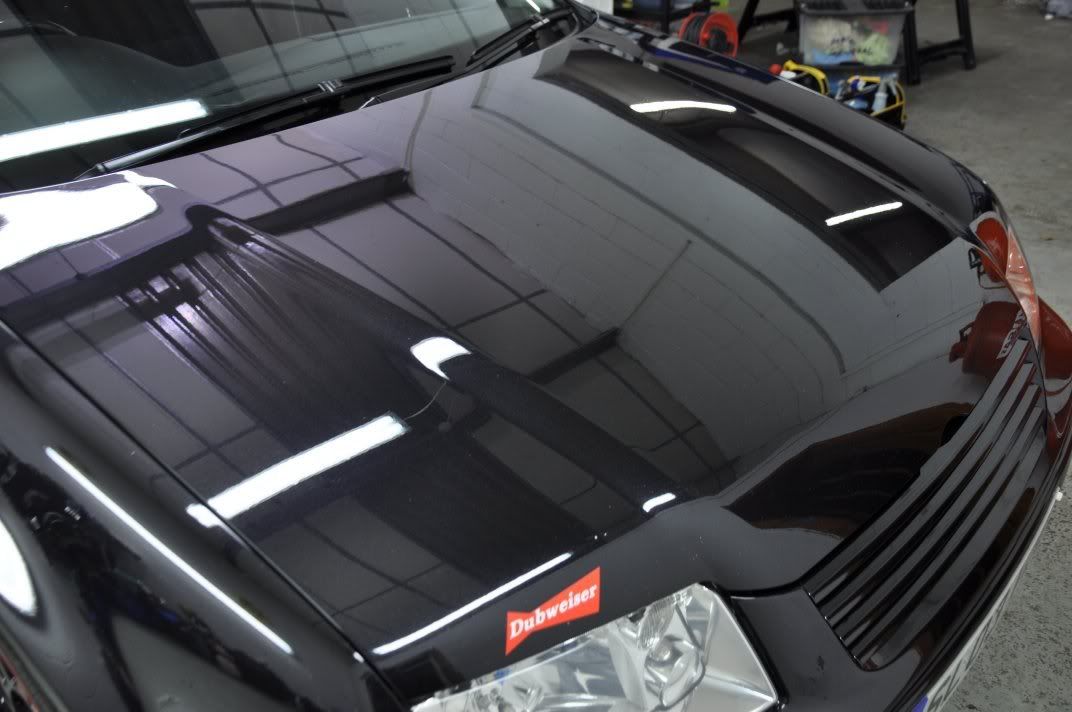
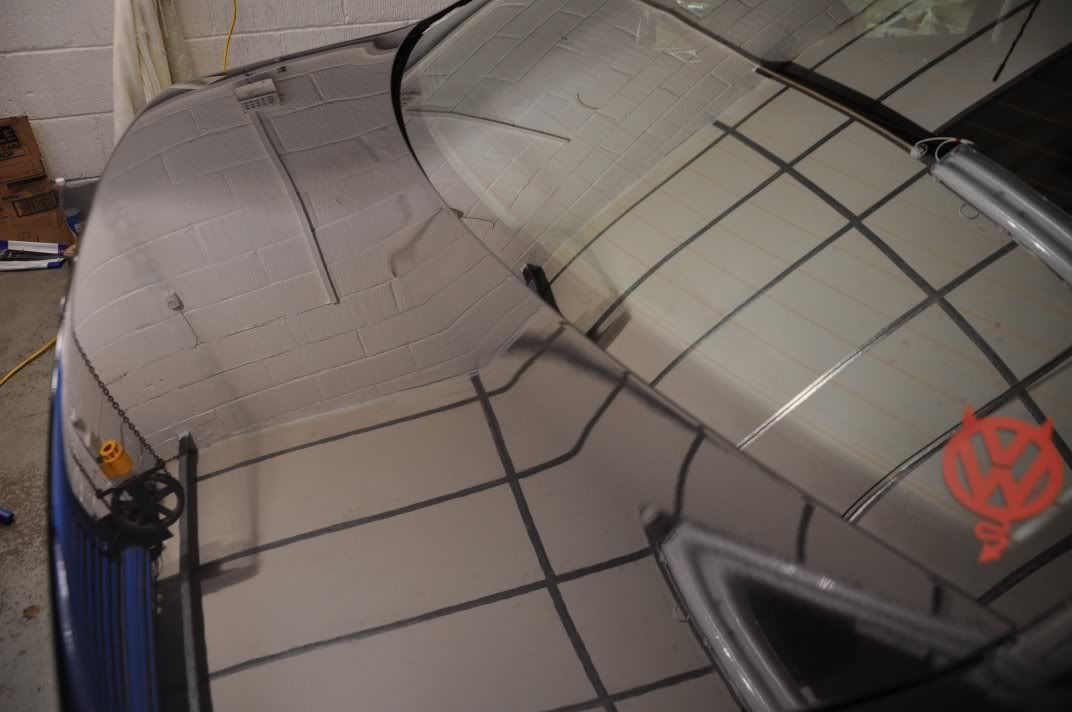
Bonnet, RDS removed:
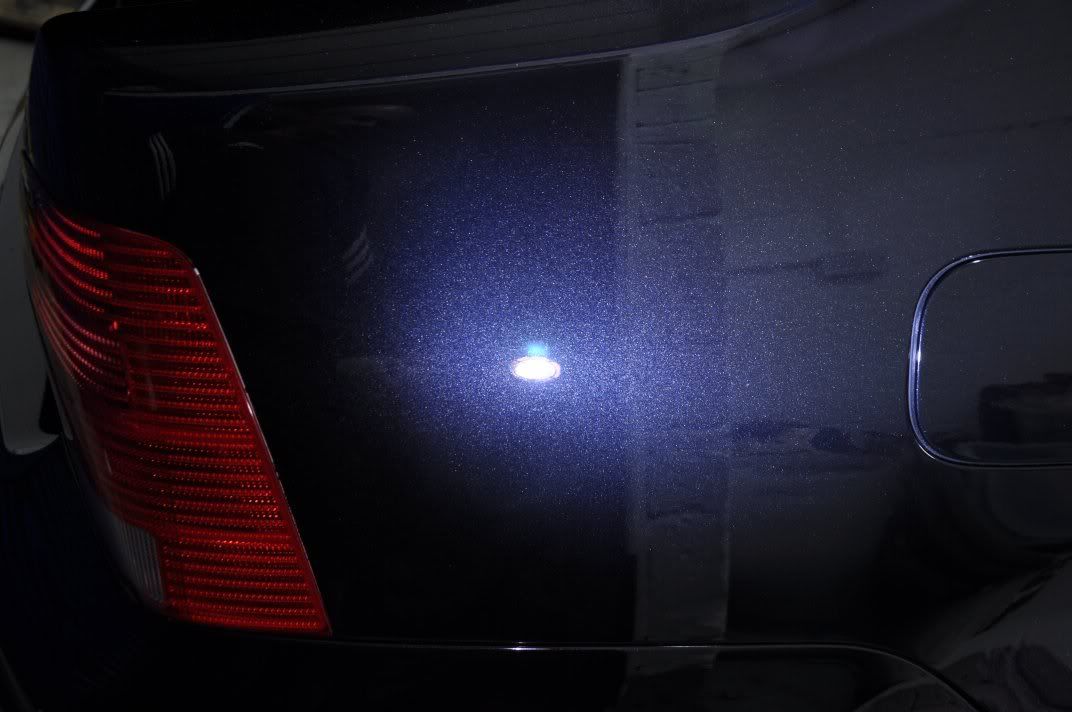
Bonnet under the Sun Gun...
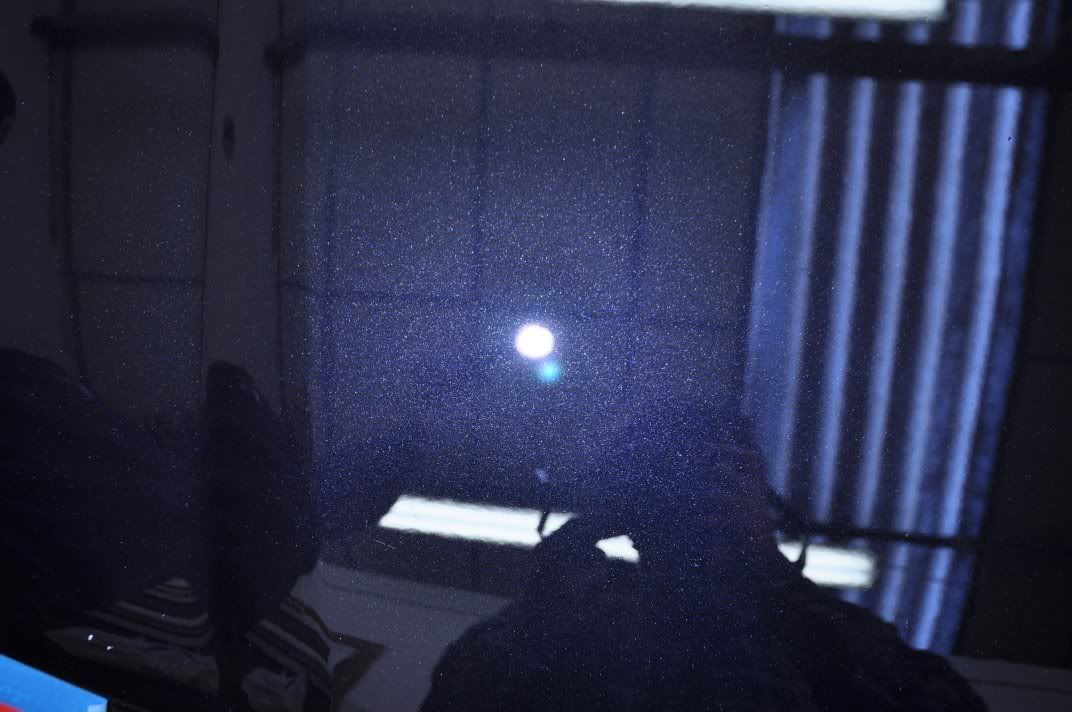
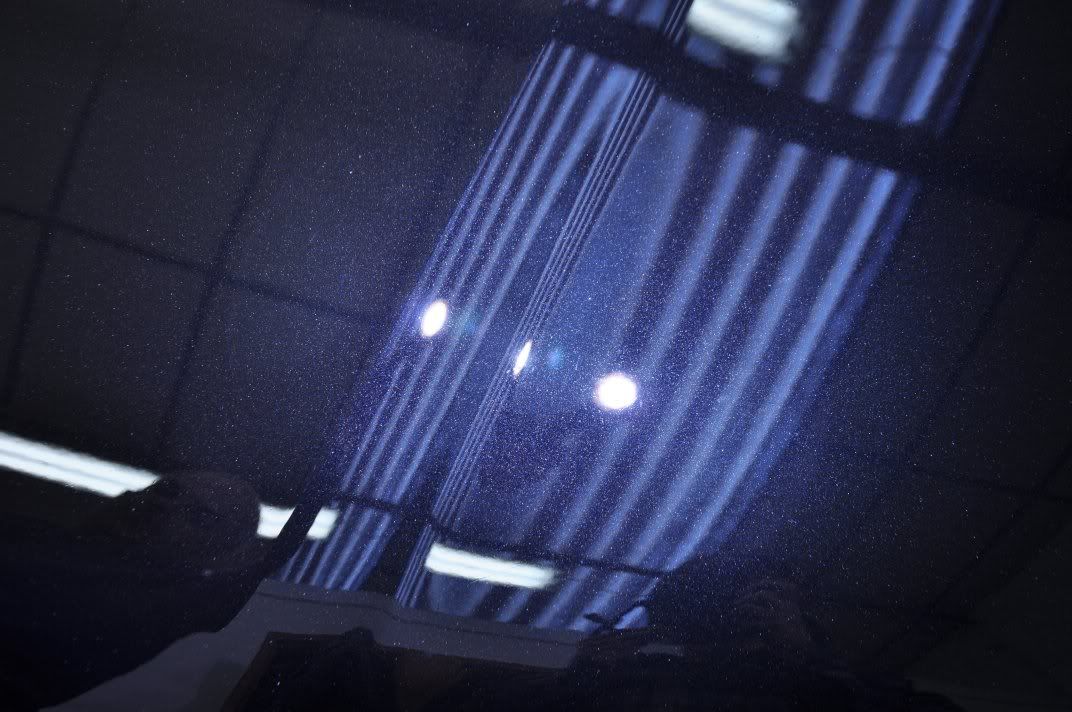
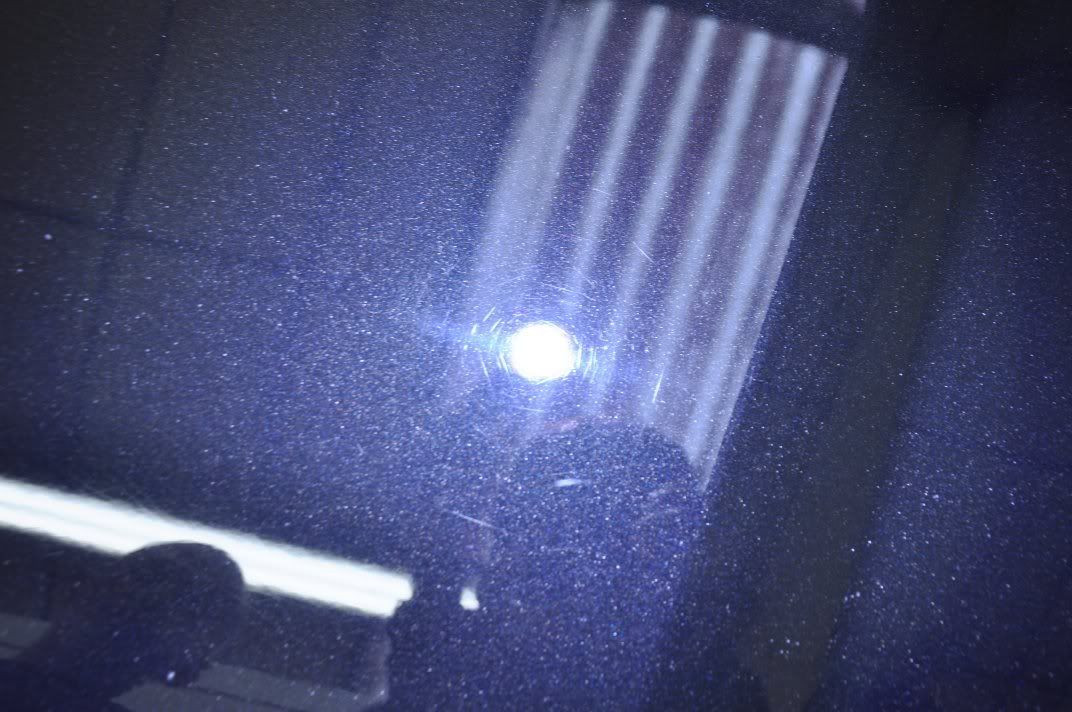
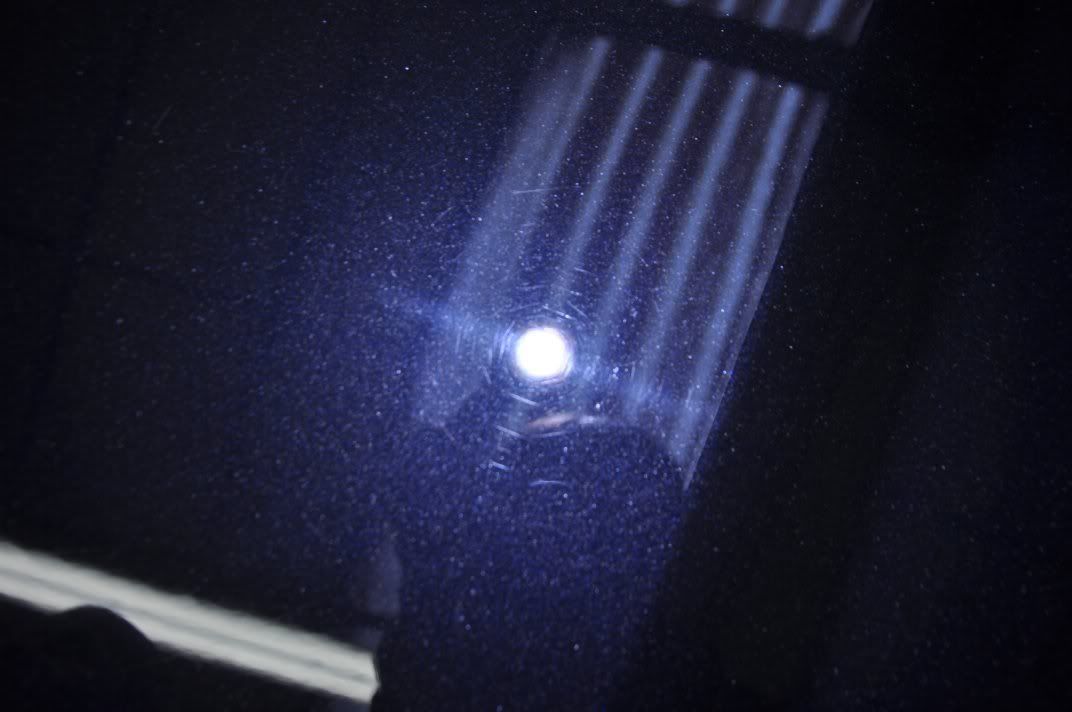
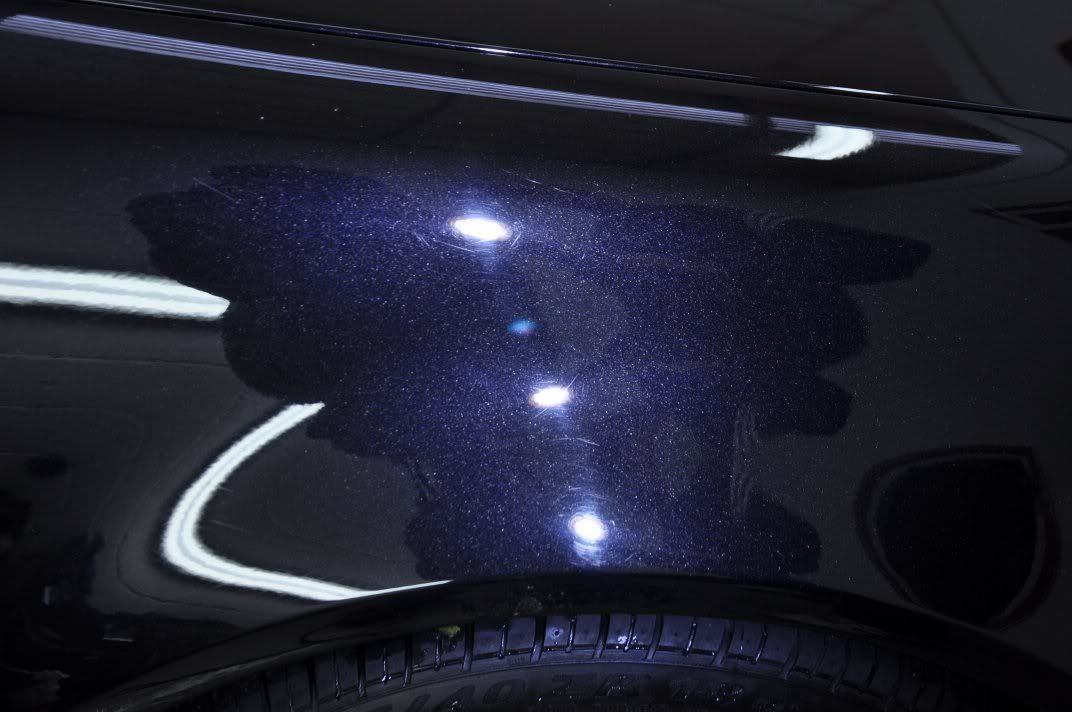
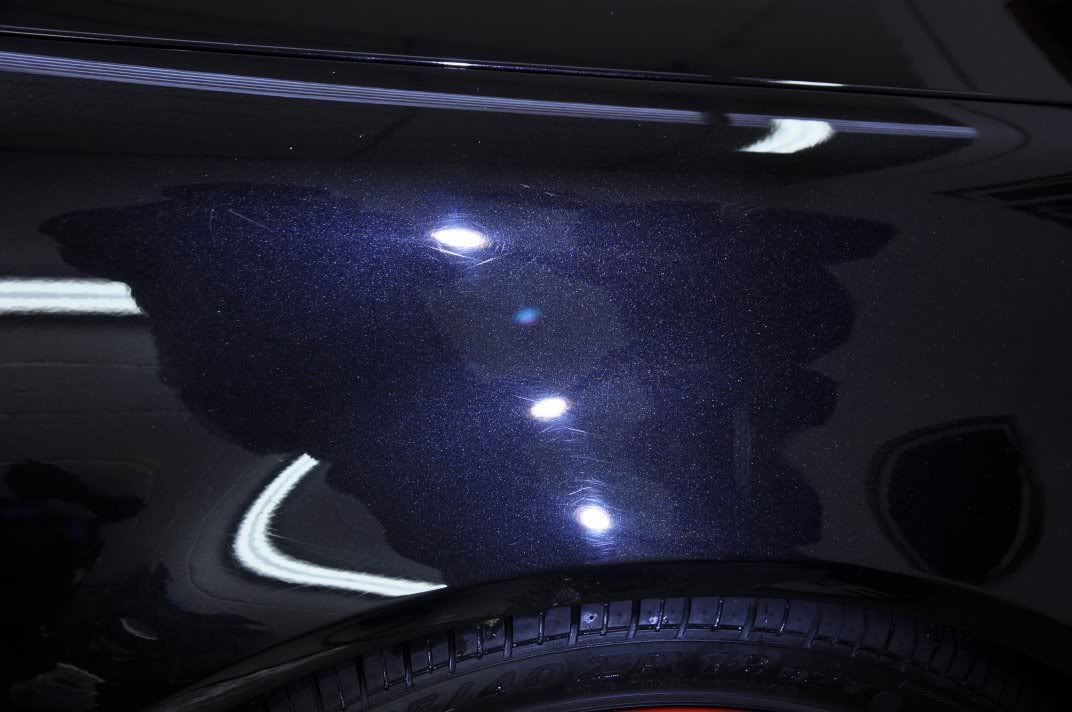
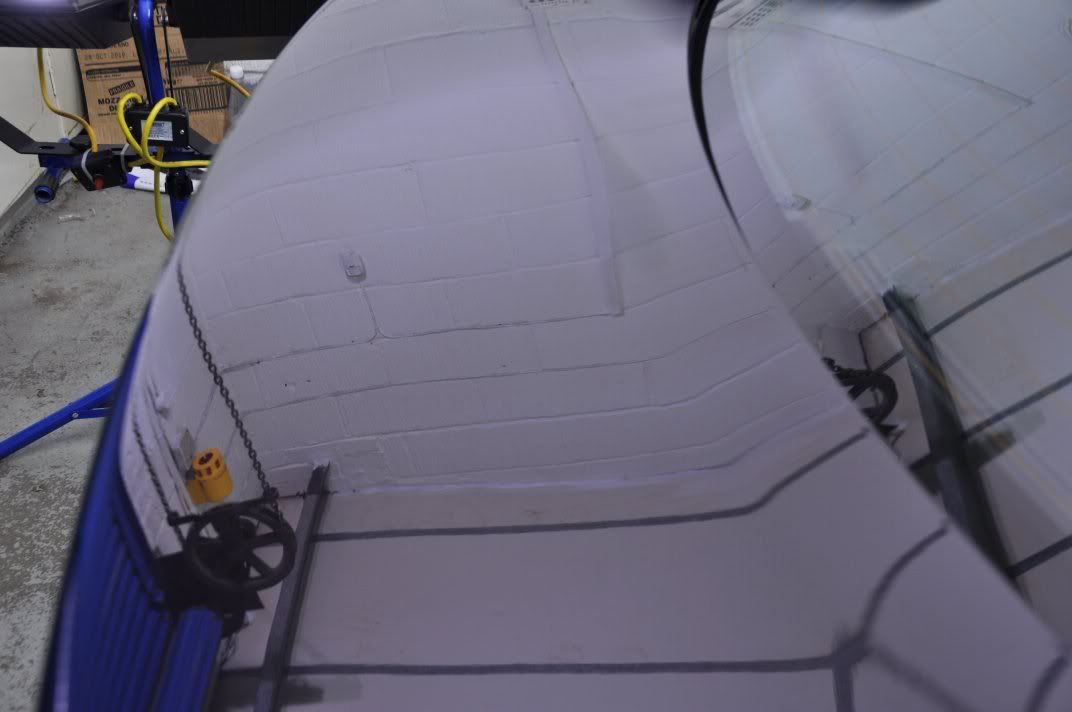
A small note on photogrpahs here... the following pic, I have manually focussed on the image of the Sun Gun bulb (the paint top surface), not the flake is out of focus...
and here the focus is the flake, so the image of the Sun Gun is out of focus as the flake and top layer of paint are at slightly different points...
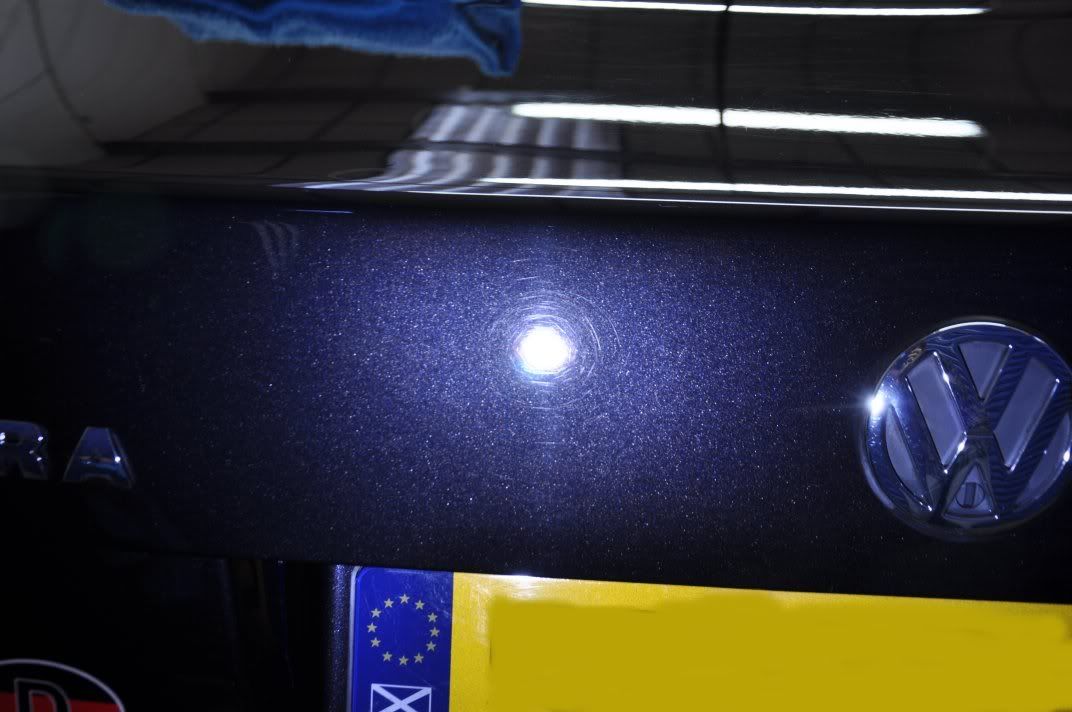
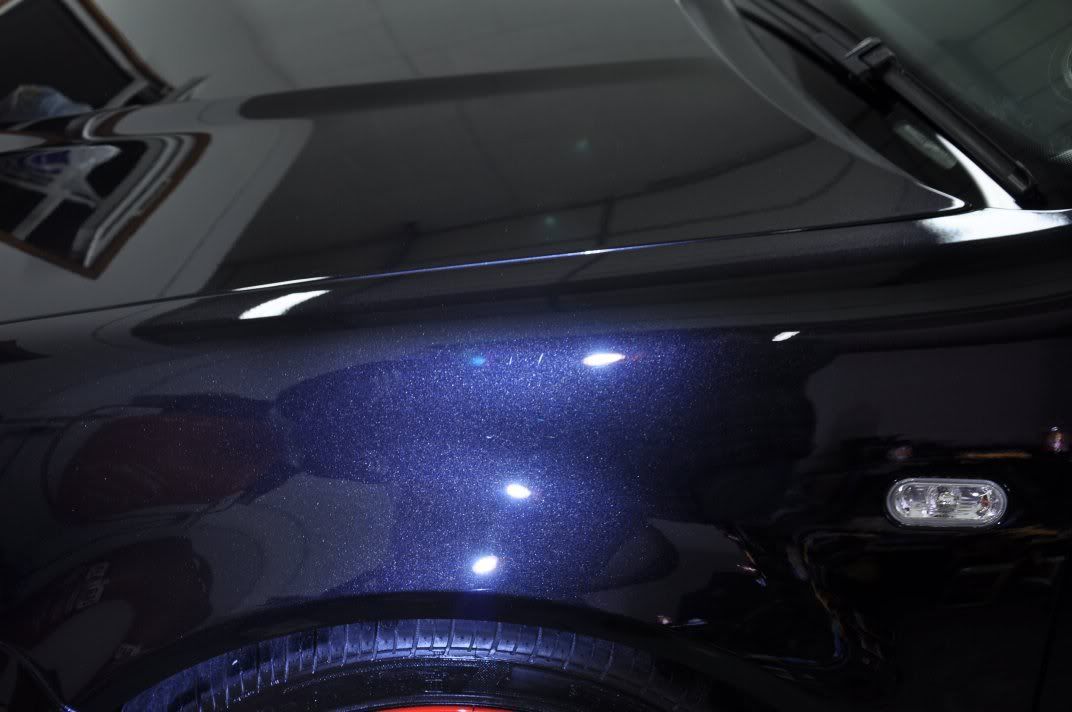
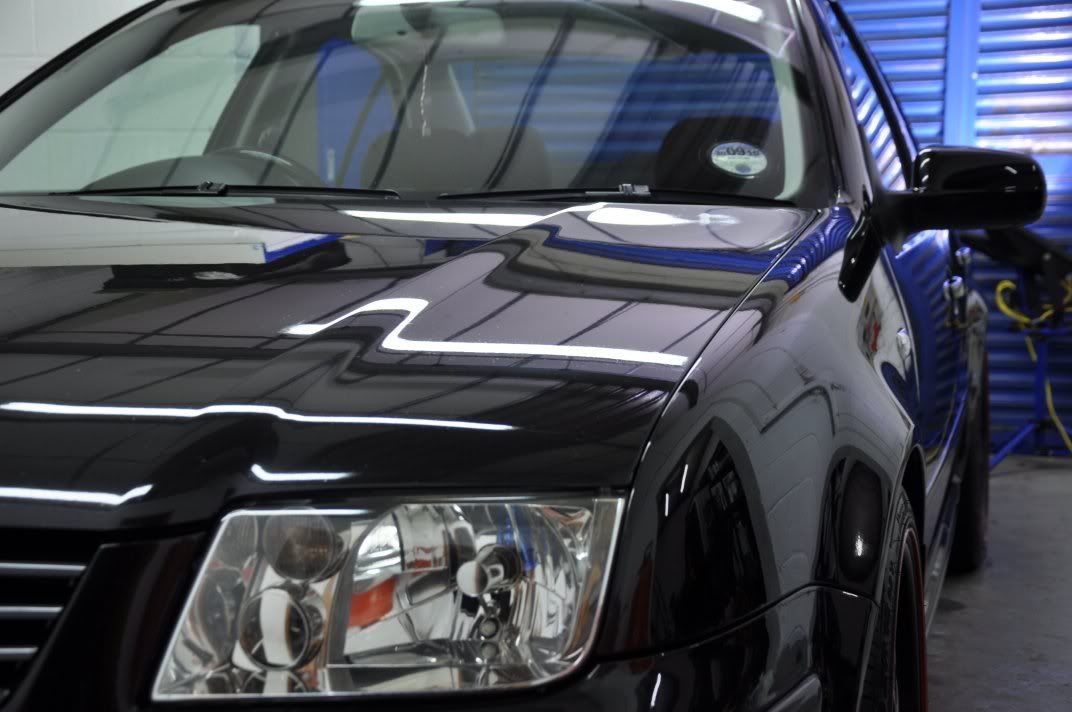
More afters from around the car...


Headlights were also machine polsihes to restore a little more clairty to the plastic fronts... Before:
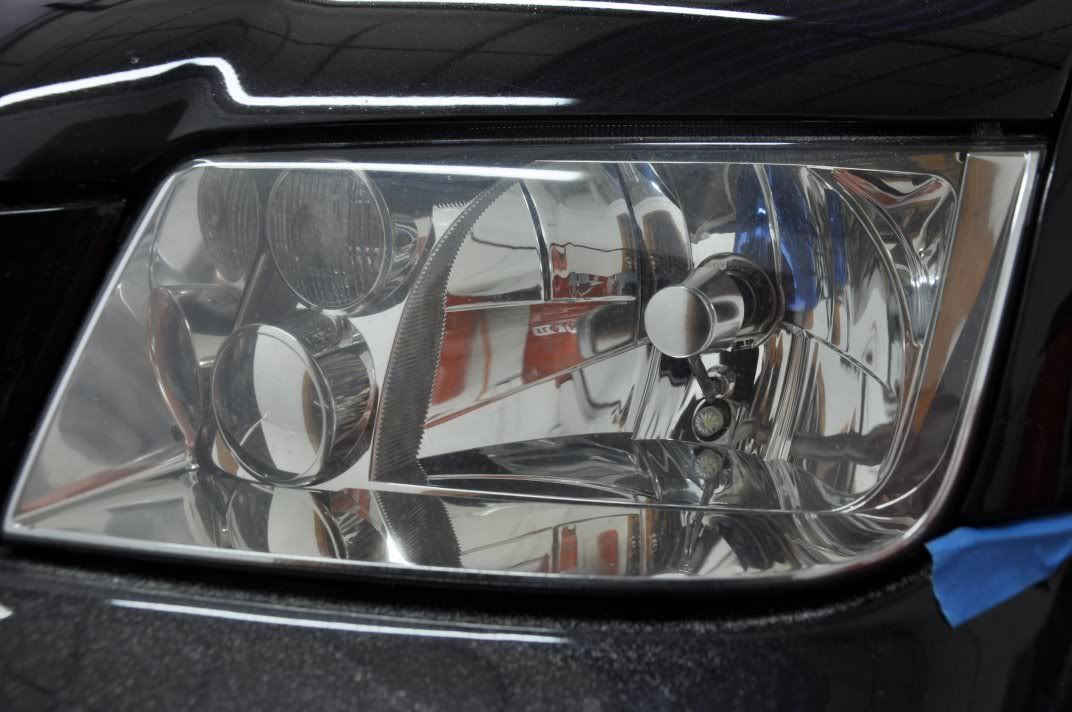
and after Intensive Polish:

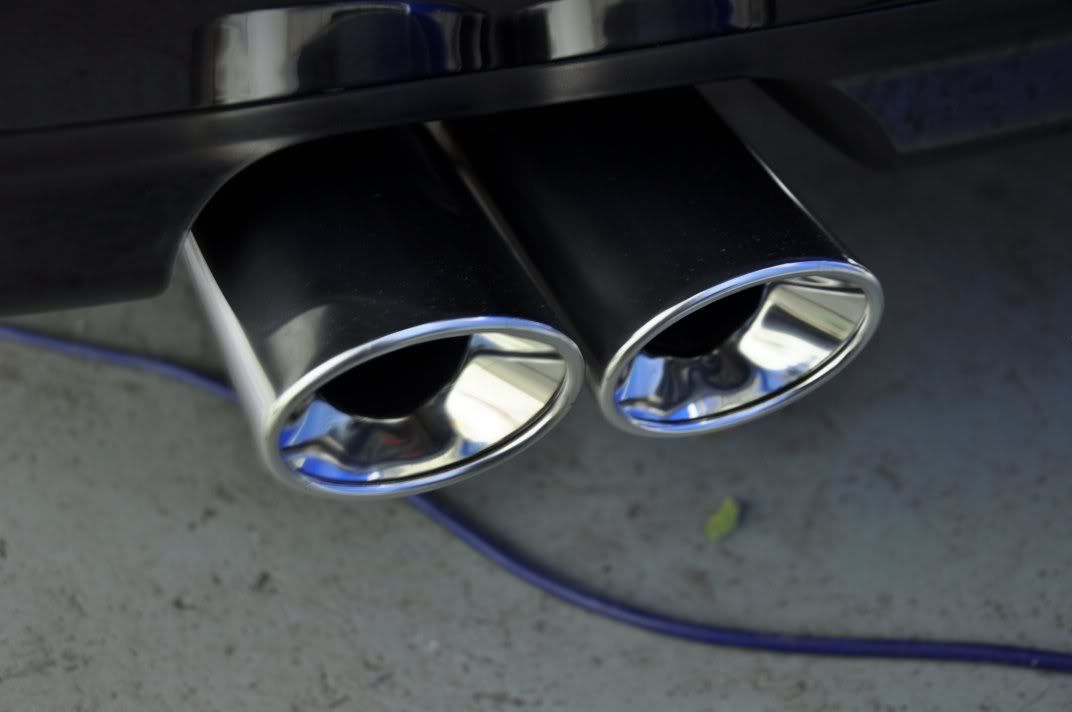
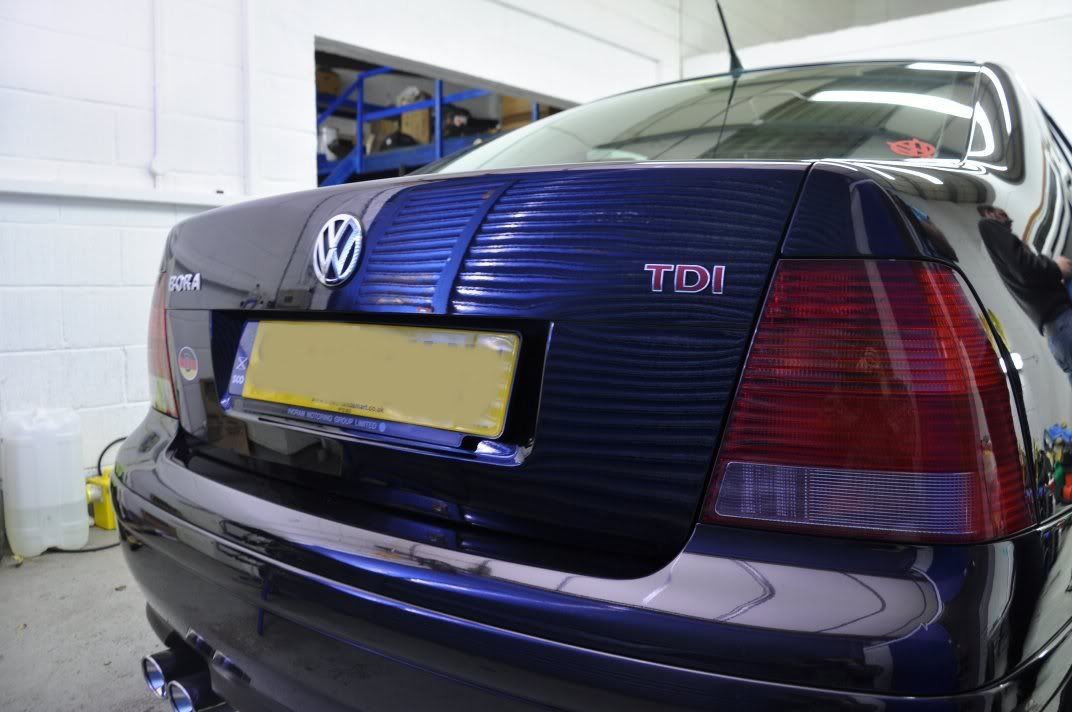
The tail pipe after Briliant #1 followed by Briliant #2:
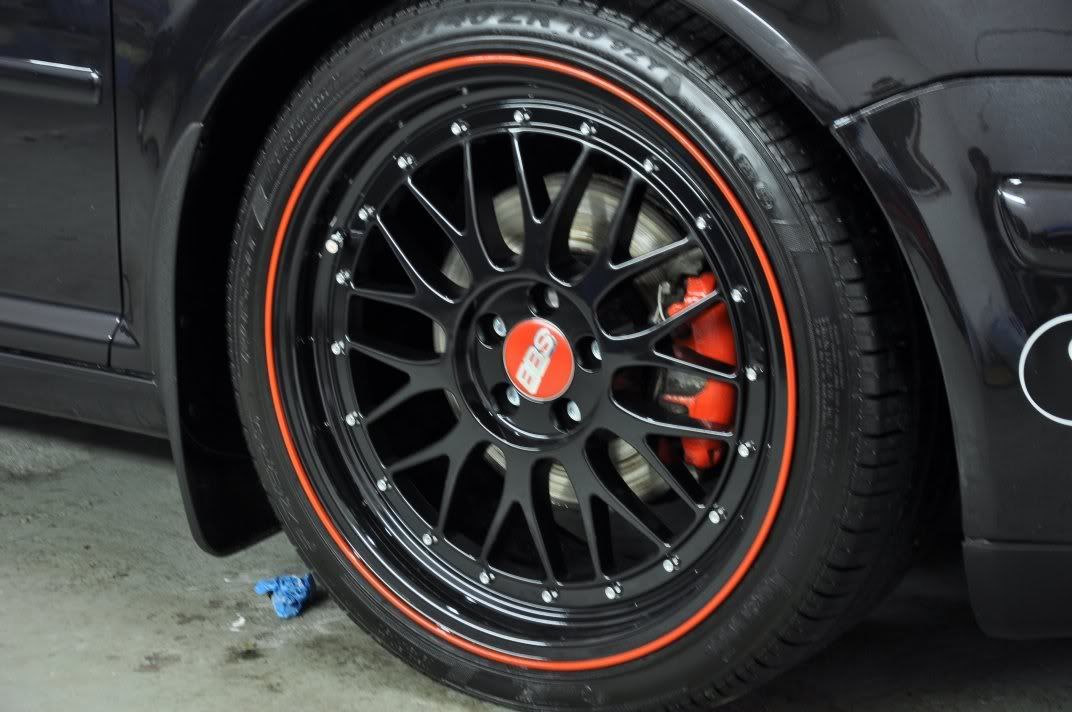
The car was protected using Victoria Concours wax. Duragloss 751 was used to clean the glass, RD50 on tyres, FK1000P on wheels, New Look Trim Gel on rubbers and plastics.
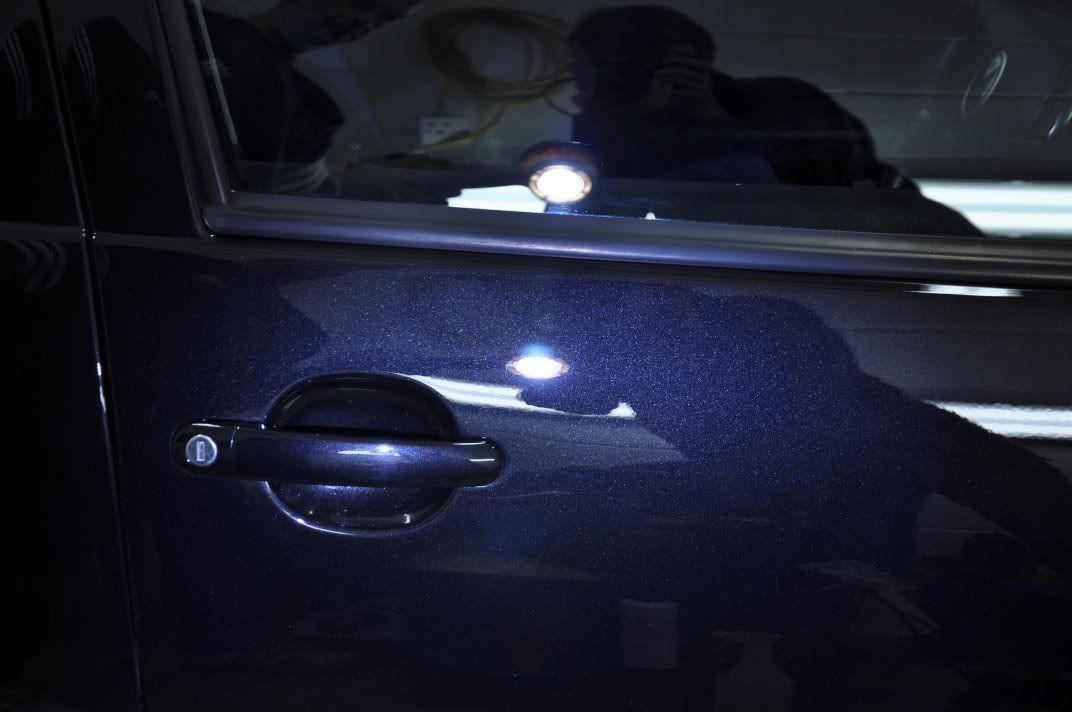
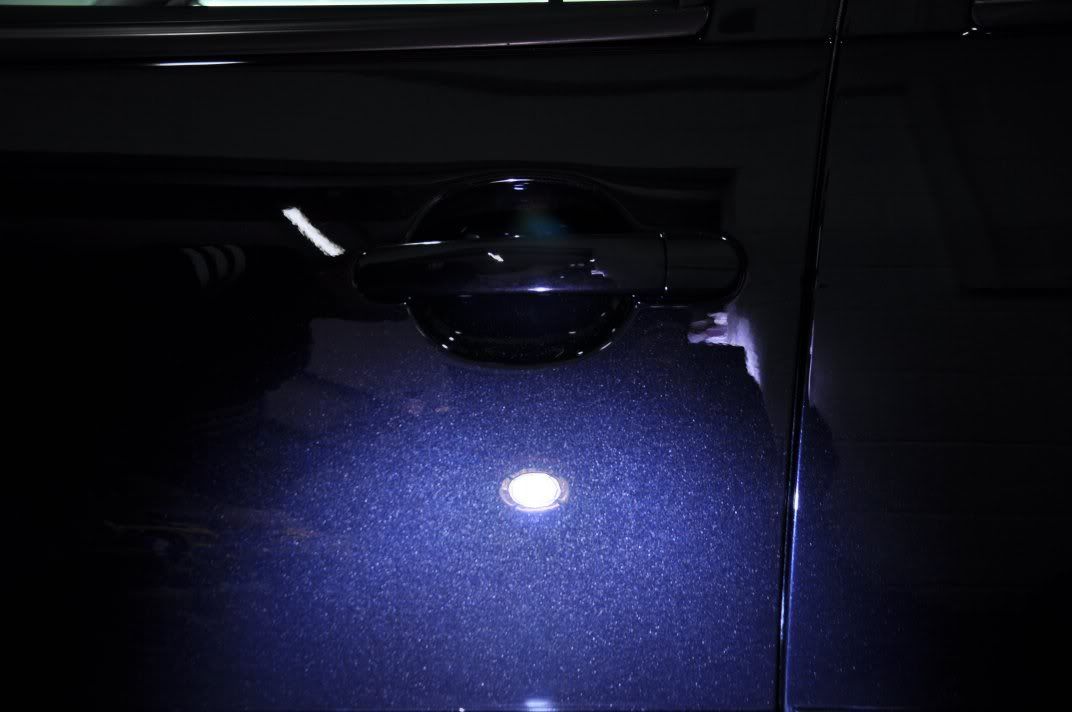
After shots, all indoors I'm afraid owing to the late night finish:
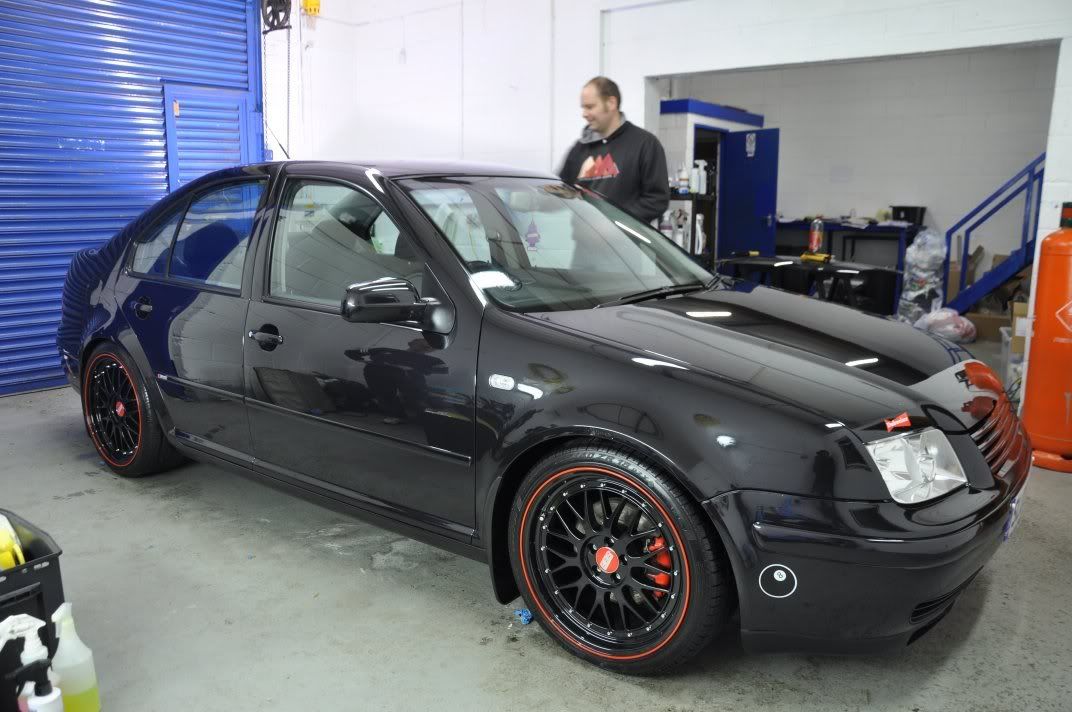
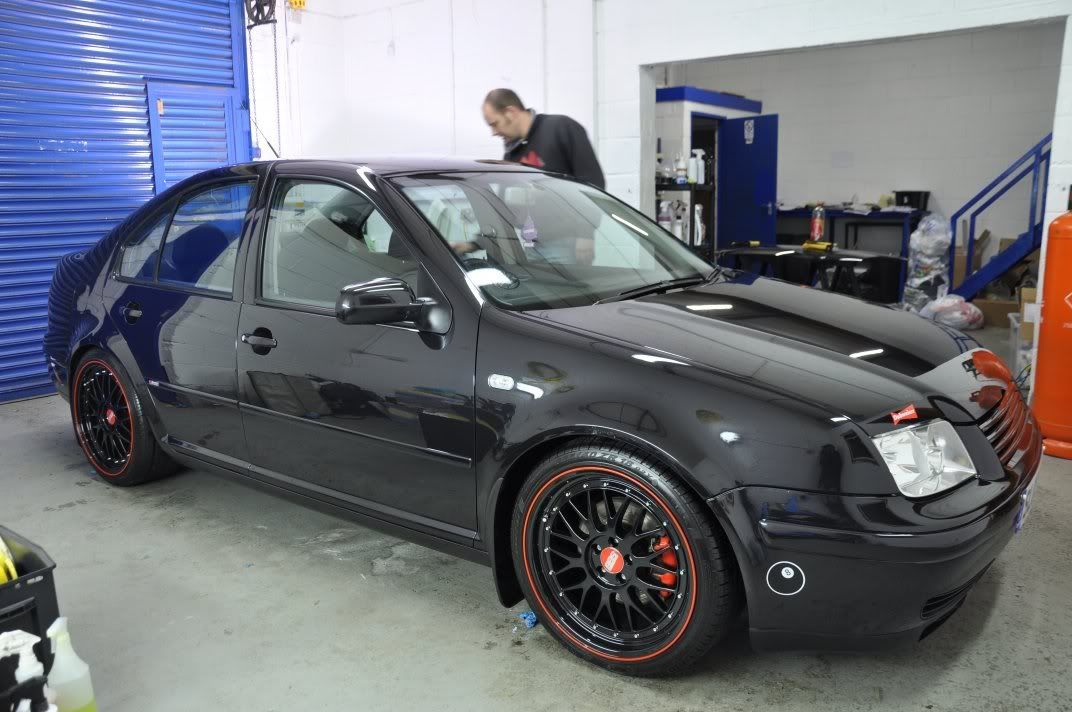
I loved the wheels...
More afters...
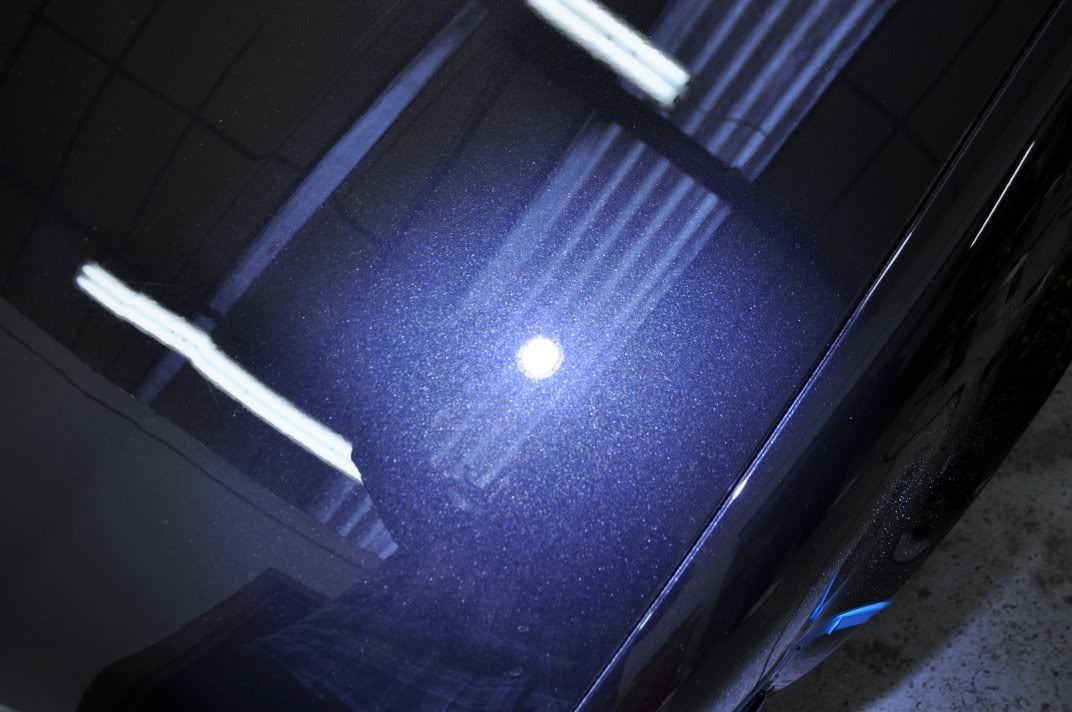
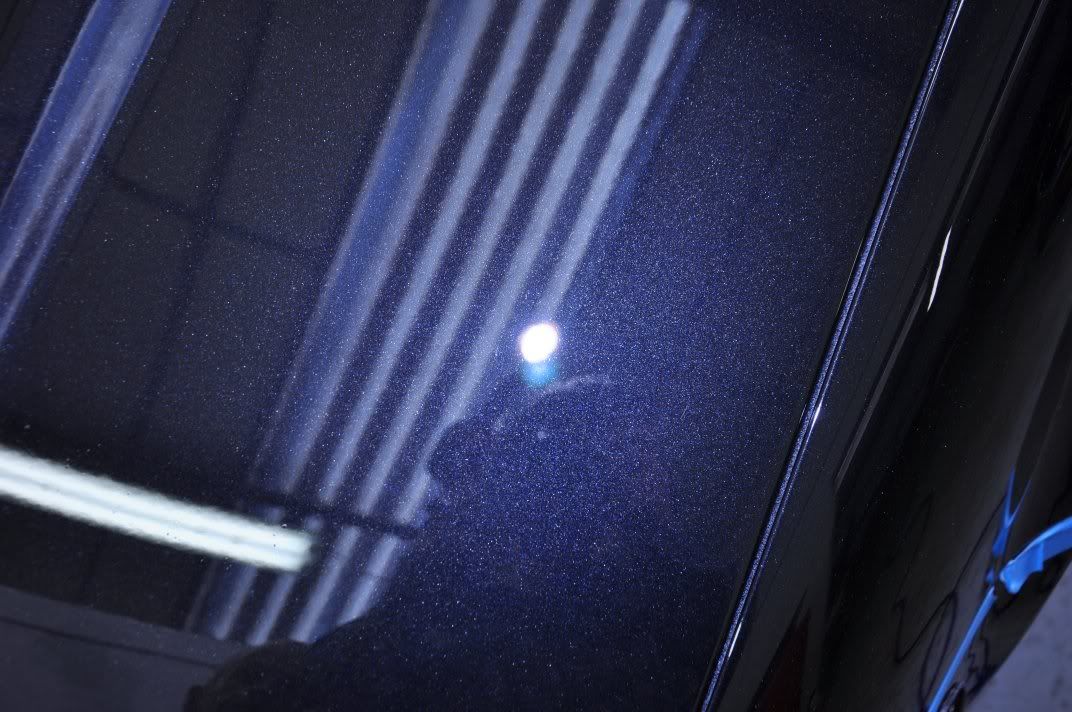
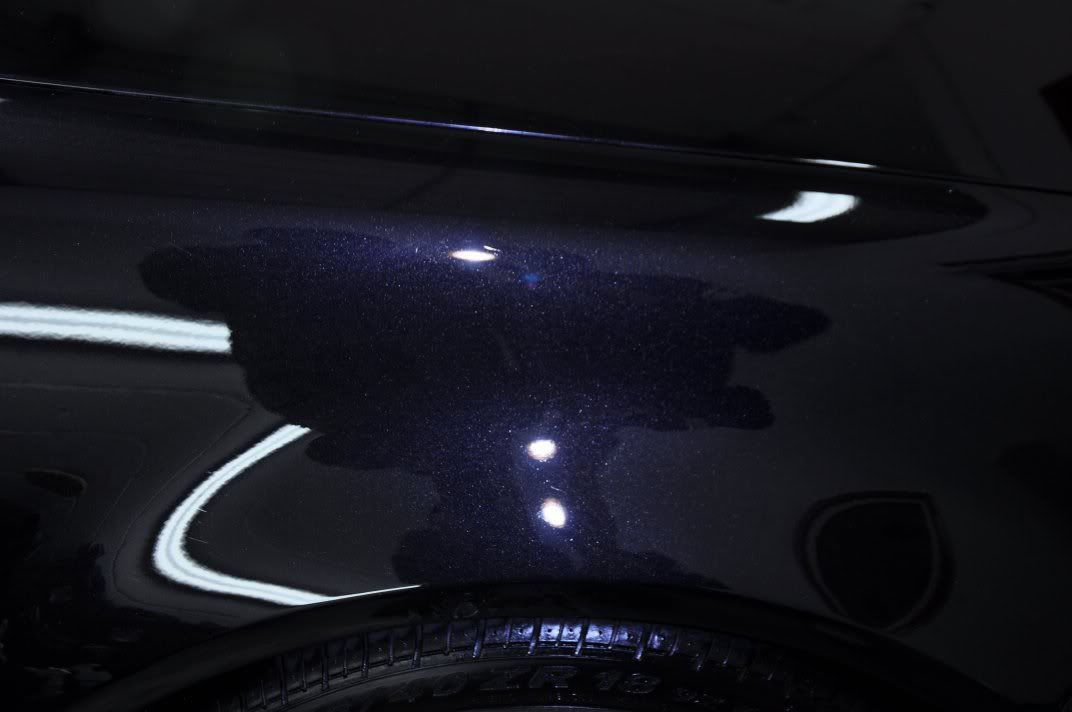
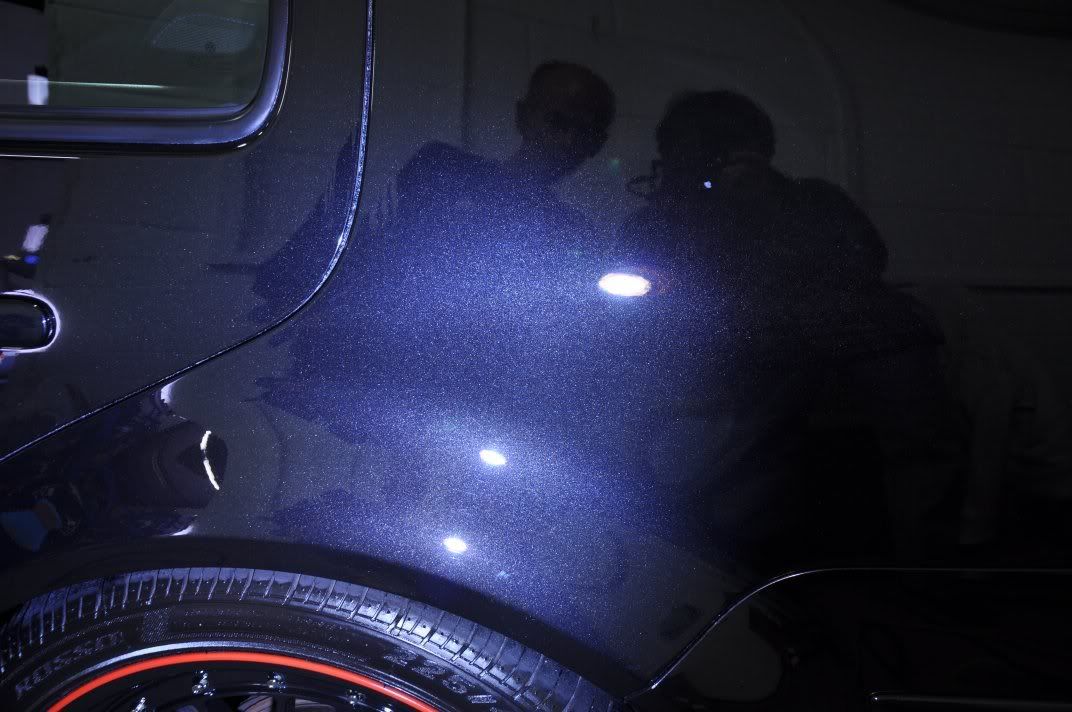
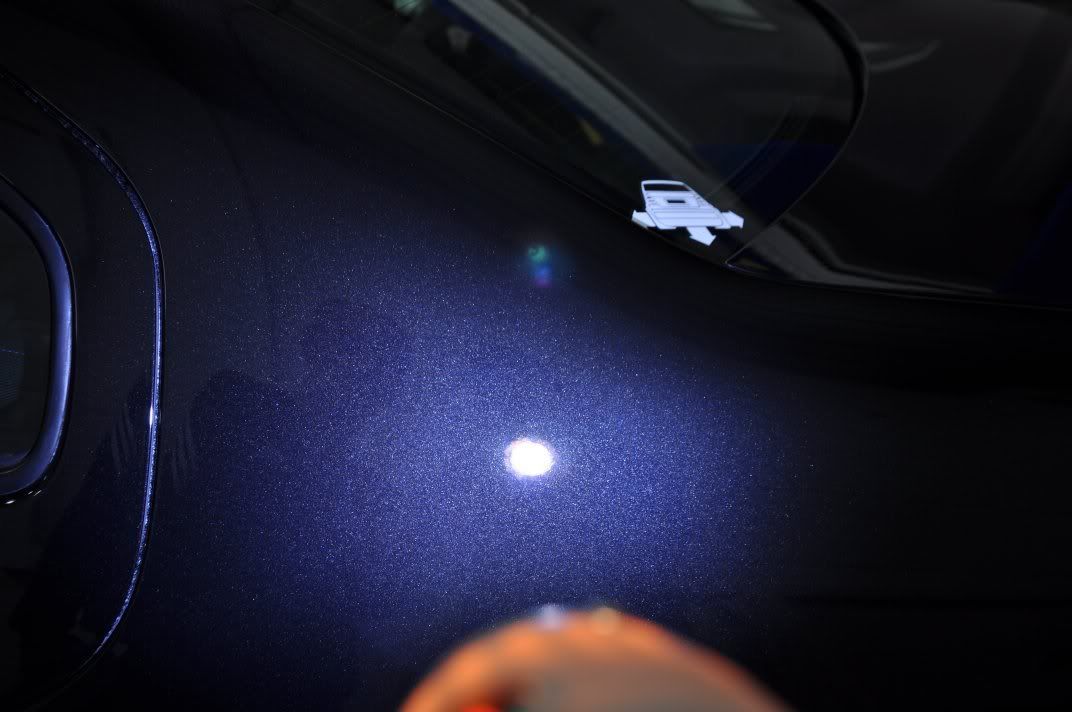
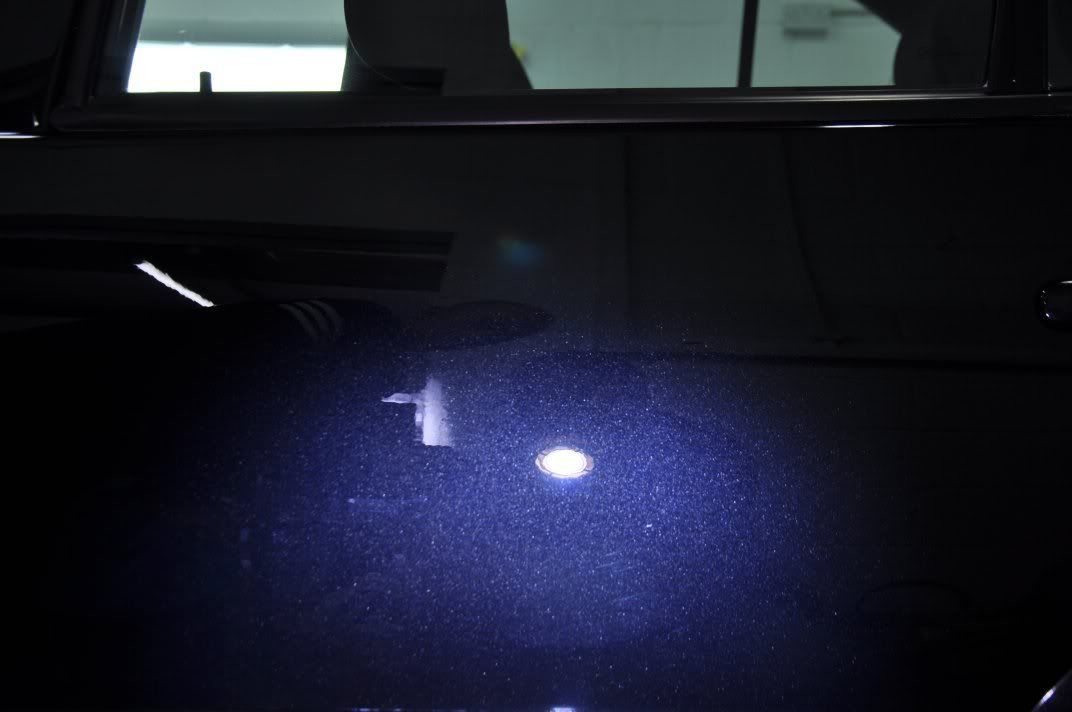
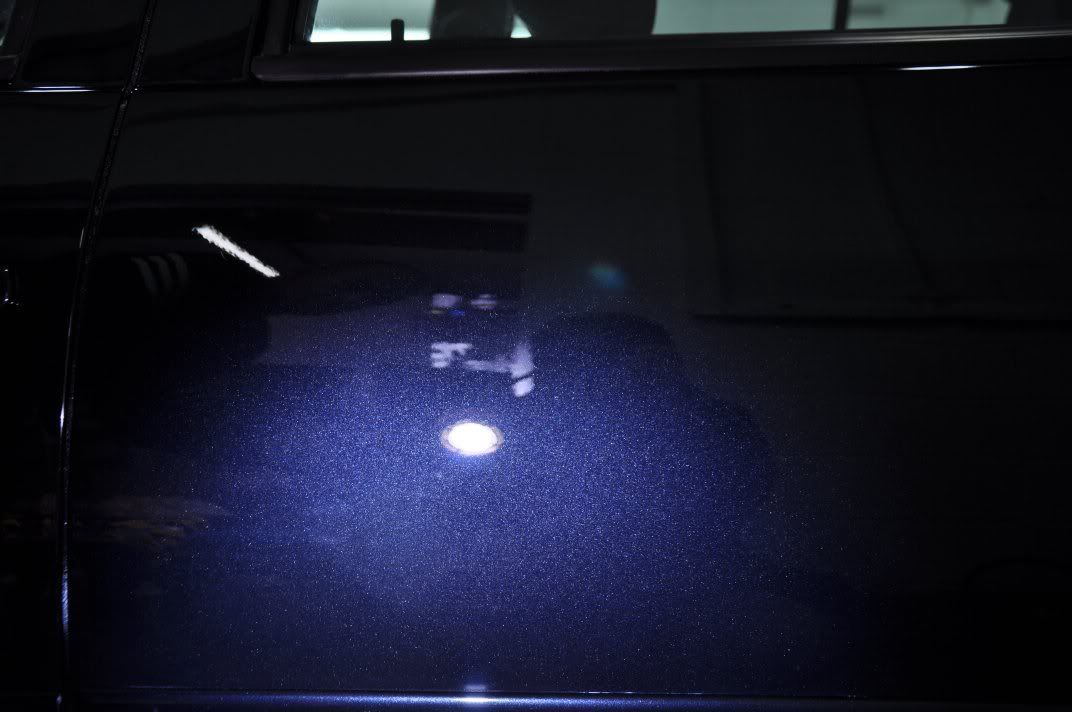
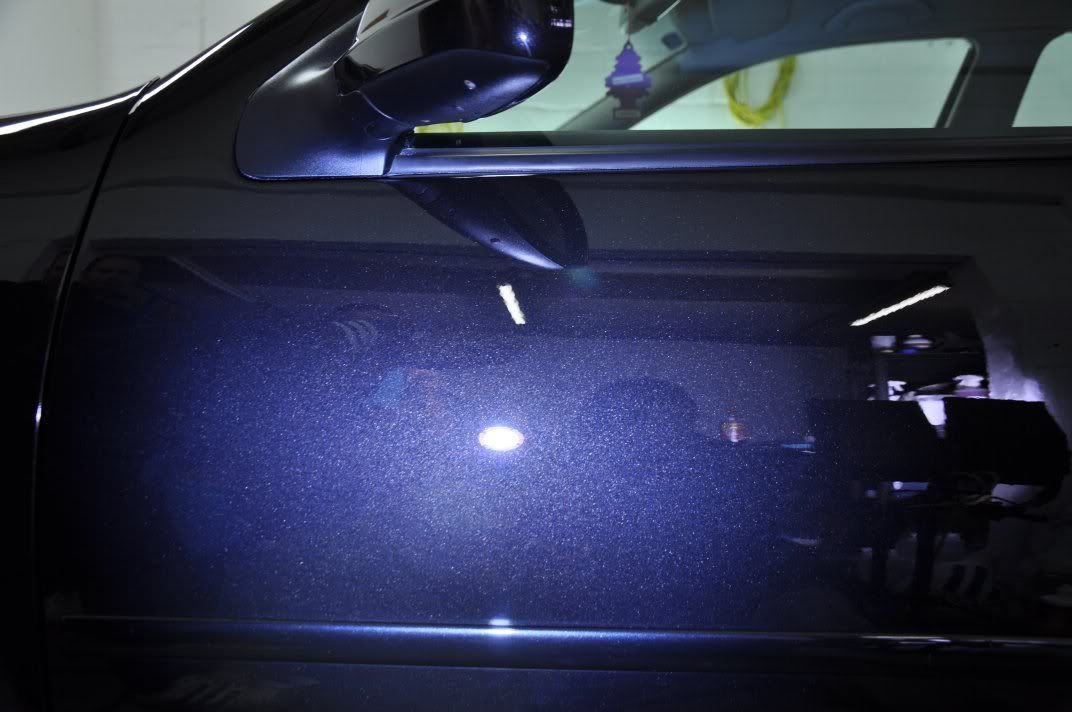
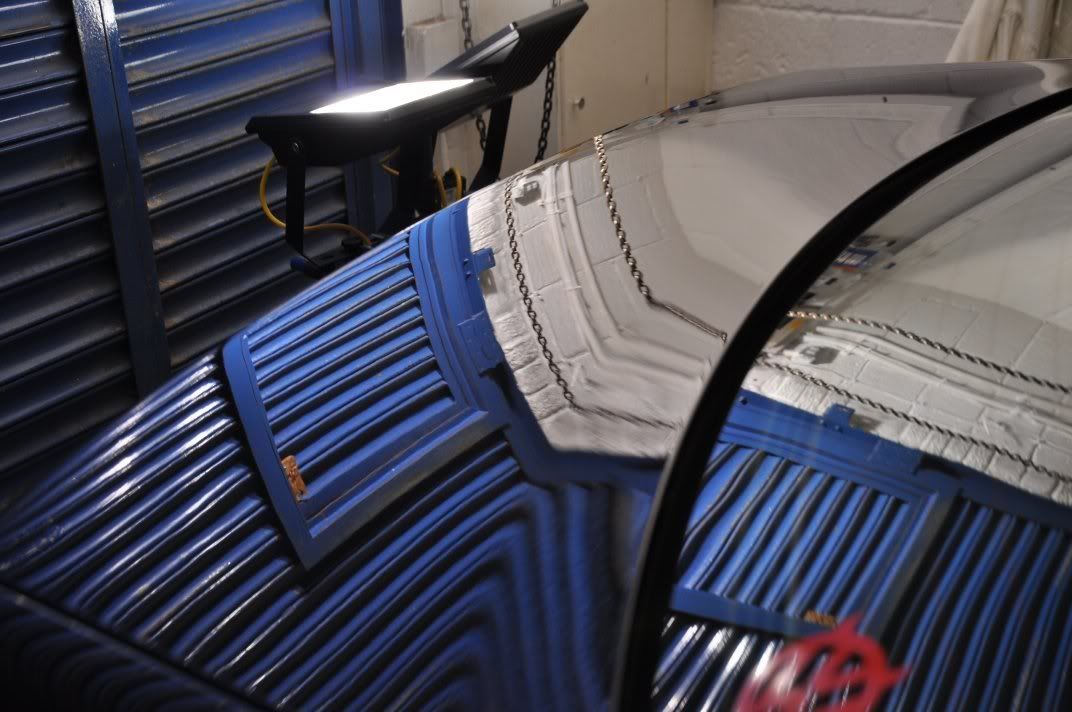
And just for some fun at the end, tinkering around with lighting for a few more arty reflection shots...


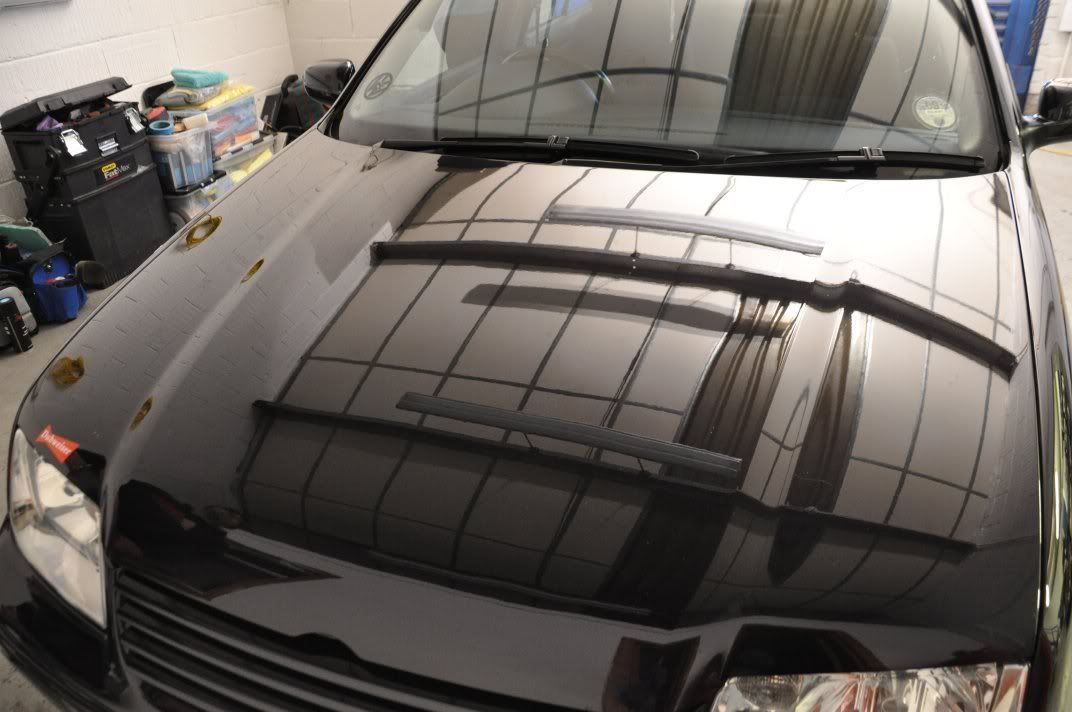
This car was a bit strange... after the washing stage, if you looked at the paint under the Sun Gun, you would not think the paint was in particularly bad condition:
Don't be fooled though! This paintwork was full of random deep scratches (RDS) in the paintwork, essentially very deep swirls which are masked under bright lighting but show up under more subtle strip lighting...
This car was going to need some serious correction to get rid of these marks!
Paintwork Assessment
An important part of any paintwork correction detail is to assess the paintwork. This goes beyond simply seeing what marks are there and how much paint there is at the start - it requires careful assessment of how much paint is removed by different polishing combinations and the level of correction being achieved. This is best done by starting with a light abrasive polishing combination and then working up through the abrasive scale checking removal rates and correction levels as you go...
On this car, a test section on the bonnet was carried out first. The initial polishing combination trialled with Menzerna PO106FA Final Finish on a 3M Yellow polishing pad. Now VW tends to make people think hard paint, so you'd be forgiven for thinking this combo would be about as much use as a chocolate fire guard. But under the Sun Gun, it looks as if it has achieved pretty much full correction!
Of course, it hasn't, as the strip light shows the RDS which are still present...
However the level of correction was impressive given this was a "light polishing" combo, which just goes to show the capabilities of this polish and that sometimes, less is definitely more.
But to get rid of these marks properly, we were going to need more - so keep the same 3M yellow polishing pad but this time move to Menzerna PO85RD3.02 Intensive Polish. We got:
Much better but still not quite perfect.. assessing the paint thickness and seeing 85RD3.02 was removing only 4 - 5um with a regenerative technique, we decided to step up to Fast Cut Plus applied using a Chemical Guys Hexlogic Yellow Compounding pad, Ultrafina SE used in conjunction for additional lube. Meguiars #205 was used as the finishing polish, as is traditional for me
. 50/50 showing the effects of the RDS removal:
RDS removed:
and the finish refined...
With the paintwork assessed, we decided upon the following combinations and application techniques:
3M Fast Cut Plus + Ultrafina SE - Fast Correction Technique - For Heavy Mark Removal
For correction of regions with heavy RDS.
- Spread at 600rpm
- Begin working at 1200rpm, light pressure and steady machine movents until the residue is evenly spread
- Work at 2000rpm, moderate pressure over the head of the rotary and a steady movement pace monitoring the heat of the panel,lightening the pressure towards the end of the set
Menzerna PO85RD3.02 Intensive Polish - Regenerative Technique - General Correction
For correctioon of regions with general swirls and lighter RDS, Reg. Technique allowed for more correction which minimised the need for Fast Cut and more paint removal on some panels.
- Spread at 600rpm
- Begin working at 1200rpm, building a little heat in the panel and getting the wax lubricant to evenly spread - its a bit like warming butter a little to spread it
- Work at 1800rpm, medium pressure and steady machine movements until the residue goes clear
- Reduce speed to 1200rpm, light pressure and slow machine movements until the residue "comes back"
- Increase speed to 1800rpm and work again until residue clear
- Repeat a two or three times
Meguiars #205 Ultra Finishing Polish - Double Zenith Technique - Finishing
Refining an finishing stage
- Spread at 600rpm
- Begin working at 1200rpm, light pressure and steady machine movements
- Work at 1500rpm, medium pressure increasing to heavy for majority of the working set and then reduce the light pressure
- Burnish at 1200rpm, light pressure
- Refine at 900rpm, supporting the weight of the machine for very light pressure
Before pictures from around the car...
After shots...
Bonnet, RDS removed:
Bonnet under the Sun Gun...
A small note on photogrpahs here... the following pic, I have manually focussed on the image of the Sun Gun bulb (the paint top surface), not the flake is out of focus...
and here the focus is the flake, so the image of the Sun Gun is out of focus as the flake and top layer of paint are at slightly different points...
More afters from around the car...
Headlights were also machine polsihes to restore a little more clairty to the plastic fronts... Before:
and after Intensive Polish:
The tail pipe after Briliant #1 followed by Briliant #2:
The car was protected using Victoria Concours wax. Duragloss 751 was used to clean the glass, RD50 on tyres, FK1000P on wheels, New Look Trim Gel on rubbers and plastics.
After shots, all indoors I'm afraid owing to the late night finish:
I loved the wheels...
More afters...
And just for some fun at the end, tinkering around with lighting for a few more arty reflection shots...

Comment