

 Tweet
Tweet
Basic Hand Sanding Techniques
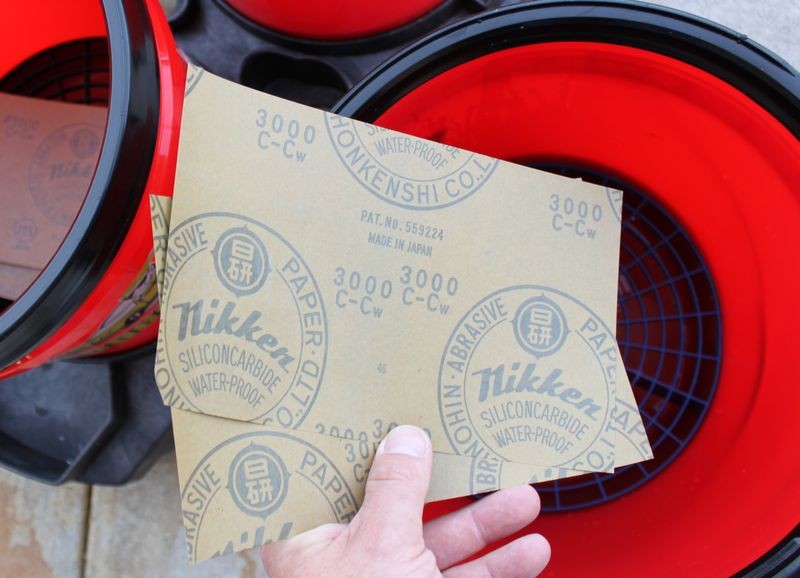
Soak your papers at least 15 minutes before use.
The Nikken Finishing papers have a latex rubber impregnated paper backing that is waterproof and this prevents the finishing paper from breaking-down into pulp from over soaking. I've personally soaked these paper in water for over 2 years with no visible sign of deterioration. (This was by accident as I lost a sealed Tupperware container filled with water and Nikken papers I used to take with me to demonstrations)
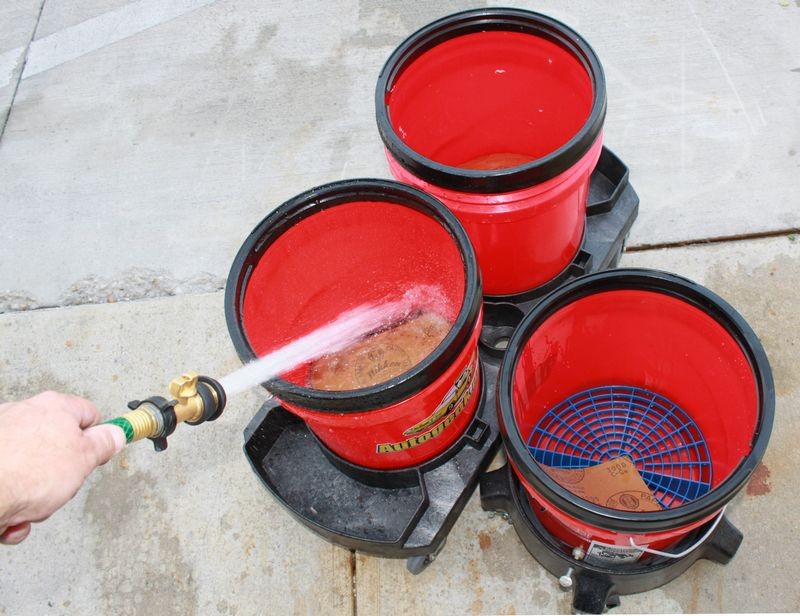
It's possible for grit particles to enter into your water source so if you can, use Grit Guards in the bottom of your bucket.
If you want to get really D.O., you can place your papers in dedicated buckets and also use dedicated backing pads for the different grits. The idea is to avoid instilling deeper scratches as you work upward to less aggressive products and to avoid any kind of abrasive particle trapped between your sandpaper and the finish to avoid Tracers.
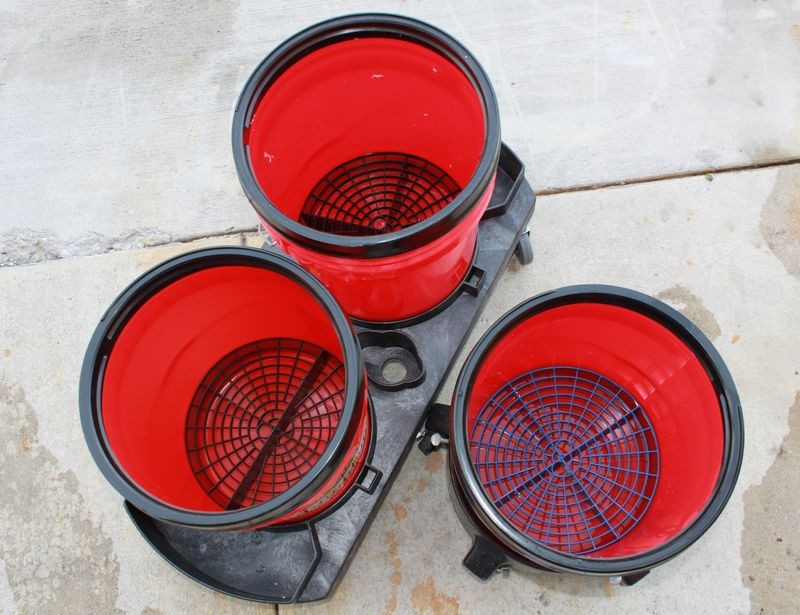
Dedicated buckets for specific grits of paper. Grit Guard Inserts in the bottom of each bucket.
(You could theoretically use 2, even 3 Grit Guard inserts in each bucket for even more protection)
Try to place your papers in water and soak them at least 15 minutes before sanding. I usually soak my papers overnight and sometimes a few days before sanding.

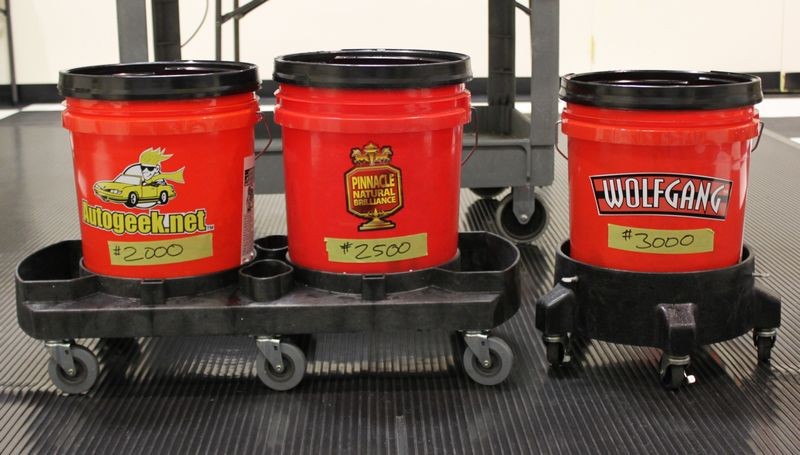
Place different grit papers in their own dedicated water bucket
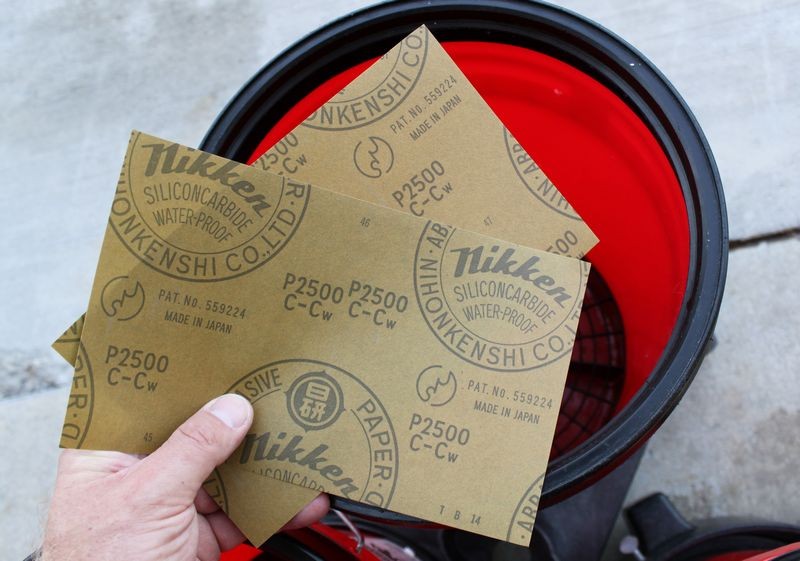
Final sanding should be done with the highest quality grit particle size paper you can obtain. At this time with Nikken that's #3000 grit.
Add just a few drops of a quality car wash soap to help add lubricity to your water. If you're working on Fresh Paint and/or in a Body Shop, (Fresh Paint Environment), then you want to make sure you're using a body shop safe soap.
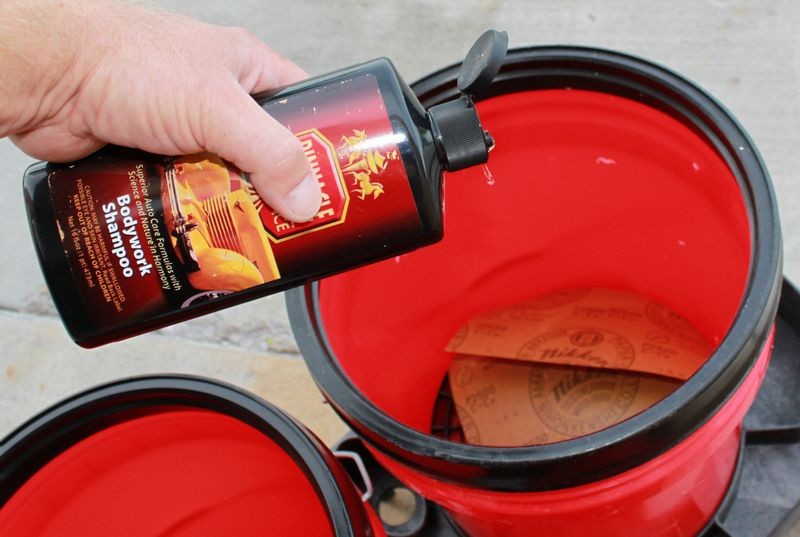
Add fresh, clean water. Also be sure to wash and rinse out your buckets before starting, everything must be surgically clean before placing your papers into the buckets.
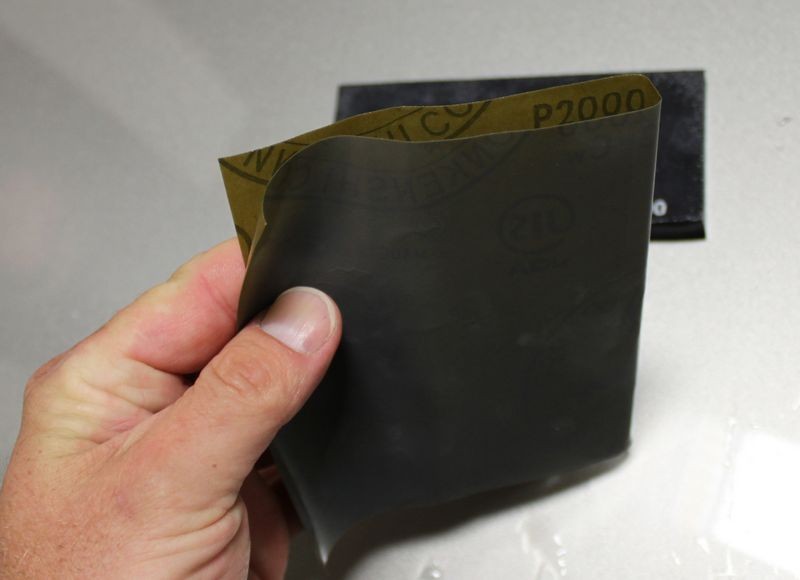
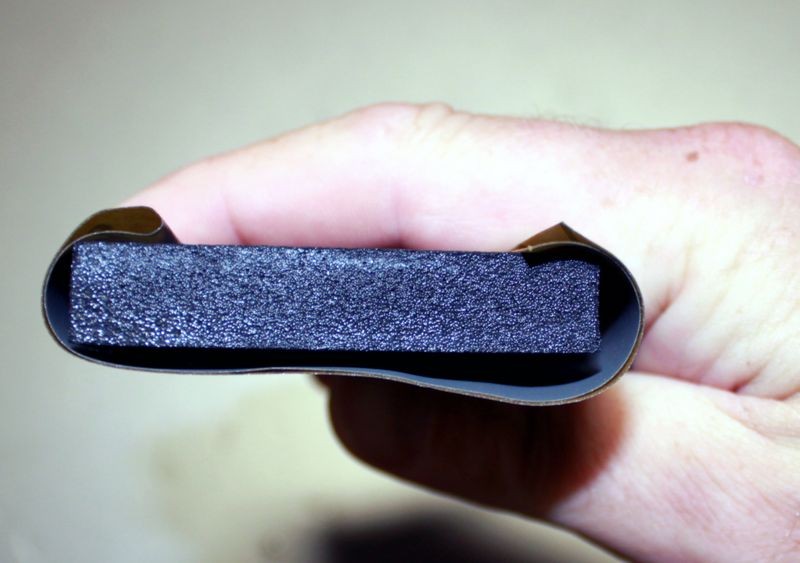
It's normal for your papers to roll up like this,


Mark you buckets so you can quickly and easily identify which buckets hold which papers.
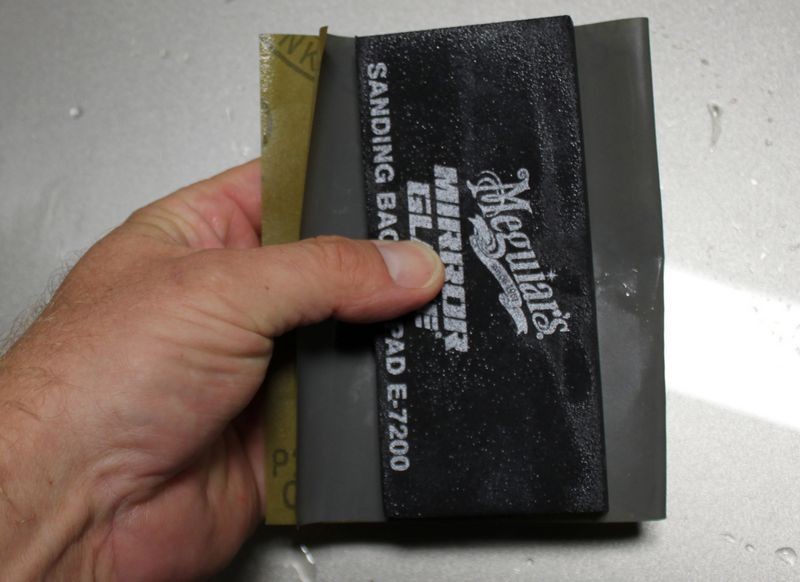
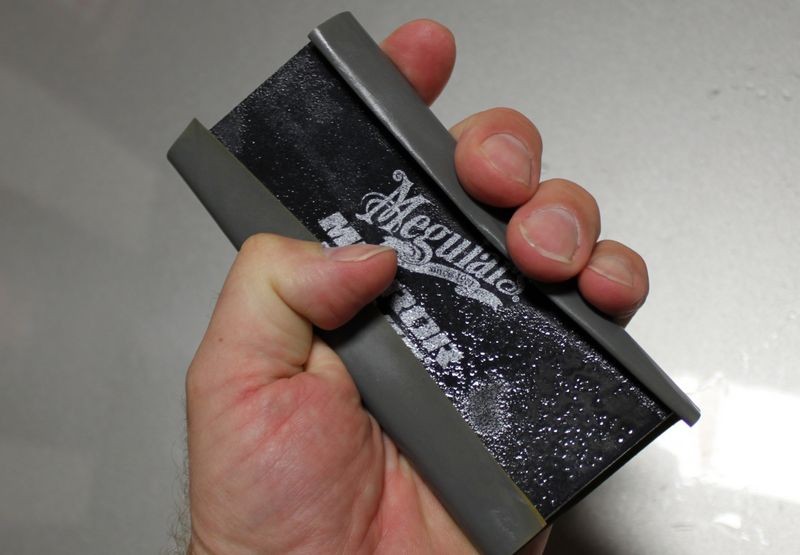
There are two common ways to wrap your paper around a backing pad, my personal preference is to wrap each half-sheet around completely around the backing pad.

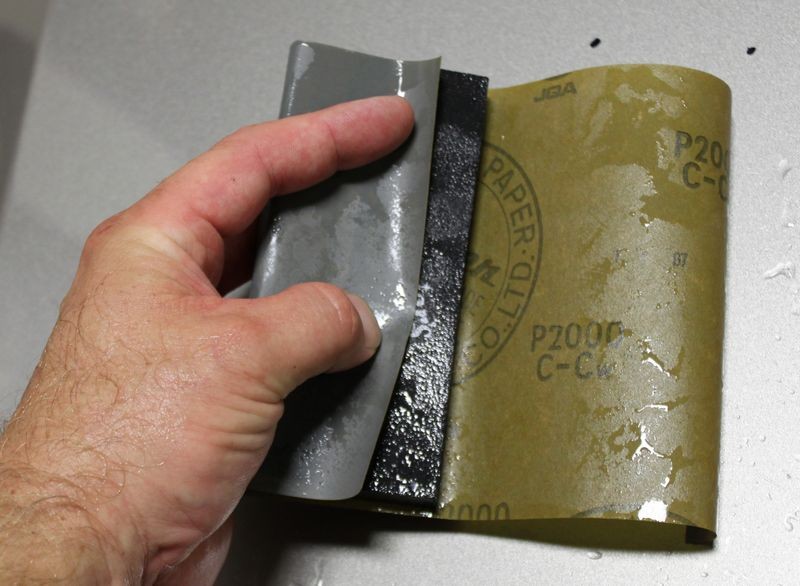
One side is covered with a seamless portion of sandpaper. This of course is the side you sand with.
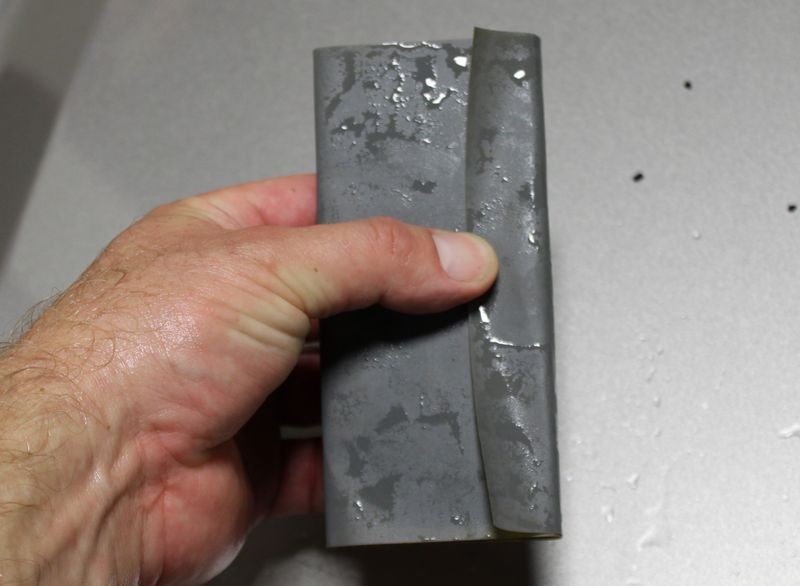
Another option is to fold a single half-sheet of paper in half once and then fold this around your backing pad. Some people like this method better and there are some that say it's possible to put deeper scratches in the paint from the sides of the backing pad due to the way the paper will tend to bow. If you hold your backing pad at an angle when sanding this shouldn't be a problem but most people don't concentrate enough on the task-at-hand and sand with the backing pad perpendicular to the direction they are sanding or moving their hand. So if it can happen, then it might be an issue and I just wanted to point this out in an effort to be thorough.
Folding a sheet in half and wrapping it around a backing pad.

One side is completely covered, this if course is the side you sand with.

Half sheet folded around the backing pad.

What it looks like from a top view.

Each person should try both ways and decide for themselves which method works best for them. Also, finding a way to grip the backing pad and at the same time place equal pressure over the top surface of the backing pad is tricky. I find I have to grip the sides with a pinky and a thumb and then use my 3 middle fingers to apply pressure to the back face of the pad in order to sand without losing grip or control. Practice and find a way that works for you.
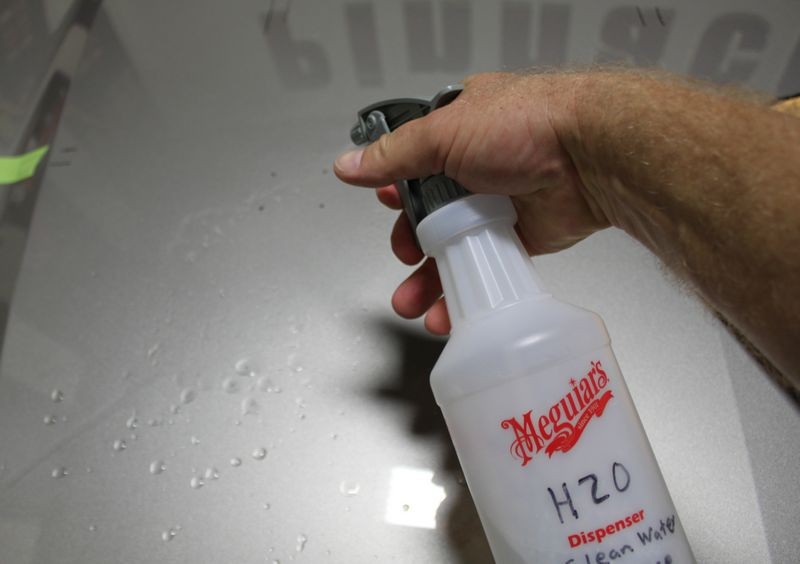
Next, use plenty of water from a clean source to lubricate the surface while sanding. Add a little soap, (a few drops is all that's needed, don't go crazy with the soap), and as you sand, continually spray water to the section you're sanding as this will make each stroke easier. Seriously, spray water onto the surface after every other stroke or two you'll find the paper will cut a lot smoother.
Hold the backing pad canted, or at an angle, see how the tip of the paper-wrapped backing pad is leading as I move my hand forward. Don't hold the pad squared-up as you sand because you'll tend to cut deeper ruts if you sand with the pad in perfect perpendicular alignment in the direction of your strokes.
Right - Hold backing pad at a little bit of an angle while making front to back strokes.

Wrong - Don't sand with the backing pad in a perpendicular alignment with your front to back strokes, you risk gouging or putting in deeper scratches where the paper is cutting on the outside edges of the length of the backing pad.

Note the direction of my strokes and note the angle at which my pad is laying on the paint with one of the edges leading. This is correct backing pad alignment for hand sanding.
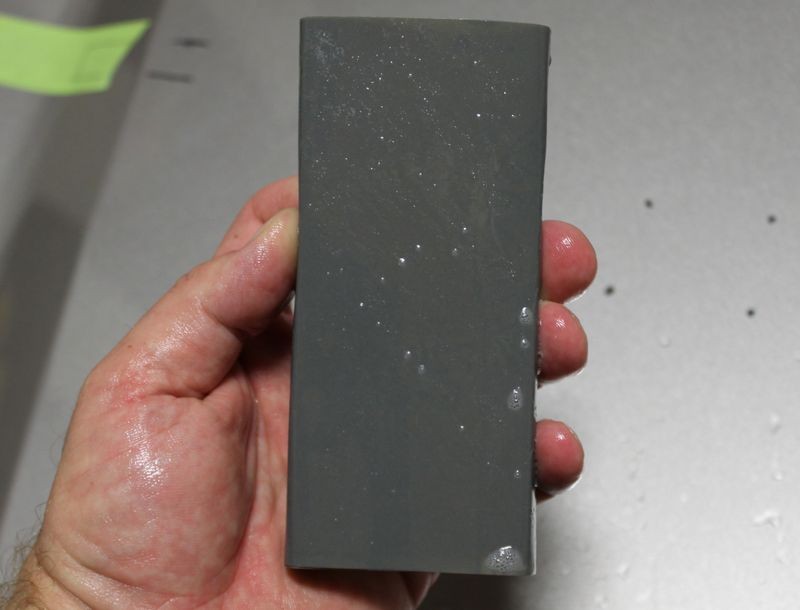
You should see paint residue in your sanding water
The white stuff in the water is clear paint particles that have been sanded off. If this were a single stage paint you would see the color of the pigment in the water.

After
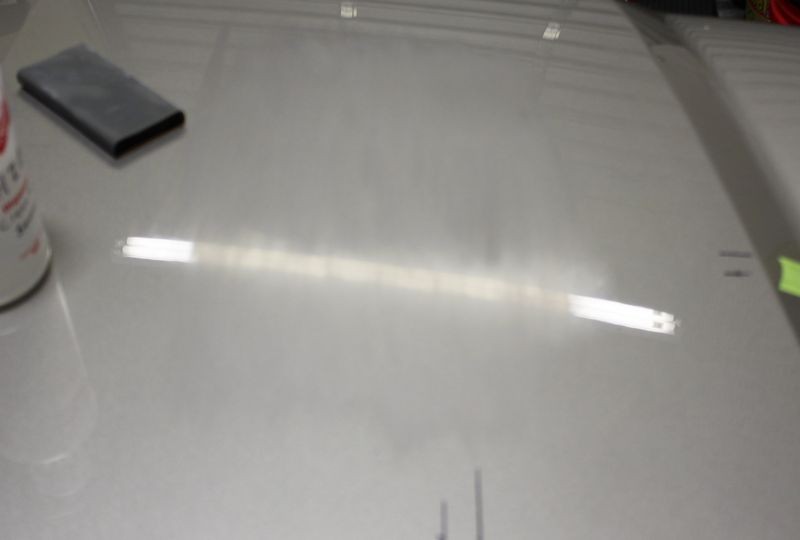
Close-ups with the overhead florescent tube light reflection on each section.
Size of area to hand sand
The size of the area you want to sand comes down to two rules of thumb,
For taking off the greatest portion of material you want to keep your work area to a manageable size of about 20" square or so... the reason for this is because,
1. Only remove the necessary material
Sanding removes paint and compounding removes paint, because you only have a limited amount of material or film-build to work with you only want to remove the minimum amount of paint to get the job done. An example would be removing Orange Peel. When removing orange peel you sand till the surface goes flat and then stop. There's no need to continue sanding after the surface goes flat as there is no more benefit, only loss of material, (material is the paint).
2. UMR = Uniform Material Removal
Since your sanding section by section, the ultimate goal will be to remove the same amount of material in a uniform manner over the entire panel and/or the entire car. This takes practice and concentration on the task at hand.
Back to the 20" by 20" size section...
Now let me explain how this ties into the size of area you sand. In the case of the general rule of thumb of sanding a section 20: by 20" the farther away from your body you move your hand, the more likely you'll exert less pressure than when your hand is closer to your body. So the longer your stroke, the more likely that you'll remove less paint the farther your hand moves away from your body. This makes for uneven material removal. It can also lead to removing too much material in the area closer to your body. By keeping your sanding area to a arm's manageable area you'll improve the likely hood that you'll only remove the necessary amount of material to get the job done and you'll remove material equally over the section your sanding.
"Let the panel be your guide"

(When you read the above sentence, use your best Yoda impersonation)
You won't always be working on a perfectly square, flat hood, there are many places where you'll be sanding thin panels of paint like around the top portion of a fender, the A and B pillars, complex panels that make up the design of a body style that have raised or hard body lines. In these case you need to let the panel be our guide and this may mean sanding very small areas or areas that are longer than they are wide.
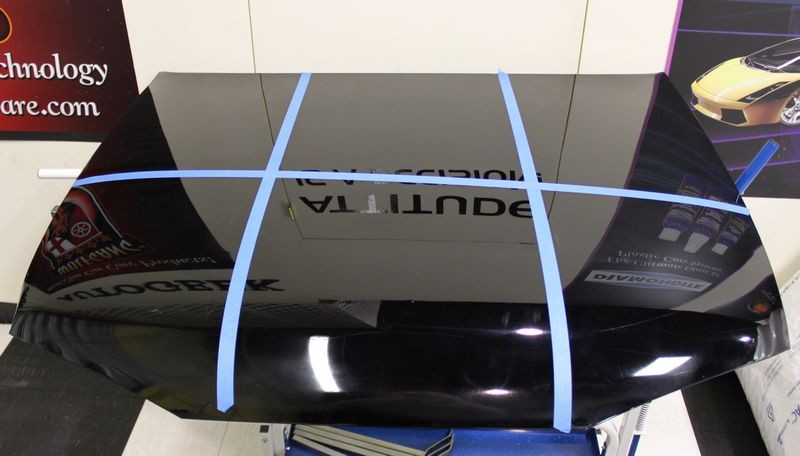
Here's an average size hood that I've taped off into 6 section which is how I would knock down or remove the majority of paint off this panel. After sanding the first section, all future sections would also overlap into the previous section(s) for good UMR.
For the final sanding work I would larger section using higher grits as a way of tying all the sections together for even UMR. After wiping the hood clean and inspecting then I would compound the paint to remove the sanding marks.
This is just my way, please feel free to find your own way and if it's different than mine, please feel free to start your own thread documenting your approach with pictures and your explanation of your process.

Soak your papers at least 15 minutes before use.
The Nikken Finishing papers have a latex rubber impregnated paper backing that is waterproof and this prevents the finishing paper from breaking-down into pulp from over soaking. I've personally soaked these paper in water for over 2 years with no visible sign of deterioration. (This was by accident as I lost a sealed Tupperware container filled with water and Nikken papers I used to take with me to demonstrations)
It's possible for grit particles to enter into your water source so if you can, use Grit Guards in the bottom of your bucket.
If you want to get really D.O., you can place your papers in dedicated buckets and also use dedicated backing pads for the different grits. The idea is to avoid instilling deeper scratches as you work upward to less aggressive products and to avoid any kind of abrasive particle trapped between your sandpaper and the finish to avoid Tracers.
Dedicated buckets for specific grits of paper. Grit Guard Inserts in the bottom of each bucket.
(You could theoretically use 2, even 3 Grit Guard inserts in each bucket for even more protection)
Try to place your papers in water and soak them at least 15 minutes before sanding. I usually soak my papers overnight and sometimes a few days before sanding.
Place different grit papers in their own dedicated water bucket
Final sanding should be done with the highest quality grit particle size paper you can obtain. At this time with Nikken that's #3000 grit.
Add just a few drops of a quality car wash soap to help add lubricity to your water. If you're working on Fresh Paint and/or in a Body Shop, (Fresh Paint Environment), then you want to make sure you're using a body shop safe soap.
Add fresh, clean water. Also be sure to wash and rinse out your buckets before starting, everything must be surgically clean before placing your papers into the buckets.
It's normal for your papers to roll up like this,
Mark you buckets so you can quickly and easily identify which buckets hold which papers.
There are two common ways to wrap your paper around a backing pad, my personal preference is to wrap each half-sheet around completely around the backing pad.
One side is covered with a seamless portion of sandpaper. This of course is the side you sand with.
Another option is to fold a single half-sheet of paper in half once and then fold this around your backing pad. Some people like this method better and there are some that say it's possible to put deeper scratches in the paint from the sides of the backing pad due to the way the paper will tend to bow. If you hold your backing pad at an angle when sanding this shouldn't be a problem but most people don't concentrate enough on the task-at-hand and sand with the backing pad perpendicular to the direction they are sanding or moving their hand. So if it can happen, then it might be an issue and I just wanted to point this out in an effort to be thorough.
Folding a sheet in half and wrapping it around a backing pad.
One side is completely covered, this if course is the side you sand with.
Half sheet folded around the backing pad.
What it looks like from a top view.
Each person should try both ways and decide for themselves which method works best for them. Also, finding a way to grip the backing pad and at the same time place equal pressure over the top surface of the backing pad is tricky. I find I have to grip the sides with a pinky and a thumb and then use my 3 middle fingers to apply pressure to the back face of the pad in order to sand without losing grip or control. Practice and find a way that works for you.
Next, use plenty of water from a clean source to lubricate the surface while sanding. Add a little soap, (a few drops is all that's needed, don't go crazy with the soap), and as you sand, continually spray water to the section you're sanding as this will make each stroke easier. Seriously, spray water onto the surface after every other stroke or two you'll find the paper will cut a lot smoother.
Hold the backing pad canted, or at an angle, see how the tip of the paper-wrapped backing pad is leading as I move my hand forward. Don't hold the pad squared-up as you sand because you'll tend to cut deeper ruts if you sand with the pad in perfect perpendicular alignment in the direction of your strokes.
Right - Hold backing pad at a little bit of an angle while making front to back strokes.
Wrong - Don't sand with the backing pad in a perpendicular alignment with your front to back strokes, you risk gouging or putting in deeper scratches where the paper is cutting on the outside edges of the length of the backing pad.
Note the direction of my strokes and note the angle at which my pad is laying on the paint with one of the edges leading. This is correct backing pad alignment for hand sanding.
You should see paint residue in your sanding water
The white stuff in the water is clear paint particles that have been sanded off. If this were a single stage paint you would see the color of the pigment in the water.
After
Close-ups with the overhead florescent tube light reflection on each section.
Size of area to hand sand
The size of the area you want to sand comes down to two rules of thumb,
- 20" by 20"
- Let the panel be your guide
For taking off the greatest portion of material you want to keep your work area to a manageable size of about 20" square or so... the reason for this is because,
- You want to carefully remove only the necessary amount of material
- You want to remove a uniform amount of material
1. Only remove the necessary material
Sanding removes paint and compounding removes paint, because you only have a limited amount of material or film-build to work with you only want to remove the minimum amount of paint to get the job done. An example would be removing Orange Peel. When removing orange peel you sand till the surface goes flat and then stop. There's no need to continue sanding after the surface goes flat as there is no more benefit, only loss of material, (material is the paint).
2. UMR = Uniform Material Removal
Since your sanding section by section, the ultimate goal will be to remove the same amount of material in a uniform manner over the entire panel and/or the entire car. This takes practice and concentration on the task at hand.
Back to the 20" by 20" size section...
Now let me explain how this ties into the size of area you sand. In the case of the general rule of thumb of sanding a section 20: by 20" the farther away from your body you move your hand, the more likely you'll exert less pressure than when your hand is closer to your body. So the longer your stroke, the more likely that you'll remove less paint the farther your hand moves away from your body. This makes for uneven material removal. It can also lead to removing too much material in the area closer to your body. By keeping your sanding area to a arm's manageable area you'll improve the likely hood that you'll only remove the necessary amount of material to get the job done and you'll remove material equally over the section your sanding.
"Let the panel be your guide"
(When you read the above sentence, use your best Yoda impersonation)
You won't always be working on a perfectly square, flat hood, there are many places where you'll be sanding thin panels of paint like around the top portion of a fender, the A and B pillars, complex panels that make up the design of a body style that have raised or hard body lines. In these case you need to let the panel be our guide and this may mean sanding very small areas or areas that are longer than they are wide.
Here's an average size hood that I've taped off into 6 section which is how I would knock down or remove the majority of paint off this panel. After sanding the first section, all future sections would also overlap into the previous section(s) for good UMR.
For the final sanding work I would larger section using higher grits as a way of tying all the sections together for even UMR. After wiping the hood clean and inspecting then I would compound the paint to remove the sanding marks.
This is just my way, please feel free to find your own way and if it's different than mine, please feel free to start your own thread documenting your approach with pictures and your explanation of your process.
Comment