

 Tweet
Tweet
Another recent detail from Gordon (caledonia) and myself and a taster of what is to come in the coming months as we focus our detailing efforts together on full details, tuition details and a revamped set of detailing classes – we’re excited about 2010!
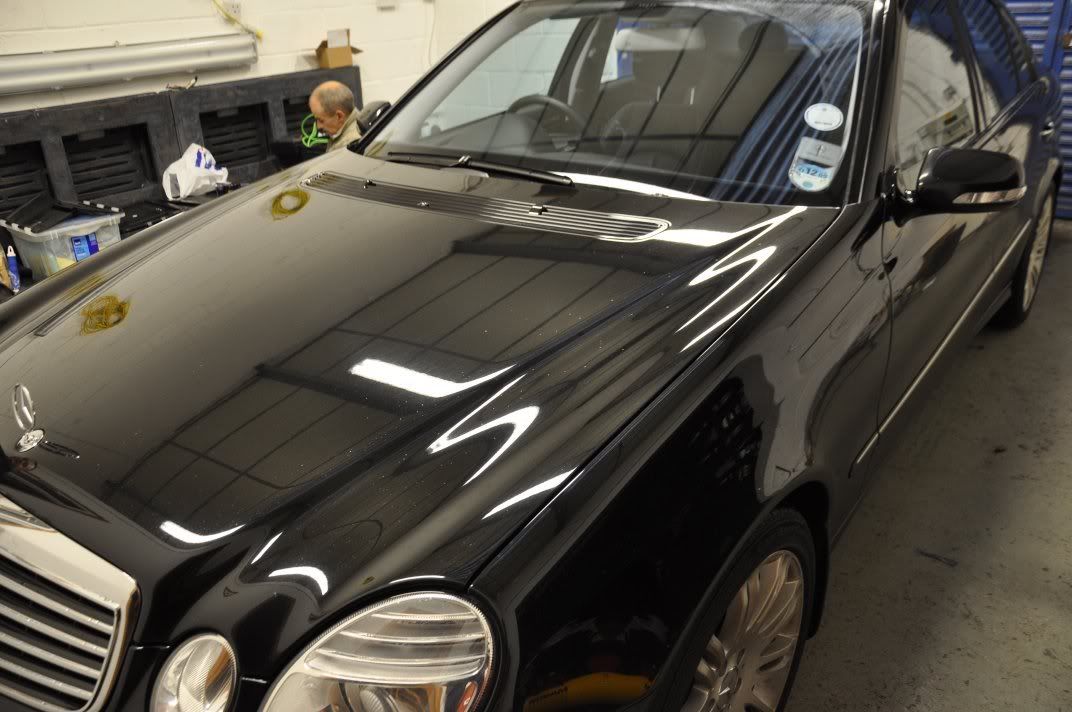
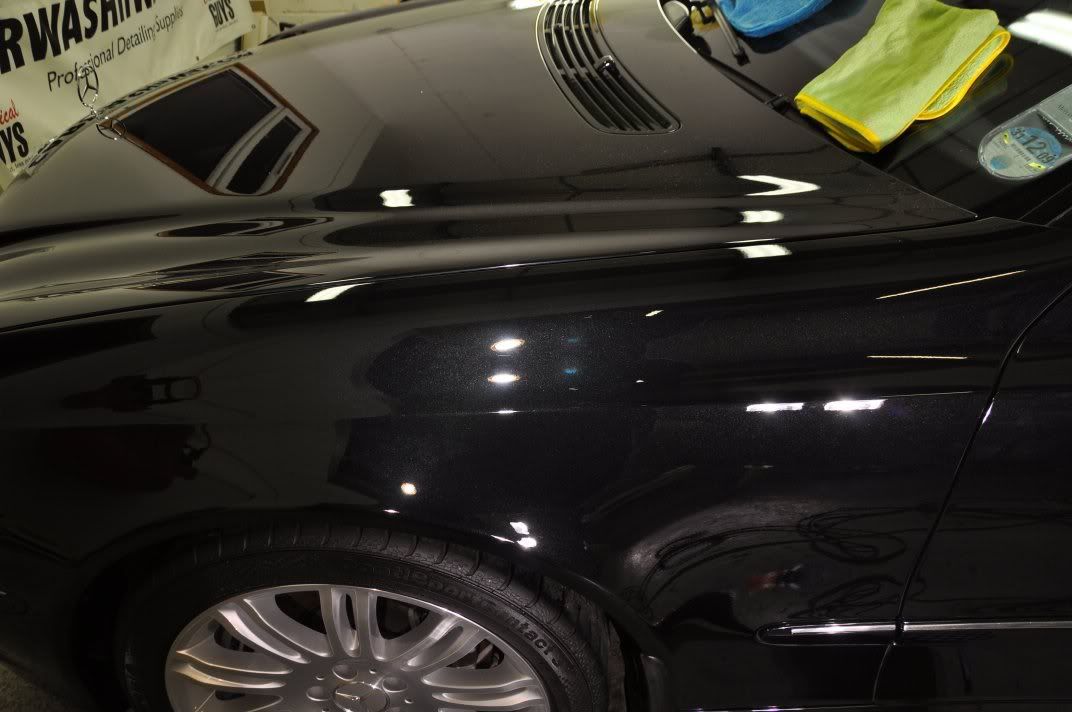
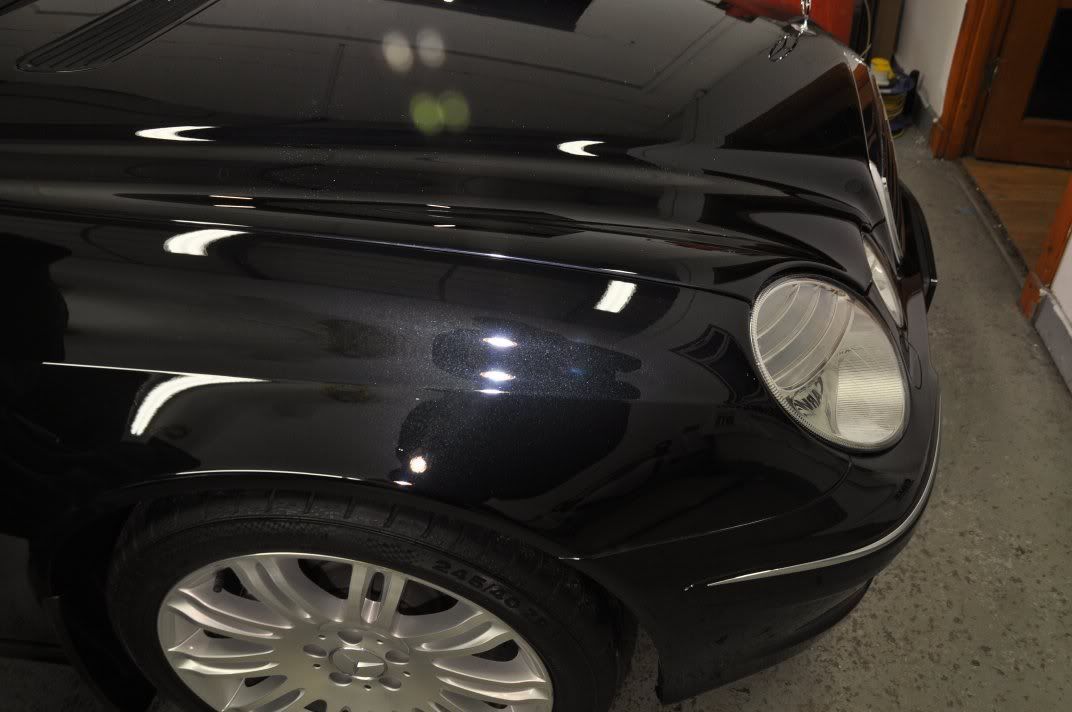
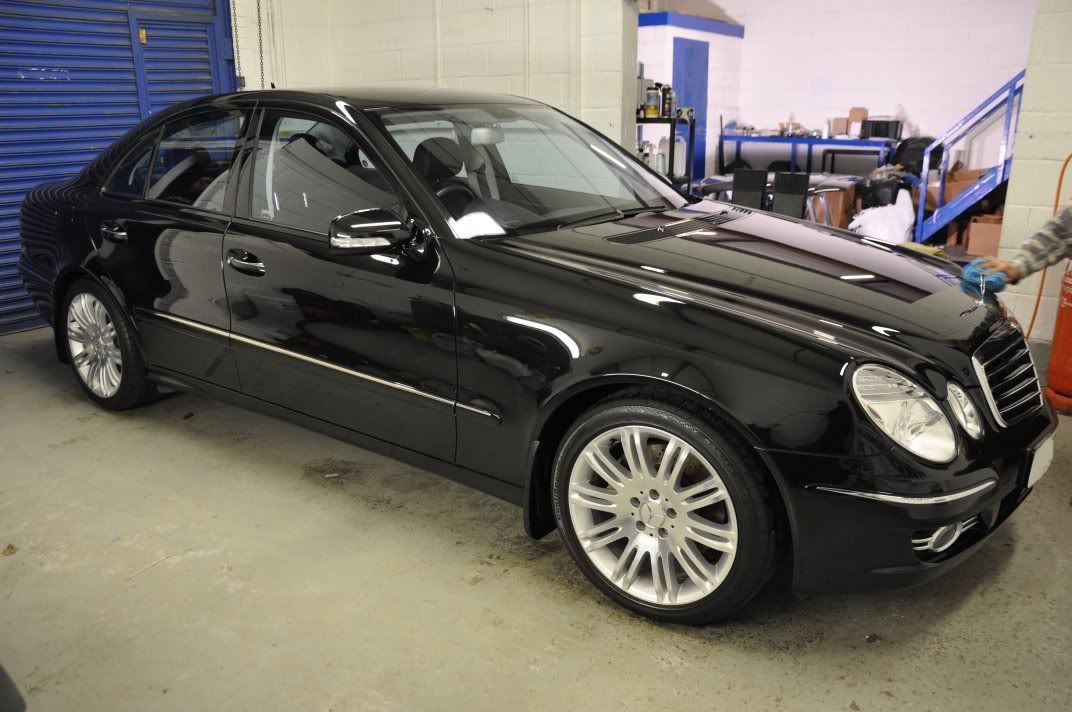
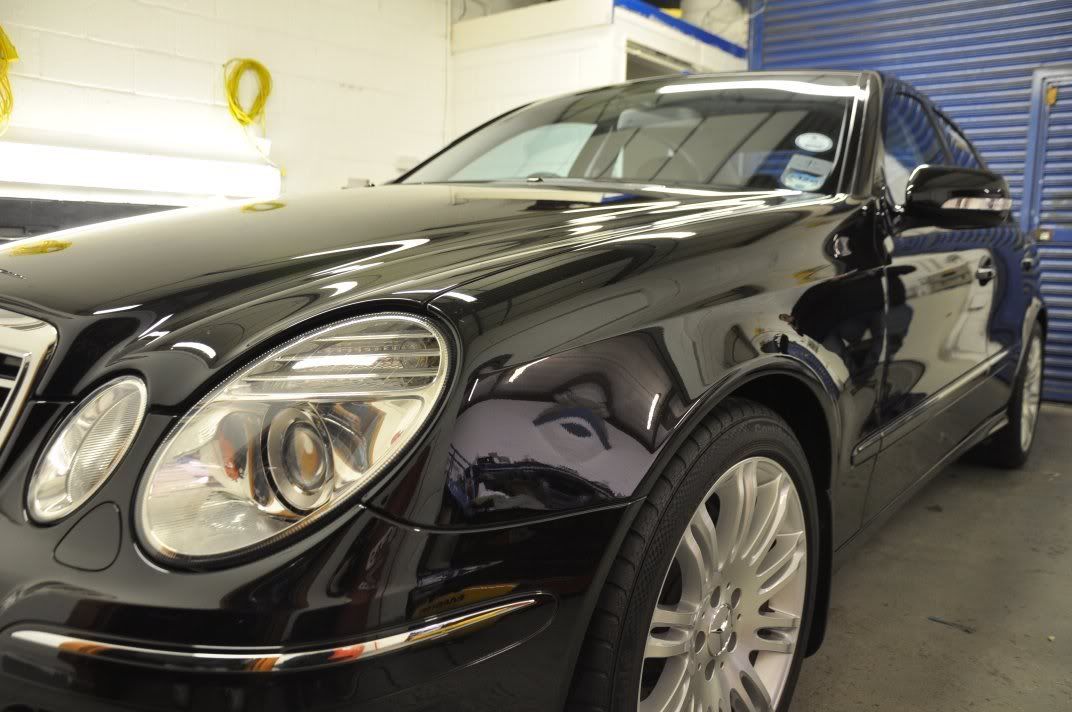
This detail was a tuition detail – a popular choice and something that Gordon and I really enjoy doing... essentially, the owner (Simon) is keen to work on the car themselves, and in many cases already has a machine polisher and are keen to learn how to use it on a one-to-one level. Combine machine polishing and general detailing tuition with a detail and you get a tuition detail The car in question, loooks very similar to another recent detail we have carried out, a Mercedes E320Cdi in black metallic. On arrival the car was looking in pretty good condition, and considering the recent weather certainly wasn’t looking too dirty either...

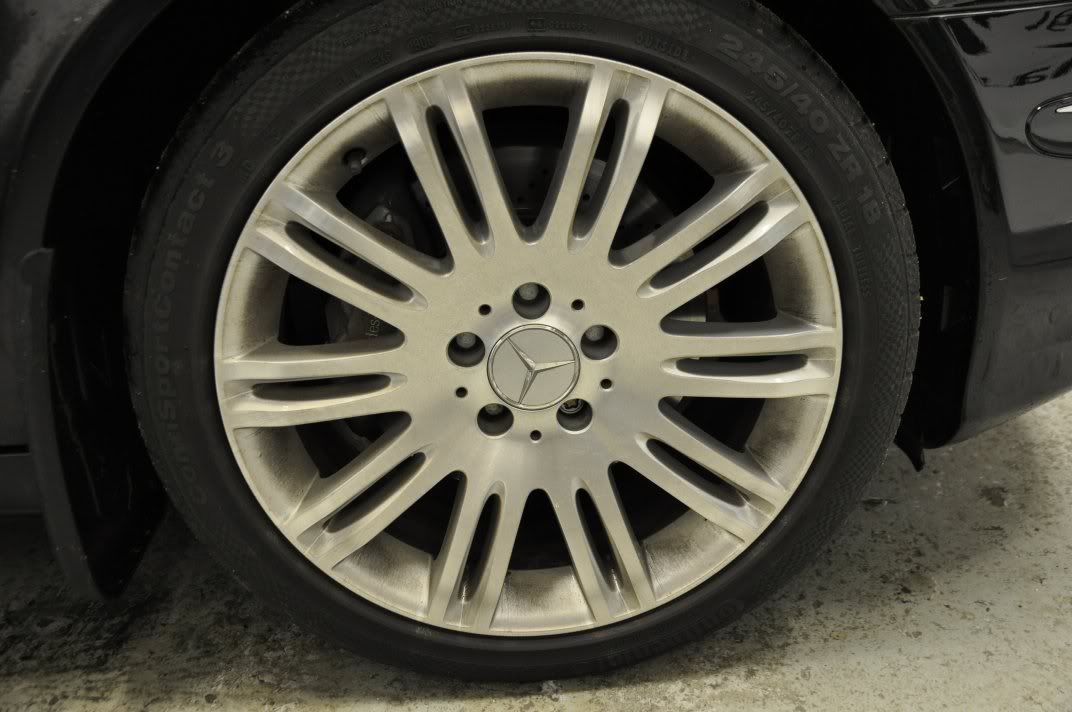

The car was washed using Optimum No Rinse with a Zymol Sponge for the bodywork and glass. Wheels were cleaned using the steam cleaner and a little Diablo Wheel Gell, while gaps and shuts were treated to all purpose cleaner. The steam cleaner has really been proving its worth with us recently, and wheel and arch cleaning is just one of the tasks we put it to – coupled to Diablo which clings nicely to the wheel to avoid runoff we are enjoying an economical cleaning routine that minimises mess Results we are very happy with too:

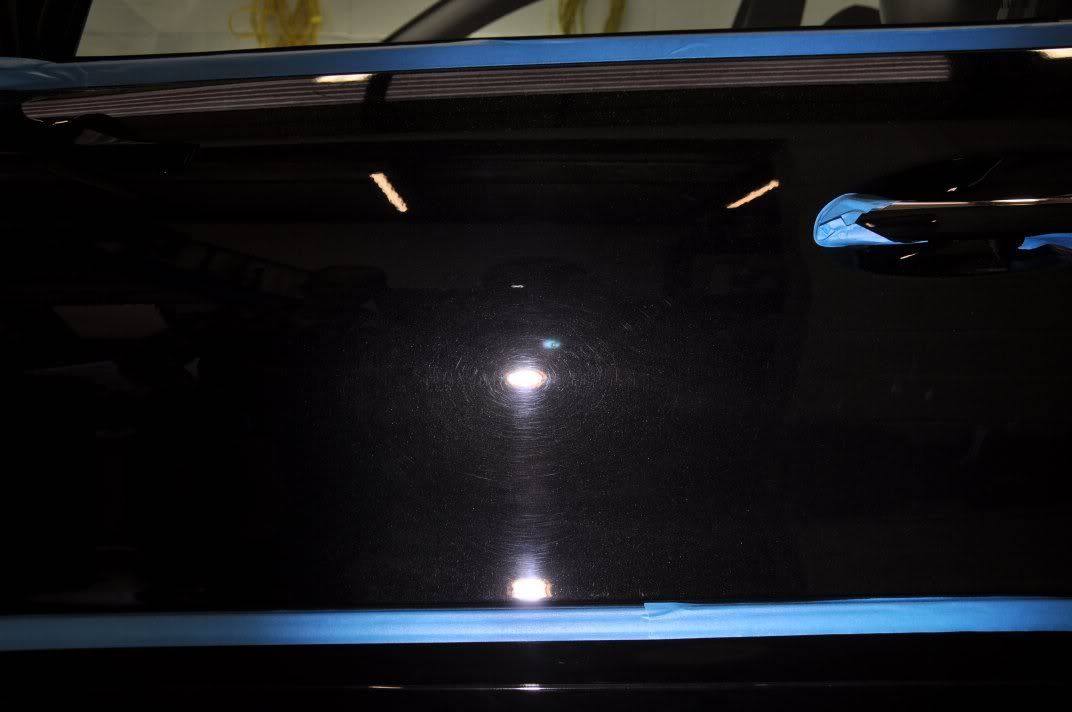
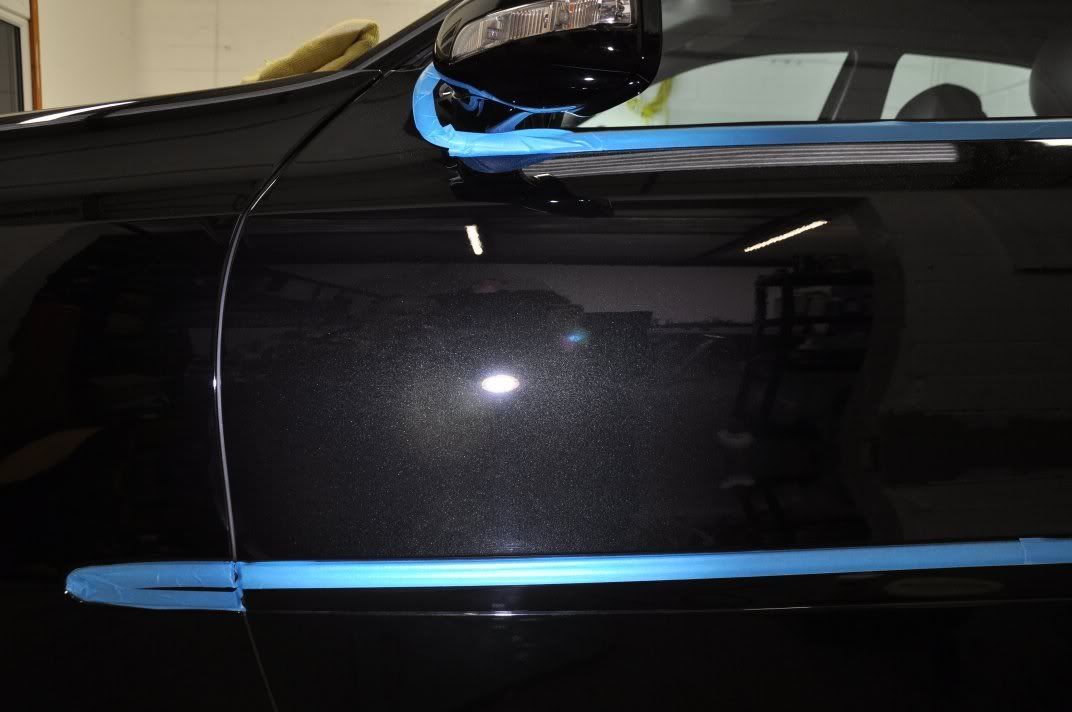
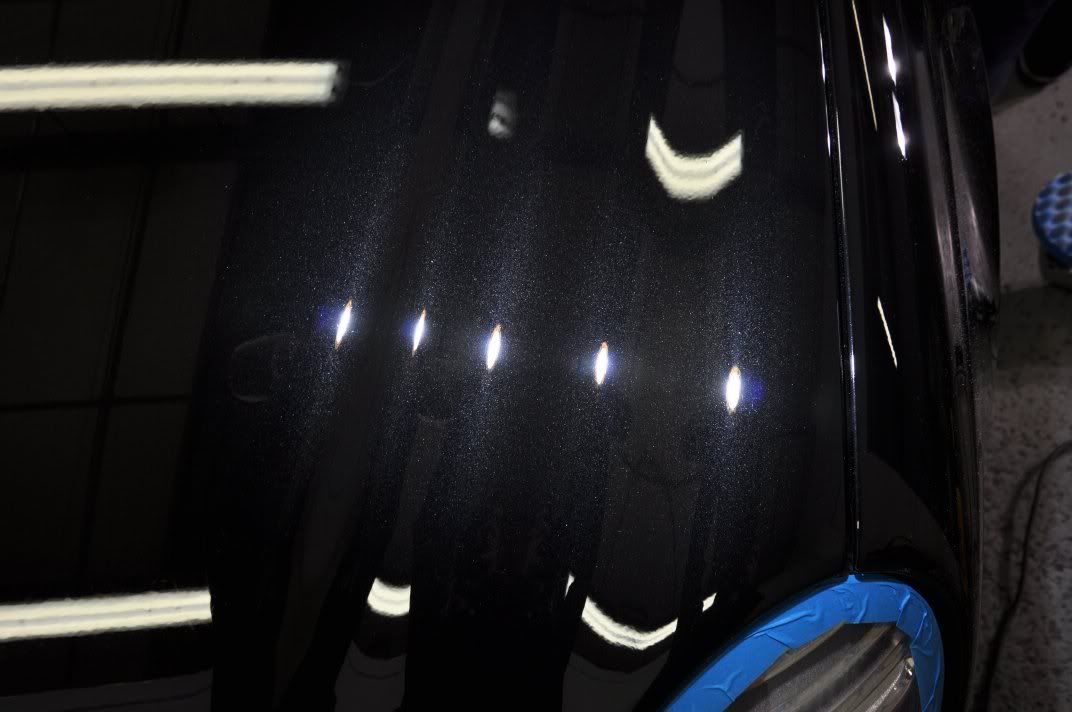
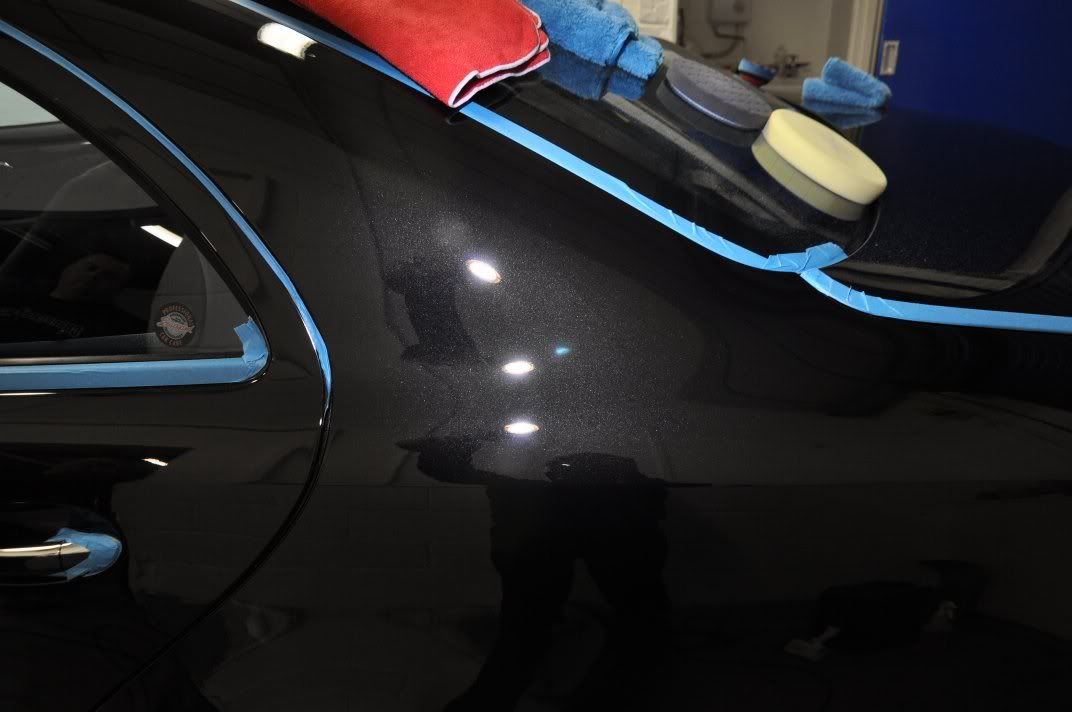
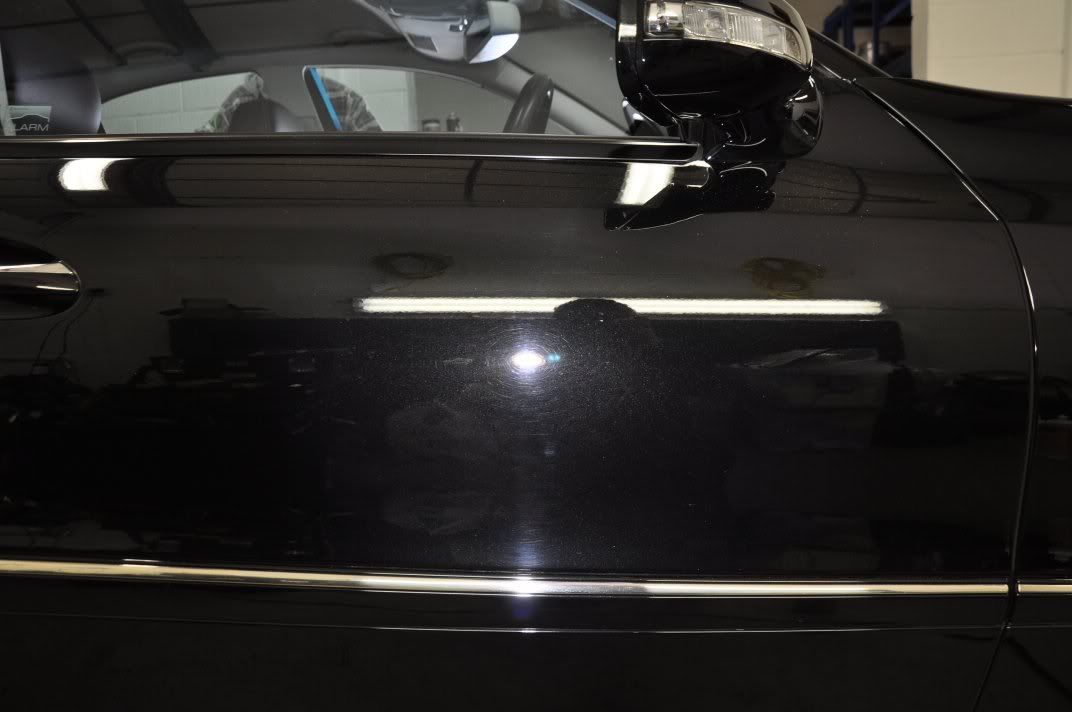
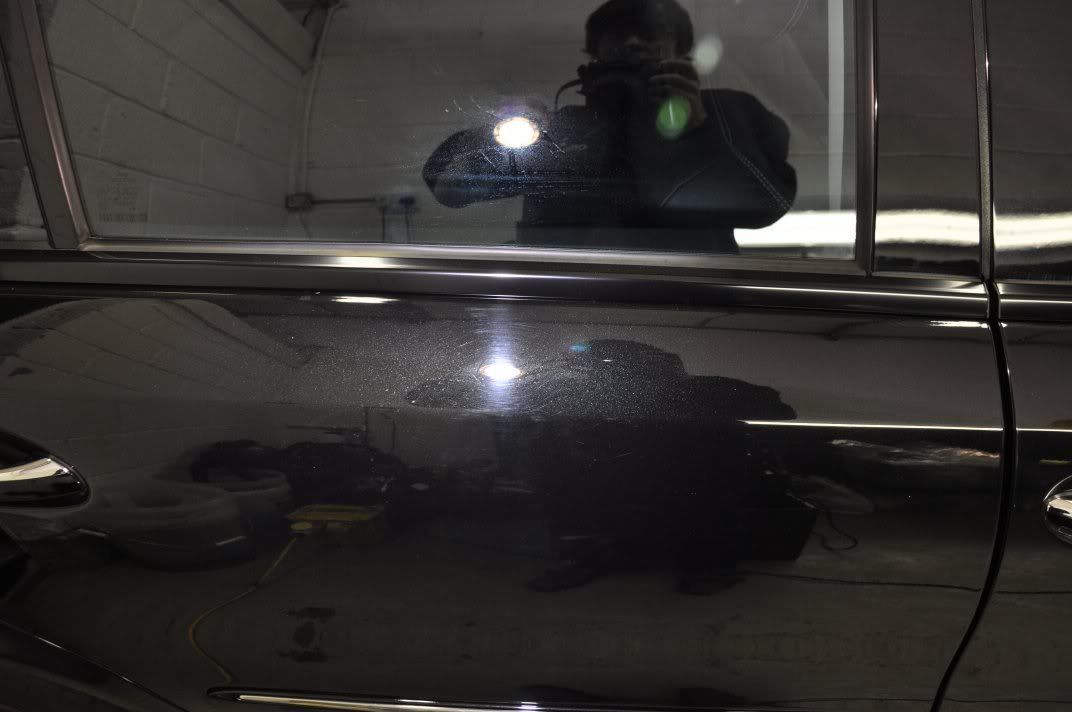
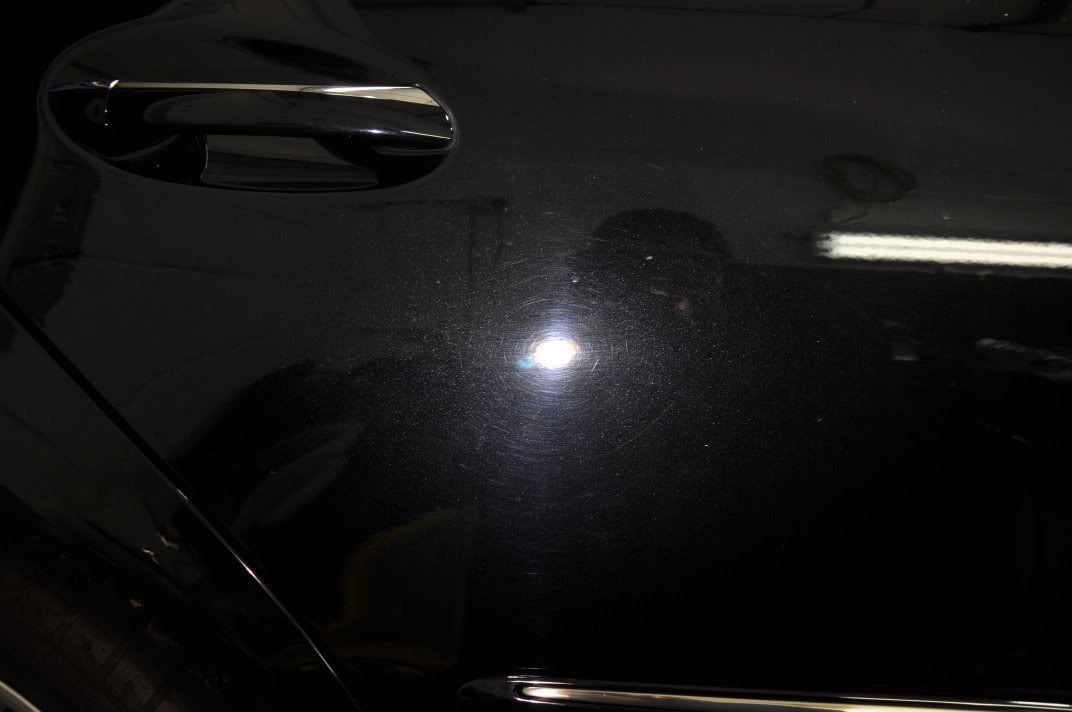
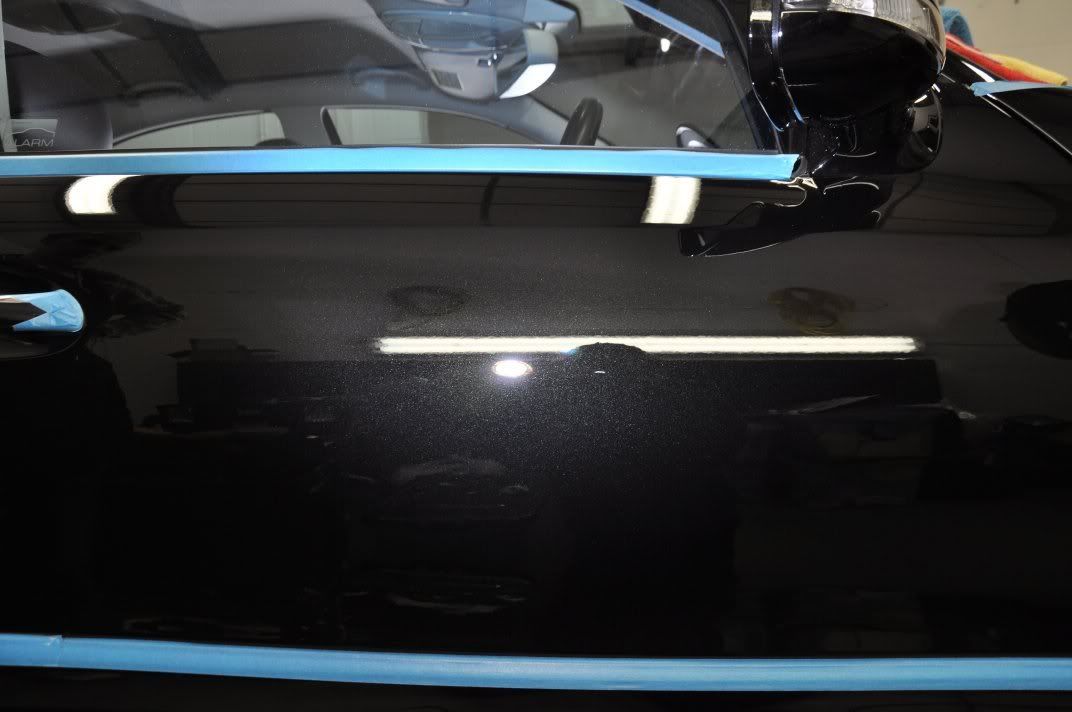
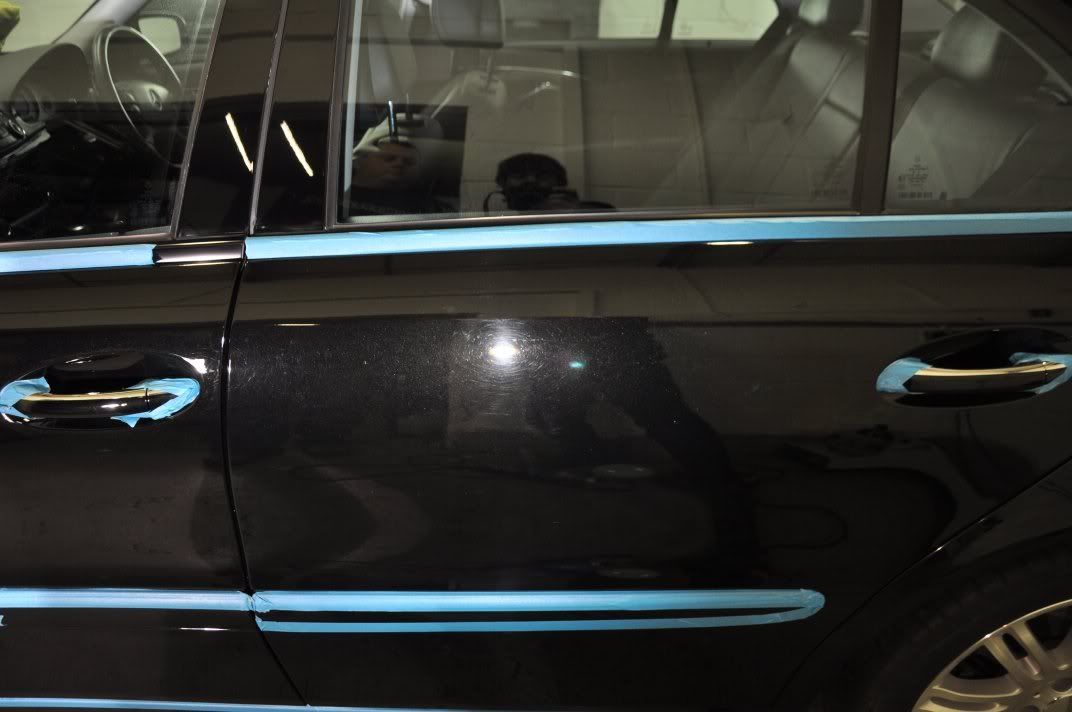
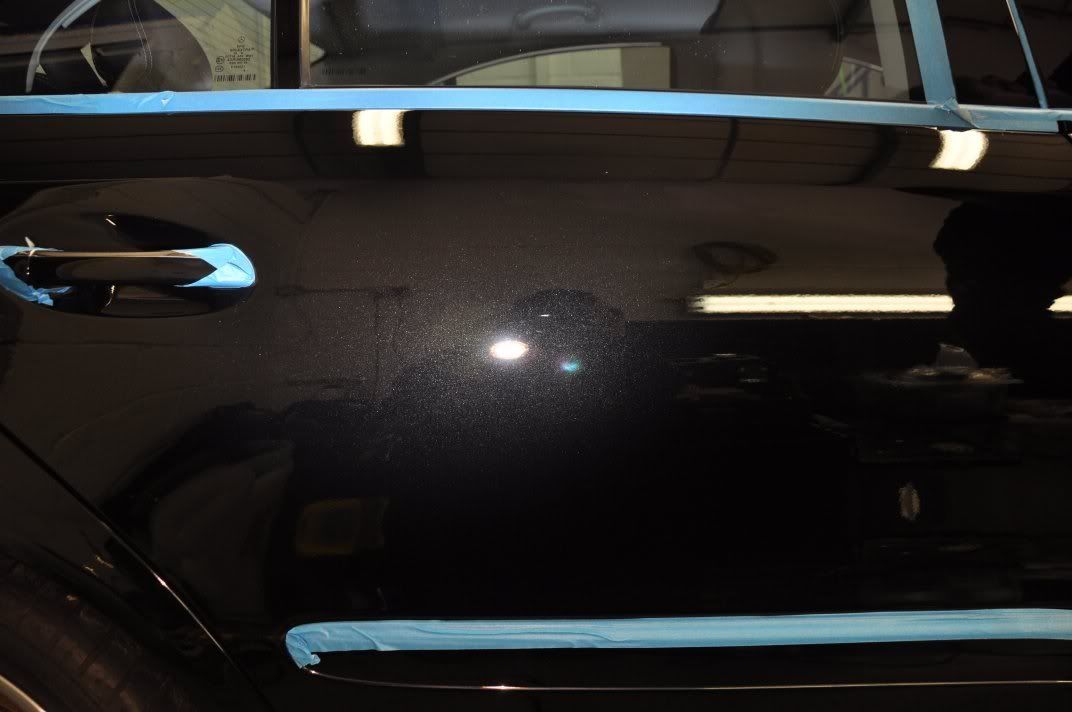
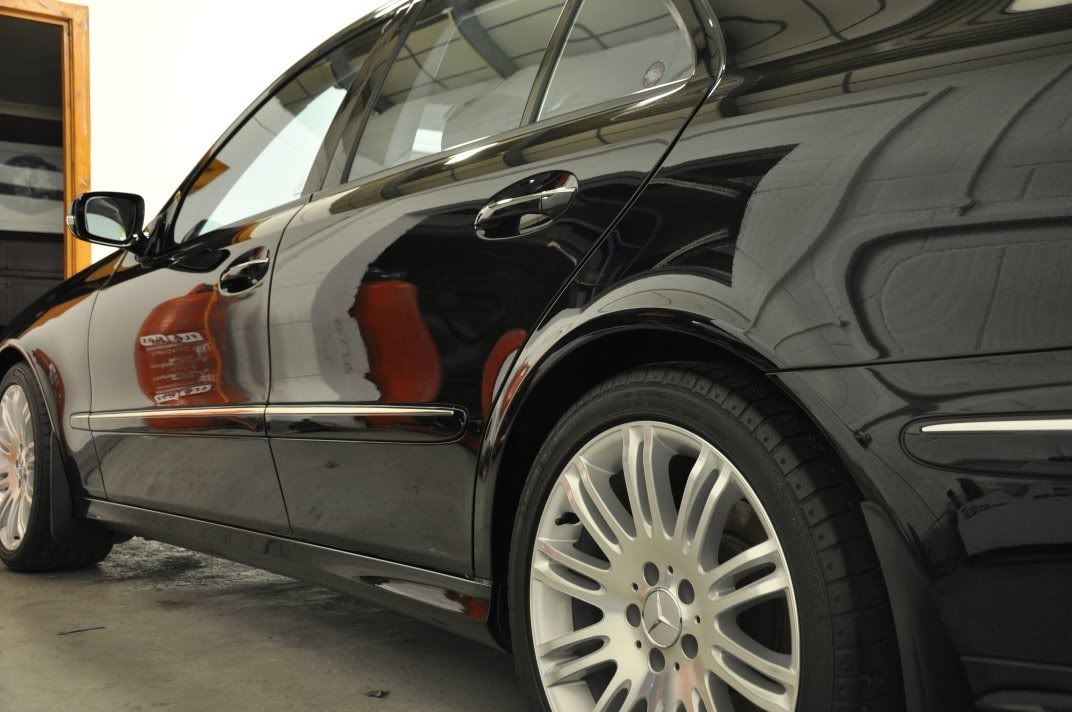
One the car was washed and clayed, it was ready for the machine polishing correction stage... One thing we get asked about quite a lot, and I read a lot on the forum – can a DA correct hard paint, or do you need the rotary? The answer is that a Dual Action polisher can indeed correct paintwork, even hard paintwork as it was on this car (assessed by removal rates). The key is in the technique! The owner of this Mercedes already owned a DA polisher, so we started the machining stage off with a tuition session on the use of the machine and how to maximise its potential to get the best results from it... Too often I see DA polishers being diregraded for correction because they are too gentle – its simply a case of learning to use the machine and optimising your technique to get the best from it! On the door of this car, you can see general swirls and some deeper marks too...
First up as a trial is one of my favourite polishes for use on a DA – I know it seems to have fallen out of favour recently, and I cannot really work out why: Menzerna PO106FA, a superb finishing polish with a decent level of cut for light to moderate correction as well. Coupled to a Meguiars W8006 yellow polishing pad, it was applied by DA (Meguiars G220) as follows:
1) Spread polish over a 12” square area on speed 2 – 3, light pressure and fast machine movement to spread out the polish ready for use.
2) Speed 4, and moderate pressure (enough to slow the rotation speed of the pad down but not make it stop), move the machine at 1” per second over the area for a couple of minutes.
3) Step up to speed 5, same pressure and same slow pace of movement as above and wrok until the residue of the polish goes clear (expect total set time to be a good four or five minutes) .
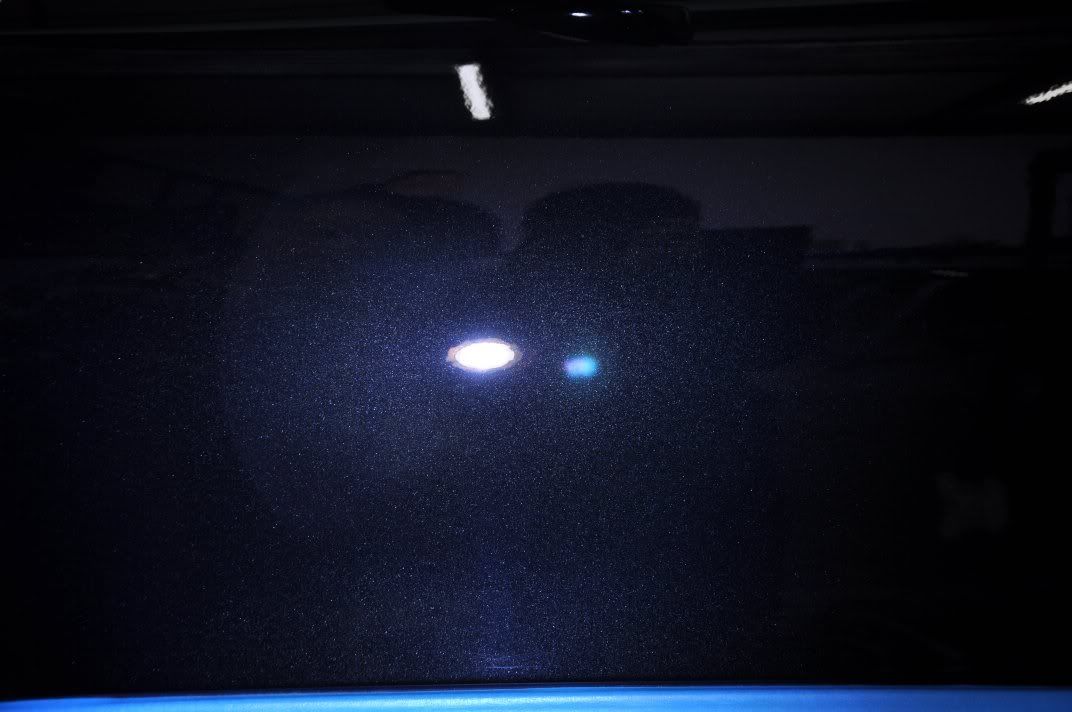
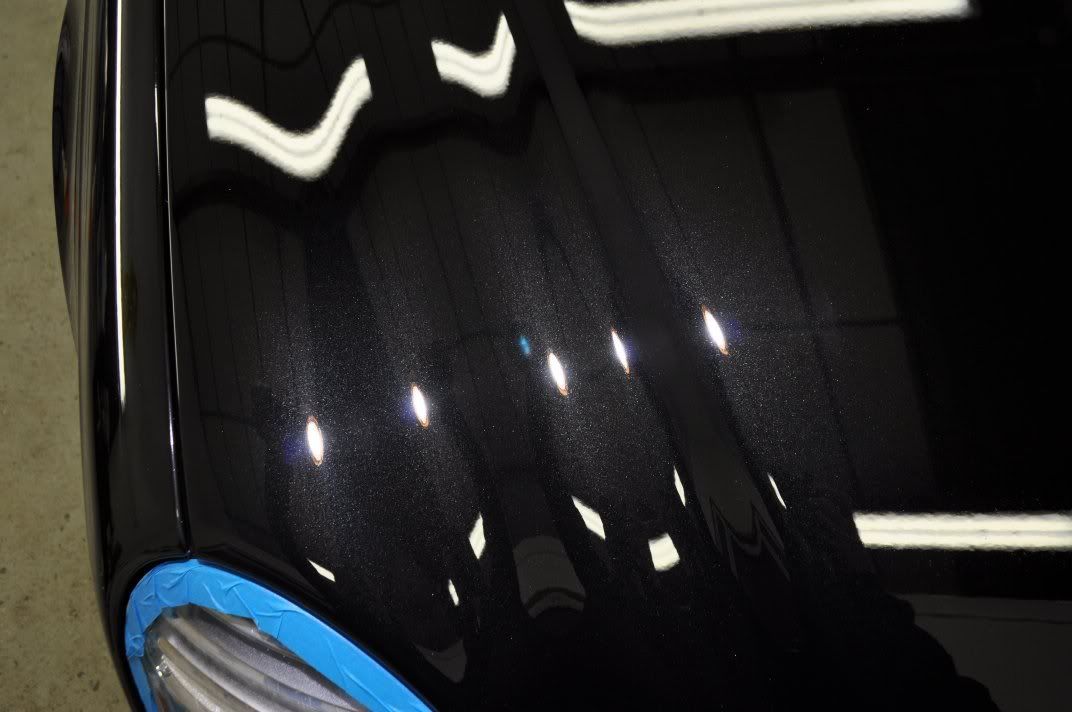
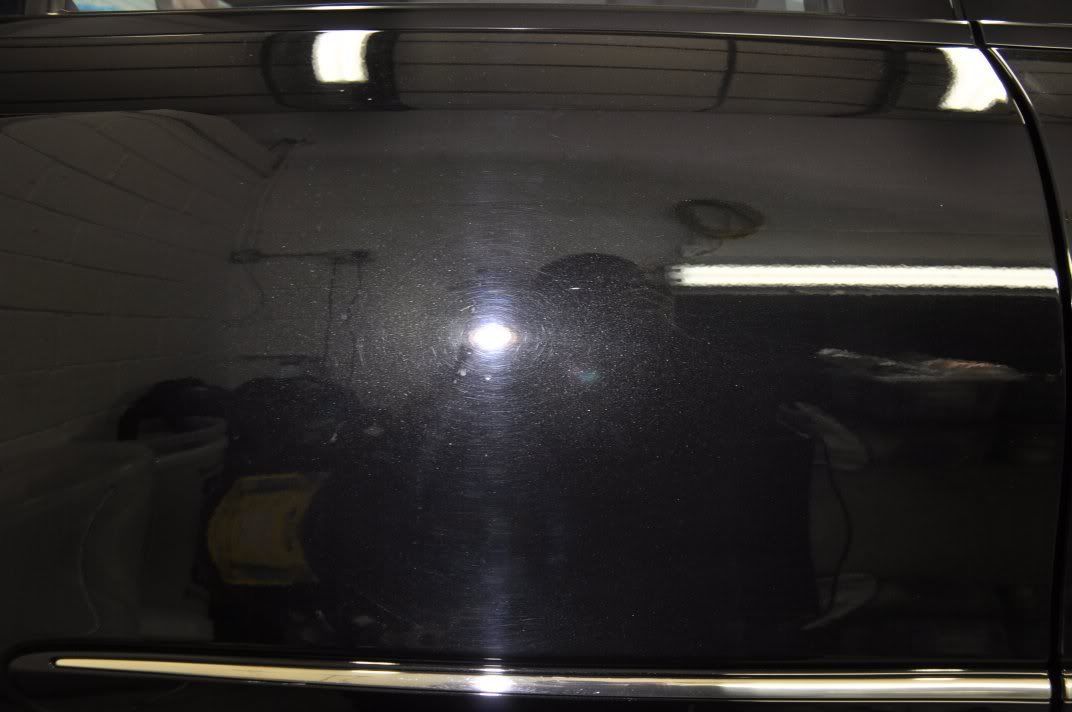
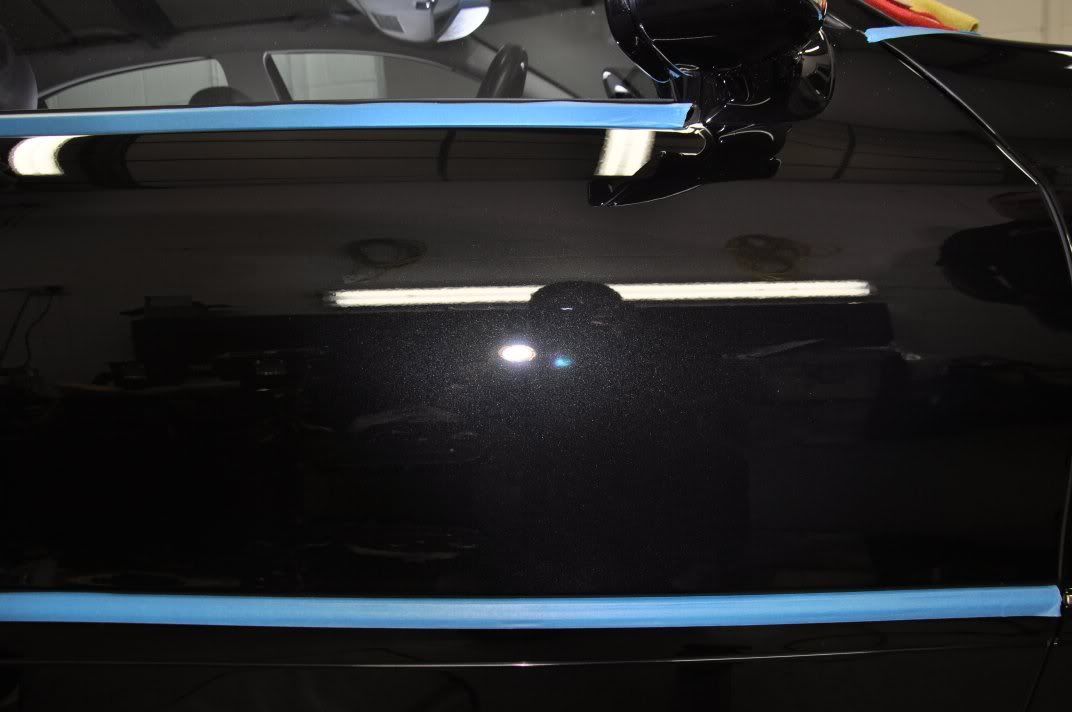
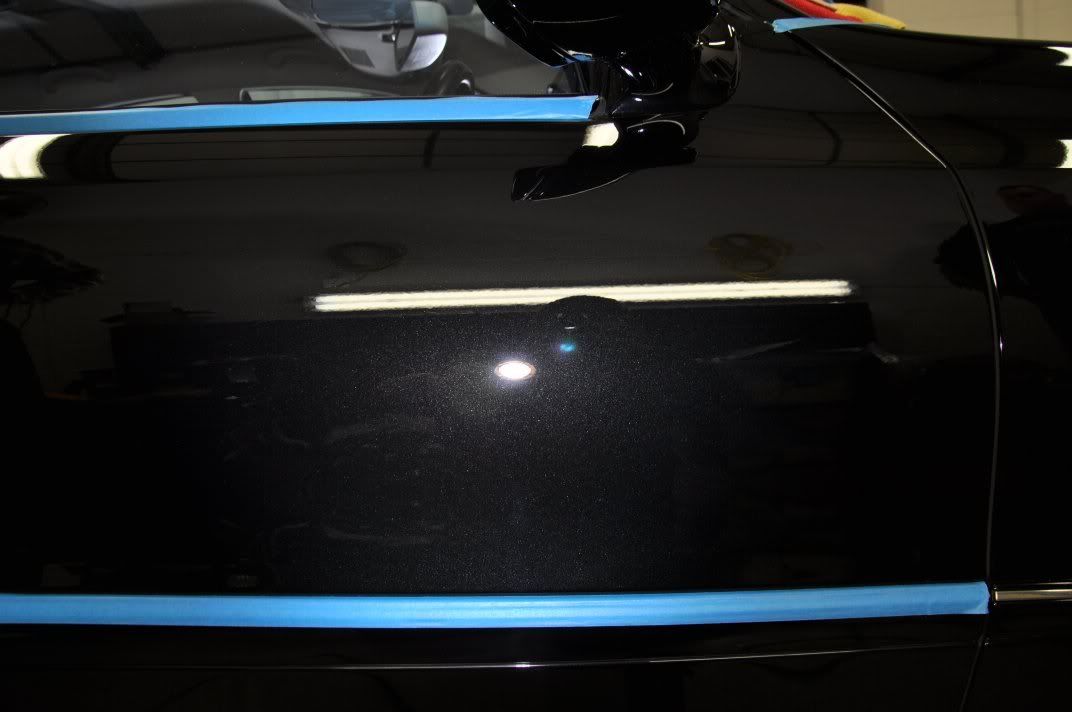
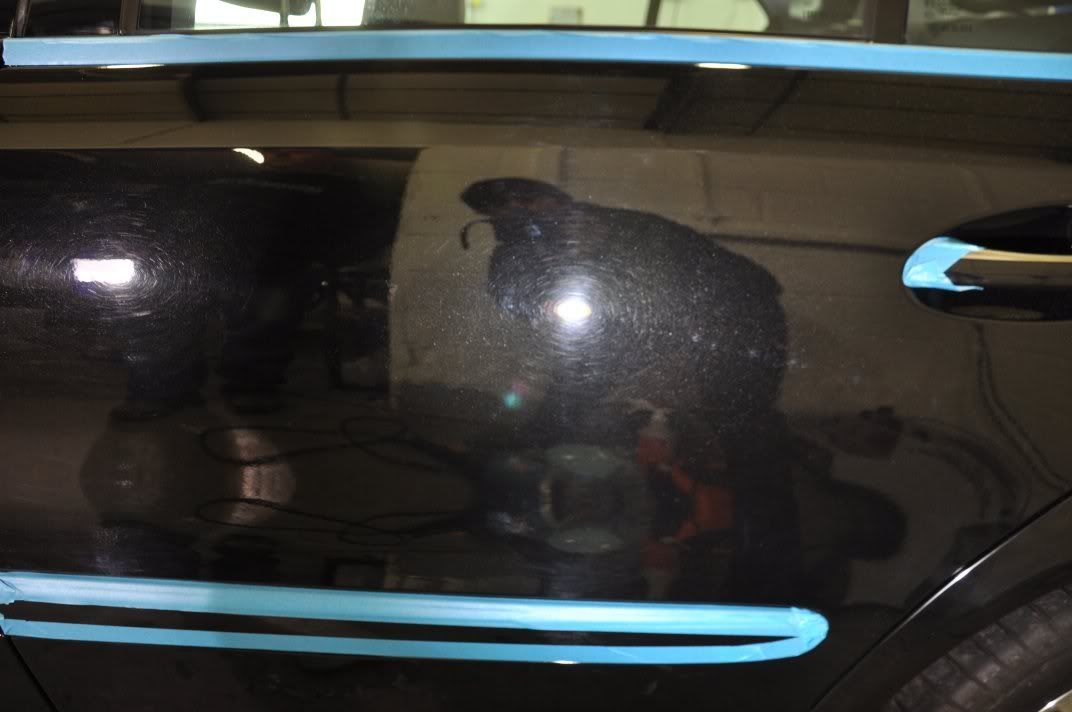
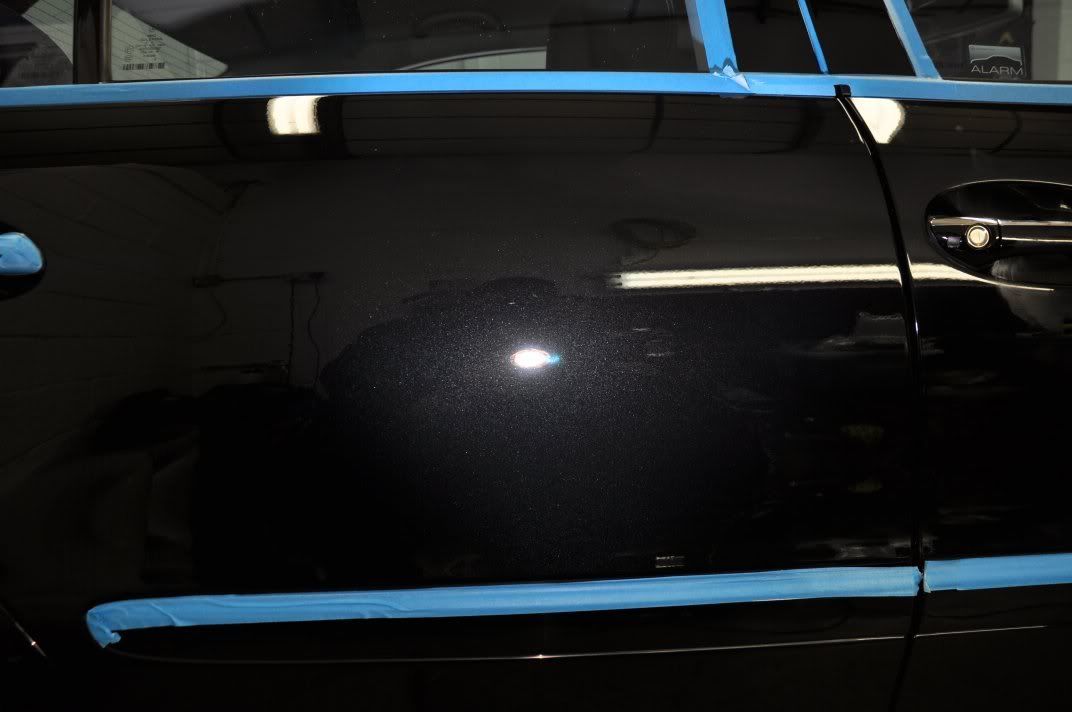
The results of the following process (bear in mind, this is a finsihing polish on a polishing pad...):
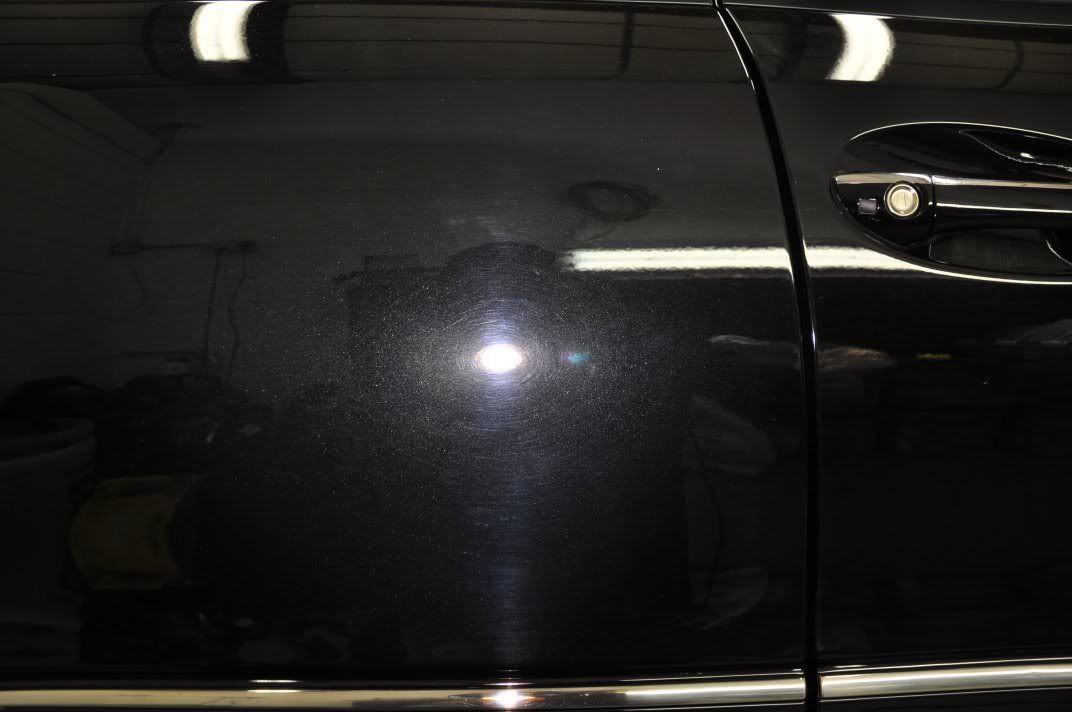
The vast majority of the swirls have been removed, leaving only the deeper marks... Given the paint thicknesses allowed here, we stepped up to Intensive Polish (PO85RD3.02) on the same polishing pad and using the above general application technique we saw even better correction and the removal of pretty much all of the marks...
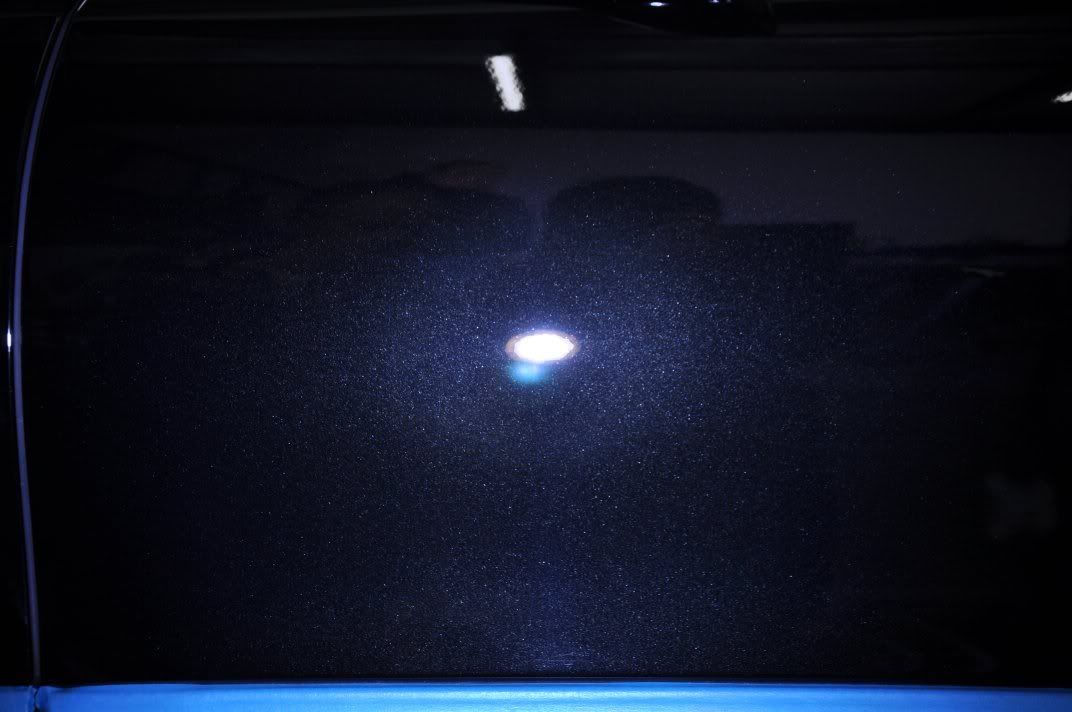
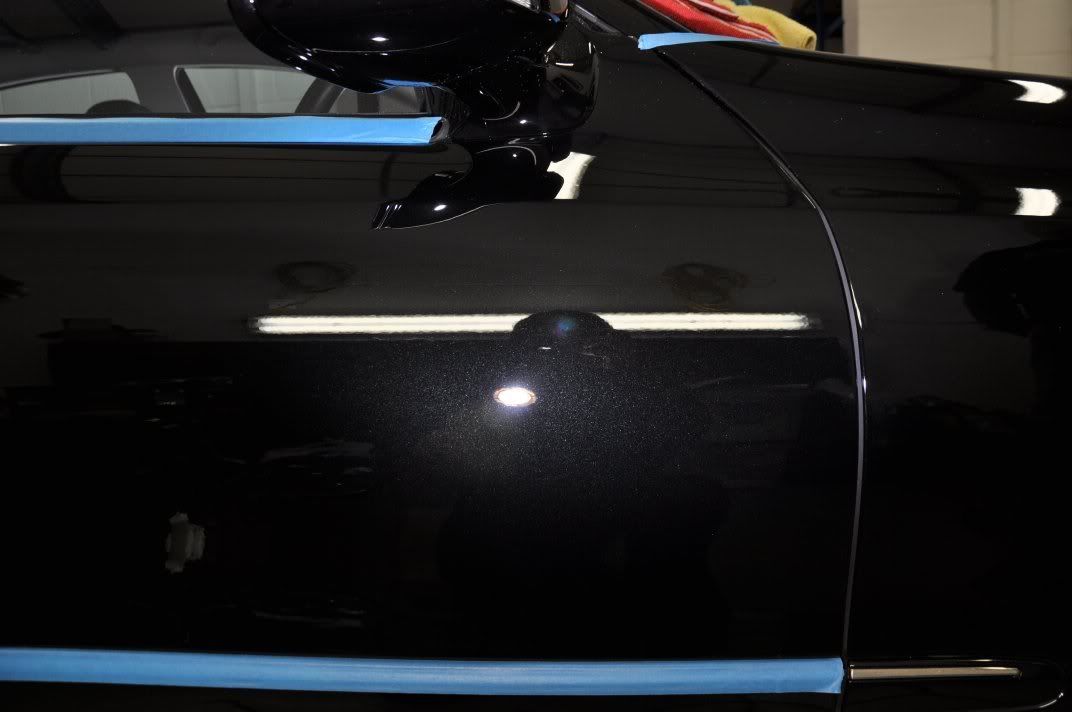
Can a DA correct paintwork? I think the answer to that is a resounding yes
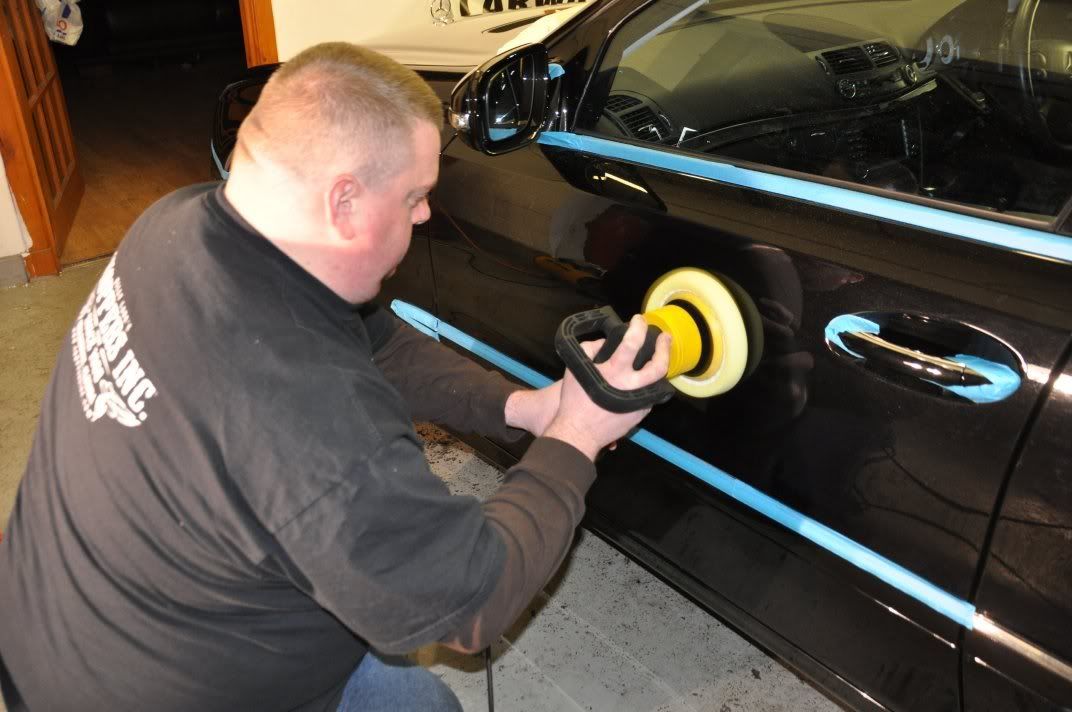
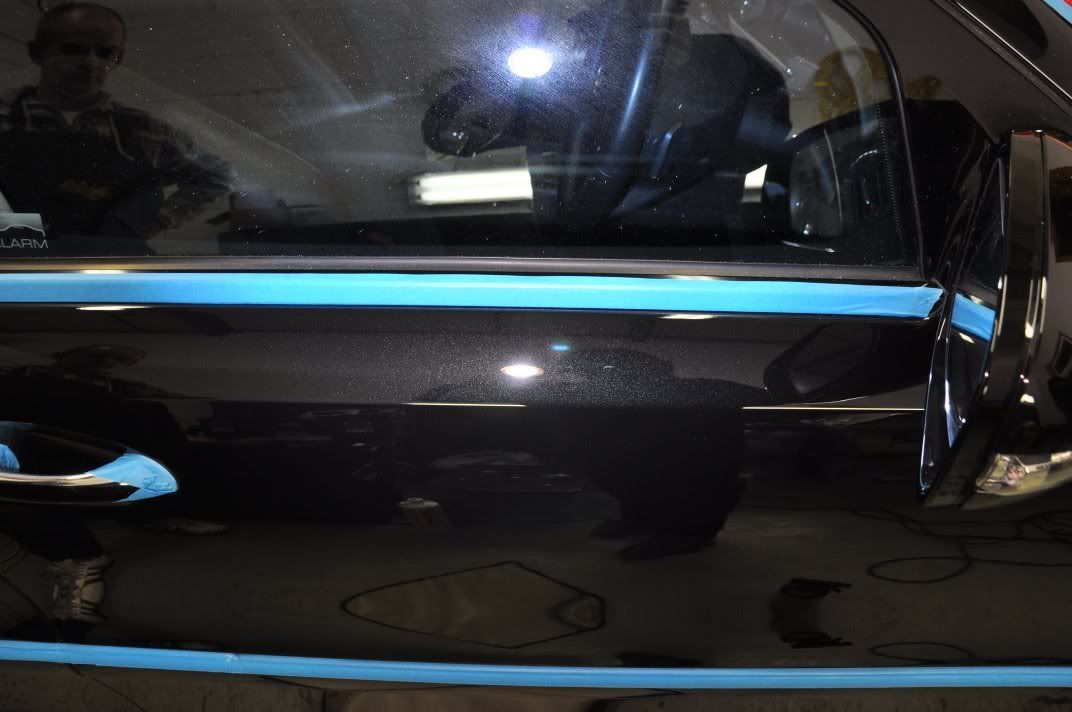
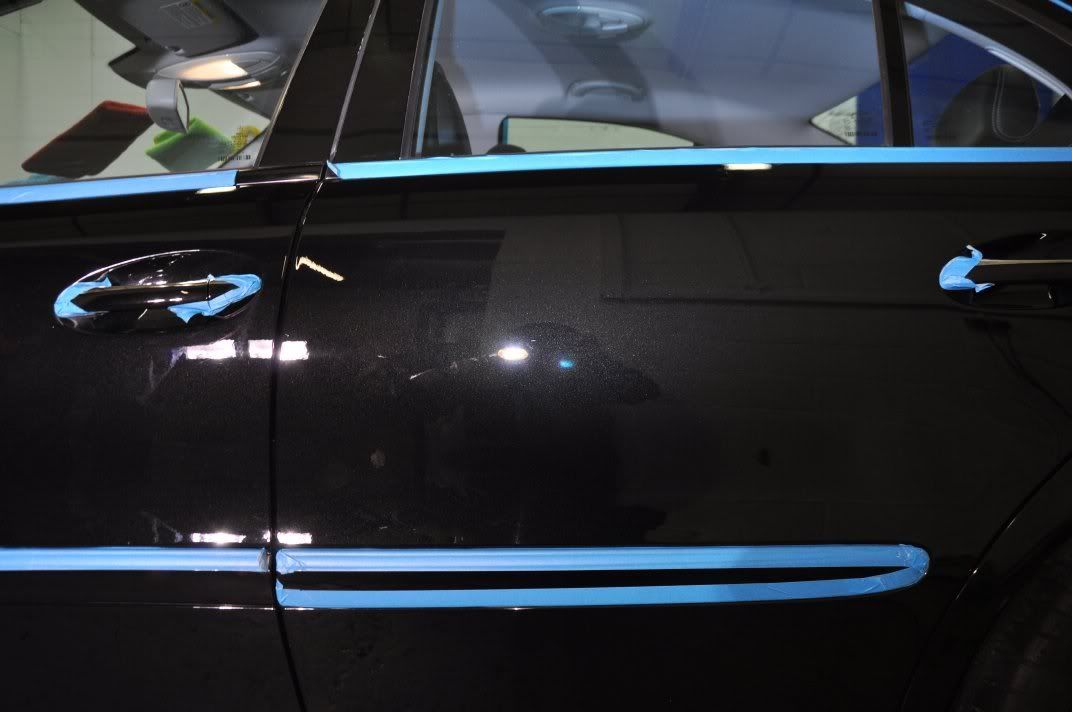
Happy with the levels of correction achieved, the owner of the car continued polishing on the door by DA...
Gordon and I also set to on the machine polishing stages... seeing that Intensive Polish was working by DA, we began out own paint assessments – however, we comenced on the aluminium panels and they had a different story to tell!
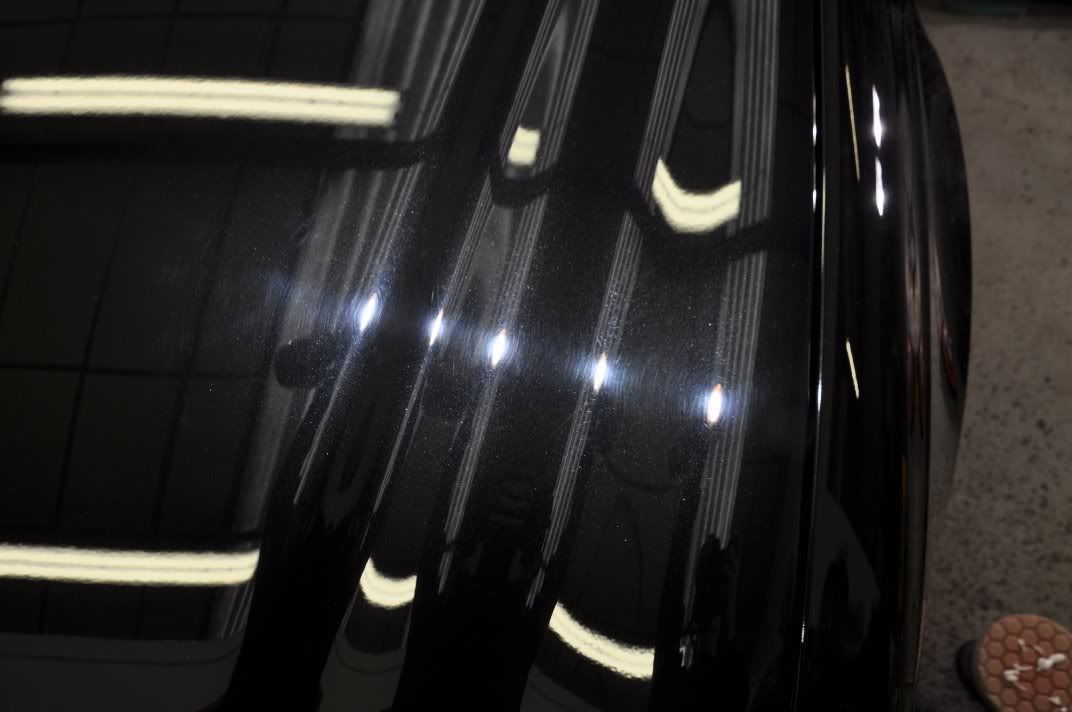
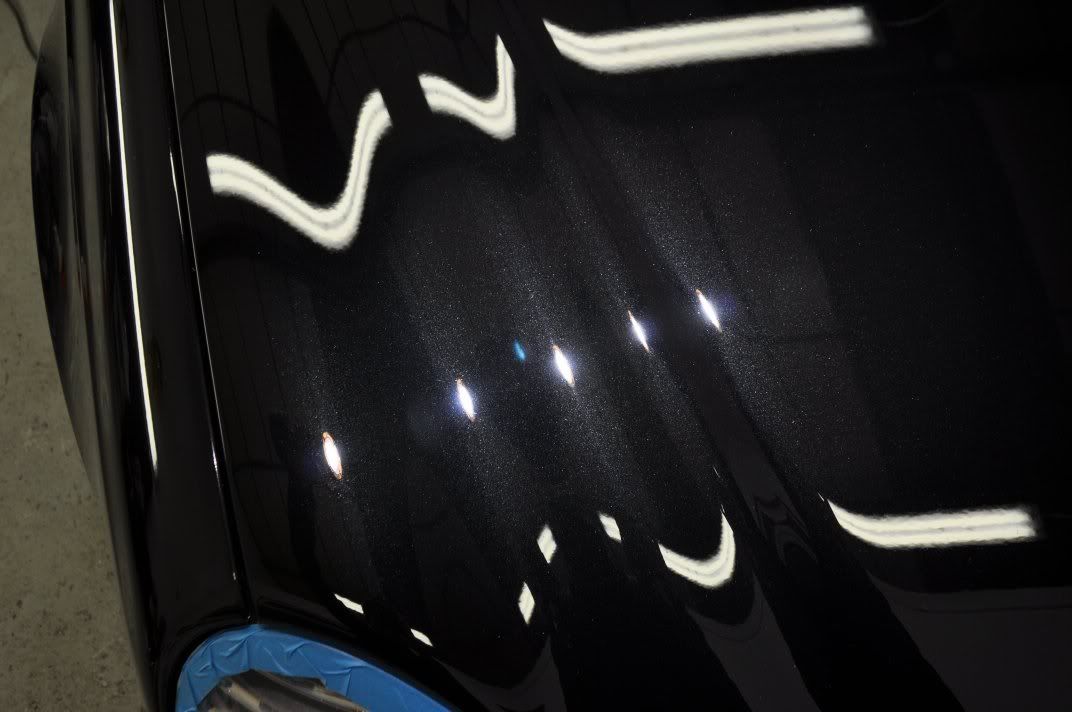
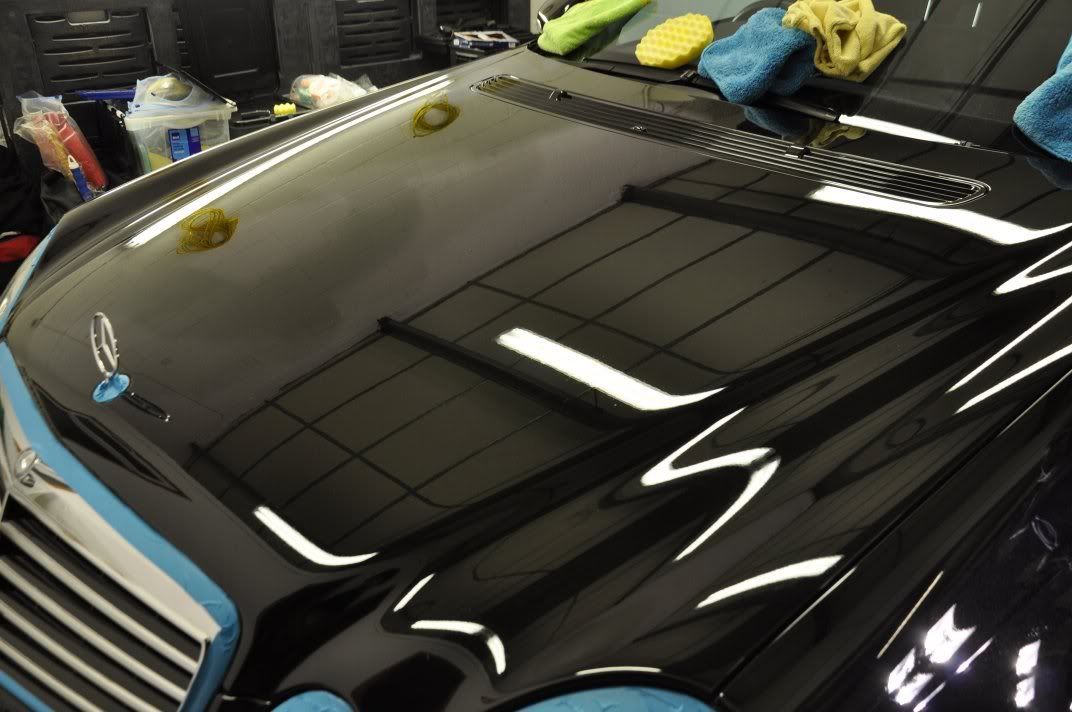
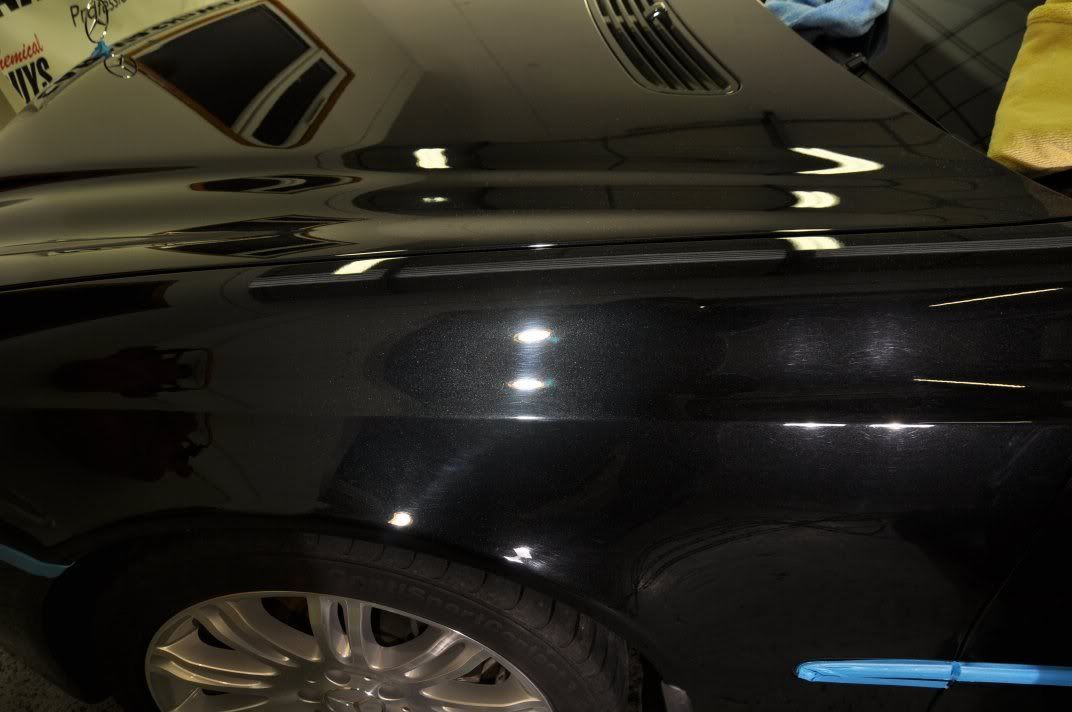
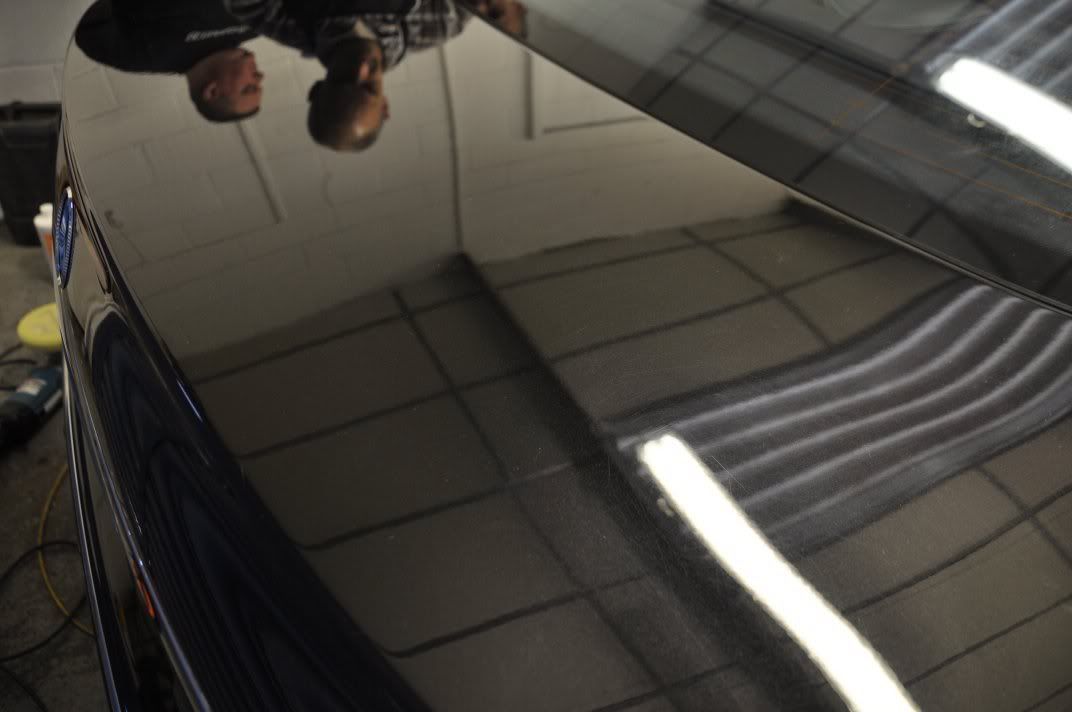
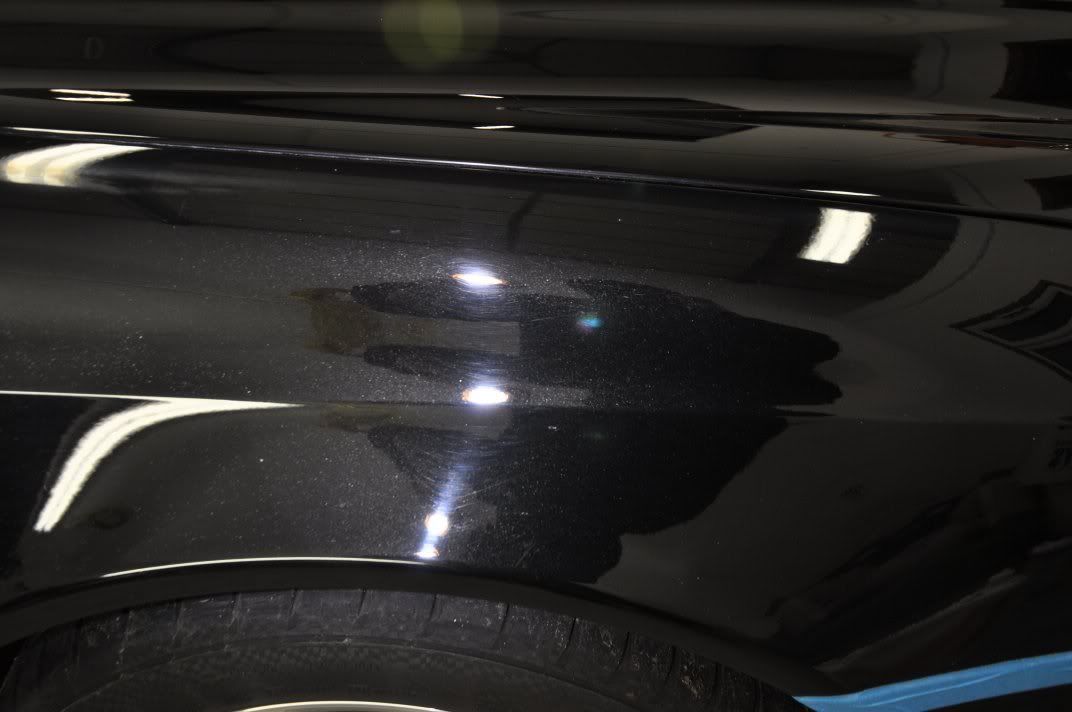
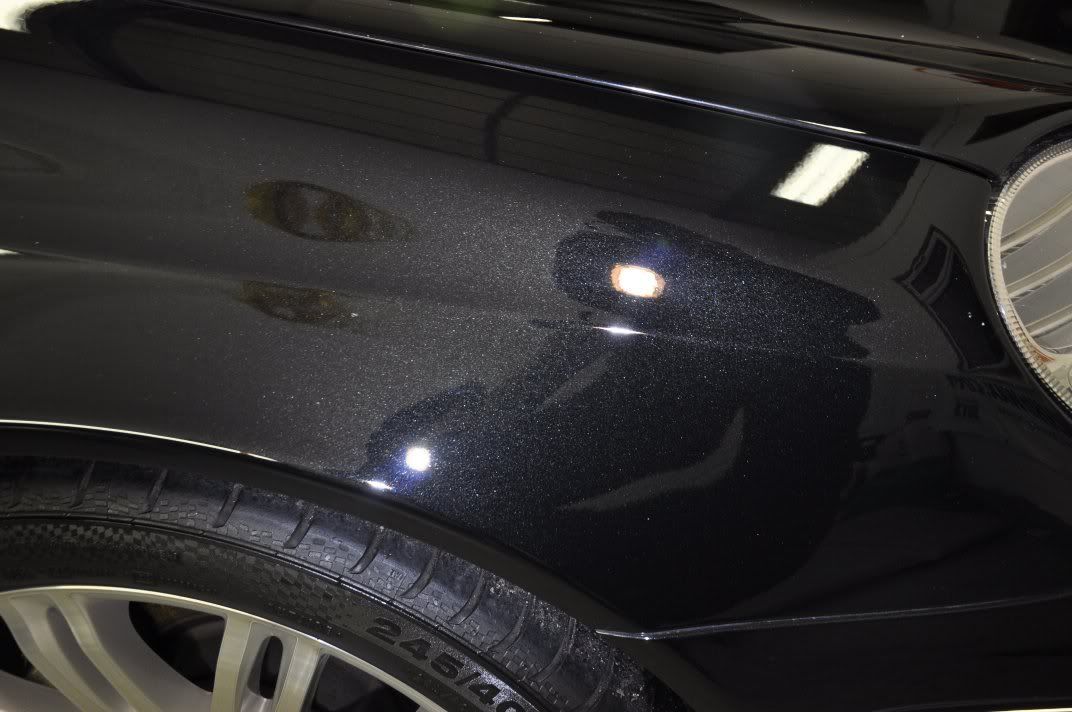
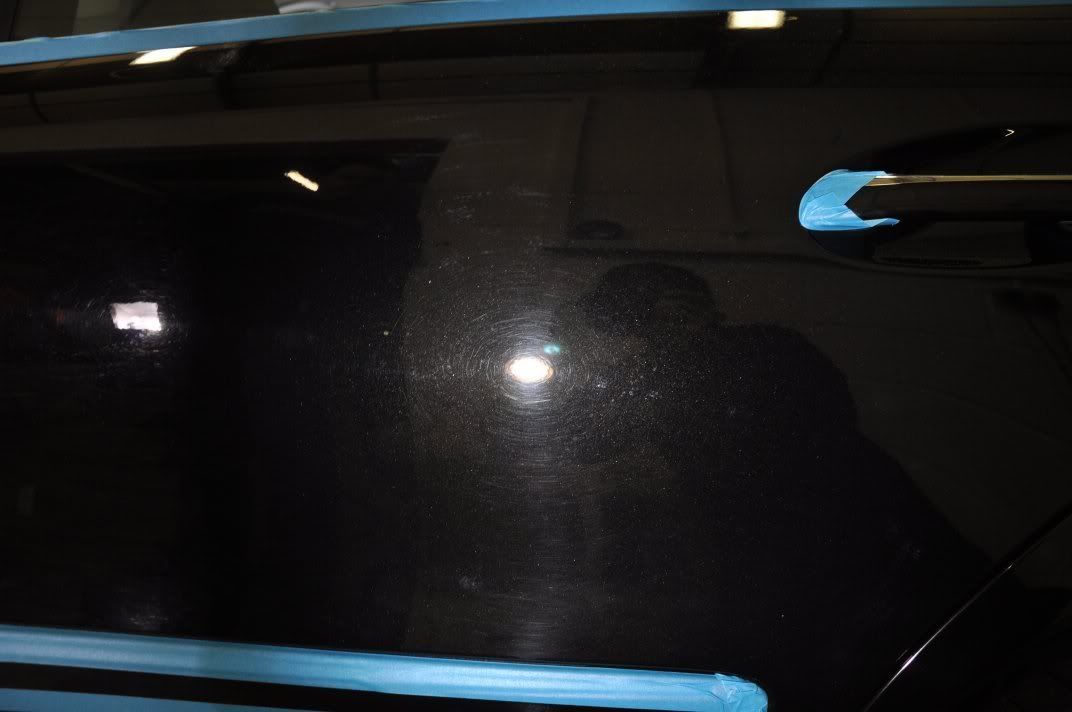
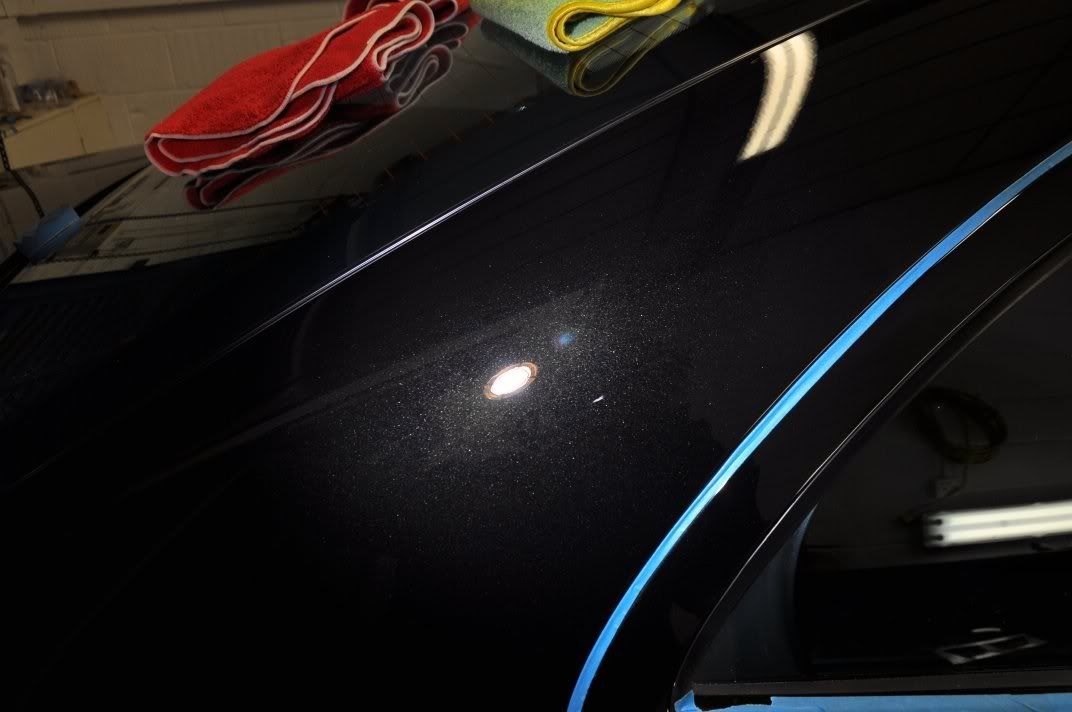
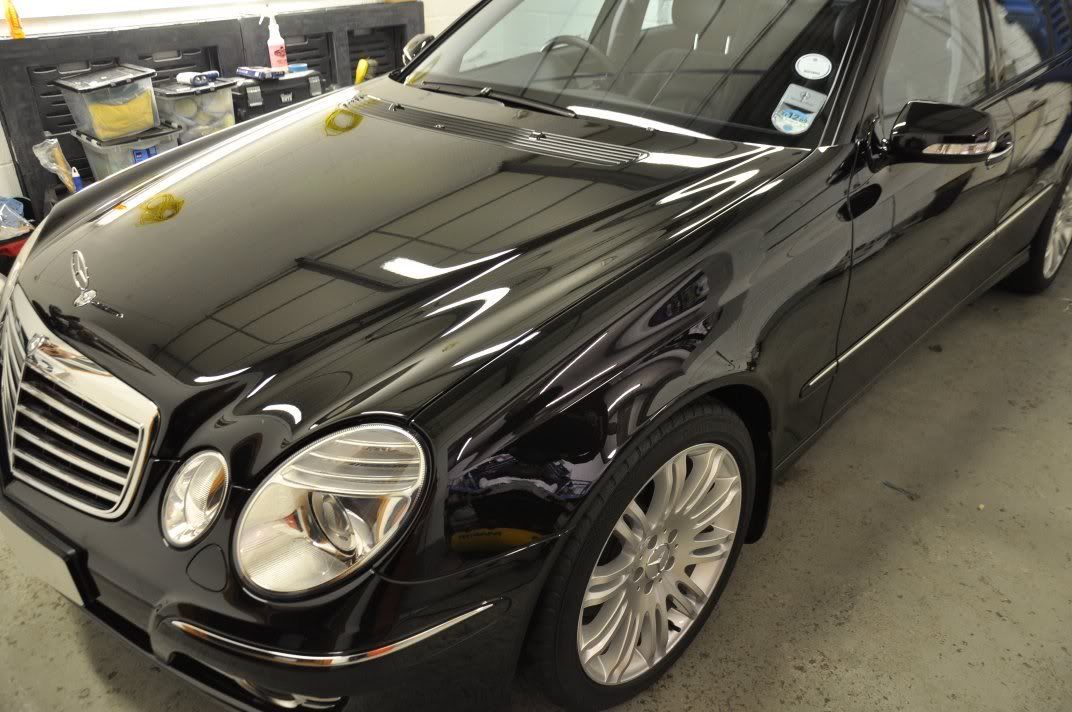
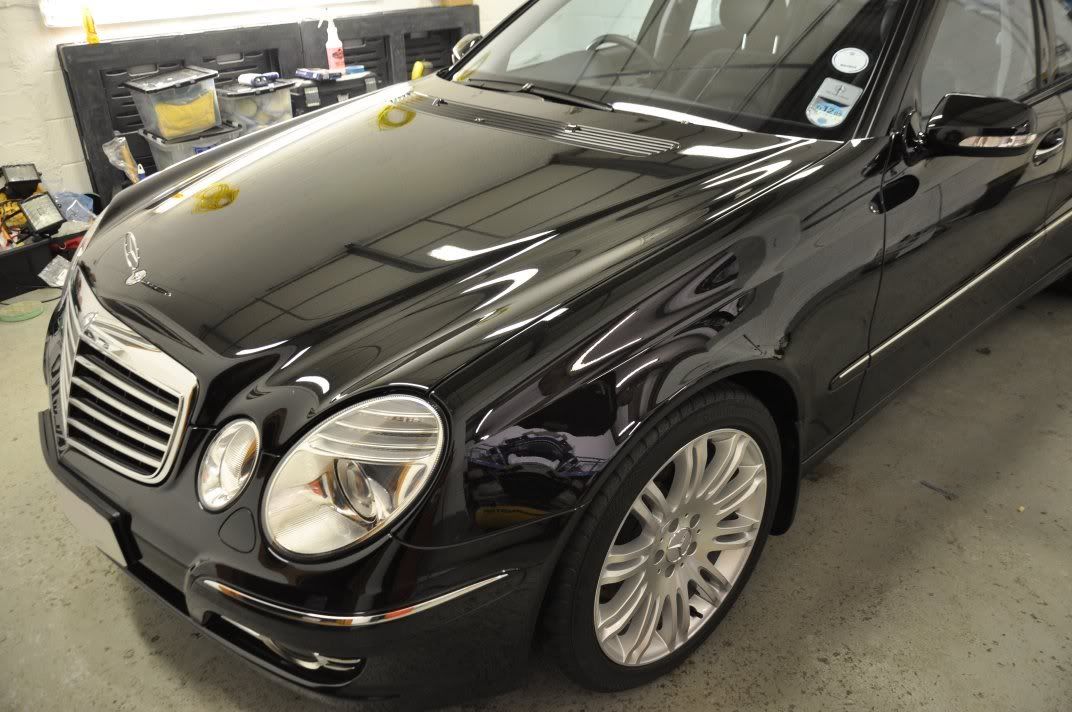
I started off on the bonnet, and as you can see the swirls were pretty much as we saw on the door – moderate with some deeper marks in there too...


You might expect at this stage that, seeing the door, we went straight for Intensive Polish on a polishing pad... but the paint gauge certainly made us stop and think! A couple of readings from the bonnet:
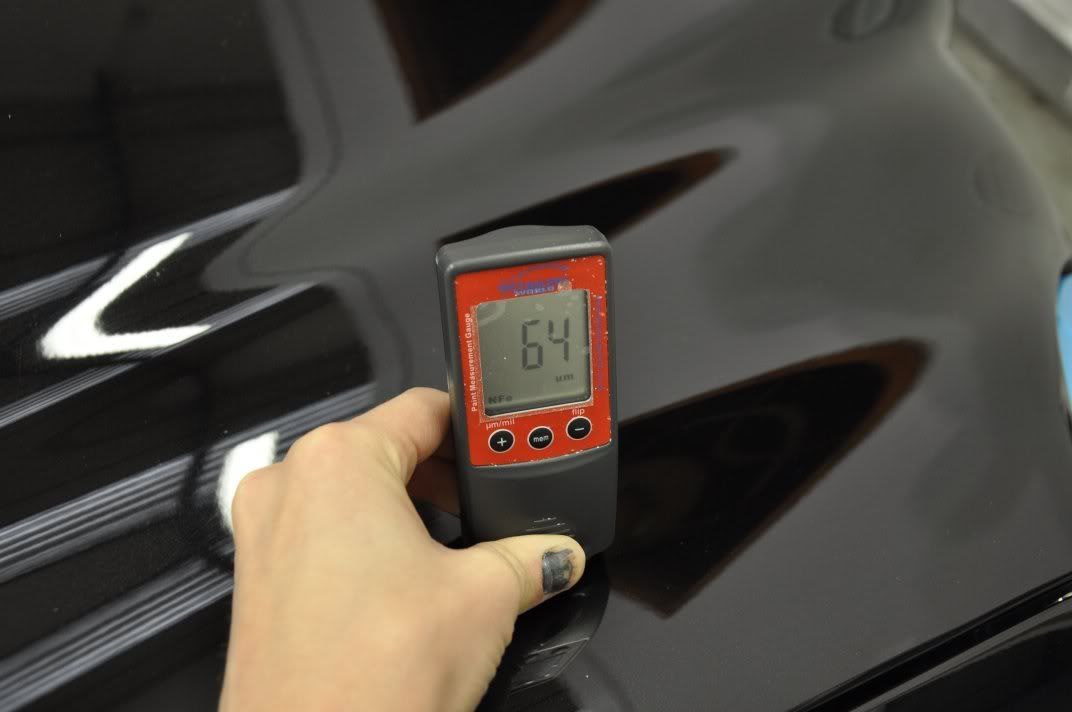
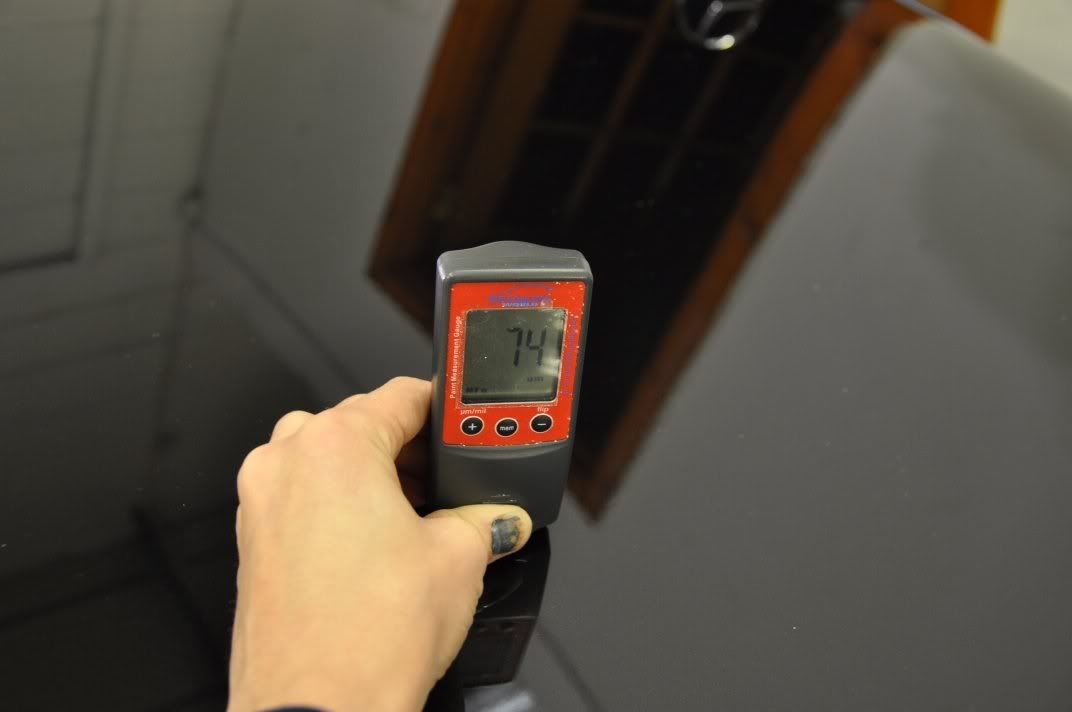
The key when assessing paint thicknesses (rather than just noting the number and comparing it to a general range) is to see how consistent it is across the car and in this case the bonnet was very thin in comparison, as were the front wings (a little later). So, a softly softly approach was called for here! I started off with Meguiars #205 Ultra Finishing Polish on a 3M Polishing Pad and worked using the Double Zenith technique:
1) Spread the polish at 600rpm
2) Begin working at 1200rpm, light pressure and steady machine movements to get residue evenly spread out.
3) Work at 1500rpm with light to medium pressure and steady machine movements until residue starts to look clear.
4) Reduce both speed and pressure: 1200rpm and light pressure and refine the finsih with slow passes.
5) Burnish the finish, 900rpm and supporting the weight of the machine and slow passes.
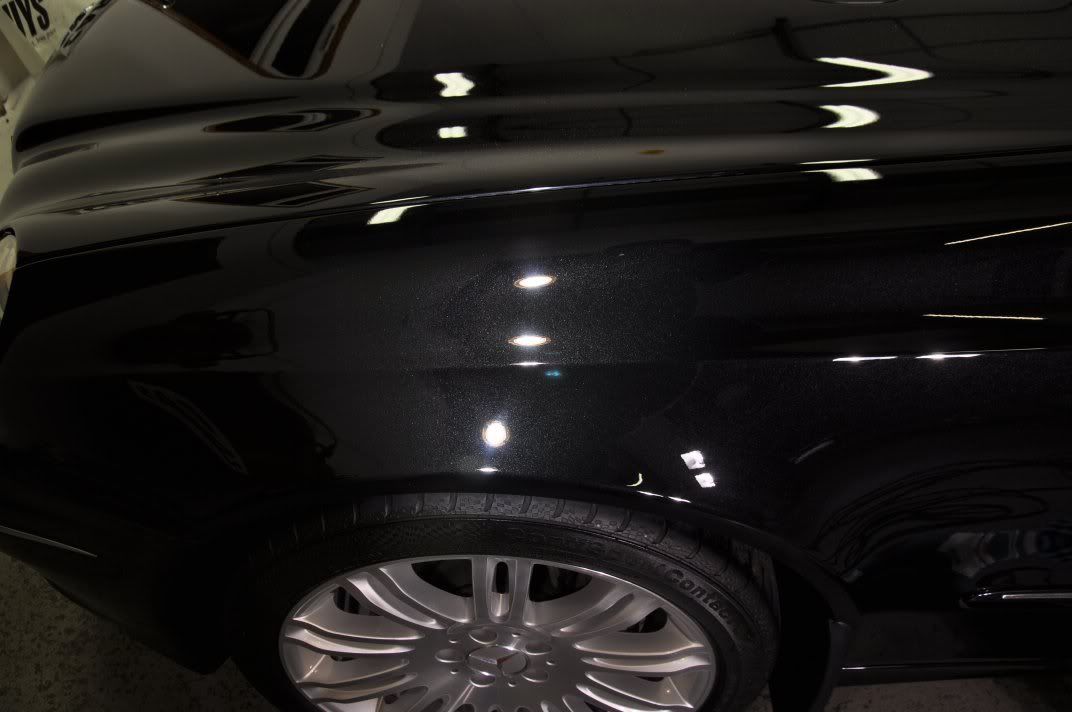
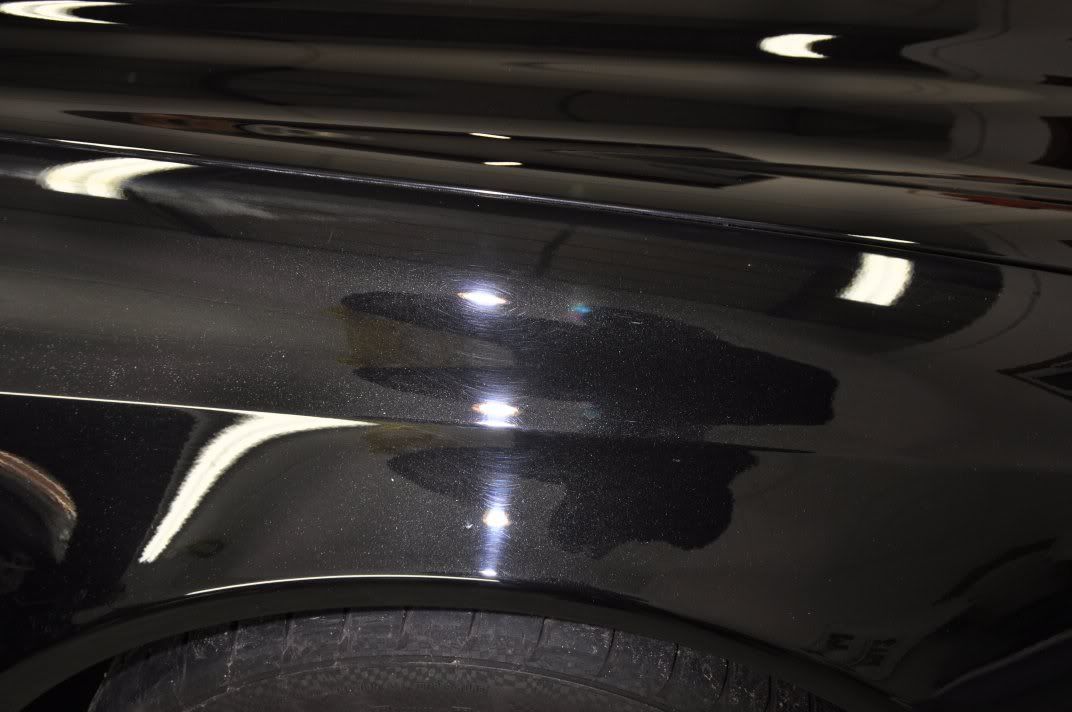
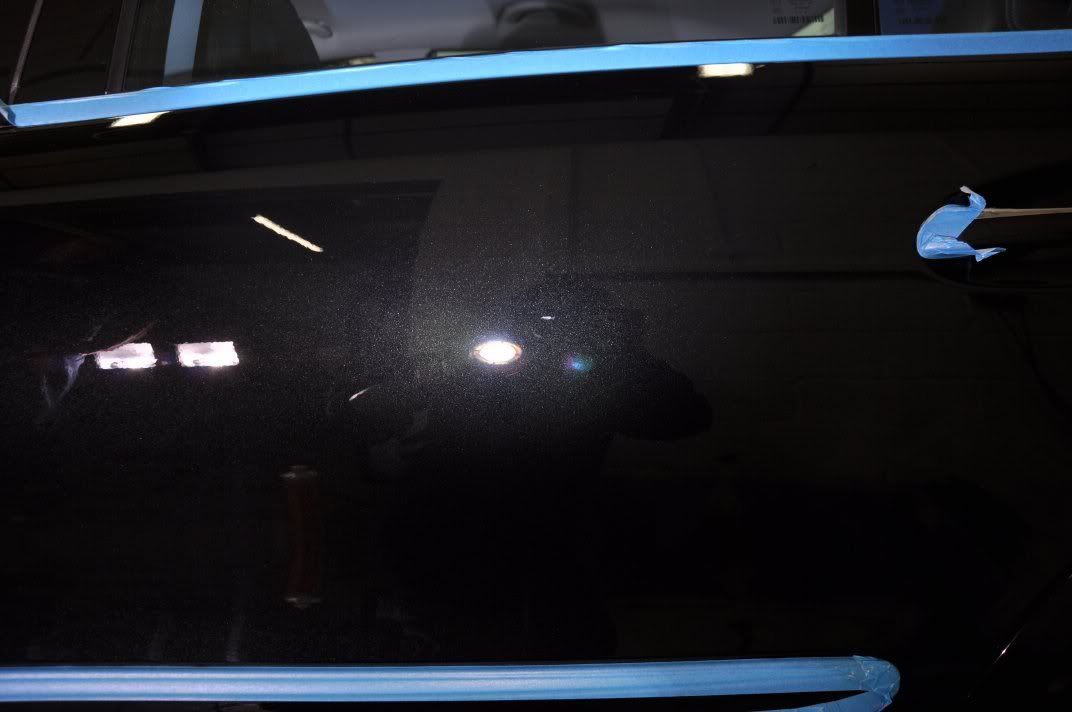
Comparitively light pressure used here with #205, thus not getting the full cut potential of the polish – this was quite purposeful for assessing the paint given the thicknesses measured. As we can see, the light approach with #205 achieved notable correction:
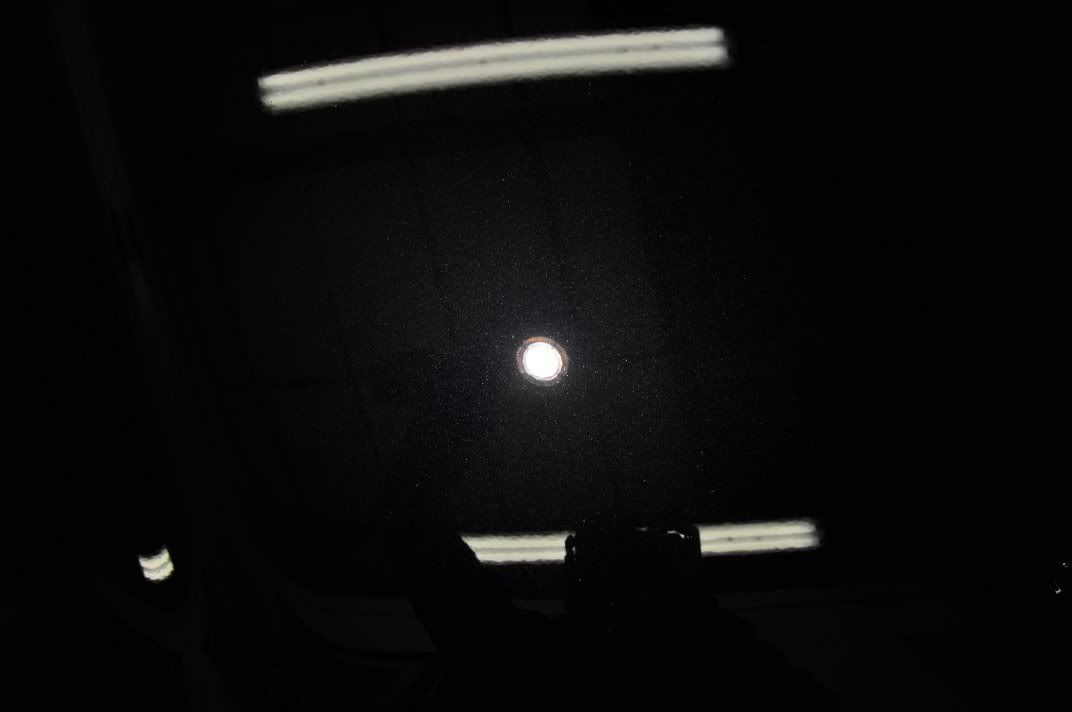
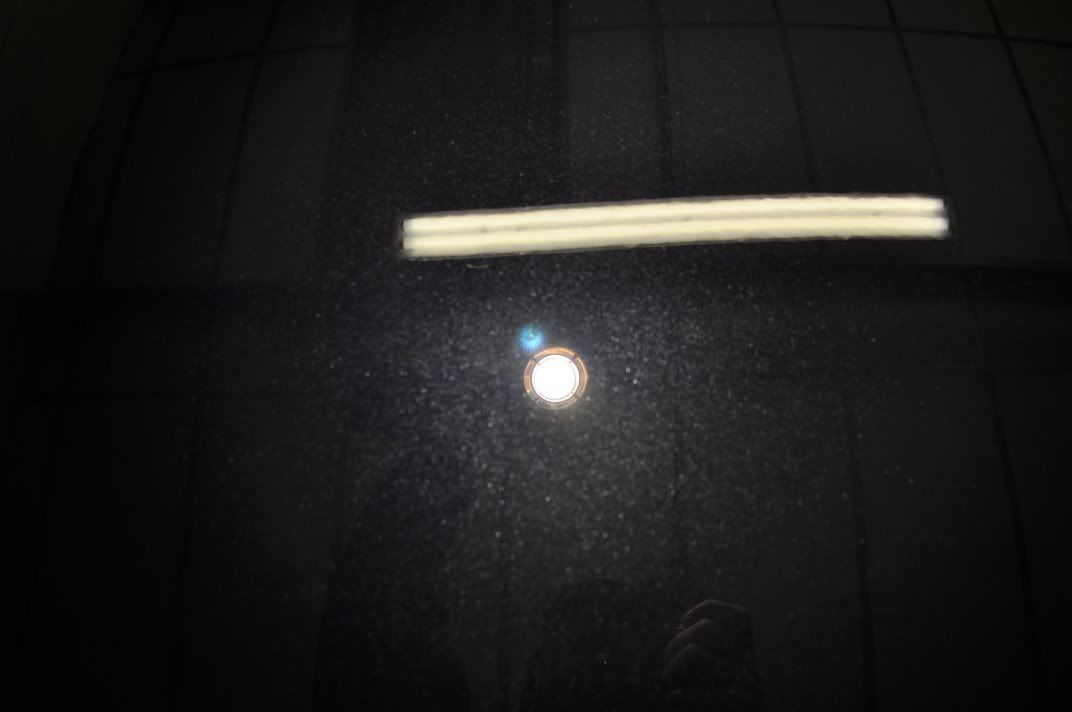
However, if we focus the camera in on the paint surface and turn off the bright lights we can still see deeper RDS that the bright light sources hide...
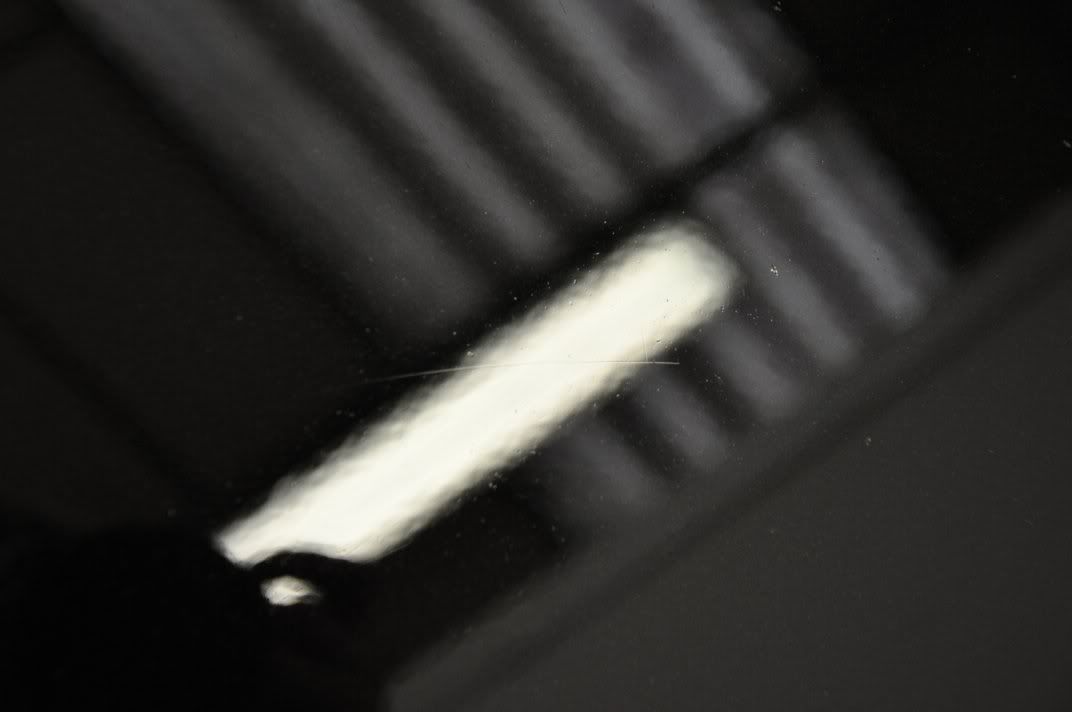
These are also quite hard to photograph, but I’ve prepped a little example on photography of deep marks for this writeup – we’ll save that for later, as we have a bonnet to correct for not . With deeper marks to deal with but not much paint, a heavier pressure set with #205 was trialled but again this feel just a little short of optimum results... reluctant to step right up to #105, we went for an intermediate polish and pad combo dictated by the paint removal rates: Menzerna PO85RD3.02 Intensive Polish on a 3M yellow polishing pad applied using the commonly used Zenith Point technique...
1) Spread polish at 600rpm
2) Begin working the polish at 1200rpm, slow passes and light to moderate pressure until a little heat built up and polish residue evenly spread and machine gliding effortlessly
3) Work at 1500 – 1800rpm, steady passes and moderate pressure until the residue goes clear
4) Reduce speed to 1200rpm and refine finish with two or three slow passes.
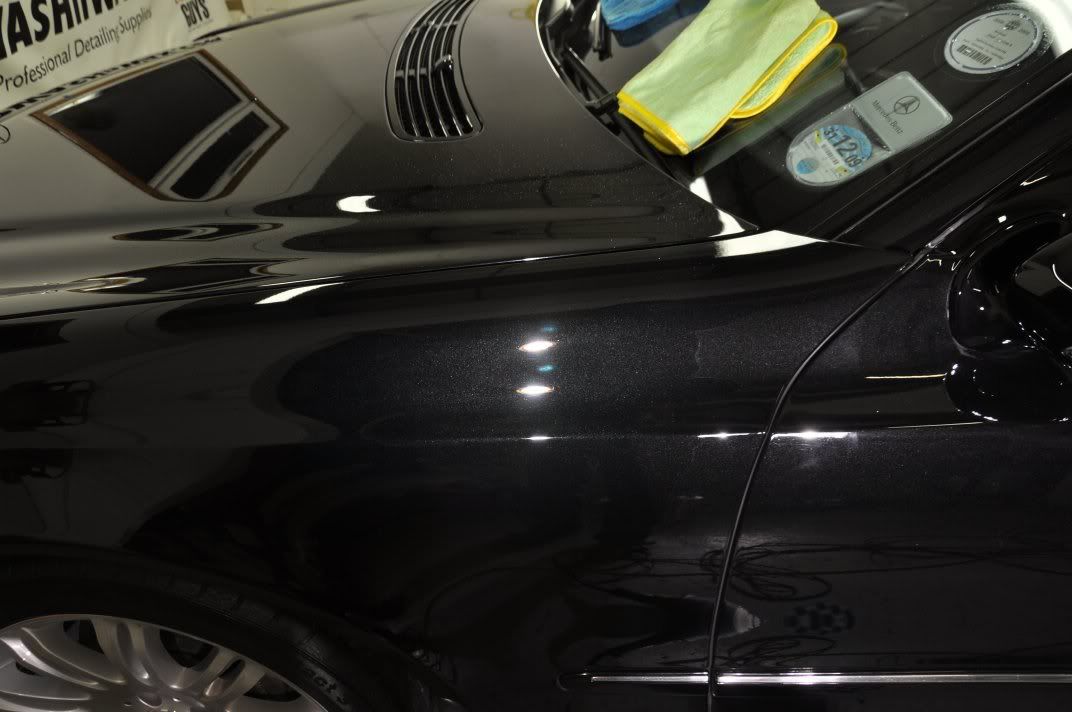
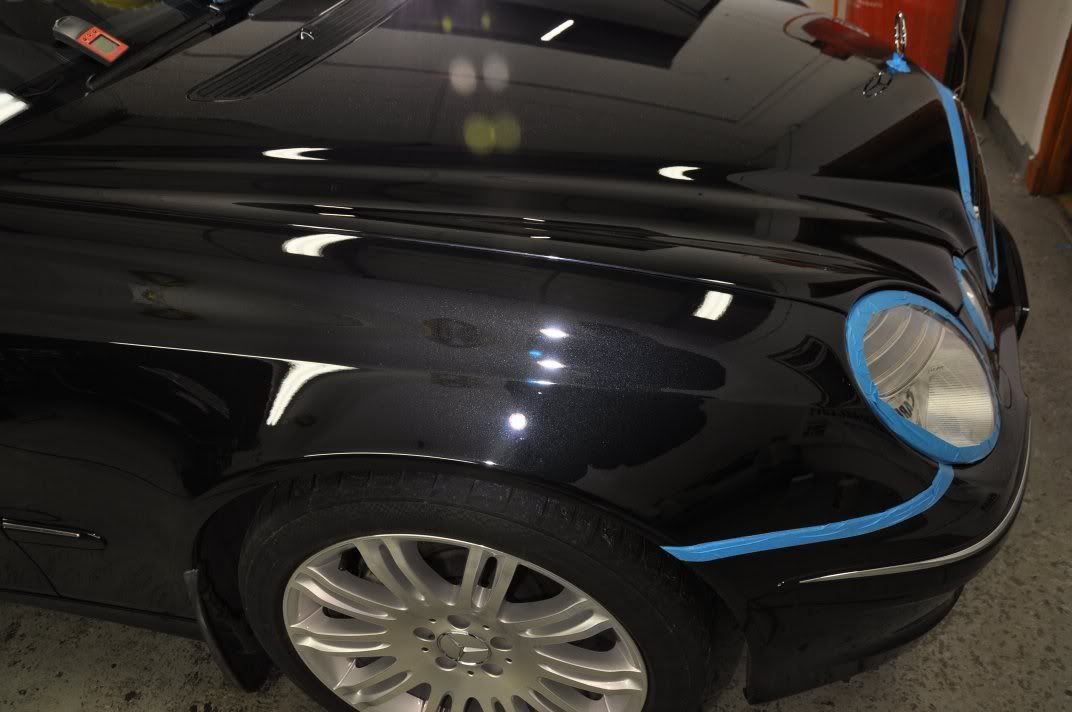
The end results of correction with Intensive Polish – better correction of the deeper marks. Not quite perfect but given the thickness and the removal rates we decided this was the perfect balance between achieving correction and reamining with a safe level of paint which ultimately is very important! Results...
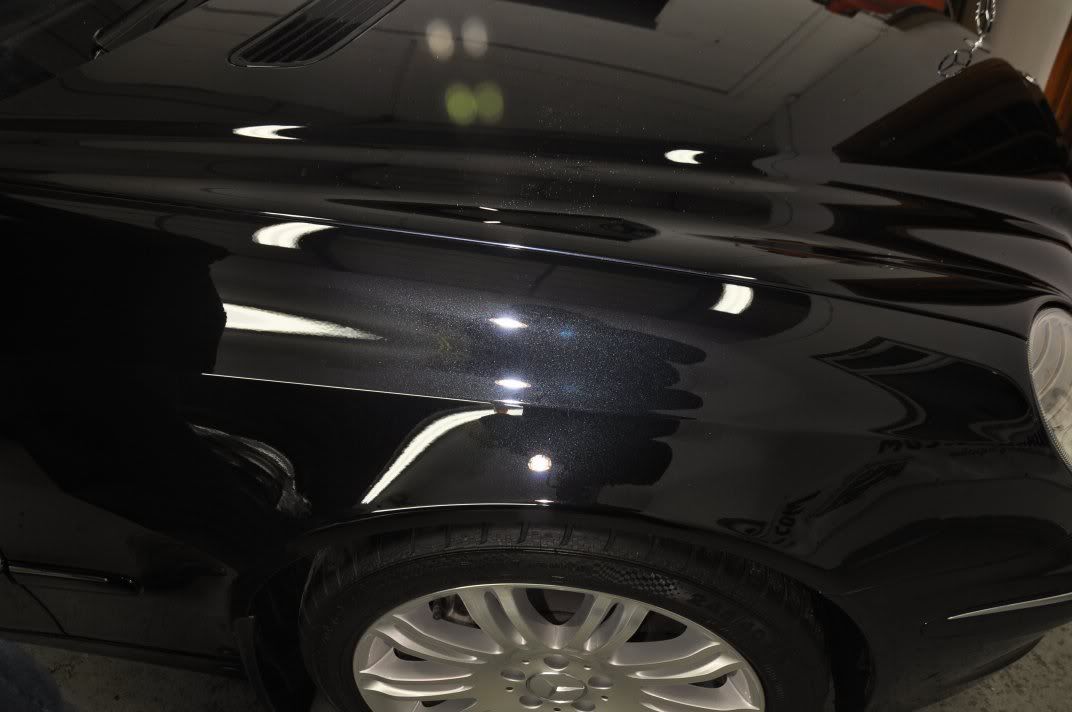
Refinement was carried out using Meguiars #205 (has to be my personal favourite finishing polish and it does seem to be used on pretty much every detail I do!) on a Chemical Guys Black Hexlogic finishing pad using the Double Zenith technique described above. End results:

The passenger wing before, where Gordon kicked off...
With less deeper marks here, Gordon found that he was able to achieve the required results with #205 stepped onto a slightly more aggressive Chemical Guys Hexlogic White pad, and firmer head pressure...
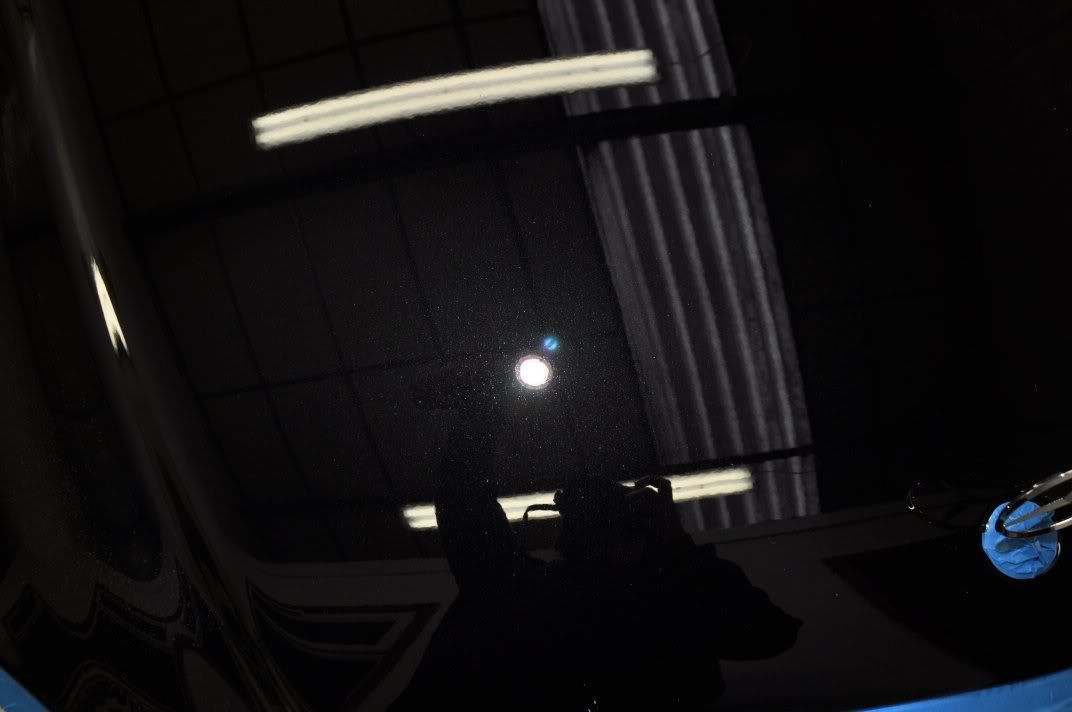
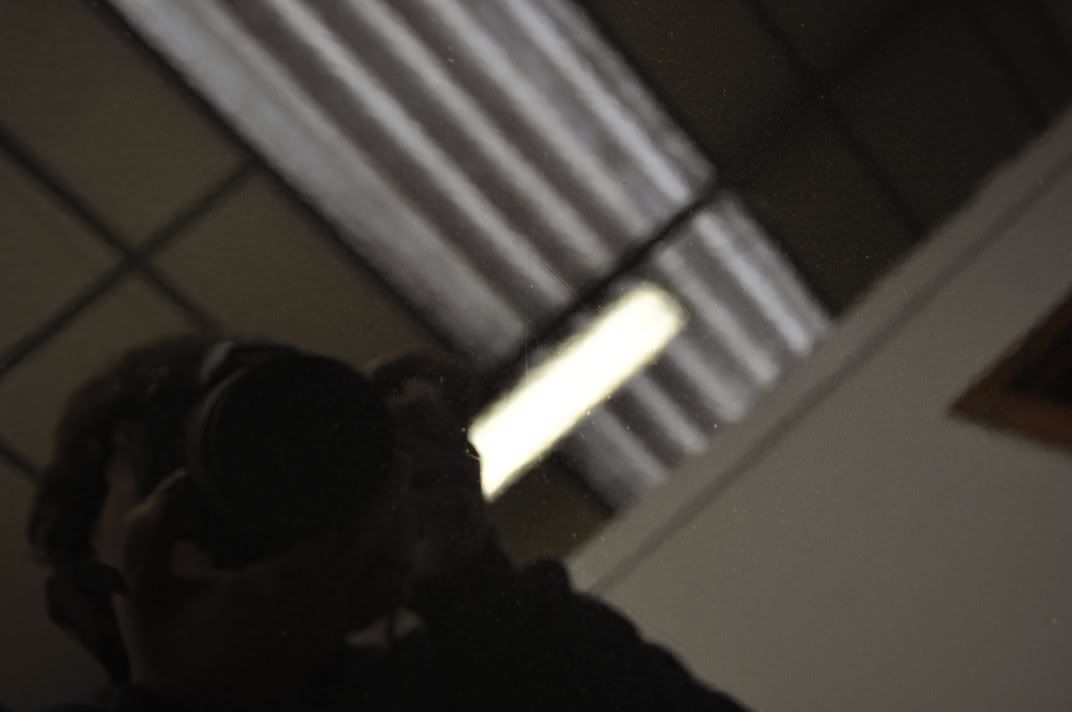
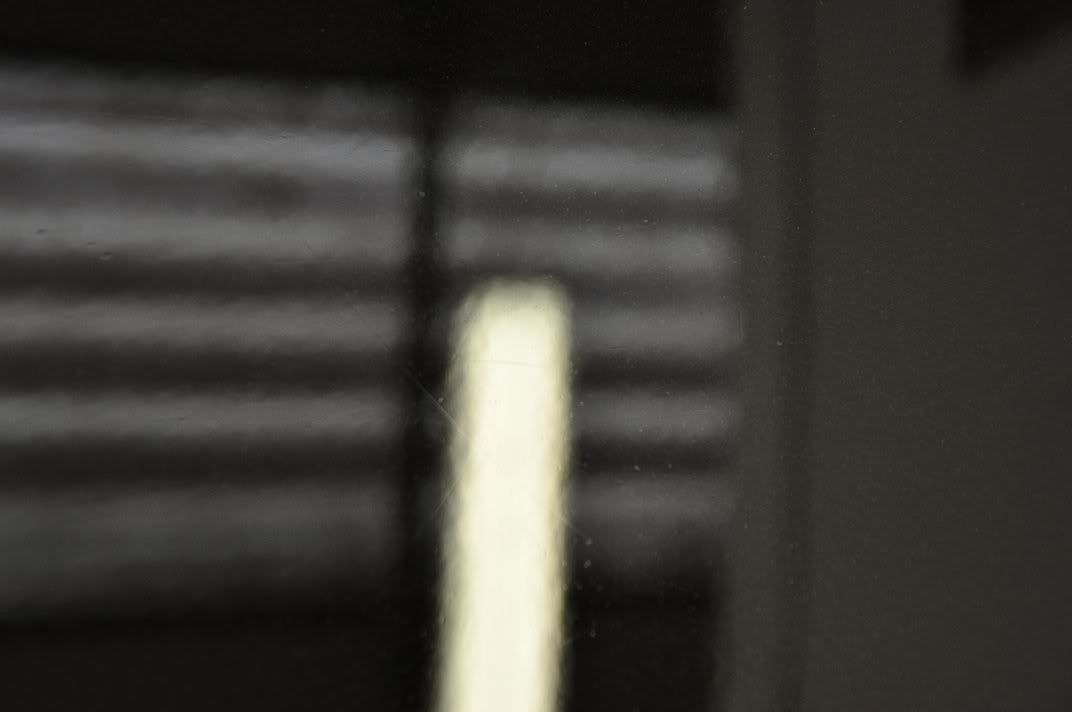
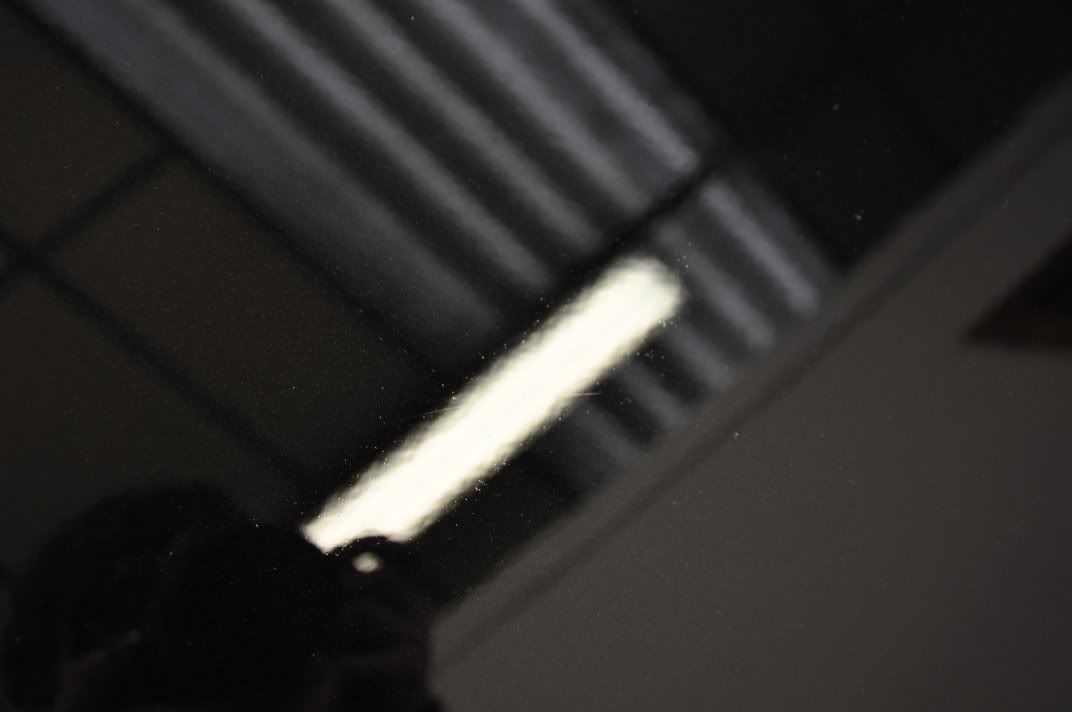
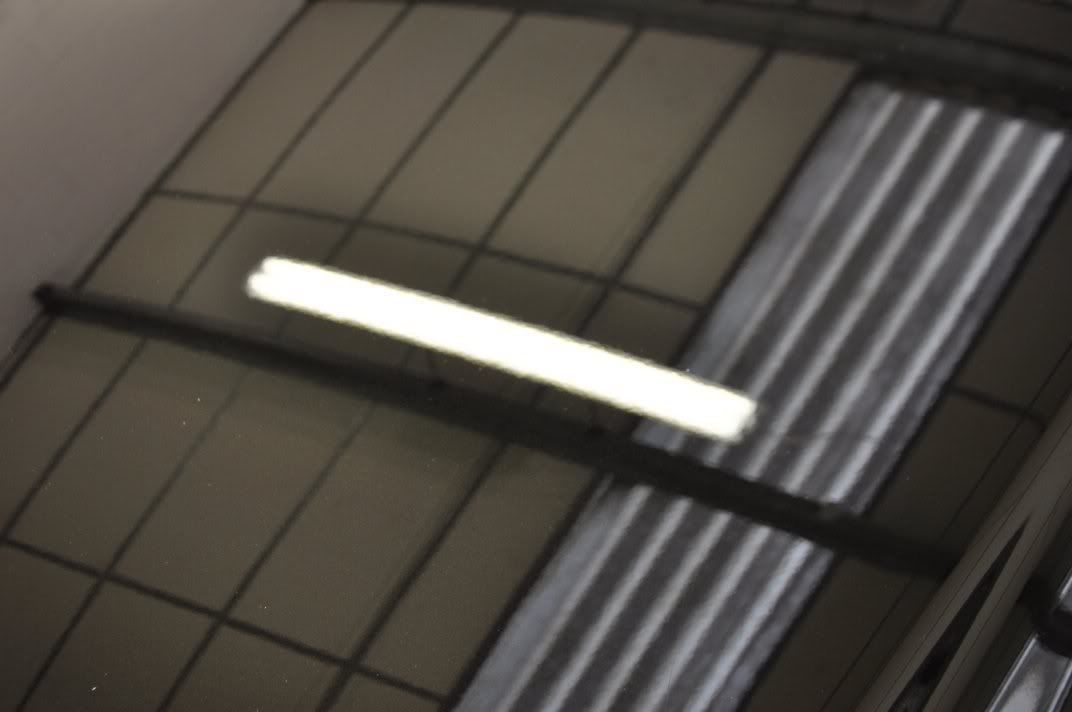
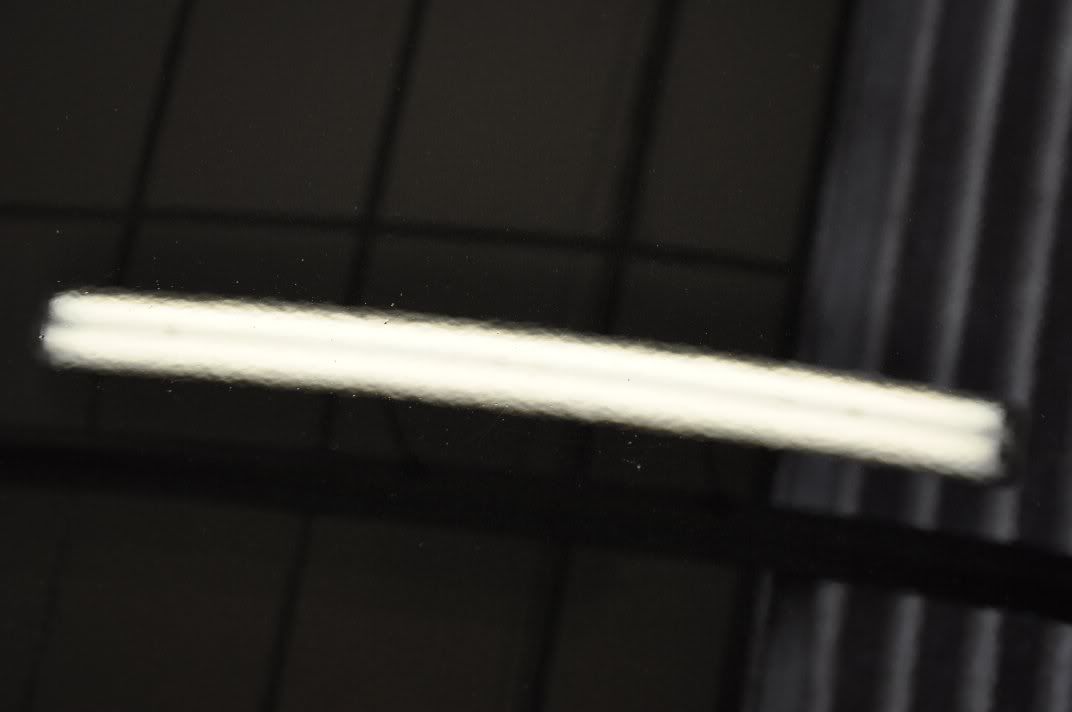
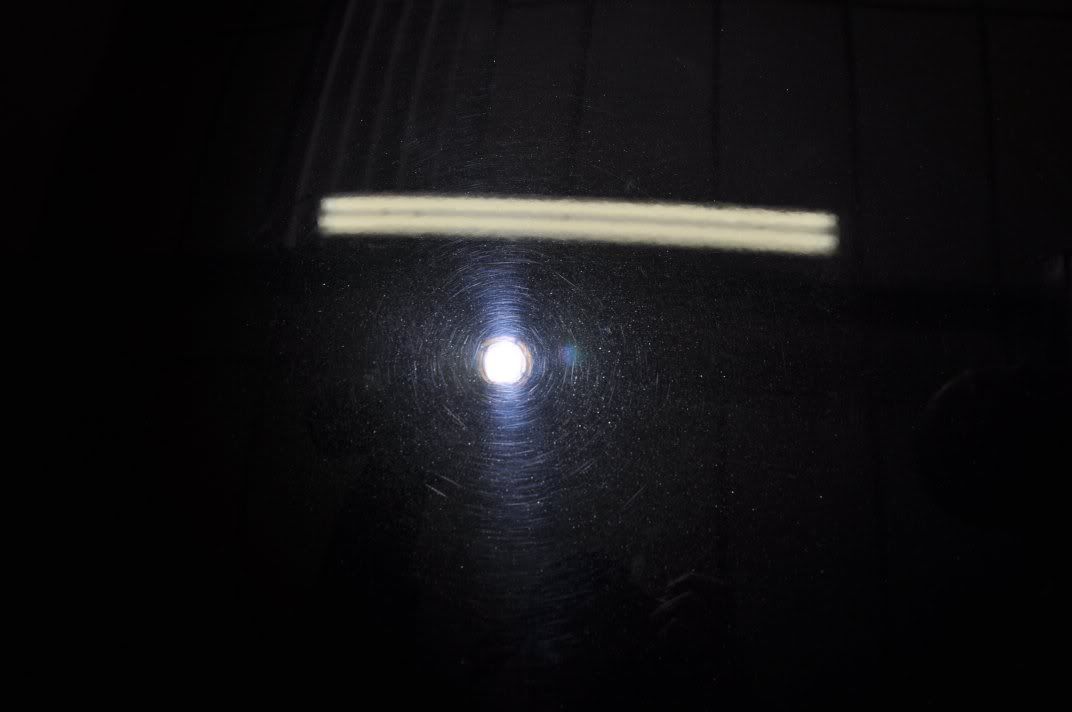
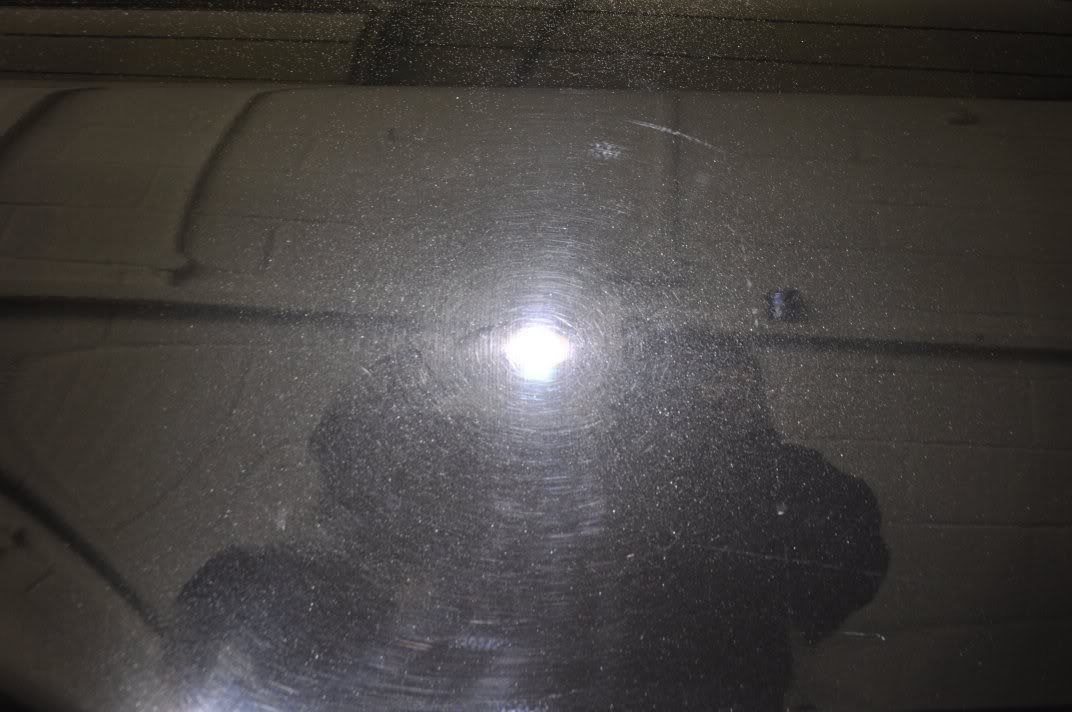
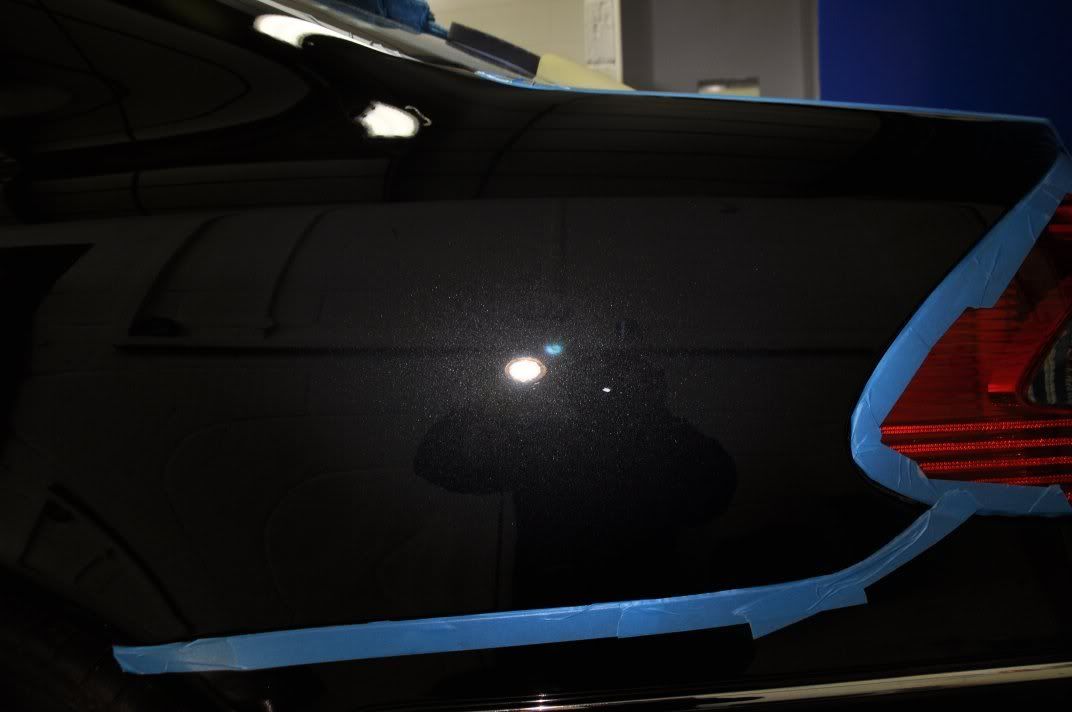
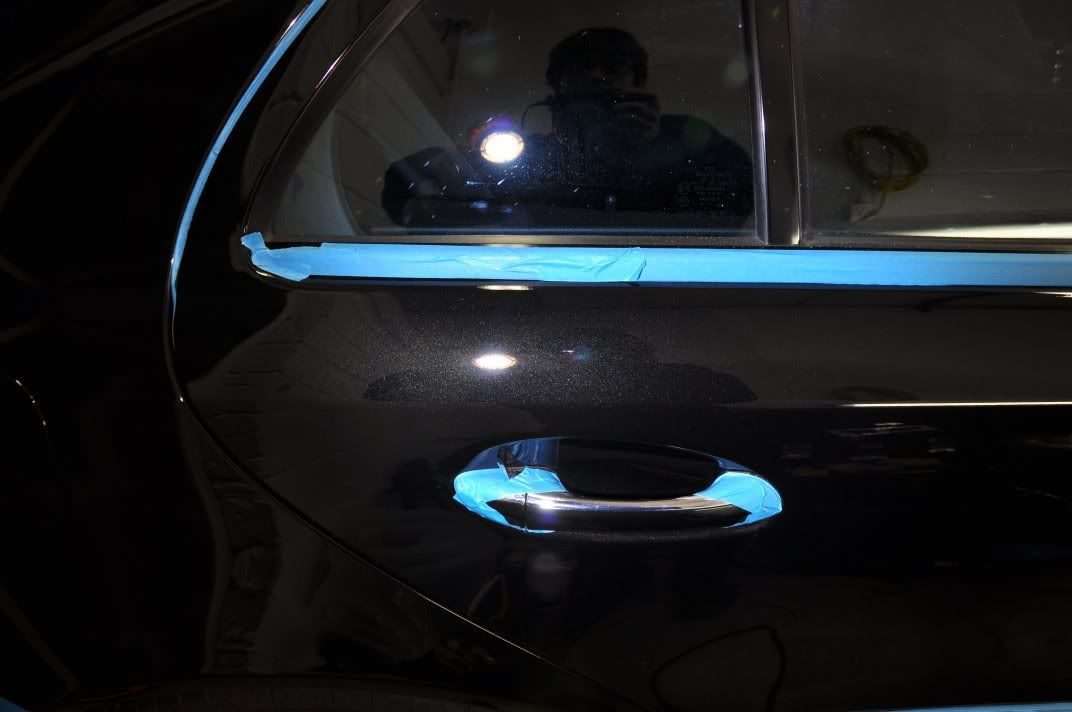
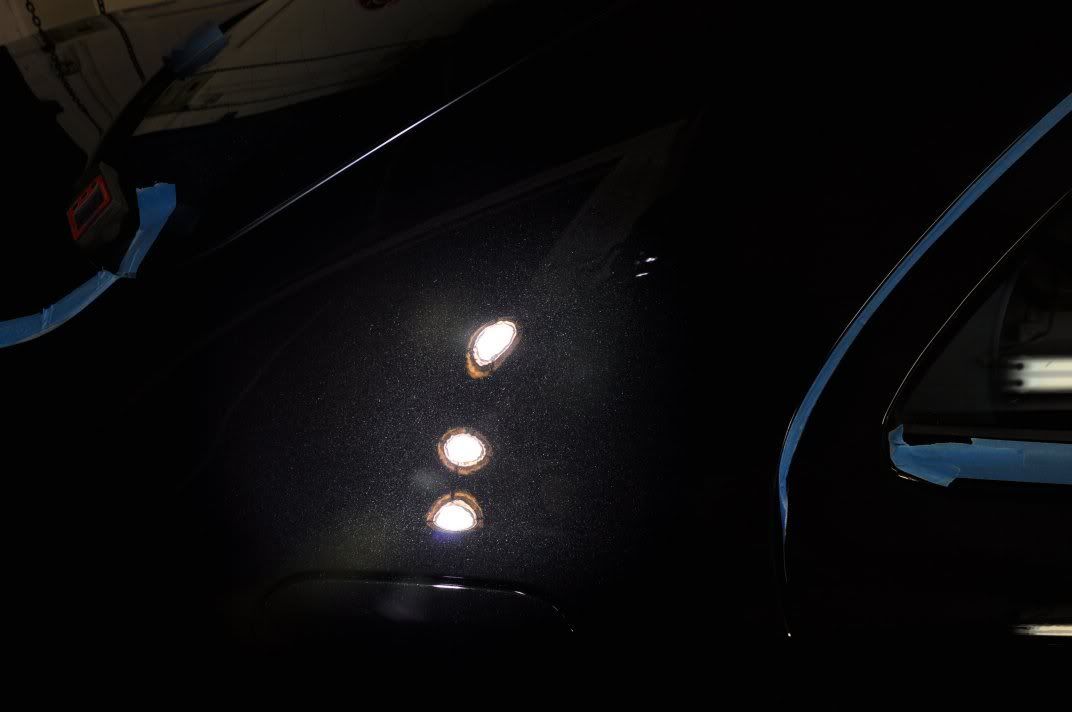
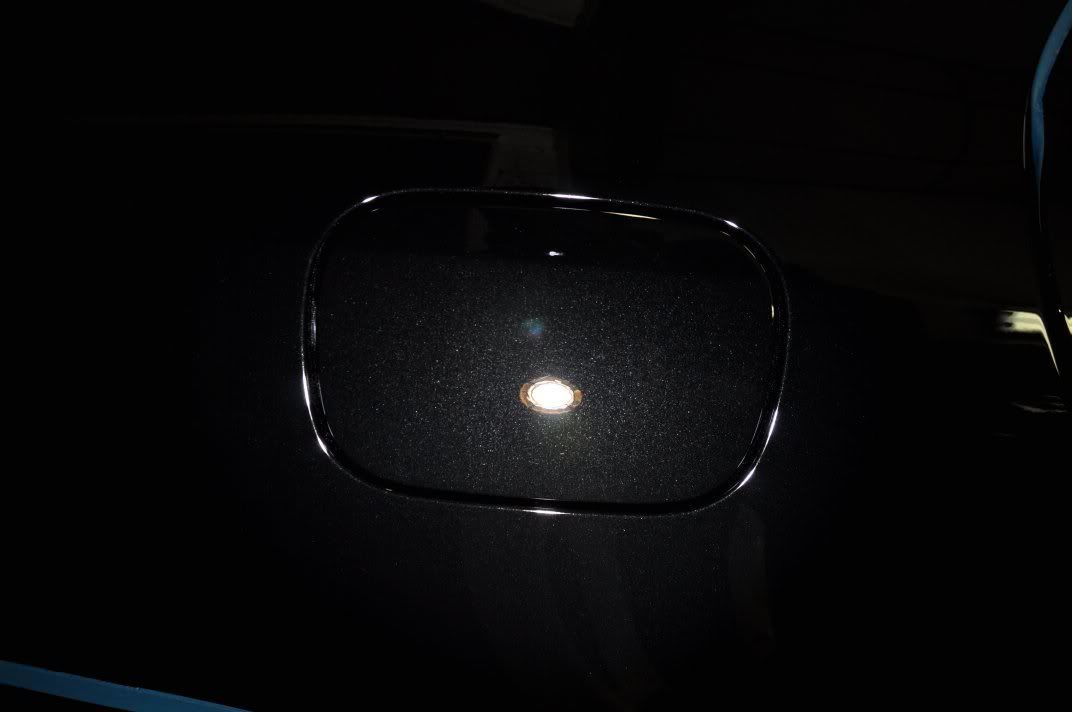
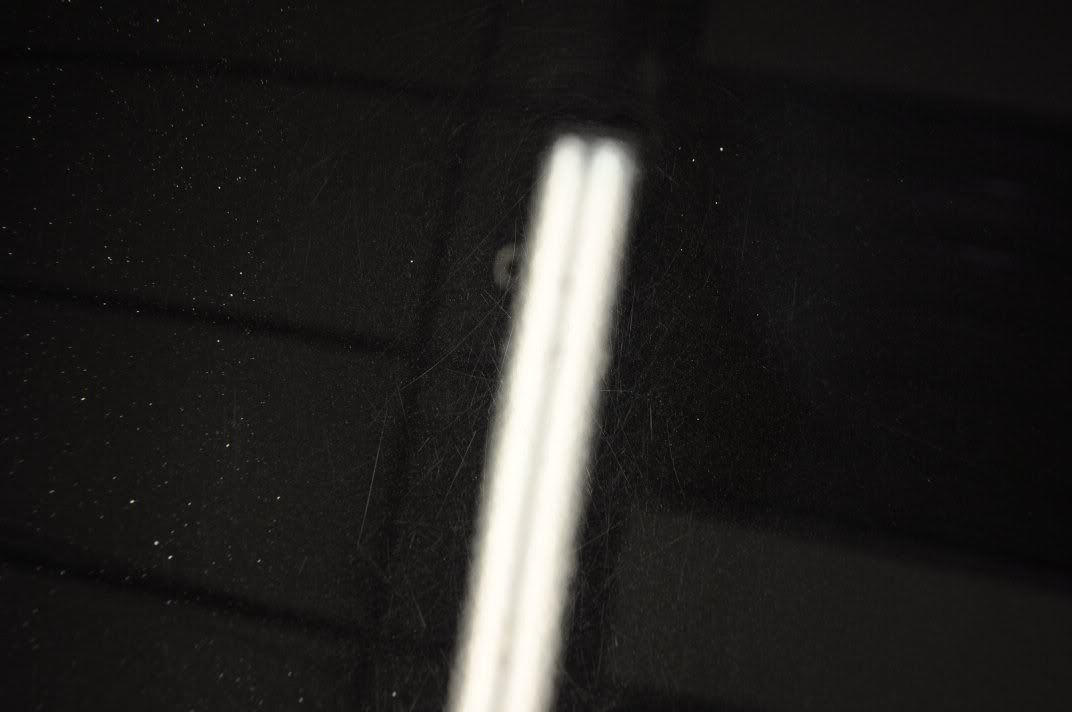
Onto the bootlid, and this was to be the Simon’s first panel on his own car by rotary polisher under our supervision (after first practising on our scrap panels, and only if Simon was fully happy to give the machine a go which he was ) ... Before we look at the correction and processes here, as promised, a little example on cameras and taking pictures of deeper marks. Swirls are easy – shine the light and the camera picks them up! But deeper marks are masked by bright light sources, and typically a camera struggles to pick them up. Ideally, a camera with manual focus works really well here because the key is to focus on the pain surface which is where the marks are. In the picture below, I have focussed the camera on the surface of the paint and you can see the imperfections and the orange peel:
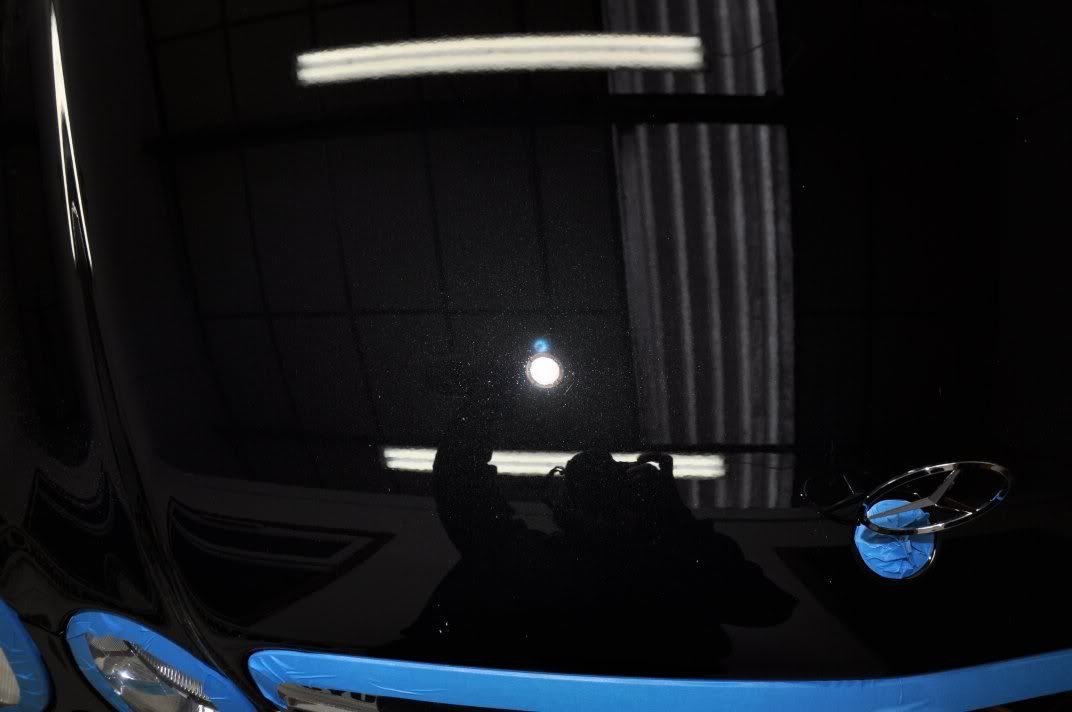
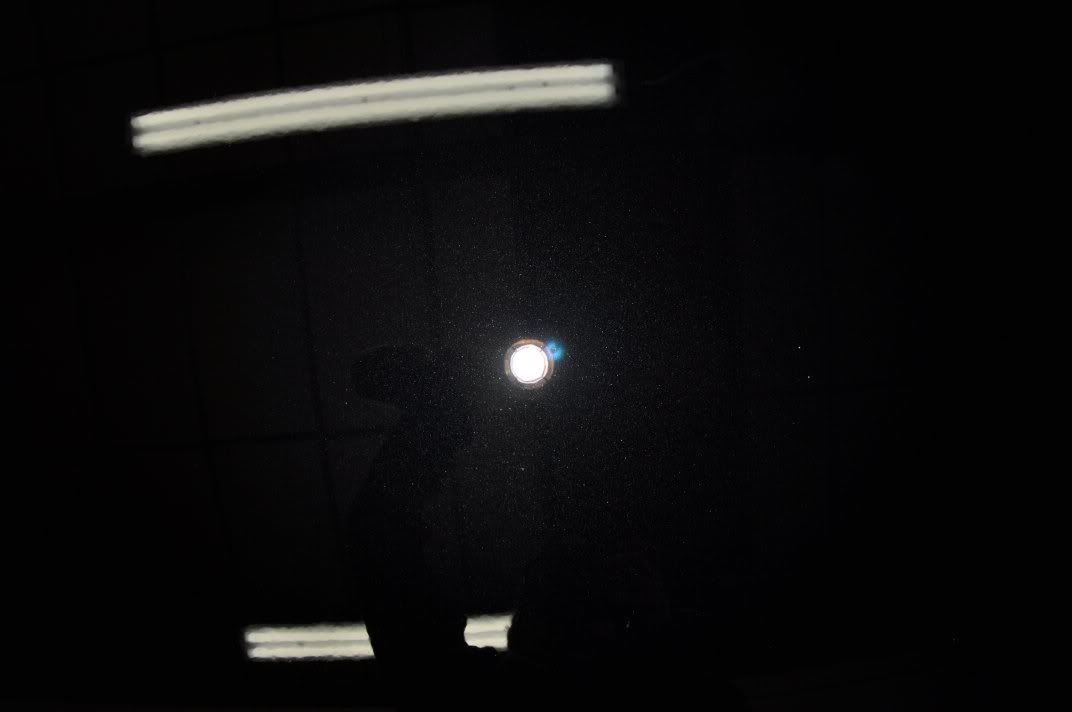
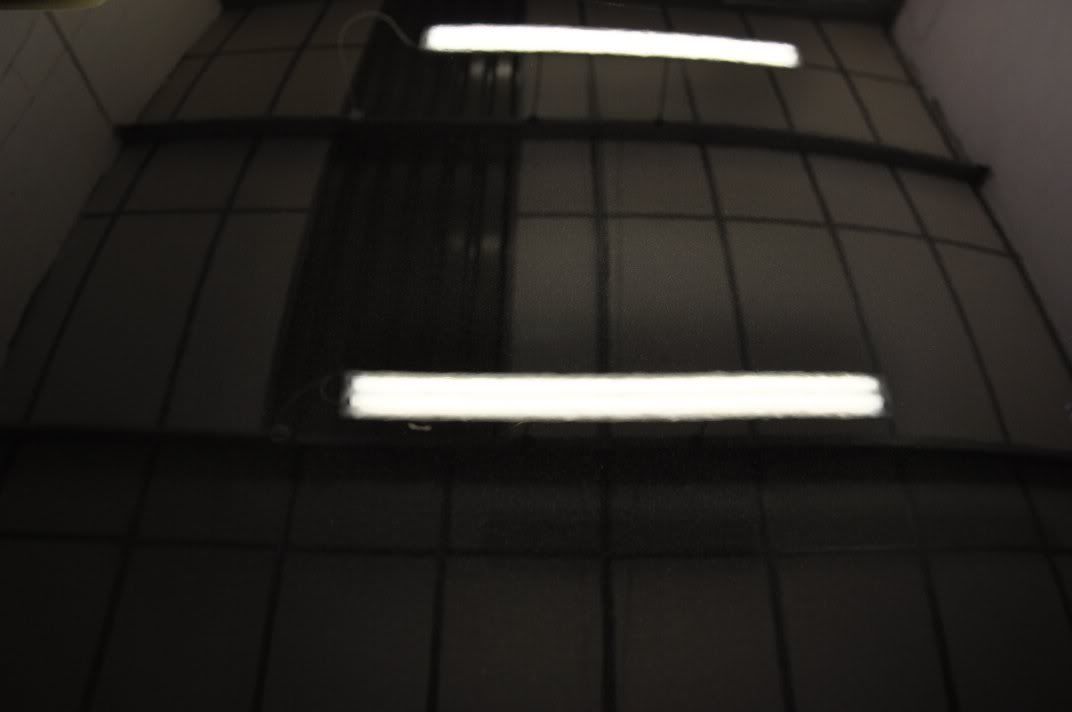
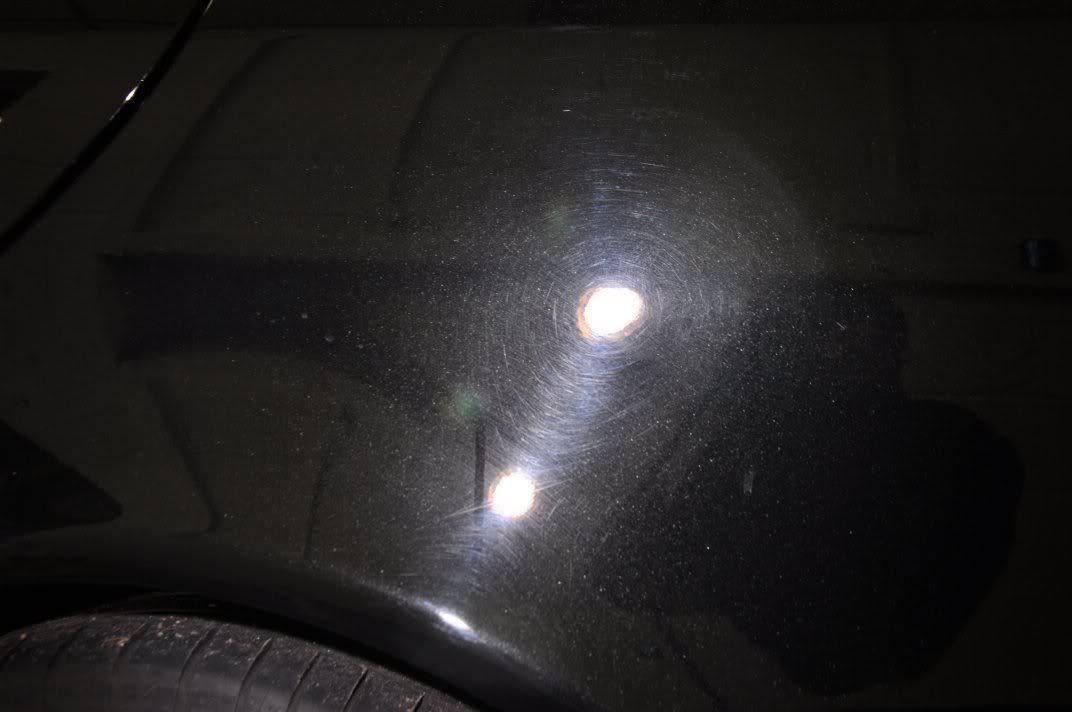
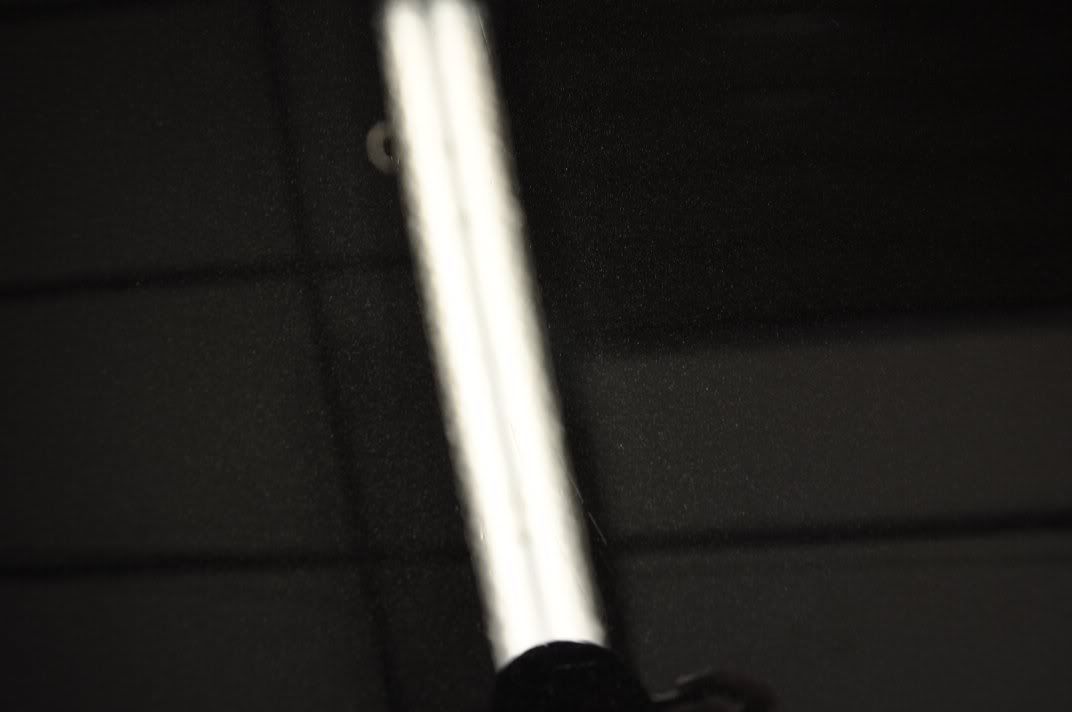
A small turn of the focus wheel and you would think I had worked absolute wonders in terms of correction!!!
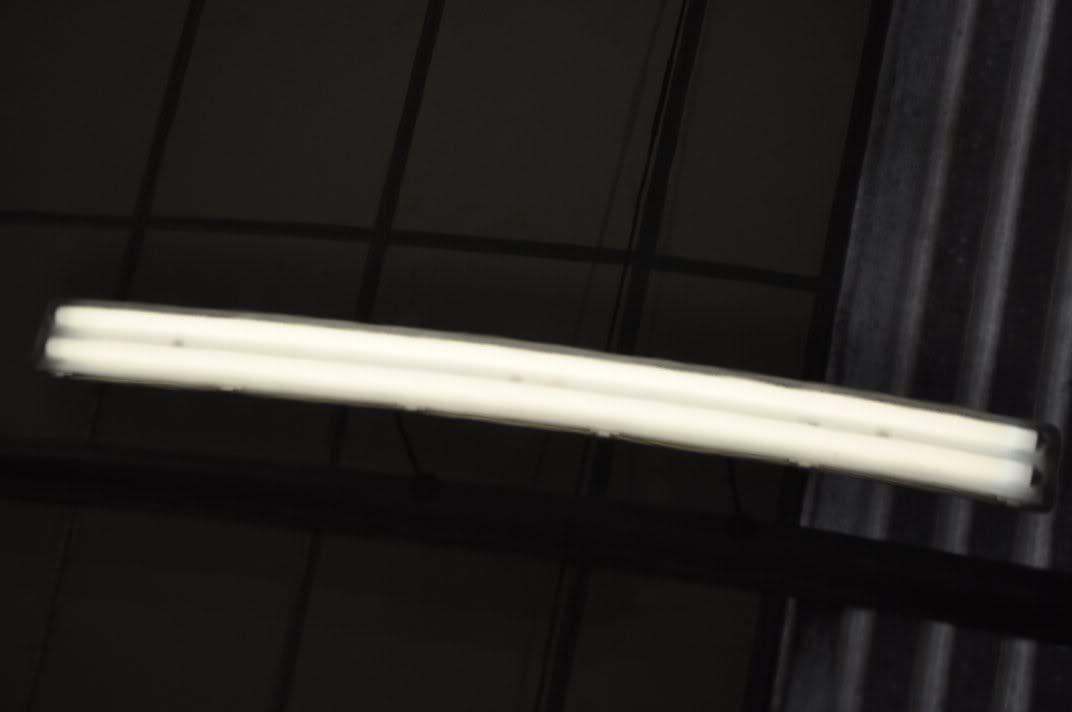
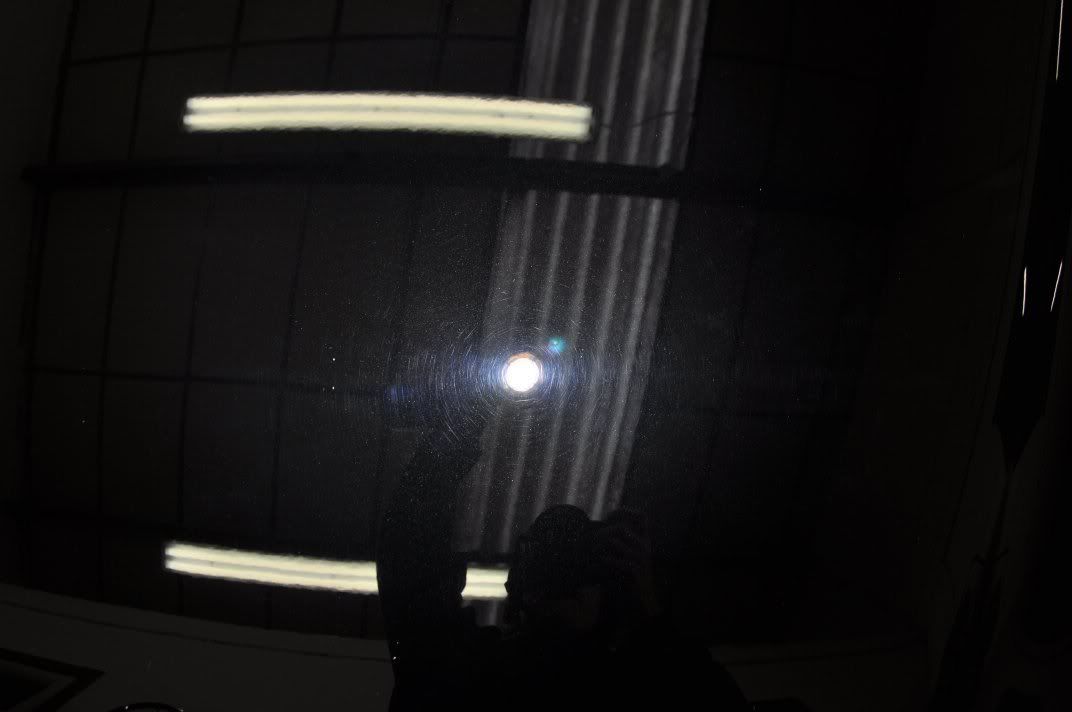
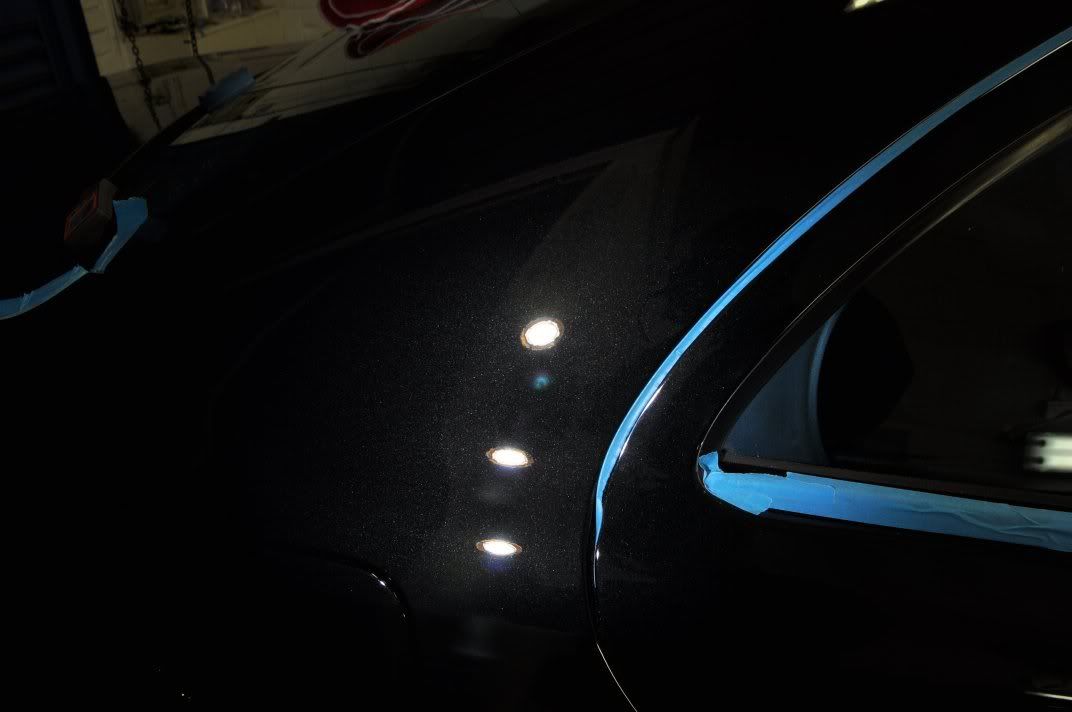
In fact, what has happened here is what happens a lot when cameras autofocus – they seem to focus on the brightest most obvious object which in this case is the reflection of the strip lamp. The deep marks and orange peel dont show up, because the camera is on longer focussed on the paint surface but instead is focussed on a reflection. This makes cameras with autofocus generally quite difficult (in my experience) to focus on deep subtle marks in the paint surface. Manual focus is a huge help!
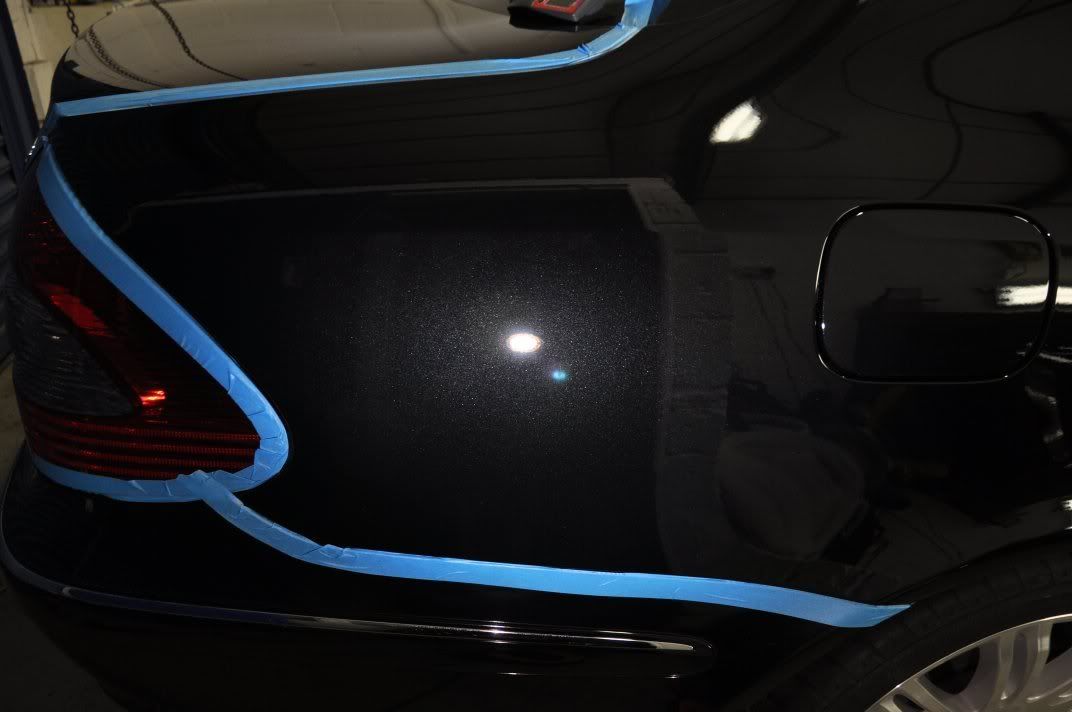
Back to the detail – the bootlid before:


After correction and refining by the owner... (a pretty good finish, I think you’ll agree – on tuition details, we ensure that owner’s are achieving a good quality finish and if we are not happy we work to help further refine it and continue to teach and demonstrate techniques and methods – all part of the learning process):


(Note – you can still see orange peel in the above shots, focussed onto the paint surface – but the RDS are gone).
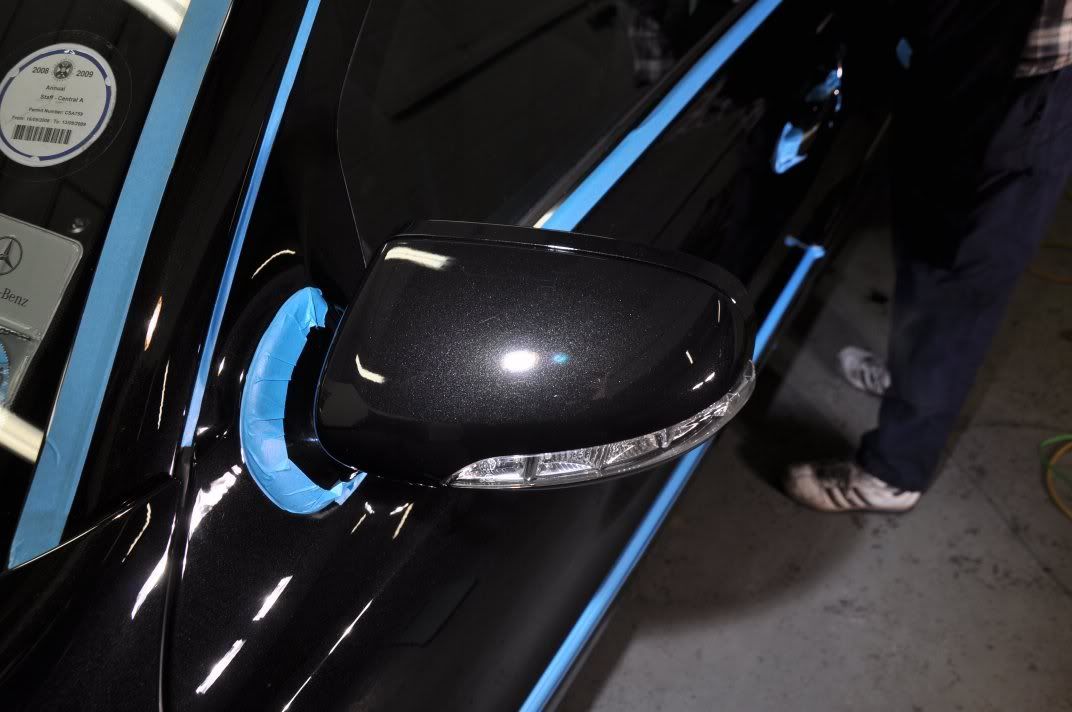
Door mirror before:
And after...
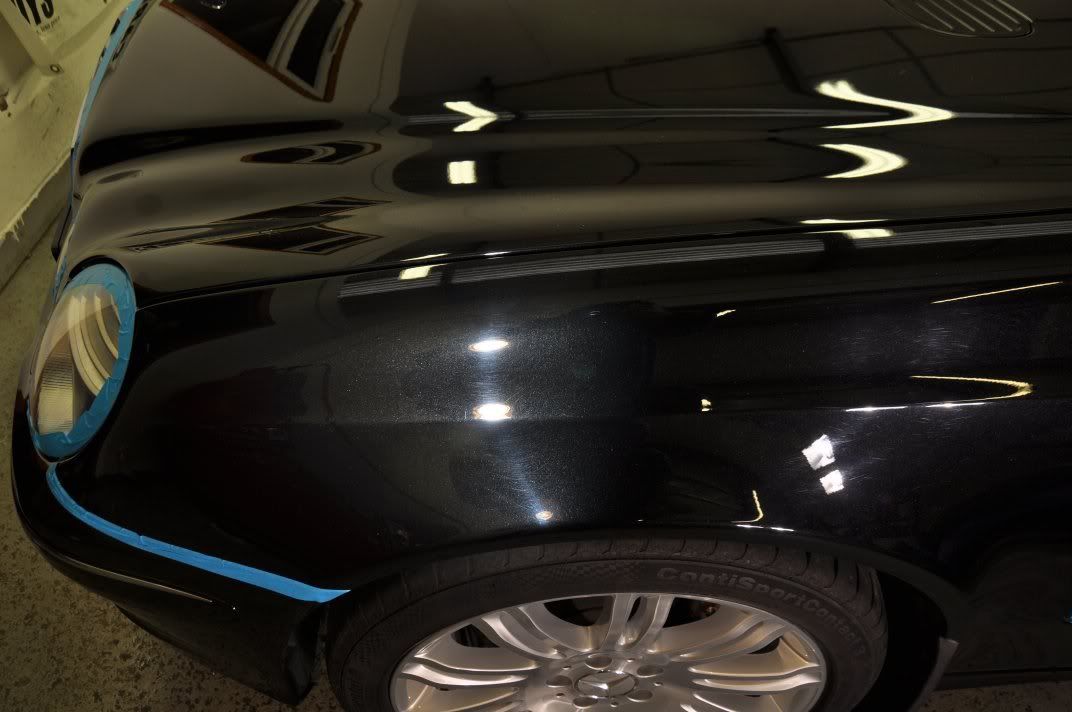
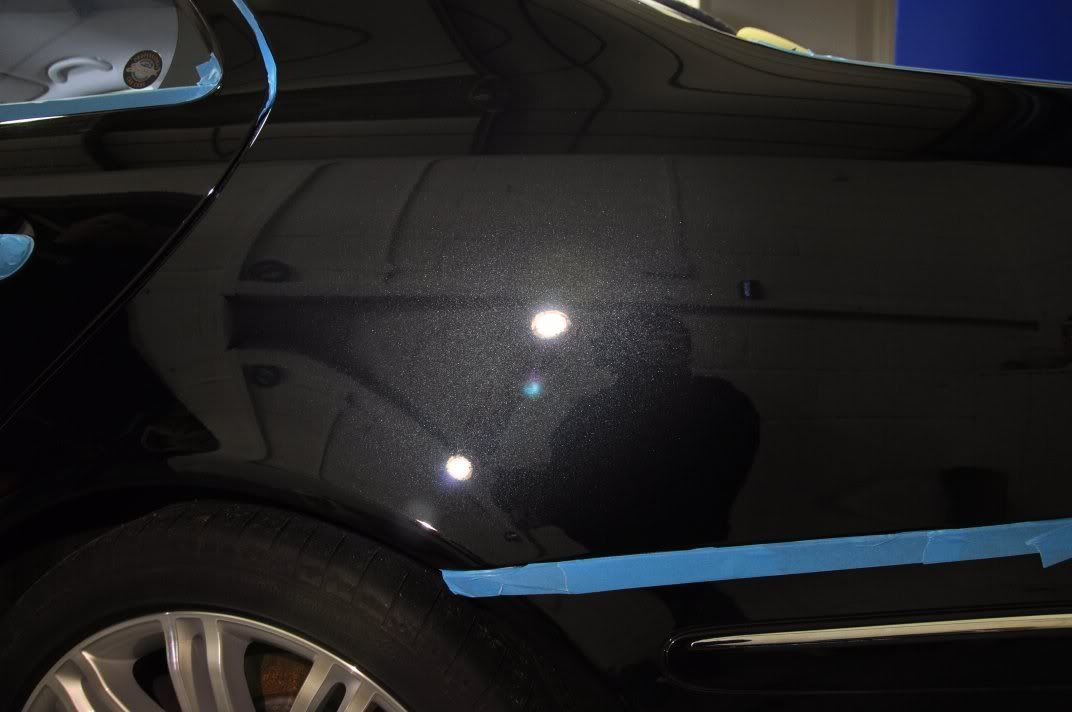
Onto the driver’s side front wing, where again #205 on a white Hexlogic pad proved suitable for the correction. Before:

And after...


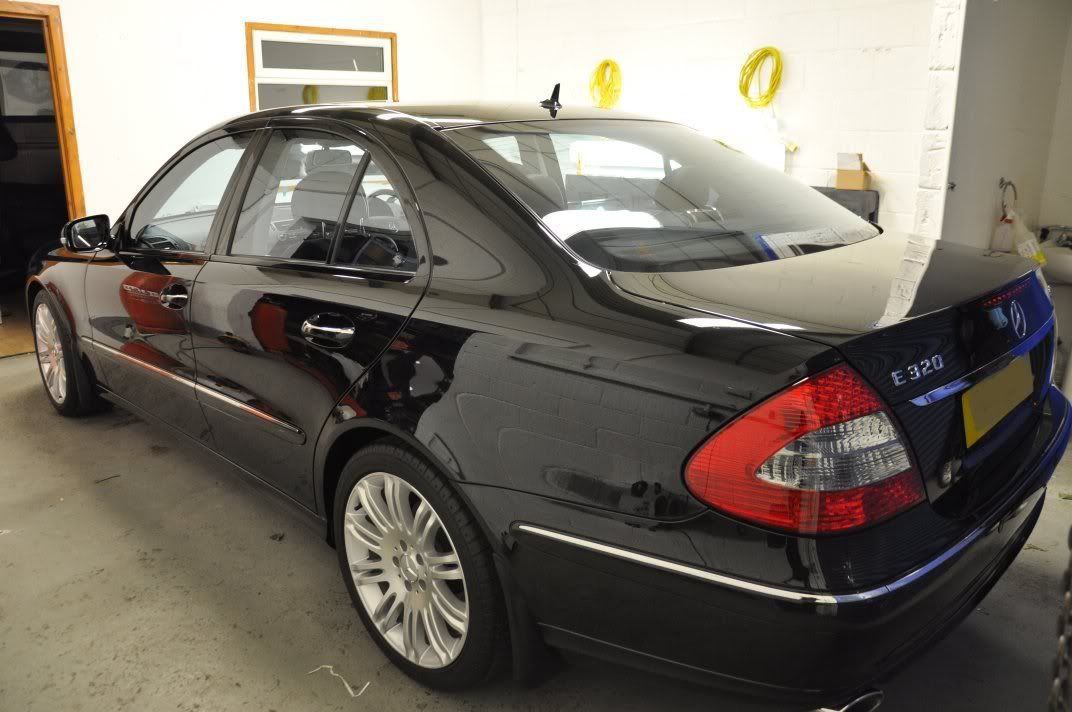
We were now into our rhythmn for correcting this car and while I started on the driver’s side doors, Gordon and Simon tackled the passenger side doors and rear three quarter. Rear before...

And after...
The driver’s side doors before:


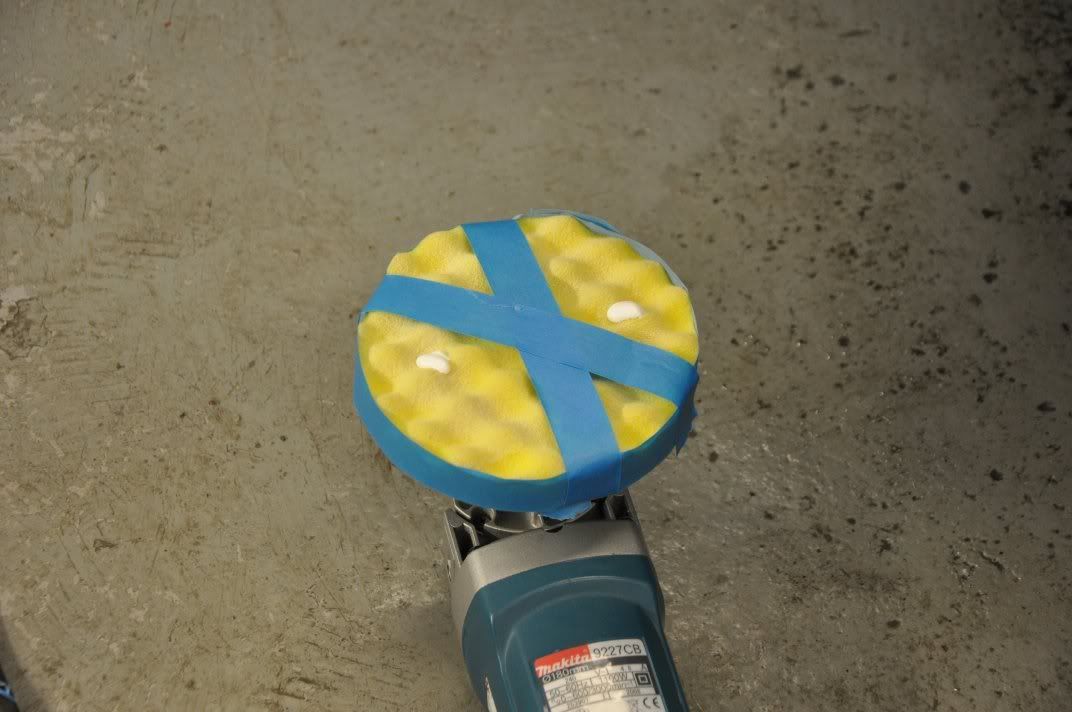
Sometimes you just can’t turn your back for one second... a quick bathroom break and I returned to find my pad decorated into what reminded me a little of the Sweedish flag...
:lol: :lol:
Back to the serious nature of the detail The doors were corrected using Intensive Polish to remove some long sweeping RDS from the panels, and refined using Meguiars #205 to leave...

Passenger side doors received same treatment with Gordon and Simon working happily away. Before:
And after...
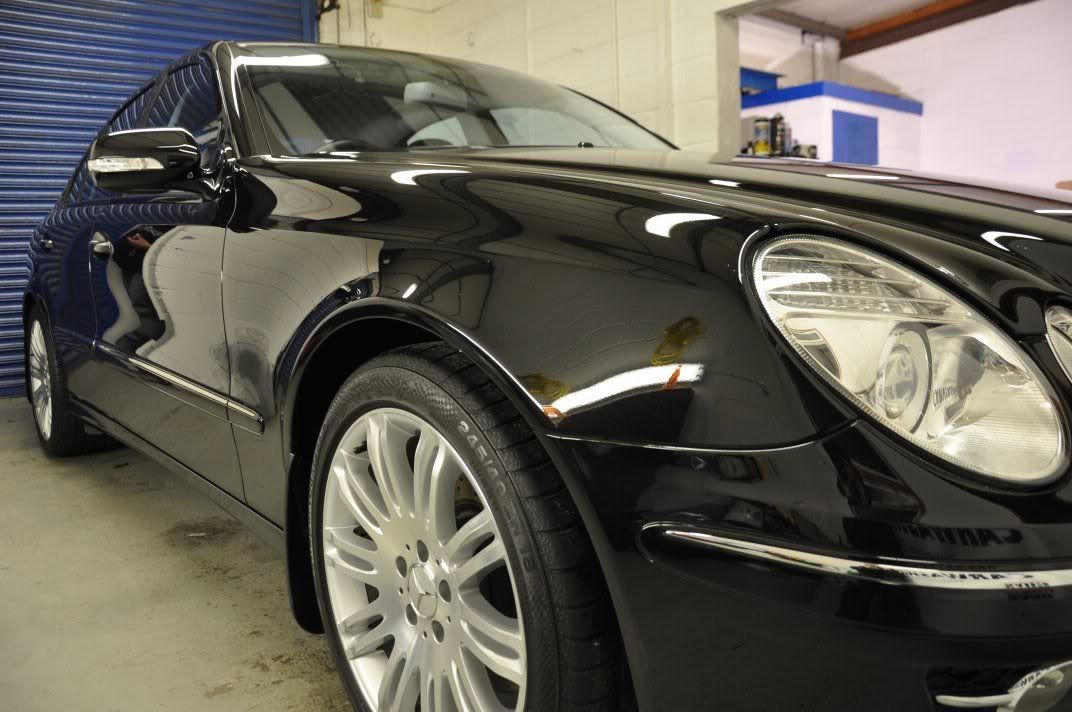
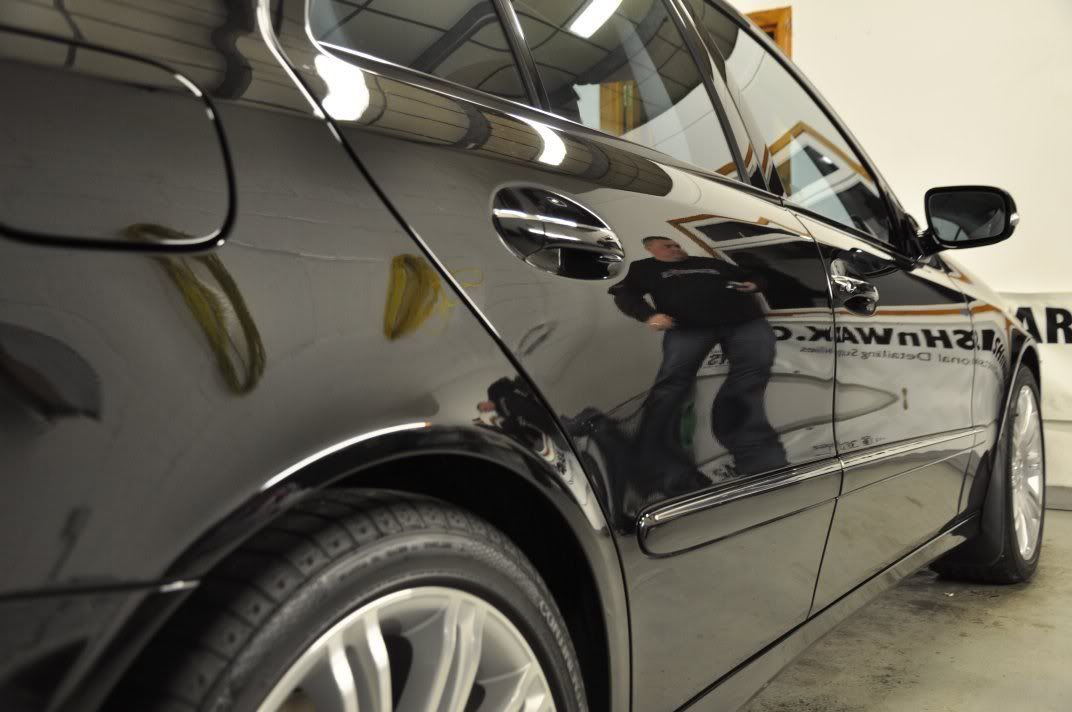
Some more completed shots from around the car...
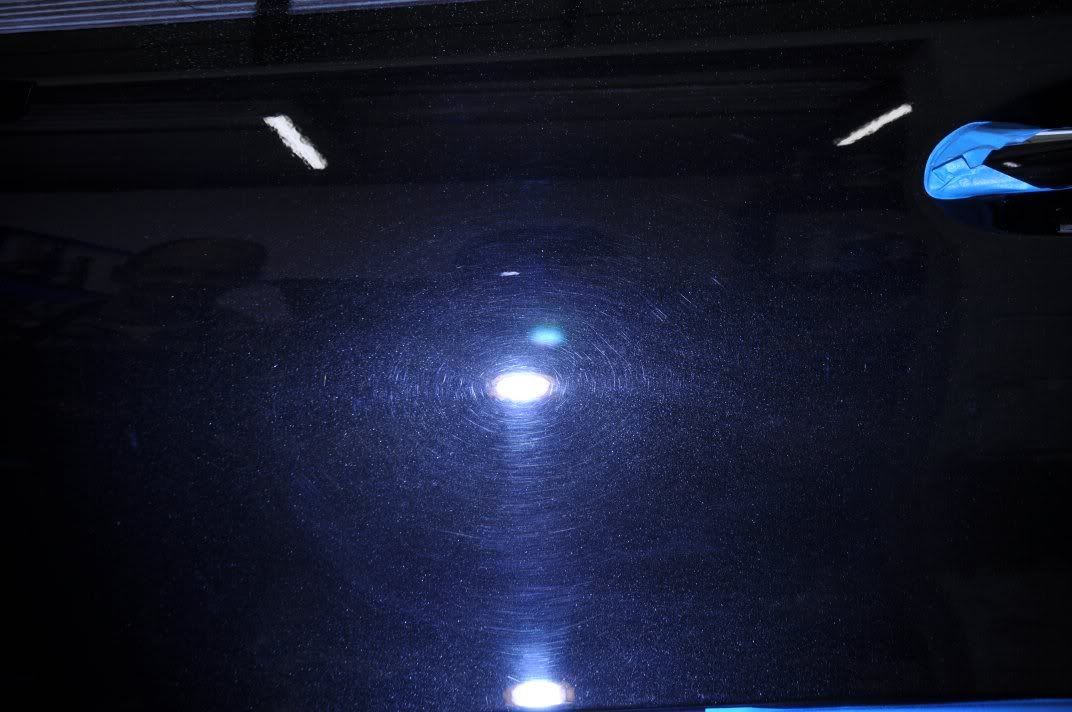
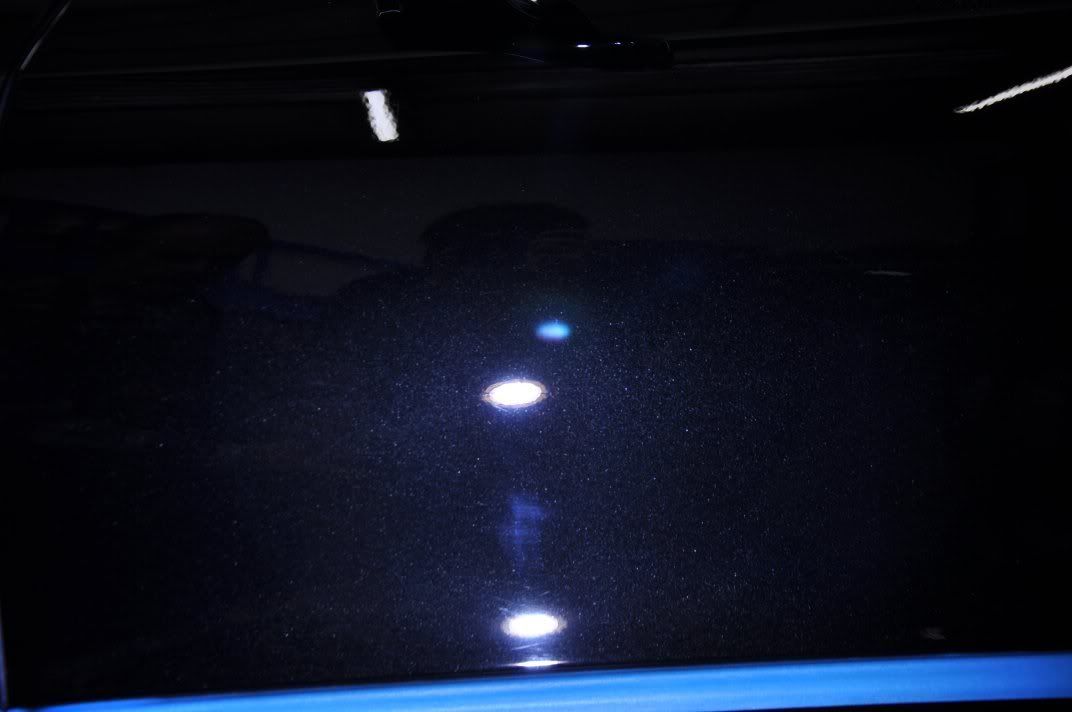
The roof was another region littered with deep marks...
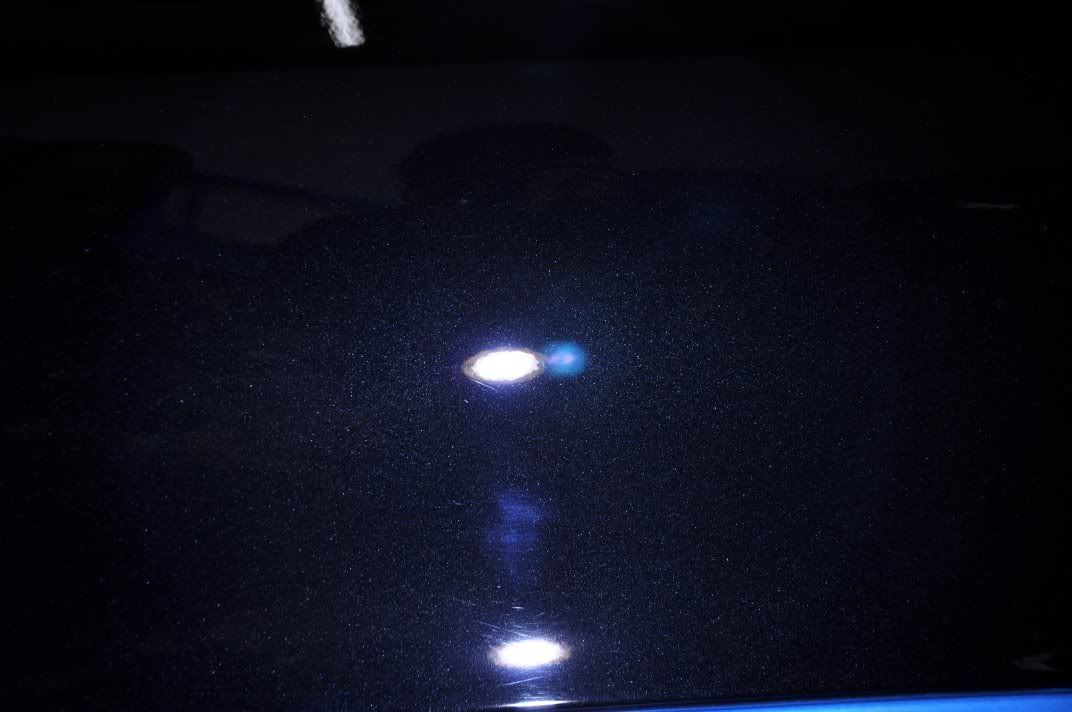
These were the worst on the car, and we stepped up to 3M Fast Cut Plus for correction here...

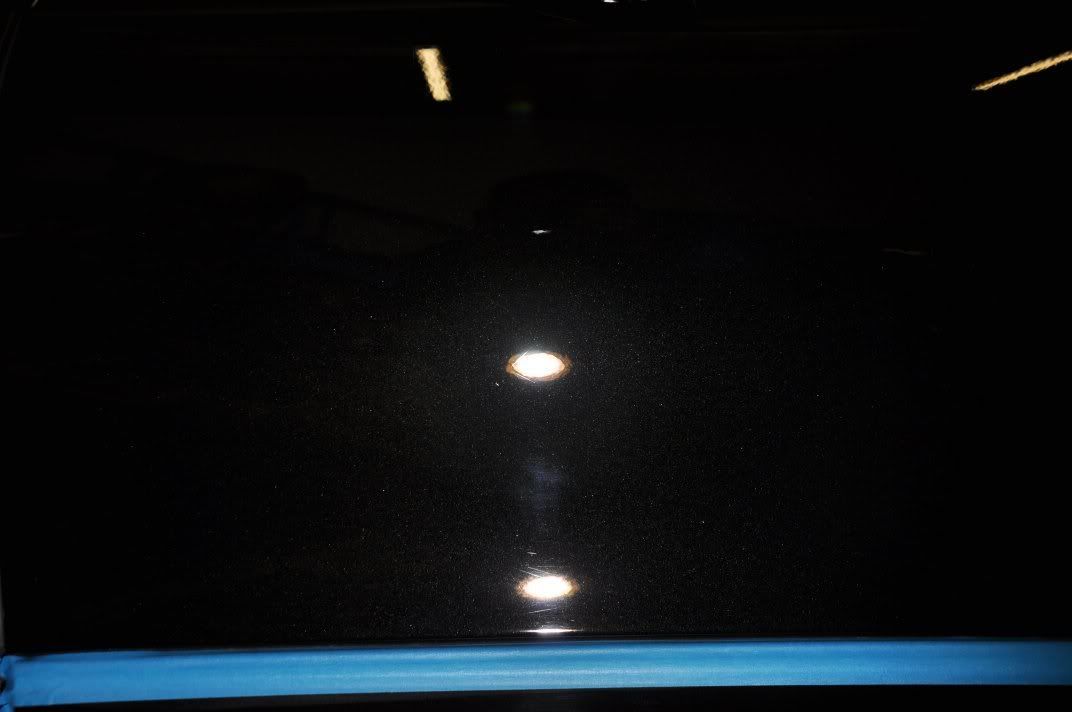
Refined using #205:
While heading into the office area to make a quick cuppa, I thought Gordon was napping!! ...
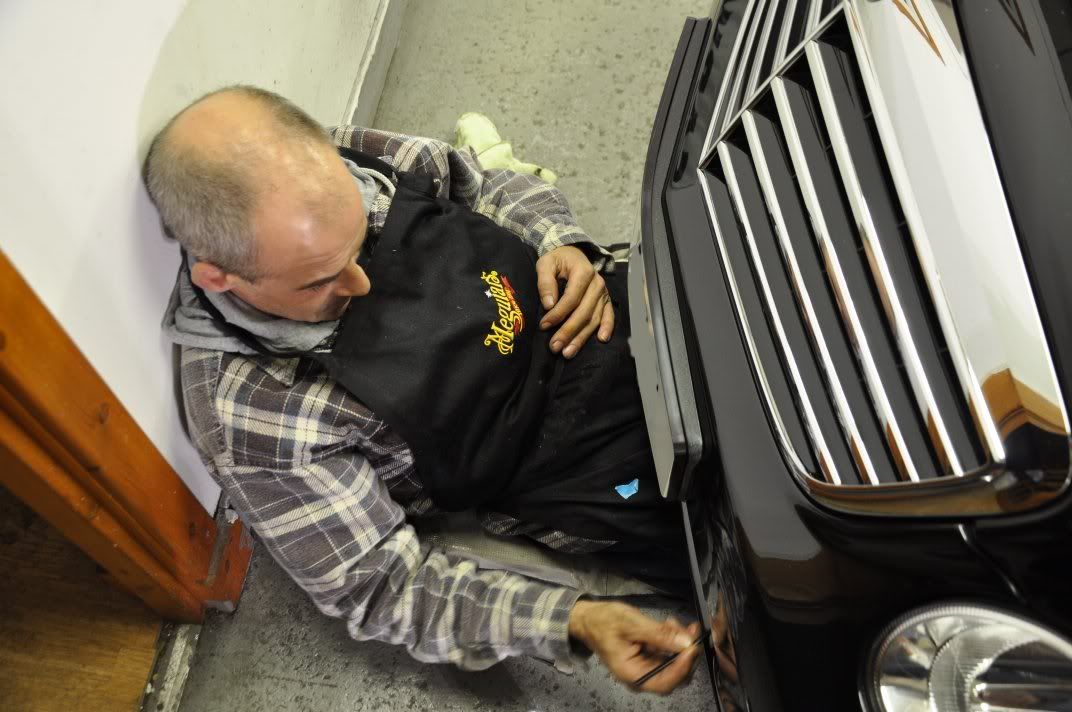
But in fact no, he was dressing the plastics with New Look Trim Gel...
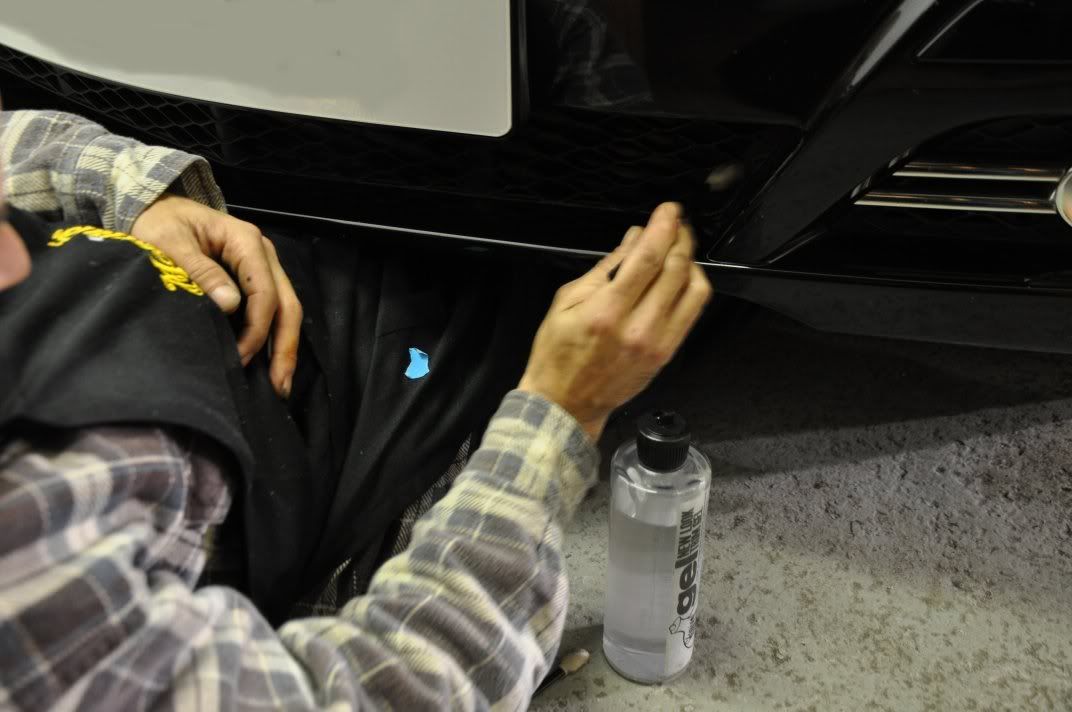
On this detail, following our traditional second IPA wipedown (all after pics above taken after an IPA wipedown, then a second one used before waxing to ensure finish perfectly clean and free from oils), we decided to opt for the new Valentines Road & Track wax for paintwork protection, Stoner Invisible Glass on the glass, FK1000P on the wheels, New Look Trim Gel on the plastics and rubbers, Espuma RD-50 on the tyres and the new Zeppelin Custom Metal Polish on the exhaust tail pipes.
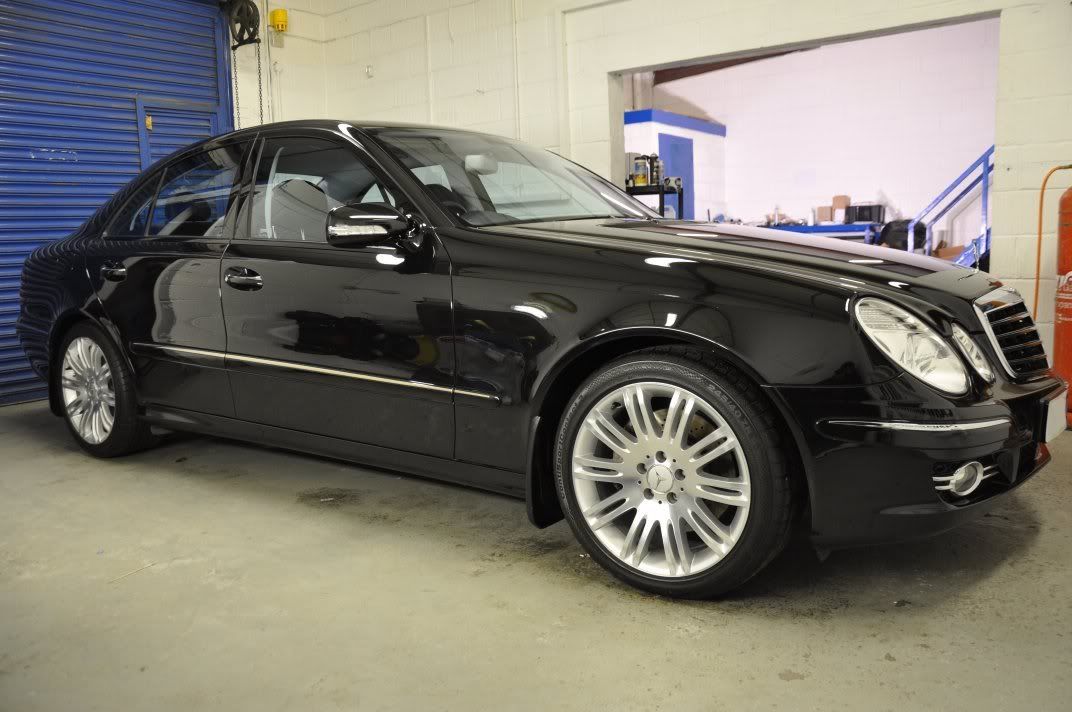
The end results of a day’s hard (but very enjoyable) graft:


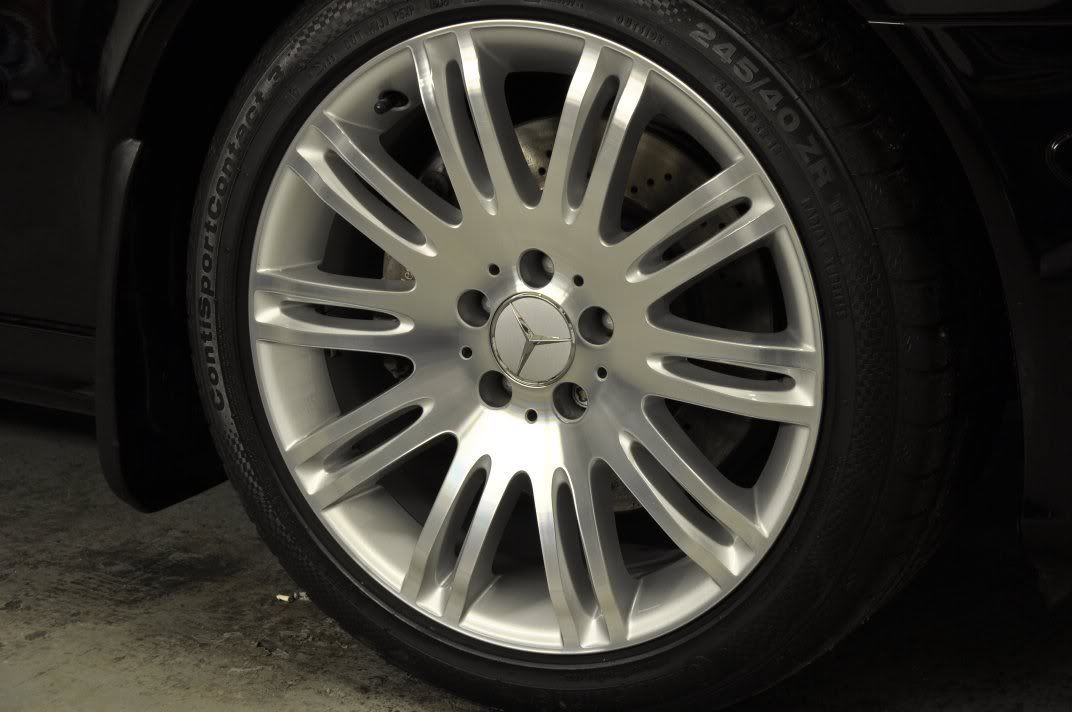
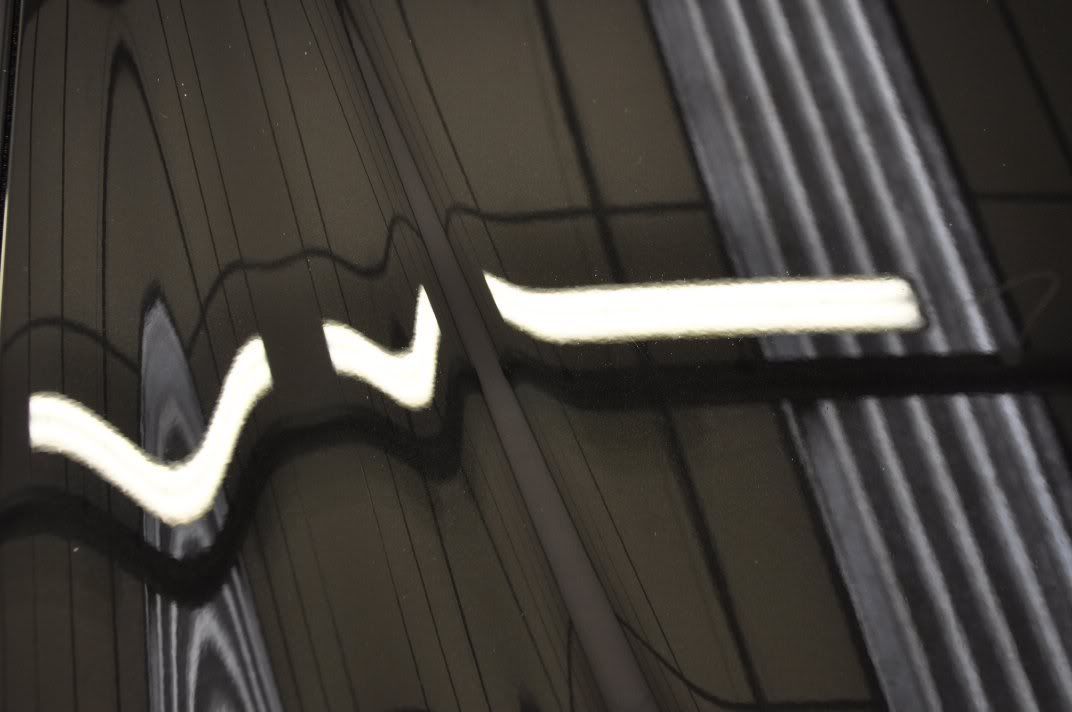
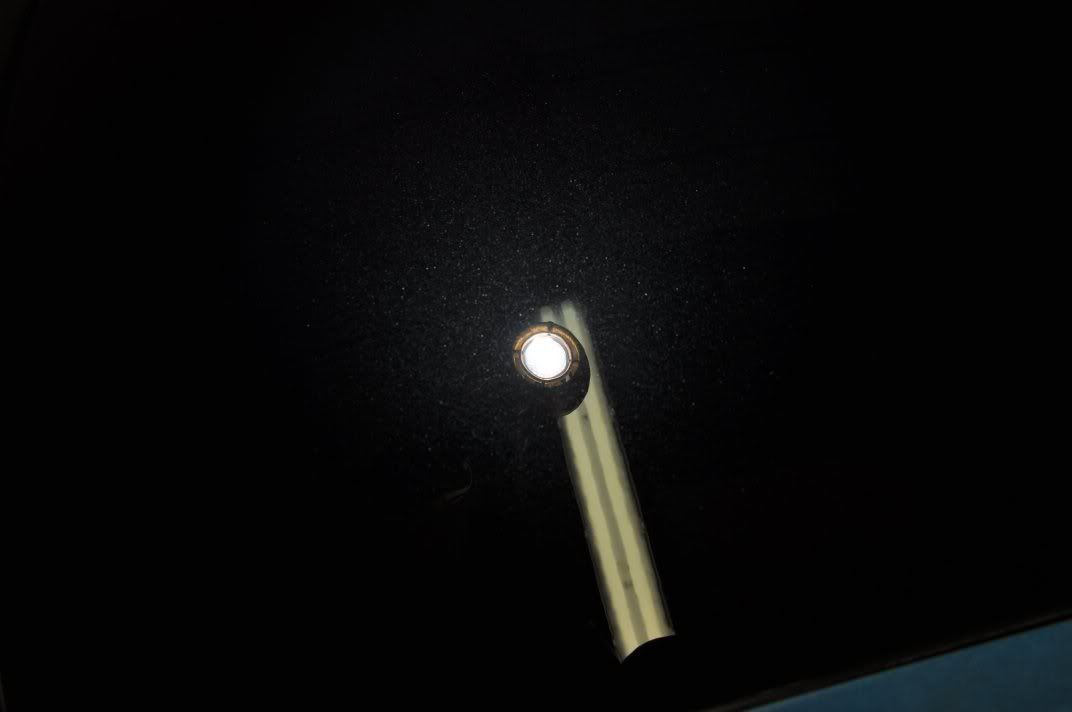
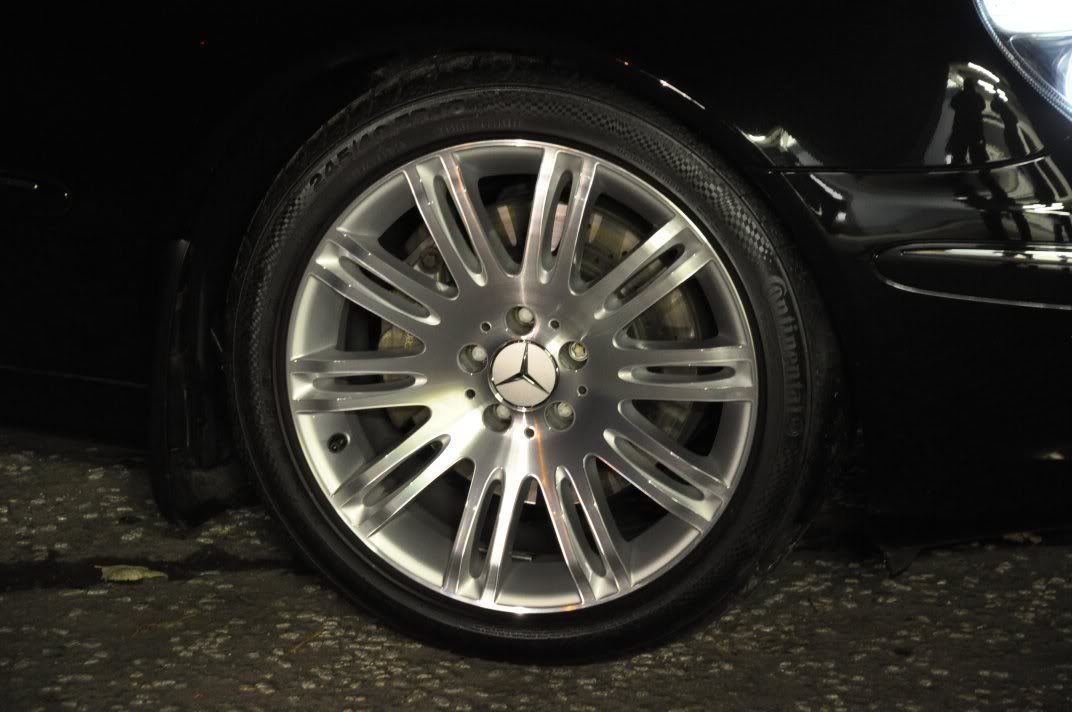
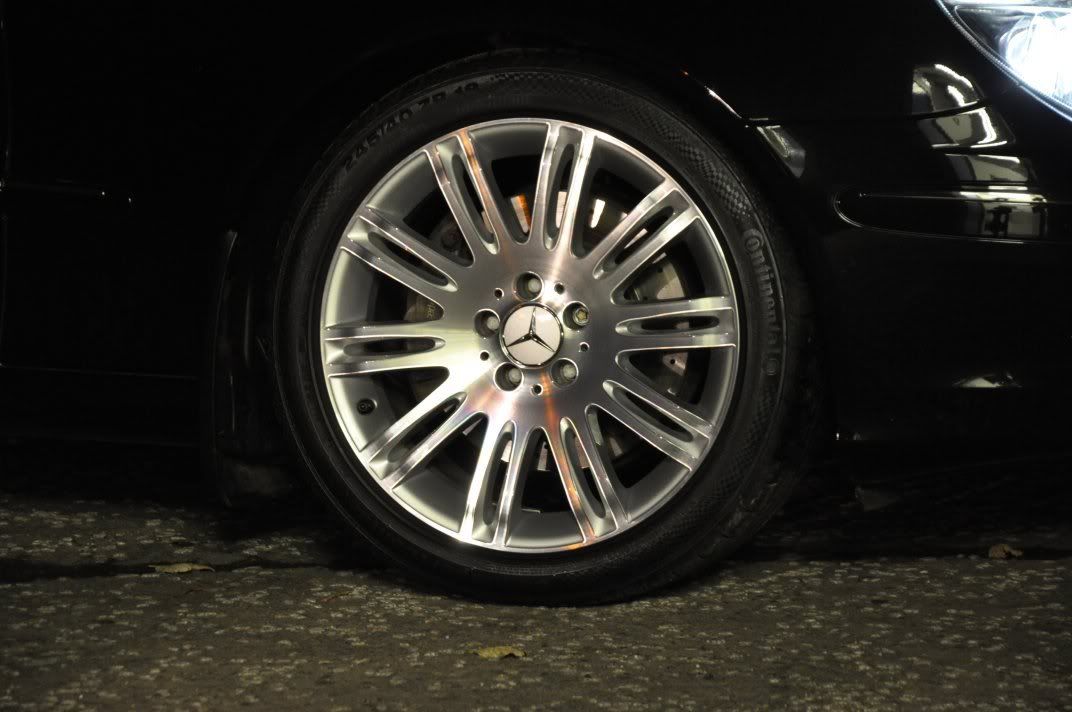
And to round off, the wheels caught my eye when rolled out into the night, reflecting in the unit lights – I really liked them and couldn’t resist a quick couple of pics to finish:
Another hugely enjoyable detail, and with the holiday period nearly on us, this will be Gordon and I’s penultimate detail of 2009... but we look forward to more exciting and enjoyable details in 2010! (Plus our final one of 2009 as well!).
This detail was a tuition detail – a popular choice and something that Gordon and I really enjoy doing... essentially, the owner (Simon) is keen to work on the car themselves, and in many cases already has a machine polisher and are keen to learn how to use it on a one-to-one level. Combine machine polishing and general detailing tuition with a detail and you get a tuition detail The car in question, loooks very similar to another recent detail we have carried out, a Mercedes E320Cdi in black metallic. On arrival the car was looking in pretty good condition, and considering the recent weather certainly wasn’t looking too dirty either...
The car was washed using Optimum No Rinse with a Zymol Sponge for the bodywork and glass. Wheels were cleaned using the steam cleaner and a little Diablo Wheel Gell, while gaps and shuts were treated to all purpose cleaner. The steam cleaner has really been proving its worth with us recently, and wheel and arch cleaning is just one of the tasks we put it to – coupled to Diablo which clings nicely to the wheel to avoid runoff we are enjoying an economical cleaning routine that minimises mess Results we are very happy with too:
One the car was washed and clayed, it was ready for the machine polishing correction stage... One thing we get asked about quite a lot, and I read a lot on the forum – can a DA correct hard paint, or do you need the rotary? The answer is that a Dual Action polisher can indeed correct paintwork, even hard paintwork as it was on this car (assessed by removal rates). The key is in the technique! The owner of this Mercedes already owned a DA polisher, so we started the machining stage off with a tuition session on the use of the machine and how to maximise its potential to get the best results from it... Too often I see DA polishers being diregraded for correction because they are too gentle – its simply a case of learning to use the machine and optimising your technique to get the best from it! On the door of this car, you can see general swirls and some deeper marks too...
First up as a trial is one of my favourite polishes for use on a DA – I know it seems to have fallen out of favour recently, and I cannot really work out why: Menzerna PO106FA, a superb finishing polish with a decent level of cut for light to moderate correction as well. Coupled to a Meguiars W8006 yellow polishing pad, it was applied by DA (Meguiars G220) as follows:
1) Spread polish over a 12” square area on speed 2 – 3, light pressure and fast machine movement to spread out the polish ready for use.
2) Speed 4, and moderate pressure (enough to slow the rotation speed of the pad down but not make it stop), move the machine at 1” per second over the area for a couple of minutes.
3) Step up to speed 5, same pressure and same slow pace of movement as above and wrok until the residue of the polish goes clear (expect total set time to be a good four or five minutes) .
The results of the following process (bear in mind, this is a finsihing polish on a polishing pad...):
The vast majority of the swirls have been removed, leaving only the deeper marks... Given the paint thicknesses allowed here, we stepped up to Intensive Polish (PO85RD3.02) on the same polishing pad and using the above general application technique we saw even better correction and the removal of pretty much all of the marks...
Can a DA correct paintwork? I think the answer to that is a resounding yes
Happy with the levels of correction achieved, the owner of the car continued polishing on the door by DA...
Gordon and I also set to on the machine polishing stages... seeing that Intensive Polish was working by DA, we began out own paint assessments – however, we comenced on the aluminium panels and they had a different story to tell!
I started off on the bonnet, and as you can see the swirls were pretty much as we saw on the door – moderate with some deeper marks in there too...
You might expect at this stage that, seeing the door, we went straight for Intensive Polish on a polishing pad... but the paint gauge certainly made us stop and think! A couple of readings from the bonnet:
The key when assessing paint thicknesses (rather than just noting the number and comparing it to a general range) is to see how consistent it is across the car and in this case the bonnet was very thin in comparison, as were the front wings (a little later). So, a softly softly approach was called for here! I started off with Meguiars #205 Ultra Finishing Polish on a 3M Polishing Pad and worked using the Double Zenith technique:
1) Spread the polish at 600rpm
2) Begin working at 1200rpm, light pressure and steady machine movements to get residue evenly spread out.
3) Work at 1500rpm with light to medium pressure and steady machine movements until residue starts to look clear.
4) Reduce both speed and pressure: 1200rpm and light pressure and refine the finsih with slow passes.
5) Burnish the finish, 900rpm and supporting the weight of the machine and slow passes.
Comparitively light pressure used here with #205, thus not getting the full cut potential of the polish – this was quite purposeful for assessing the paint given the thicknesses measured. As we can see, the light approach with #205 achieved notable correction:
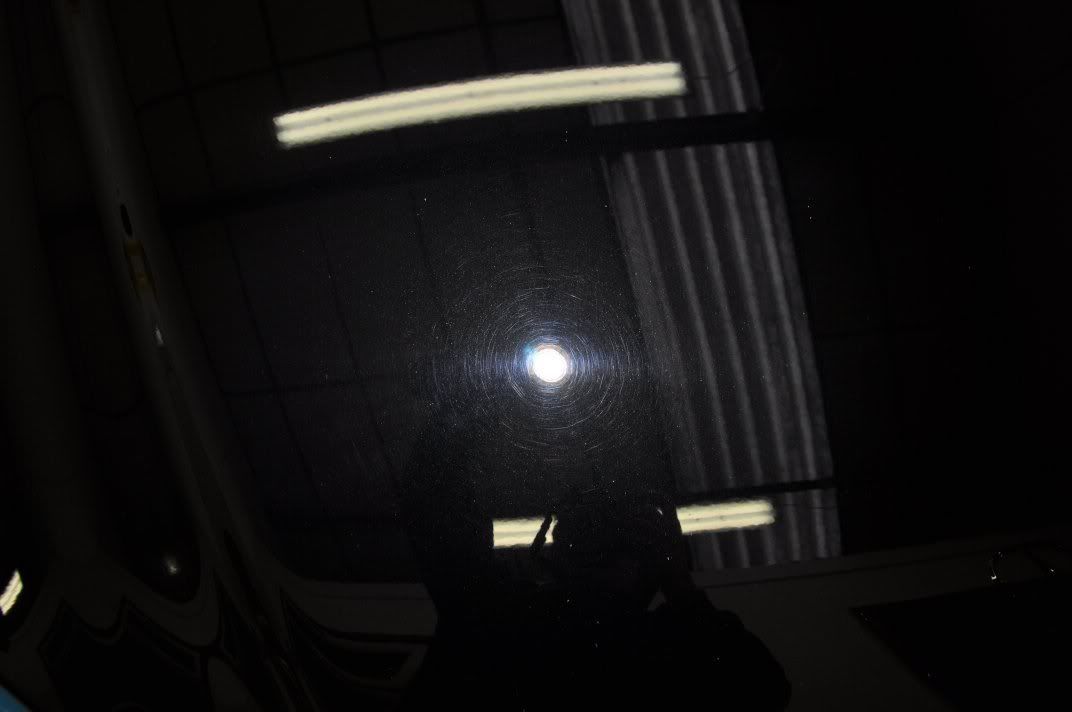
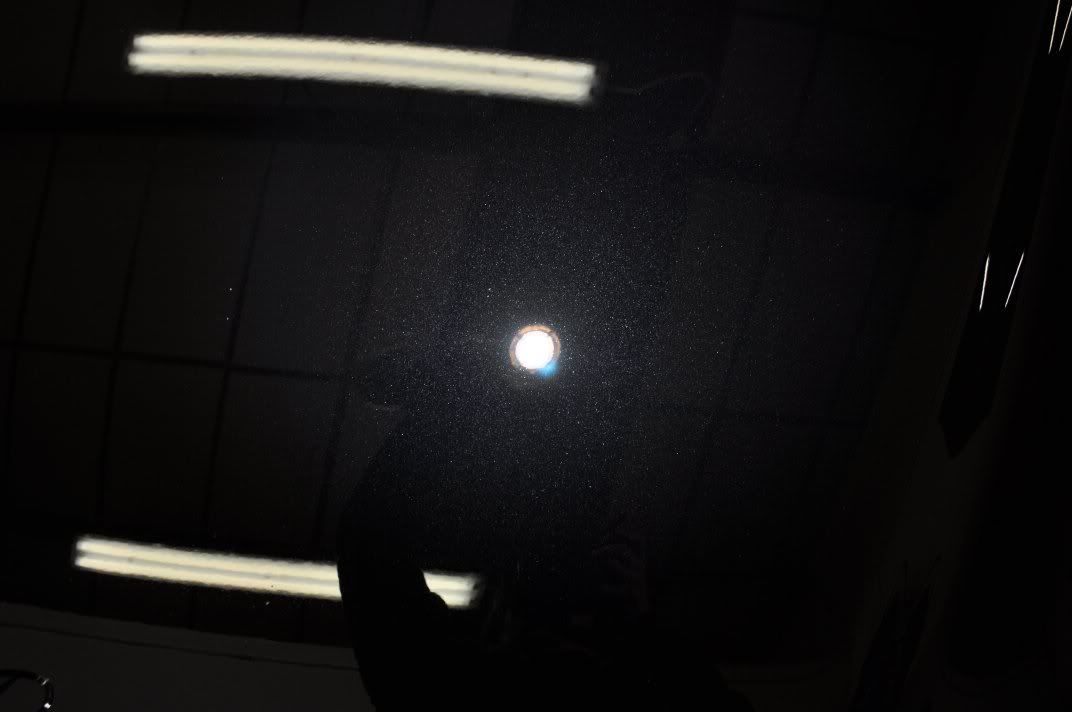
However, if we focus the camera in on the paint surface and turn off the bright lights we can still see deeper RDS that the bright light sources hide...
These are also quite hard to photograph, but I’ve prepped a little example on photography of deep marks for this writeup – we’ll save that for later, as we have a bonnet to correct for not
. With deeper marks to deal with but not much paint, a heavier pressure set with #205 was trialled but again this feel just a little short of optimum results... reluctant to step right up to #105, we went for an intermediate polish and pad combo dictated by the paint removal rates: Menzerna PO85RD3.02 Intensive Polish on a 3M yellow polishing pad applied using the commonly used Zenith Point technique...1) Spread polish at 600rpm
2) Begin working the polish at 1200rpm, slow passes and light to moderate pressure until a little heat built up and polish residue evenly spread and machine gliding effortlessly
3) Work at 1500 – 1800rpm, steady passes and moderate pressure until the residue goes clear
4) Reduce speed to 1200rpm and refine finish with two or three slow passes.
The end results of correction with Intensive Polish – better correction of the deeper marks. Not quite perfect but given the thickness and the removal rates we decided this was the perfect balance between achieving correction and reamining with a safe level of paint which ultimately is very important! Results...
Refinement was carried out using Meguiars #205 (has to be my personal favourite finishing polish and it does seem to be used on pretty much every detail I do!) on a Chemical Guys Black Hexlogic finishing pad using the Double Zenith technique described above. End results:
The passenger wing before, where Gordon kicked off...
With less deeper marks here, Gordon found that he was able to achieve the required results with #205 stepped onto a slightly more aggressive Chemical Guys Hexlogic White pad, and firmer head pressure...
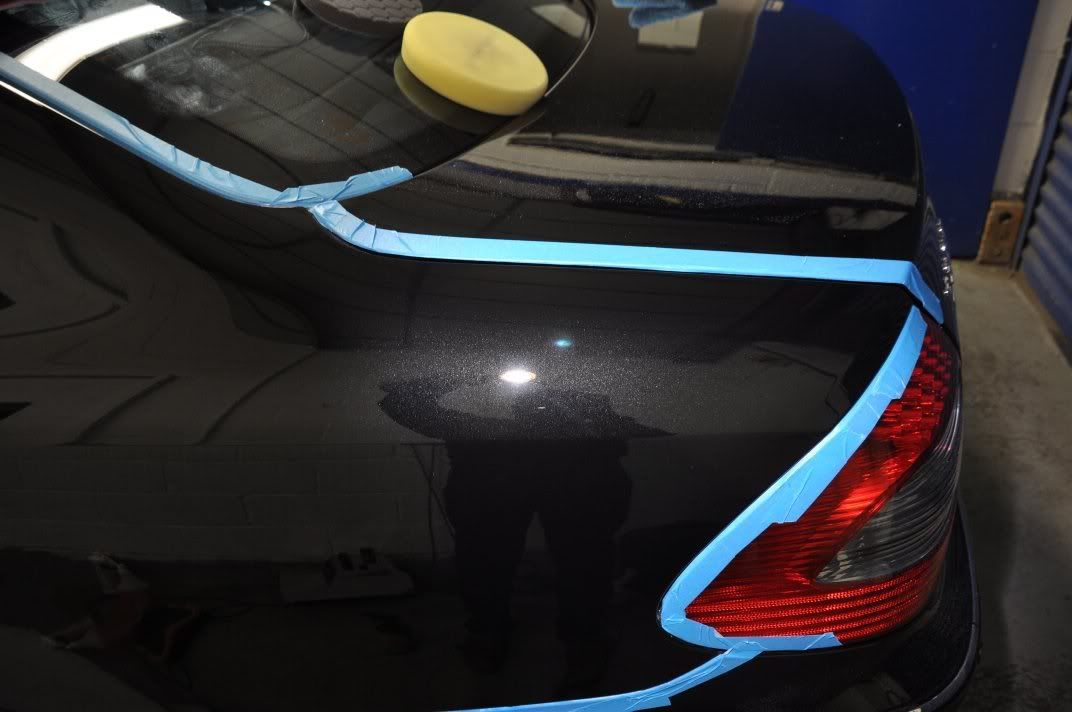
Onto the bootlid, and this was to be the Simon’s first panel on his own car by rotary polisher under our supervision (after first practising on our scrap panels, and only if Simon was fully happy to give the machine a go which he was ) ... Before we look at the correction and processes here, as promised, a little example on cameras and taking pictures of deeper marks. Swirls are easy – shine the light and the camera picks them up! But deeper marks are masked by bright light sources, and typically a camera struggles to pick them up. Ideally, a camera with manual focus works really well here because the key is to focus on the pain surface which is where the marks are. In the picture below, I have focussed the camera on the surface of the paint and you can see the imperfections and the orange peel:
A small turn of the focus wheel and you would think I had worked absolute wonders in terms of correction!!!
In fact, what has happened here is what happens a lot when cameras autofocus – they seem to focus on the brightest most obvious object which in this case is the reflection of the strip lamp. The deep marks and orange peel dont show up, because the camera is on longer focussed on the paint surface but instead is focussed on a reflection. This makes cameras with autofocus generally quite difficult (in my experience) to focus on deep subtle marks in the paint surface. Manual focus is a huge help!
Back to the detail – the bootlid before:
After correction and refining by the owner... (a pretty good finish, I think you’ll agree – on tuition details, we ensure that owner’s are achieving a good quality finish and if we are not happy we work to help further refine it and continue to teach and demonstrate techniques and methods – all part of the learning process):
(Note – you can still see orange peel in the above shots, focussed onto the paint surface – but the RDS are gone).
Door mirror before:
And after...
Onto the driver’s side front wing, where again #205 on a white Hexlogic pad proved suitable for the correction. Before:
And after...
We were now into our rhythmn for correcting this car and while I started on the driver’s side doors, Gordon and Simon tackled the passenger side doors and rear three quarter. Rear before...
And after...
The driver’s side doors before:
Sometimes you just can’t turn your back for one second... a quick bathroom break and I returned to find my pad decorated into what reminded me a little of the Sweedish flag...
:lol: :lol:
Back to the serious nature of the detail The doors were corrected using Intensive Polish to remove some long sweeping RDS from the panels, and refined using Meguiars #205 to leave...
Passenger side doors received same treatment with Gordon and Simon working happily away. Before:
And after...
Some more completed shots from around the car...
The roof was another region littered with deep marks...
These were the worst on the car, and we stepped up to 3M Fast Cut Plus for correction here...
Refined using #205:
While heading into the office area to make a quick cuppa, I thought Gordon was napping!! ...
But in fact no, he was dressing the plastics with New Look Trim Gel...
On this detail, following our traditional second IPA wipedown (all after pics above taken after an IPA wipedown, then a second one used before waxing to ensure finish perfectly clean and free from oils), we decided to opt for the new Valentines Road & Track wax for paintwork protection, Stoner Invisible Glass on the glass, FK1000P on the wheels, New Look Trim Gel on the plastics and rubbers, Espuma RD-50 on the tyres and the new Zeppelin Custom Metal Polish on the exhaust tail pipes.
The end results of a day’s hard (but very enjoyable) graft:
And to round off, the wheels caught my eye when rolled out into the night, reflecting in the unit lights – I really liked them and couldn’t resist a quick couple of pics to finish:
Another hugely enjoyable detail, and with the holiday period nearly on us, this will be Gordon and I’s penultimate detail of 2009... but we look forward to more exciting and enjoyable details in 2010! (Plus our final one of 2009 as well!).


Comment