

 Tweet
Tweet
The car was a 1995 W202 C180 in antrachite grey, upon inspection it was clear that the paint was in a poor condition. Oxidation marks and heavy water etchings were all over the car, along with deep swirls to accompany them. Further examination with the help of a PTG showed that the car have had some repaints on different times of its life. Presence of thick layers of fillers and orange peel was evident most notably on the passenger side front fender. Passenger side doors and rear quarter panel has been repainted too, as well as the trunk. Now the trunk is an area worthy of further discussion, as later I found that this area had heavy water etching marks that just wont go away even after 8 rounds of heavy wool compounding on the rotary with megs’ #95. I later came to the conclusion that this panel must’ve had a re-clear job done at some point and that left the deeper water marks trapped under the new layer of clear. Paint thickness readings were then carried on to every panel of the car.
After the inspection, I had a discussion with the owner to decide upon the course of action. After I presented him with the available options , he told me that a two step correction job is all he can afford to do. I told him that the presence of extreme defects on the car dictates that a simple two step regime will be far from sufficient, what it really needed is a full correction job , that I can finish in around 4 days. So we discuss further and we came up with a middle of the road solution. I was given the resources to do as much heavy cutting as safety allows (while keeping in mind that this car is a daily driver) on the car to get most of the heavier defects out, then I would refine the paint with a set middle polishing to get the compounding marks out. The goal was to get most of the ugly heavy defects out and improve the gloss of the paint and not paramount paint perfection. That was what we settled upon.
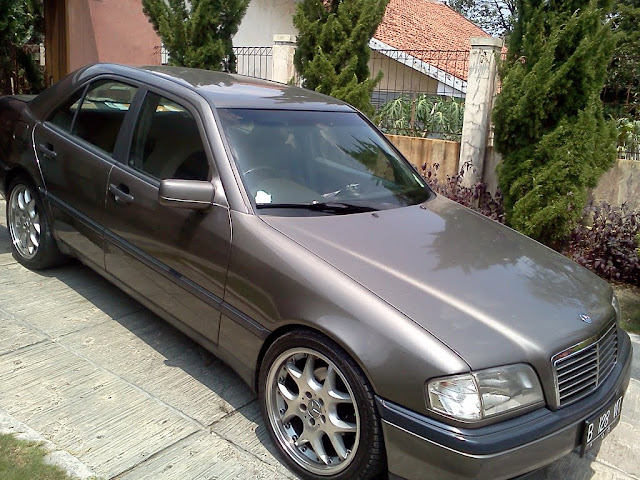
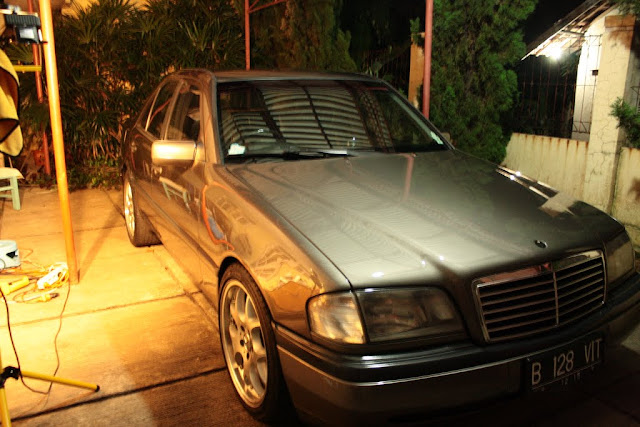
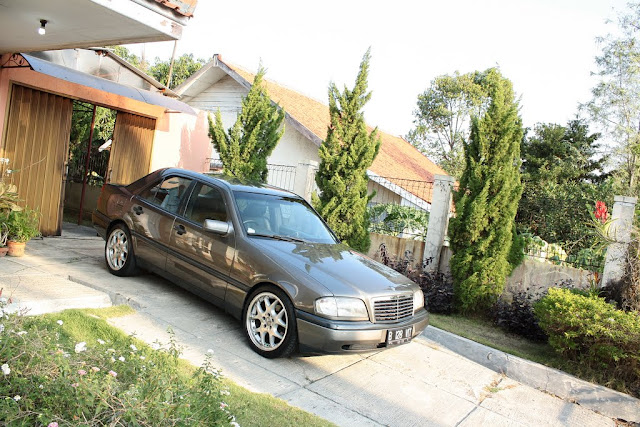
Here is the car as it arrived

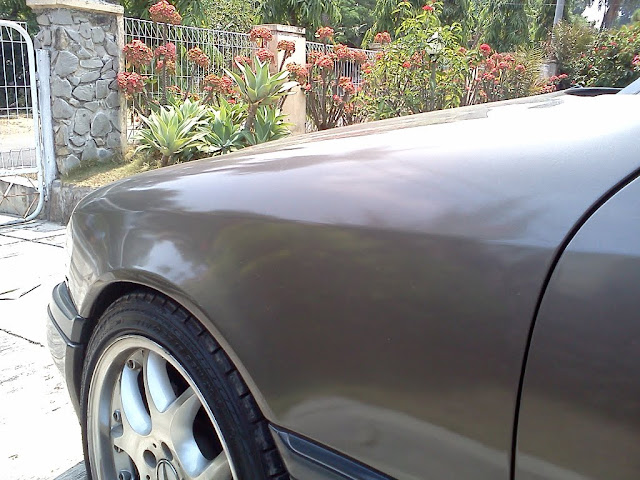
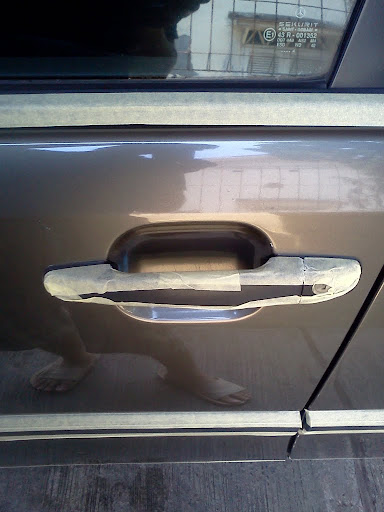
The passenger side front fender
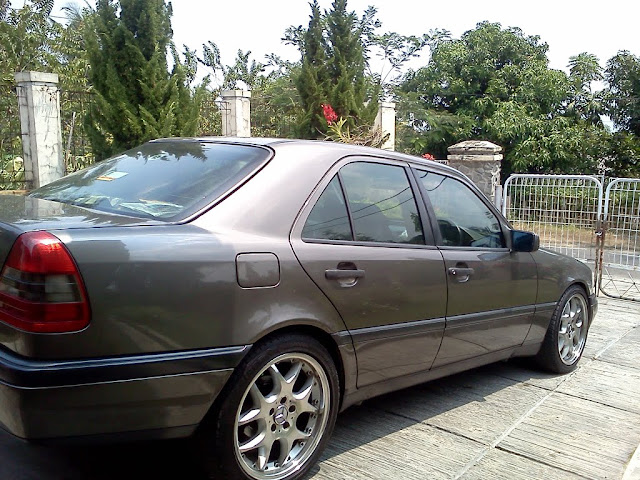
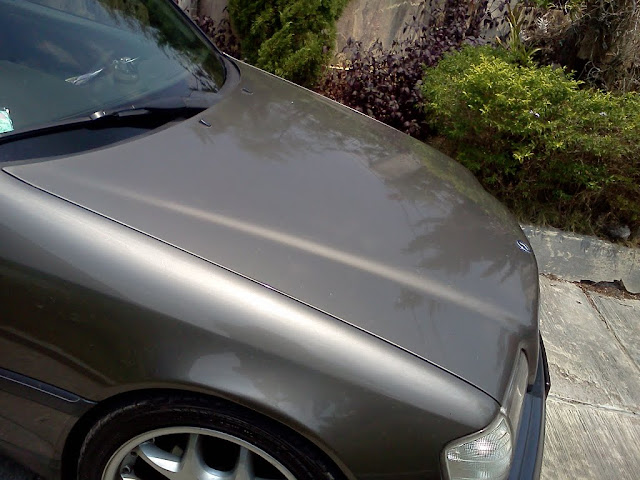
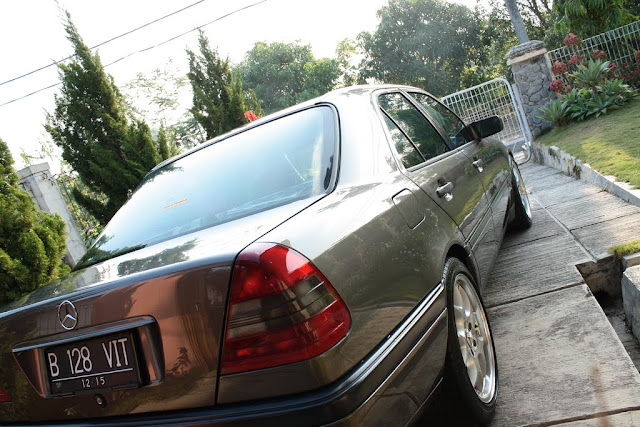
Other areas


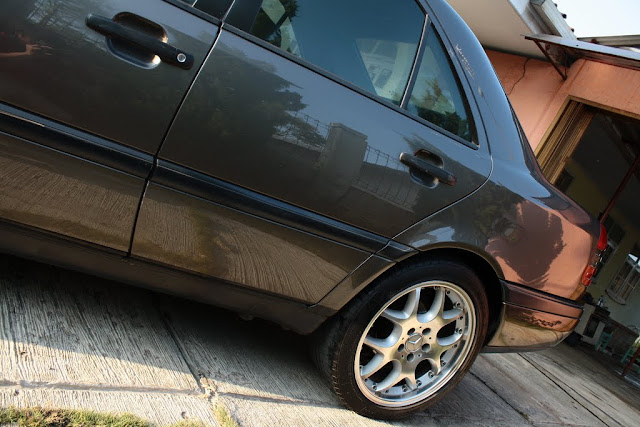
The driver’s side of the car had original paint , mostly

Closer inspection under the Fenix

Decontamination
I then proceeded to prepare the car for polishing by decontaminating it. Steps taken in this stage were cleaning the wheels with megs apc+ at 4:1 , then a stong wash with a high dilution of meguiars soft wash shampoo and dishwashing soap, then I gave the car 2 sets of meguiars body solvent application, with 30 minutes dwell time after each application to soften the grime. I then rewashed the car using the same strong solution as before , and subsequently clayed it while drying it with the help of ONR at qd solution as lubricrant.
After that the car was then taped up.

I used one continous strip of tape to avoid the tape getting tangled during the machining process.
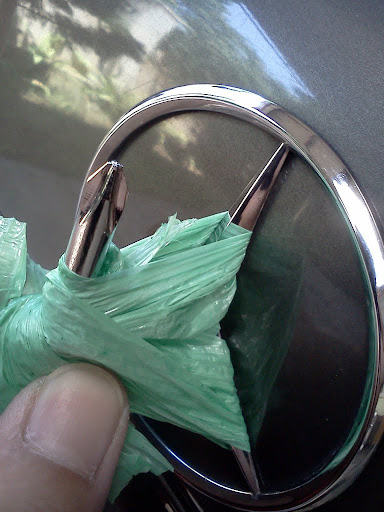
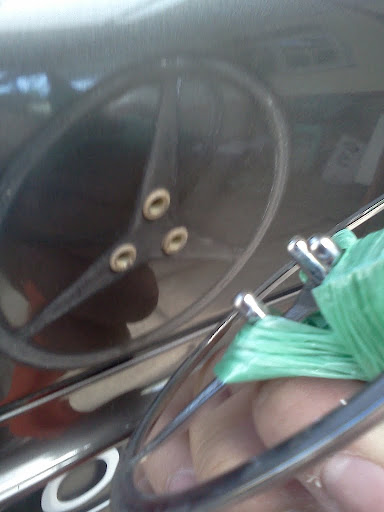
Here is the method I used to remove the trunk lid three pointed star
Slide 3 strings
And remove
Correction
For the removal of the heavy defects which was proven to be a lot worse than I had initialy thought I used Meguiars M95 on 3M wool pad with my Dewalt rotary. I also used the method advised by Kevin Brown to prime the pad and use supplemental wetting agents (ie water) while keeping the wool pad clean by spurring it after every set.
The weatherd layers were so bad, it took me up to 8 sets of M95+wool+rotary to get the majority of the out. Periodic paint thickness readings were carried out after each repeated sets to monitor paint removal.
In the end, on average it took me like 30+microns to get from this

To this

And this
To this

The whole compounding process took me 3 days to complete from the decontamination stage. After that I gave the car a set of s17+Uber Green pad+ rotary to clean up the paint, that, along with lsp application and other finishing steps took me another day. Note to self, always wear proper breathing mask when you’re planning on doing heavy compounding, I had a respiratory problem after this job which forced me to take a trip to the doctor and spend the next 4 days resting at home.
After correction
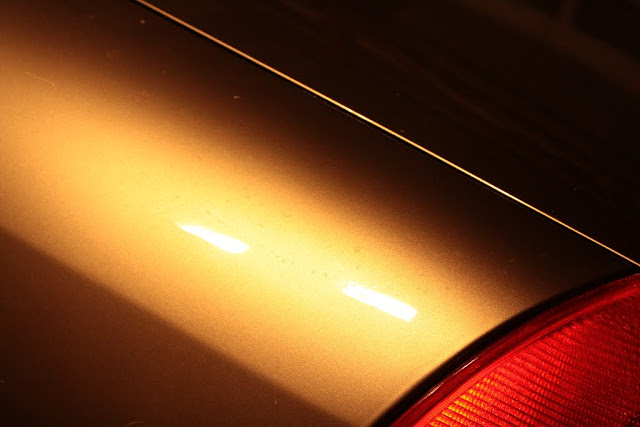
Some defects such as rds n very very deep etchings still remained, but I kept in mind that this is a daily driver and the owner did not ask for perfection. Besides, shaving 30-40 microns (on average) on a daily driver was scary enough. The average thickness of the trunklid and bonnet was 75-80 and 90-100 microns, respectively, when im done with it and they still left these :

These are the marks I talked about earlier on the trunk lid. Repeated hits of the wool pad wont soften them , so my educated guess is that they might very well be under the clear coat which was rather strange because the paint on this panel was not very thick to begin with. Even so, I desided to stop compounding when readings on some areas have reached as low as 75 microns. I got 110 microns to begin with, on average, on this panel.

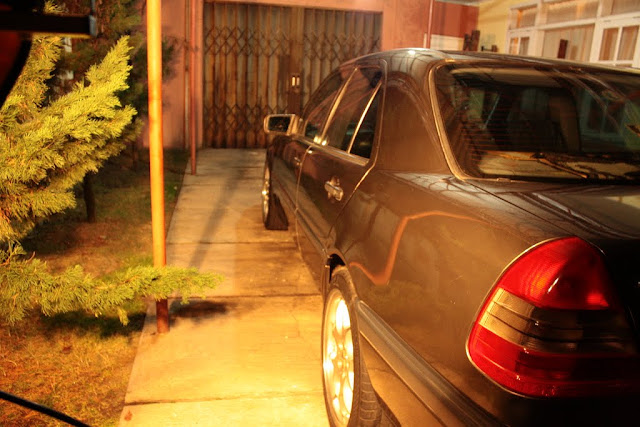
Other parts of the car after the correction stage


Similar etching marks found on the trunklid was also found on the upper part of the passenger side rear quarter panel. Paint thickness on this part when after im done was 80 microns on average.
LSP was a beta product I was testing at the time
Some beading shots :


AFTER SHOTS WITH THE BETA SEALANT APPLIED
But first, some before pics
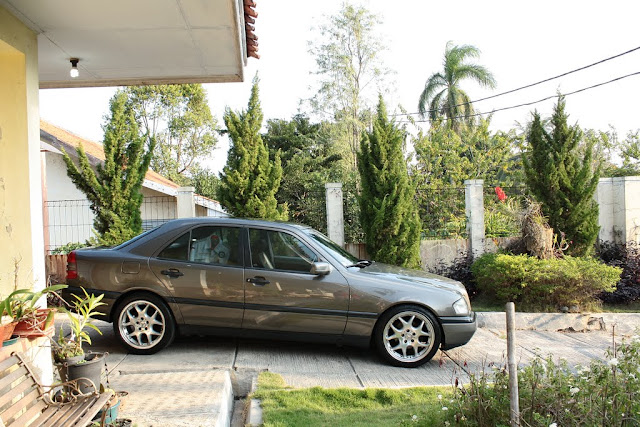
.. And now the finished product :


Thank you for viewing.
After the inspection, I had a discussion with the owner to decide upon the course of action. After I presented him with the available options , he told me that a two step correction job is all he can afford to do. I told him that the presence of extreme defects on the car dictates that a simple two step regime will be far from sufficient, what it really needed is a full correction job , that I can finish in around 4 days. So we discuss further and we came up with a middle of the road solution. I was given the resources to do as much heavy cutting as safety allows (while keeping in mind that this car is a daily driver) on the car to get most of the heavier defects out, then I would refine the paint with a set middle polishing to get the compounding marks out. The goal was to get most of the ugly heavy defects out and improve the gloss of the paint and not paramount paint perfection. That was what we settled upon.
Here is the car as it arrived
The passenger side front fender
Other areas
The driver’s side of the car had original paint , mostly
Closer inspection under the Fenix
Decontamination
I then proceeded to prepare the car for polishing by decontaminating it. Steps taken in this stage were cleaning the wheels with megs apc+ at 4:1 , then a stong wash with a high dilution of meguiars soft wash shampoo and dishwashing soap, then I gave the car 2 sets of meguiars body solvent application, with 30 minutes dwell time after each application to soften the grime. I then rewashed the car using the same strong solution as before , and subsequently clayed it while drying it with the help of ONR at qd solution as lubricrant.
After that the car was then taped up.
I used one continous strip of tape to avoid the tape getting tangled during the machining process.
Here is the method I used to remove the trunk lid three pointed star
Slide 3 strings
And remove
Correction
For the removal of the heavy defects which was proven to be a lot worse than I had initialy thought I used Meguiars M95 on 3M wool pad with my Dewalt rotary. I also used the method advised by Kevin Brown to prime the pad and use supplemental wetting agents (ie water) while keeping the wool pad clean by spurring it after every set.
The weatherd layers were so bad, it took me up to 8 sets of M95+wool+rotary to get the majority of the out. Periodic paint thickness readings were carried out after each repeated sets to monitor paint removal.
In the end, on average it took me like 30+microns to get from this
To this
And this
To this
The whole compounding process took me 3 days to complete from the decontamination stage. After that I gave the car a set of s17+Uber Green pad+ rotary to clean up the paint, that, along with lsp application and other finishing steps took me another day. Note to self, always wear proper breathing mask when you’re planning on doing heavy compounding, I had a respiratory problem after this job which forced me to take a trip to the doctor and spend the next 4 days resting at home.
After correction
Some defects such as rds n very very deep etchings still remained, but I kept in mind that this is a daily driver and the owner did not ask for perfection. Besides, shaving 30-40 microns (on average) on a daily driver was scary enough. The average thickness of the trunklid and bonnet was 75-80 and 90-100 microns, respectively, when im done with it and they still left these :
These are the marks I talked about earlier on the trunk lid. Repeated hits of the wool pad wont soften them , so my educated guess is that they might very well be under the clear coat which was rather strange because the paint on this panel was not very thick to begin with. Even so, I desided to stop compounding when readings on some areas have reached as low as 75 microns. I got 110 microns to begin with, on average, on this panel.
Other parts of the car after the correction stage
Similar etching marks found on the trunklid was also found on the upper part of the passenger side rear quarter panel. Paint thickness on this part when after im done was 80 microns on average.
LSP was a beta product I was testing at the time
Some beading shots :
AFTER SHOTS WITH THE BETA SEALANT APPLIED
But first, some before pics
.. And now the finished product :
Thank you for viewing.

Comment